

Introduction: 3D Printed Pet Collar


Hi all.
A couple of months ago I was experimenting with different printable hinge designs, and trying to print them pre-assembled. One of those designs was this "H-chain" configuration shown above. Later I came back to it and decided to implement it into a useful project: the 3D Printed Pet Collar.
I made this particular collar for my Labrador, but you could also use the H-chain as a collar for smaller animals (like cats), or for a belt, or numerous other applications.
Step 1: What You'll Need
Tools Needed:
- 3D Printer with minimum build volume of 4.5 in x 1.5 in x 2.5 in (114 mm x 38 mm x 64 mm)
- small knife (optional)
Materials Needed:
- Plastic printer filament
I printed my collar in ABS, but you could PLA instead.
Step 2: Print the Thing

Once you've acquired a 3D printer and some filament you are ready to print. Download the STL files below and configure the gcode with a CAM software. I printed all my parts with the following specifications:
Layer Height: 0.1 mm
Shells: 4
Infill: 28%
Additionally, the Snap pieces and Mainbody Assemblies will need to be printed with a small amount of support material.
To make the collar shown in my pictures you will need to print one of the Large Mainbody Assembly, one of the Keychain-Loop H-piece, one of the Snap Outer, one of the Snap Inner, one of the Keychain Loop, one of the Connector, two of the Keychain-Loop Pin, and four of the Pet-Collar Pin.
To make a smaller collar, such that would fit a cat or similarly sized animal, simply print the Small Mainbody Assembly instead of the large one.
I also included files for separate H-chain pieces so that you can print and assemble an H-chain of any size to fit your needs.
Attachments


Step 3: Post Print Cleanup


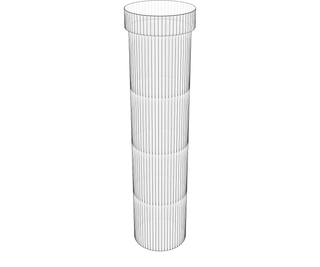
The largest part you will need to print for your collar is the large mainbody assembly. This part is really cool because it consists of twenty-one separate movable parts that will all be printed together and preassembled. When generating the gcode for this part, don't forget to add the support material; the part will not be printable without it.
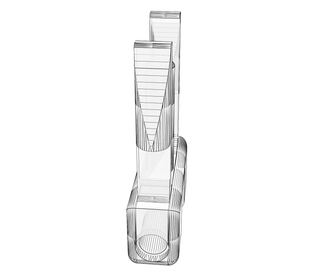
After you have printed this part, you need to remove the support material. Use a small knife to carefully separate and remove the support material from between to H-chain pieces. Then firmly but carefully pivot that H-chain link until it begins to hinge open. A few strings of plastic may have fused the connector piece in place, but after applying firm pressure, it should break free just fine. Continue this process until you have unfolded both the stacks of chain links.
At first the hinges will be stiff, but over time they will loosen up and pivot freely.
Step 4: Assembling the Keychain Loop


After printing and cleaning all your parts, you can start assembling them. First take the Keychain Loop and mount it on the Keychain-Loop H-chain piece. Then insert the Keychain-Loop pins through the keychain loop and into the chain link. The loop should be able to pivot to some degree.
Step 5: Attaching the Keychain Loop


After you have assembled the Keychain Loop sub-assembly, attach it to the mainbody pieces. Line up the Keychain-loop H-chain link at the end of the chain. Then insert a Pet-Collar Pin into the hole and press it firmly into place. Continue by attaching the Connector piece in the same manner.
Step 6: Attaching the Collar Snap


The Snap pieces can be attached in the same way you attached the Keychain Loop. Simply insert the pins into the holes and press them firmly into place. Attach one snap piece on each end of the mainbody chain.
Step 7: Enjoy
Congratulations! You have successfully printed and assembled a 3D Printed Pet Collar. Give your pet one of these as a birthday gift, and he'll be your friend for life. Enjoy!
jlaake

Runner Up in the
Cat Challenge 2016

Fourth Prize in the
Makerspace Contest

Participated in the
Dog Challenge 2016


