

Introduction: 3D Printing a 3D Printer Stand


Going from TinkerCad -> Fusion 360 -> Real life
I needed a stand for my Prusa Mini 3D printer and since the 3D printer contains many parts that are printed on a 3D printers I figured I would print as many parts for the stand as I could and use the same filament as was used on the printer.
Since all the stand parts could be made using combinations of simple geometric shapes TinkerCad was an obvious tool for creating them. Fusion 360 really brought the project to life with its amazing rendering so I could see how the finished product would look.
Supplies


- Aluminum Angle Stock and some Flat Aluminum Bar
- Hand Rivet Gun and Aluminum Rivets
- Dremel Cutting Tool
- Hand Drill
- 3D printer
Step 1: The Design


When I decided on this project I started first with the spool holder in TinkerCad as that really helped define how the stand would need to be done. I knew I wanted to use the aluminum angle stock so I knew the spool holder would need to hook on to the top shelf. One of the sample files that came with the 3D printer was a nut and bolt so I saw how well they attached so it made sense to me to use the same concept for the spool arm (and TinkerCad has a built in tool to create threads!).
The next step was the end caps for the legs. I knew these needed to fit on the end of the legs so I designed then to be a tight fit (but with a hole for a little bolt to ensure they could be tightened on). At first I did not think about adding feet on the bottom but after trying the first test print the cap was just too hard and slippery. I modified the cap to include the flat base and the hole in the bottom. I then designed the feet with flexible filament giving the very bottom a texture to add as much grip as possible. The top I designed so that it would be able to compress it to fit into the hole and then it would expand once inserted so that it would not be able to fall out of the hole.
I needed to have a base for the printer to sit on but the size needed was way beyond what my printer could handle. At first I was trying to think of a way to interlock the individual tiles together but anything I thought of was too complicated to design or to print reliably. I decided on a simple approach which in the end actually made the stand more stable and rigid. I added 3 aluminum flat bar stock two horizontally spaced so the 6 inch tiles would sit on them and then a third bar vertically to just add stiffness in the middle. I designed a 6 inch square tile as the stand I needed to be about 18 inches and my 3D printer can only print 7 inch square objects maximum. I used a hexagon pattern to match the face of the printer and to add visual interest. The only downside of this was the time it took to print as it was over 5 hours per tile! Lastly I added a "x" on the bottom to add extra rigidity.
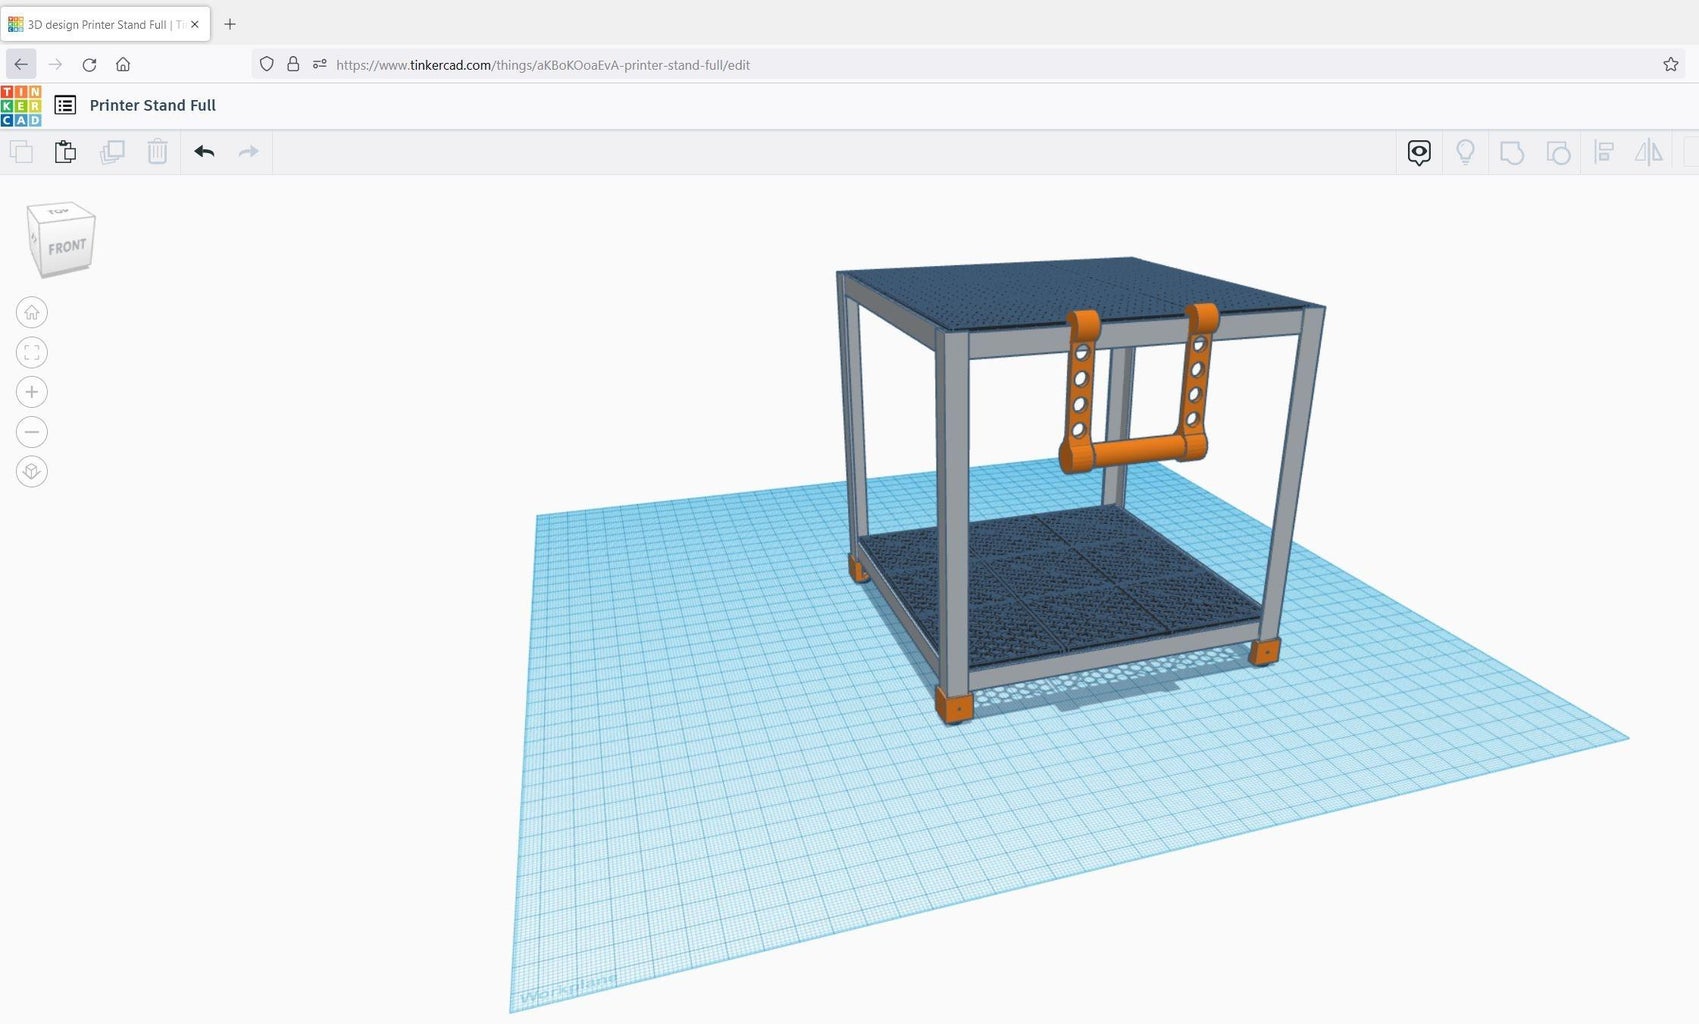
Taking all these individual pieces I created a new TinkerCad project and "build" the final stand. I liked the look of it but in TinkerCad you only see a basic view. As this was going to be a piece that would live in my house I wanted to make sure it aesthetically looked good. I exported the project from TinkerCad into Fusion 360. I was then able to add the correct materials and colors to the different pieces of the stand. My first pass at rendering the stand I just used a plain white background to see how it looked. I was very happy with the look and did not see any changes that I needed to make so I then added a more complex background and did a final render. I have to say it looked amazing and really did mirror what the final end product was when I completed its build.
Next steps: I want to add a spot for the power brick to attach in the stand as well as storage for tools and my other print bed. Lastly extending the USB port to the front of the printer, but for now it des everything I need it to do!
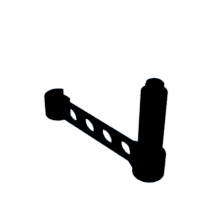
Step 2: Filament Spool Holder


The Prusa Mini 3D printer comes standard with a filament "cradle" that Sits on the floor and has ball bearings for the spool to slide on. I do not like this design for two reasons: 1) it is a separate piece so when moving the 3D printer you have to remember to move it as well; 2) for different width spools from different suppliers you need to use an allen key to loosen the set crews in order to expand the width of the cradle.
Since I am building a stand for the Printer to sit on I figured that having a spool holder that hangs of the side and that can hold multiple sizes of spools would be the most efficient. In order to be the most flexible the holder is just "hung" on the side of the top shelf by hooking over the aluminum rail. It is also made in two pieces with "nut and bolt" ends so that they can screw together and hold the spool securely guaranteeing the spool will not fall off of the holder.
I am using the orange Prusa PETG filament to match my printer. I added some "speed holes" to add visual interest and lessen the amount of filament that is needed to print the holder.
I had meant for this to be a bit wider as while it is correctly sized to hold all the spools I currently have it may be too narrow for wider spools that I may acquire in the future.

Step 3: The Feet


In order to protect my floors I needed to create feet for the four legs of the printer stand. My plan was to use aluminum angle stock for the frame of the stand. The aluminum comes in 6 foot lengths with 1 inch sides. The benefits of aluminum is that it is easy to cut and drill into it and can be held securely with rivets making assembly easy. It also makes for a lightweight stand that is easy to move in and out of my work area.
I designed a foot cap that the aluminum angle fits tightly into out of Prusa orange PETG filament (the same material and color that my 3D printer uses as an accent color. I placed a small hole in the cap so that I could use a small bolt to add extra security to stop the caps from slipping off the legs.
Additionally there is a flat triangle base with a large hole in it in order to place a "flexible foot" at the bottom of the leg cap. The foot is a small round object that clicks into the base cap and since it was printed with flexible filament it provides a bit of cushioning. On the bottom of the foot I added some texture with the "snow flake" TinkerCad built-in shape to add some grip so the stand does not slide around.
The foot has openings printed in the top so that it can be squeezed into the hole of the cap and then expand when it is in the hole so that it will not fall out. I in fact made these sizing so well that I cannot even remove the flexible feet from the caps once they are installed!.


Step 4: The Stand Frame


I cut the aluminum angle stock into 12 - 18 inch lengths - 4 each for the top and bottom and 4 for the legs. For the shelves I drilled holes in the corners and riveted the sides together into squares. Once the two shelves are complete the legs are riveted on making sure that you leave enough of leg sticking below the bottom shelf in order to add the leg caps. Add the bar stock to the shelf in order that the tiles can be placed on the shelfs.
I like working with aluminum as it is easy to cut with a Dremel and can be sanded to clean up the edges. Once it is cut you just need to drill holes and the rivets will hold the aluminum together without the need for extra fasteners. Add the caps to the bottom of the legs and use a small bolt to tighten them to the aluminum.
Step 5: Shelf Tiles


The stand is made from 18 inch sections of the aluminum angle stock. with the printed tiles being an inch thick for stability. The bed of my 3D printer is 7 inches square and with an 18 inch square top I printed the tiles to be just under 6 inches square. This means I needed 9 tiles to fill the top. In order to hold them in the shelf I riveted two bars of aluminum flat stock at 6 inch intervals and added one other bar crossing them the other way to add more rigidity as there was slight bowing when I placed the printer on the stand. Each tile is made of hexagon "honeycomb" which matches the design on the front of the Prusa printer (and also the design on the filament spools). I also printed an "X" cross-brace on the tiles for stability.
Since the tiles are just under 6 inches and the top is 18 inches this gives room to hang the spool holder (and other future racks) plus it makes it easy to lift the tiles yet they are large enough that they will not slide around or fall out. I only printed enough tiles for the top shelf but my intention is to add a bottom shelf that would hold the boxes of filament.
Attachments

Step 6: The Completed Stand!


What can I say! It is the perfect companion to my Prusa 3D printer and it is a 3D printer stand that I mostly 3D printed!

First Prize in the
Tinkercad to Fusion 360 Challenge


