

Introduction: Step by Step How to Make 3d Human Ear Anatomy Model/Diagram


Hi, guys welcome to Toady I am going show you step by step
how to make a 3d model of human ear anatomy. You don’t need to waste your money buying this kind of stuff but you can make it at home, using recycled stuff. So, I was planning for this project for a long time. I wanted to make this project as easy as possible. I made this project using recycled stuff. I will show you step by step all the process here.
Materials:
1) Cardboard
2) Empty snack box
3) Tissue paper
4) Elmer white glue
5) Acrylic paint
6) Air dry clay/polymer clay/modeling clay
7) Hot glue
I made this layout drawing for making the ear model. I will give you this link, in the description below. All you need to do is the first download this layout. Then you need to cut the cardboard using this layout. There is 2 part, one is outer ear and another is an inner ear in this layout.
Layout Link: https://nicekazi.blogspot.com/2019/05/step-by-step...
Step 1: Making Ear Model Base With Cardboard:


Now we will make the outer ear first. And for that, we will
attach all the cardboard layout together with glue and try to make a shape like an ear. Now the next part is, the inner ear part, for that we have to attach all inner ear parts layer together with glue. I am done making the base of Inner and outer ear.
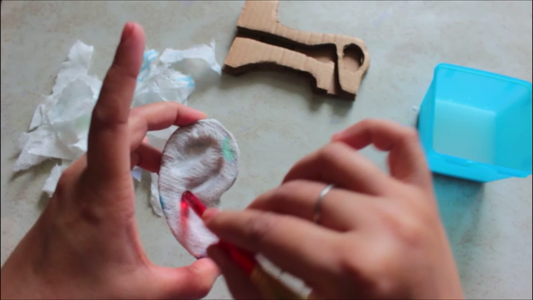
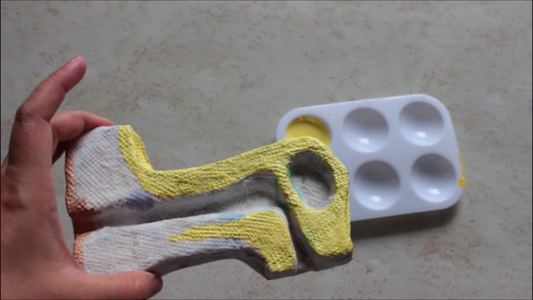
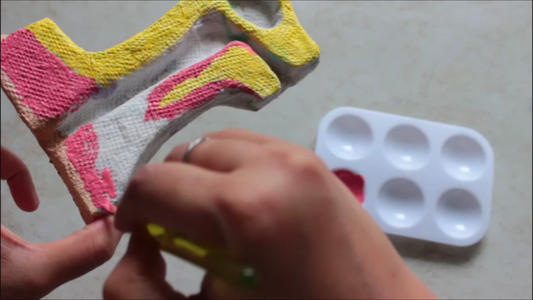
Next, I am going to do is wrap this base ear with tissue paper and glue. First, I will tear this tissue paper into small pieces. Then I will apply the glue on the base ear then apply the tissue paper layer. Like that I have to wrap it properly, then when it's half dry, I am using this brush backside and try to make the ear shape properly until I satisfy with the shape and then it needs to dry it properly. I will do the same process with the inner ear model also. When it is dry properly then it's ready for painting. For painting, I am using acrylic paint. When it is done painting. I attached this outer and inner ear together with glue. And my Ear model is done.
Step 2: Making Cochlea and Eardrum:


Now the next part is making Eardrum and Cochlea. For making this cochlea and eardrum I used airdry clay. Because its dry easily but its easily breaks also. So, you can use polymer clay or modeling clay.
Step 3: Making Display Box:


For making the display box I used an empty fruit bar box and colored it with black acrylic paint.
Step 4: Finishing:


Finally, I glued my ear model to my display box. Tada! Here is my, 3D human ear anatomy model is ready. If you like this project please like and comment. Please don’t forget to share.
Thank you!


