

Introduction: Arduino Ethernet


A simple web server that shows the value of the analog input pins using an Arduino Ethernet shield.
Step 1: Prepare Your Arduino Kit and Ethernet Shield


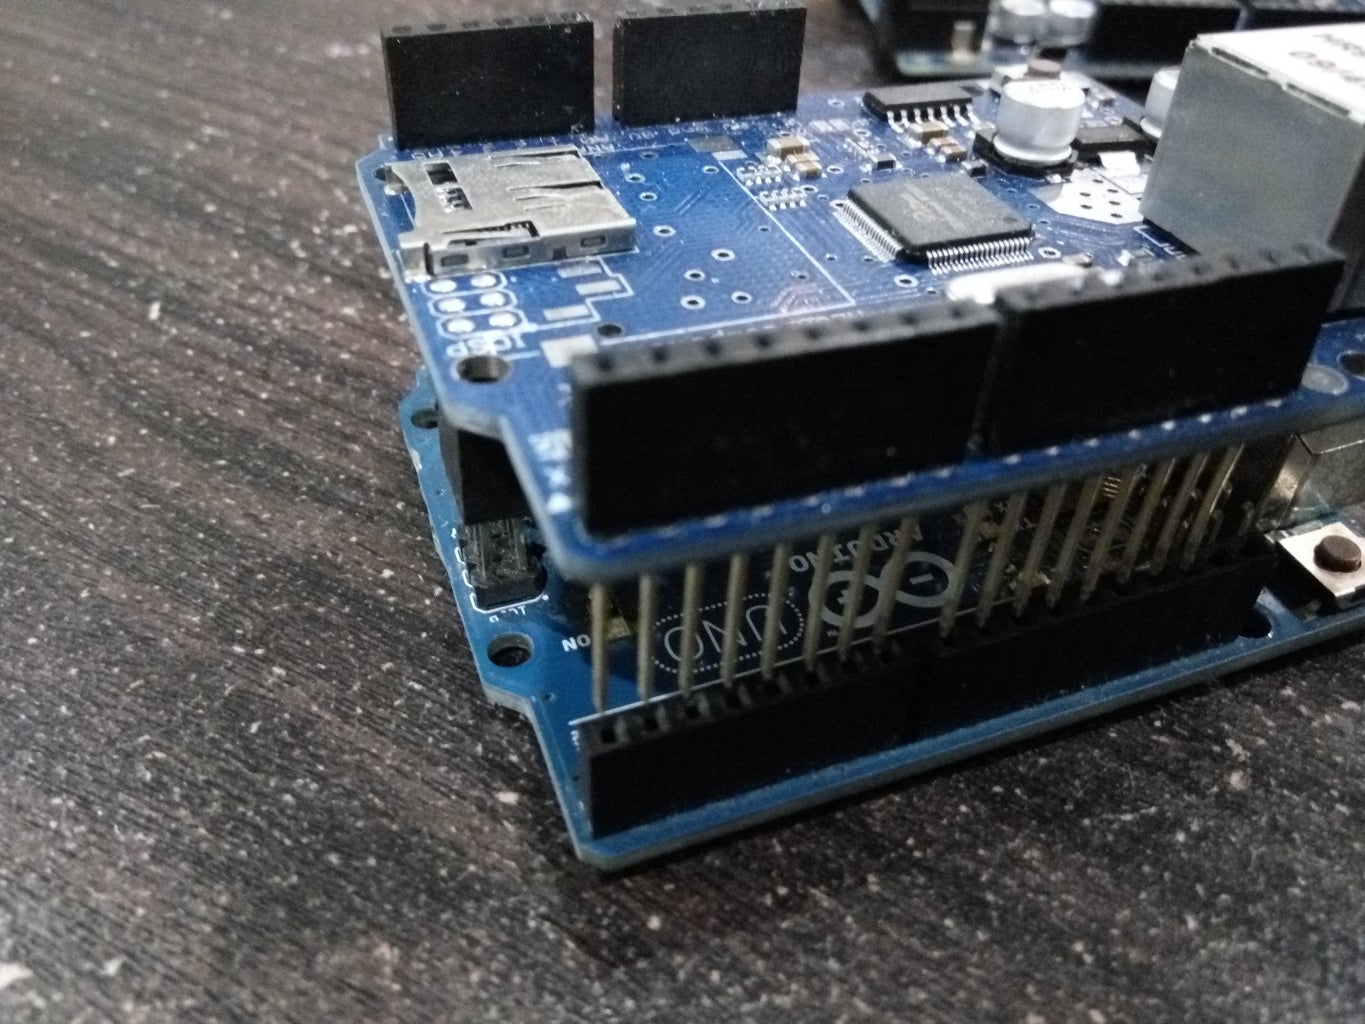
Step 2: Plug Your Ethernet Shield to Your Board


Step 3: Write and Upload Your Code

#include <Ethernet.h>
// Enter a MAC address and IP address for your controller below.
byte mac[] = { 0xDE, 0xAD, 0xBE, 0xEF, 0xFE, 0xED };
// The IP address will be dependent on your local network:
IPAddress ip(192, 168, 56, 2);
// Initialize the Ethernet server library
// with the IP address and port you want to use
// (port 80 is default for HTTP):
EthernetServer server(80);
void setup() {
// Open serial communications and wait for port to open:
Serial.begin(9600);
while (!Serial) { ; // wait for serial port to connect. Needed for native USB port only }
// start the Ethernet connection and the server:
Ethernet.begin(mac, ip);
server.begin();
Serial.print("server is at ");
Serial.println(Ethernet.localIP()); }
void loop() {
// listen for incoming clients
EthernetClient client = server.available();
/*
*YOUR CODE
*YOUR CODE
*YOUR CODE
*/
}
}
Step 4: Make Sure You in One Network With Arduino


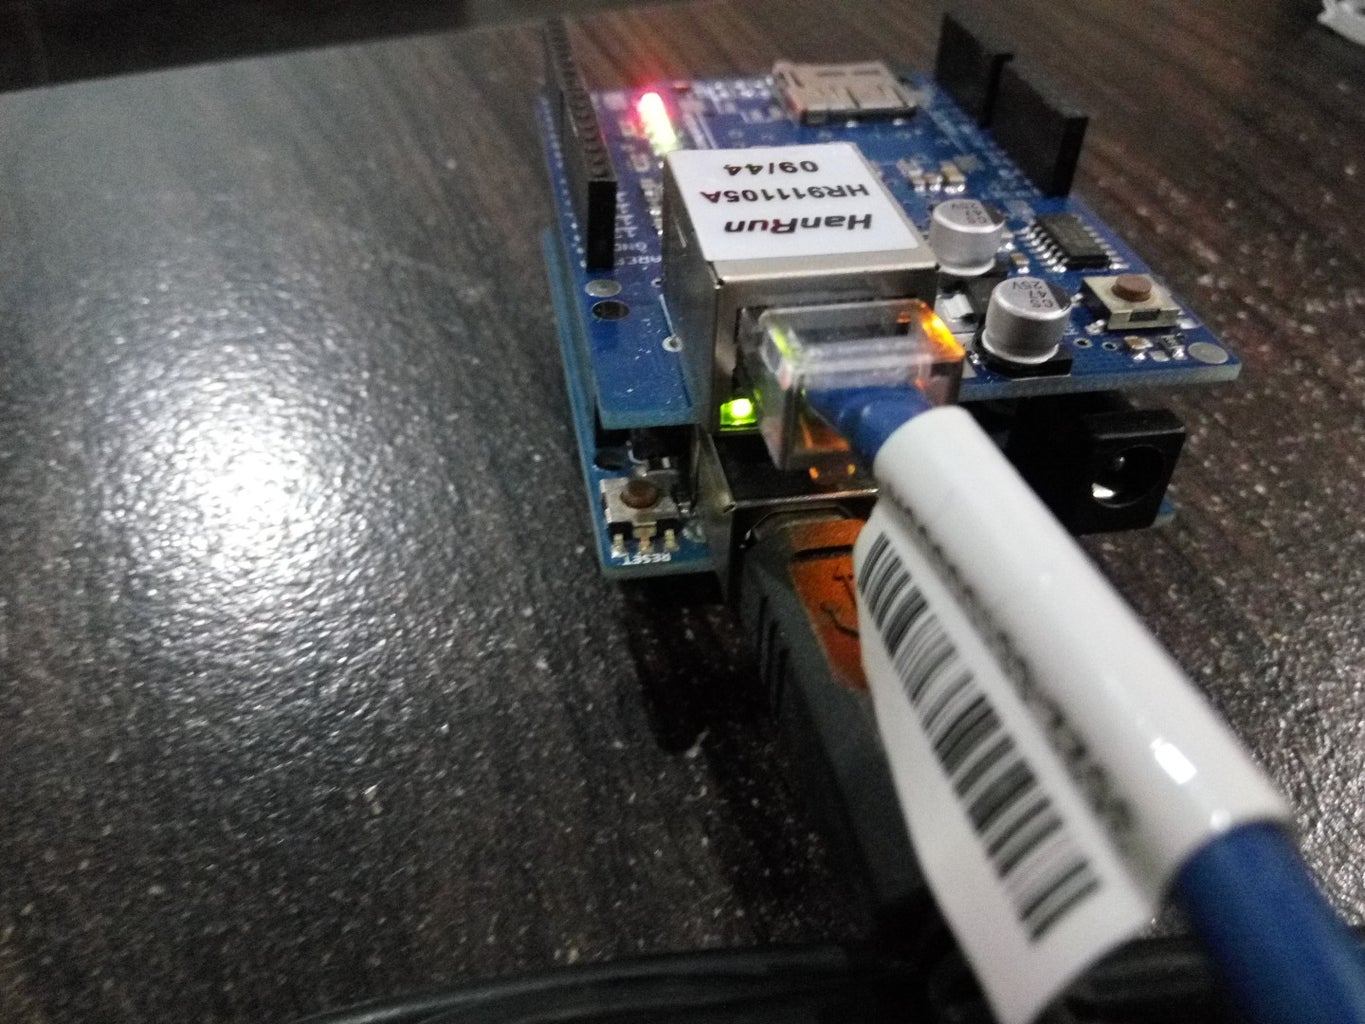
Step 5: Plug Your Ethernet Cable and Connect to Your PC or Network Switch


Step 6: From Your Broser, Open the Web Page


