Introduction: Arduino : How to Control Servo Motor With Motor Shield


This instructable is the written version of my "Arduino : How To Control Servo Motor with Motor Shield" YouTube video that I've uploaded recently. I strongly recommend you to check it out.
Step 1: Tutorial
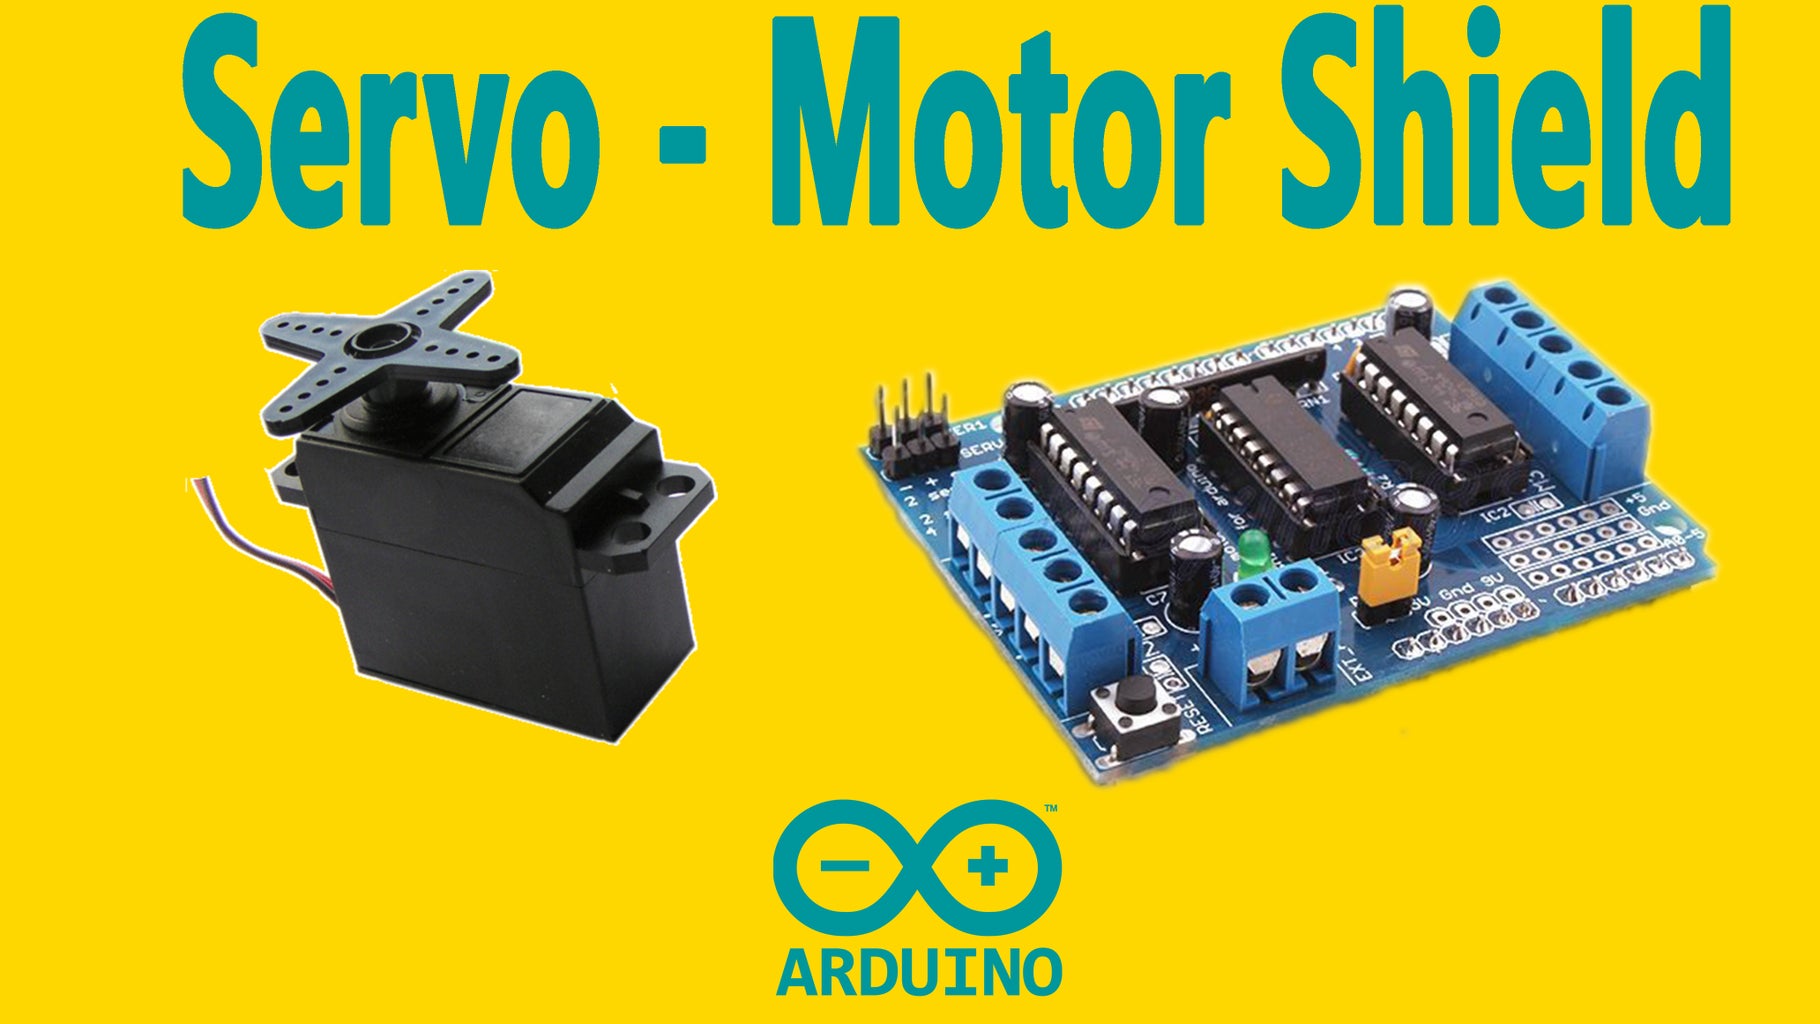
Hobby servos are the easiest way to get going with motor control. They have a 3-pin 0.1" female header connection with +5V, ground and signal inputs. The motor shield simply brings out the PWM output lines from Arduino pins 9 and 10 to two 3-pin headers so that its easy to plug in and go. They can take a lot of power so a 9V battery wont last more than a few minutes!
The nice thing about using the onboard PWM is that its very precise and goes about its business in the background. You can use the built in Servo library.
Step 2: Hardware Required

Hardware Reqiured:
- Arduino
- Motor Shield (Used like Adafruit)
- Servo Motor
- Battery & Power Jack
Step 3: Connections


Servo have a 3-pin 0.1" female header connection with +5V, ground and signal inputs. The motor shield simply brings out the PWM output lines from Arduino pins 9 and 10 to two 3-pin headers so that its easy to plug in and go
Step 4: Programming

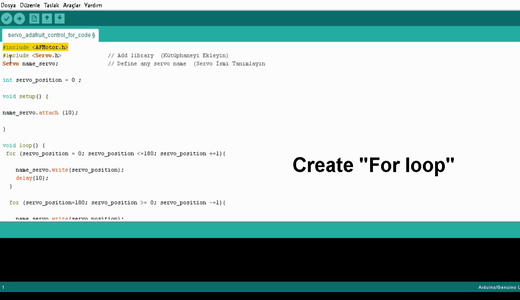
AFMotor Library Description :
To install, click on Downloads in the middle of the page, select Download as zip and uncompress the folder.
Rename the folder to AFmotor (check that the renamed folder contains the .cpp and .h files) and install into the Arduinosketches/libraries folder.
Step 5: If I Was Helpful

First of all, I would like to thank you for reading this guide ! I hope it helps you.
If you want to support me, you can subscribe my channel and watch my videos.