

Introduction: Arduino KSP Launch Button (Kerbal Space Program)


Welcome to my tutorial on how to build a physical button to interact with Kerbal Space Program!
If you have ever played Kerbal Space Program, you will know the satisfaction of building a rocket and launching it into the realm of space. However, using the keyboard and all the shortcuts can be tricky if you have to do many things at a time.
This is where the launch button comes in. It is a control panel with two buttons: a main launch button (red) and a smaller (green) throttle toggle that interface to the computer via an Arduino. It works by emulating a keyboard and sending different characters to the game when each button is pressed. Currently, every time the red button is pressed it sends a space and every time the green button is pressed, it toggles between sending an x or a z. Therefore the red button launches/stages the rocket and the green toggles between maximum and minimum throttle.
This button can be applied to other titles, with little modification of the code; you can send any ASCII keyboard character to your game. It can also be built for under £20 (GBP).
This project has been published 'as is' and therefore I accept no responsibility for any loss or damage.
So, with that out he way, on with the build...
Step 1: Parts Needed


To build this project, you will need the following: (NB - there are notes on the above images)
3x Female to male jumper cables - You can opt to use normal wire instead for the all jumpers, but more soldering will be required - solder the wires to the Arduino's holes rather than soldering in headers later on.
1x Male to male jumper cable
1x Female to female jumper cable - Not illustrated but similar to pictured above resistor on attached photos.
1x 10K resistor
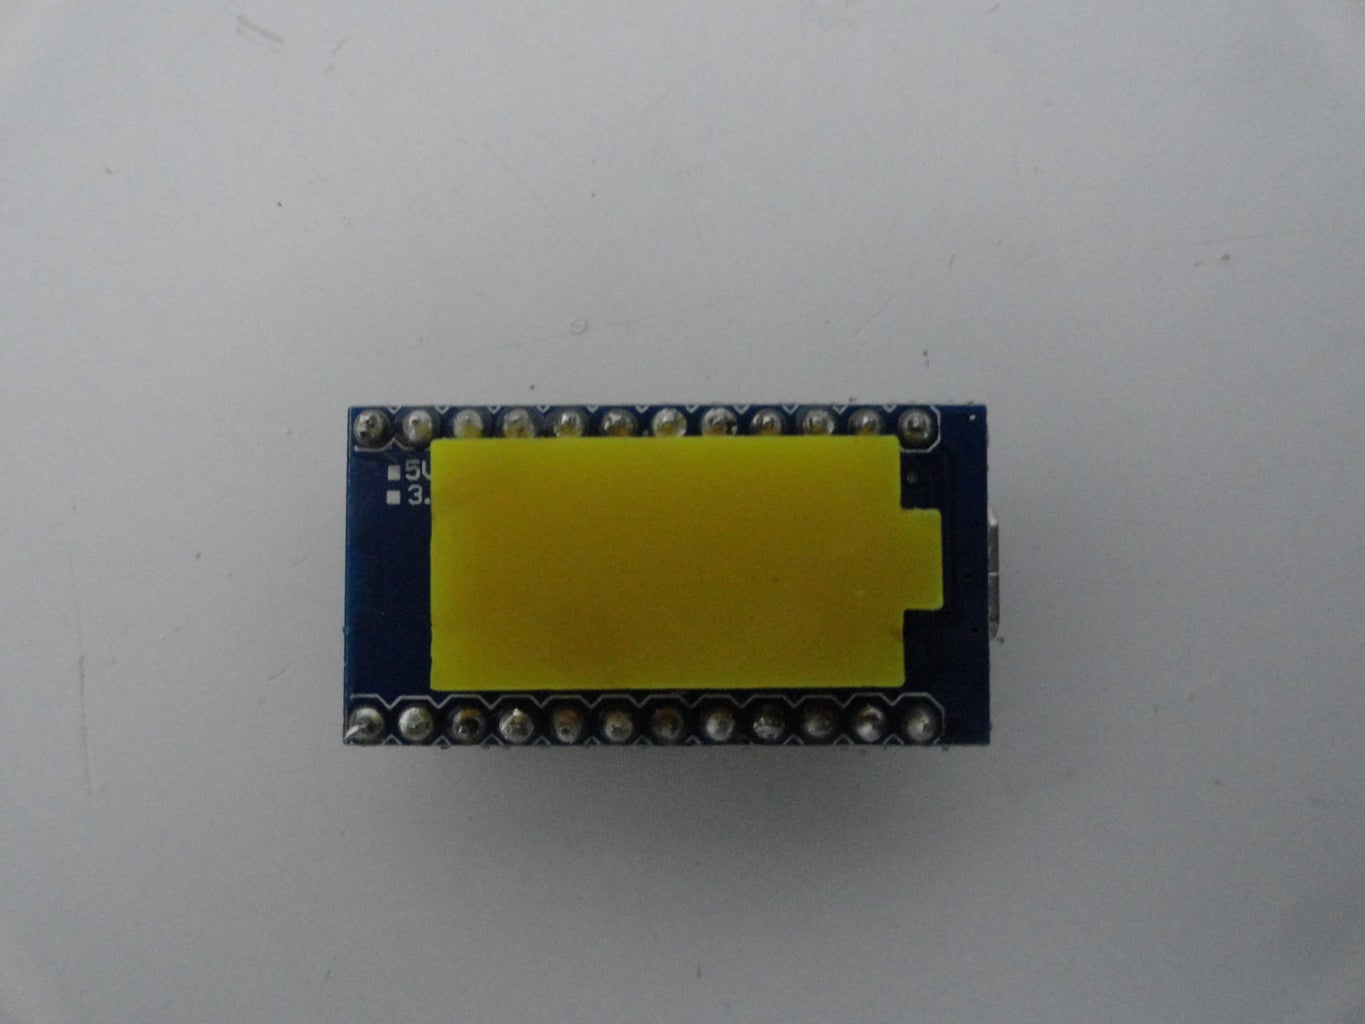
1x Arduino Micro [Pictured above] (Make sure it uses the Atmega 32u4 - also used on Arduino Leonardo)
1x Button panel - Just search for 'button station'. Make sure that both switches are momentary, the main button is normally closed and the secondary button is normally open. (If you can't find this or want to use something else, just modify the code to accommodate for what you have got).
1x Spacer material - this is used to support the Arduino. I used some scrap 9mm acrylic that worked fine. Make sure it fits between the Arduino's header pins, as shown above. Note you don't need this, if you drill a hole for the USB in the case.
Tools:
1x Craft knife
1x Soldering iron and solder
1x Screwdriver
1x Insulation tape
1x Hot glue gun
1x Marker pen
Step 2: Wiring Up
To wire up the connections to the buttons, open up the box by unscrewing the four corner screws and loosen all the contact screws on the buttons.
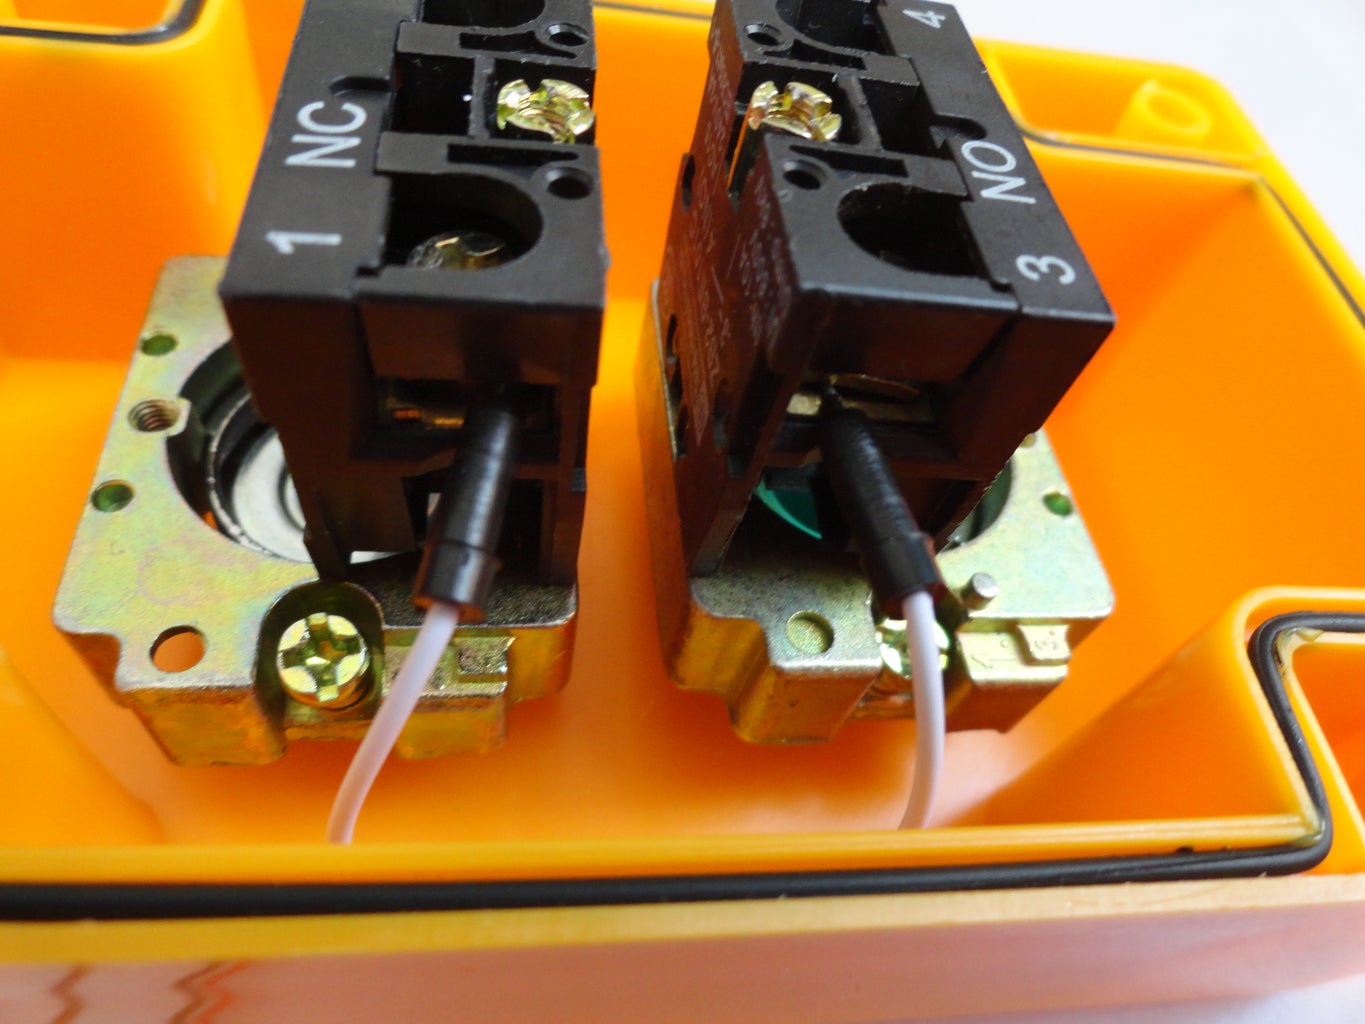
Now common the switches by placing one end of the male to male jumper in one switch contact, and the other end in another switch contact, as shown above.
Step 3:
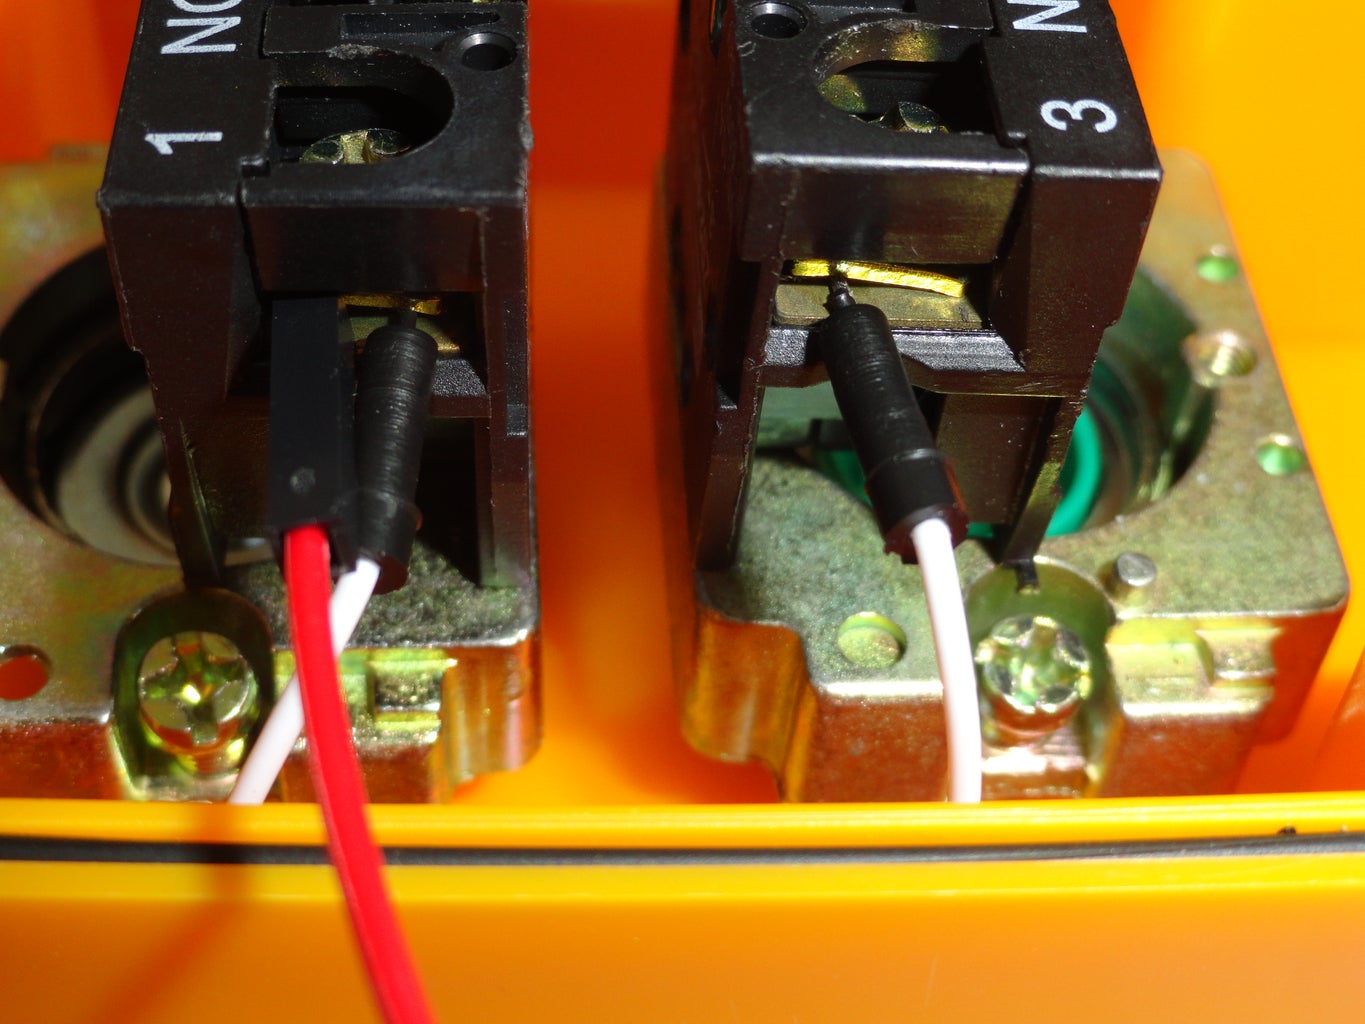

Next, insert one male to female jumper in the other end each switch contact, and another male to female jumper on the common side. The wiring should look similar to the above image.
Step 4:
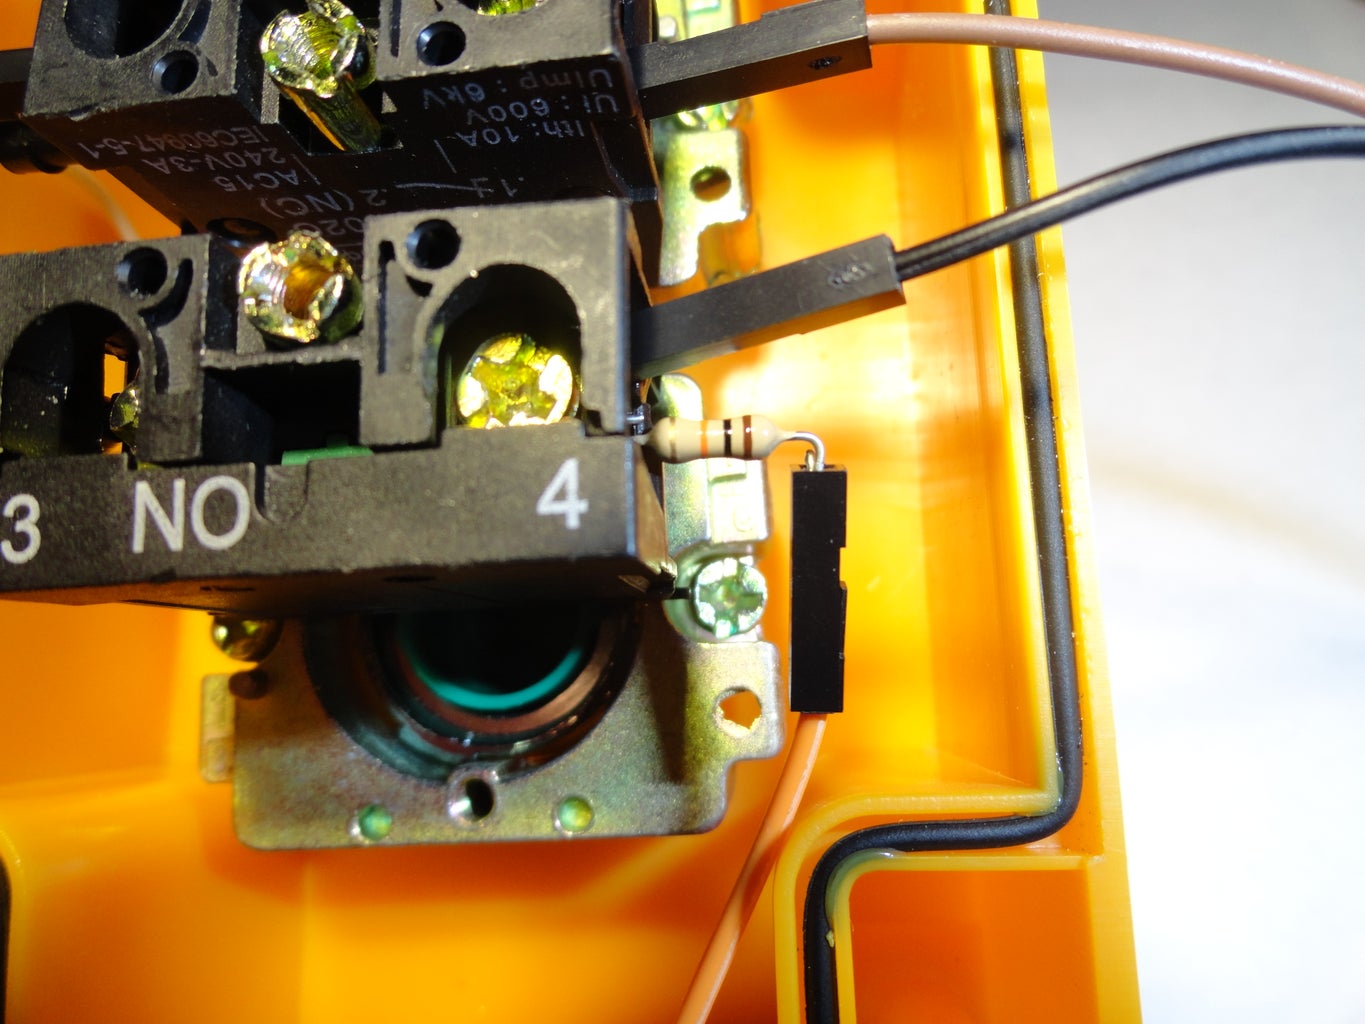
Add the 10K pull down resistor to the non-common side of the normally open button. Also add a female to female jumper on the other end of the resistor and use insulation tape to hold it in place.
Step 5: Mounting the Arduino


If you are using spacing material (recommended), align it at the base so that it is in line with the centre of the rubber cap and hot glue it in place.
If you are not using spacing material, ignore this step.
Step 6:
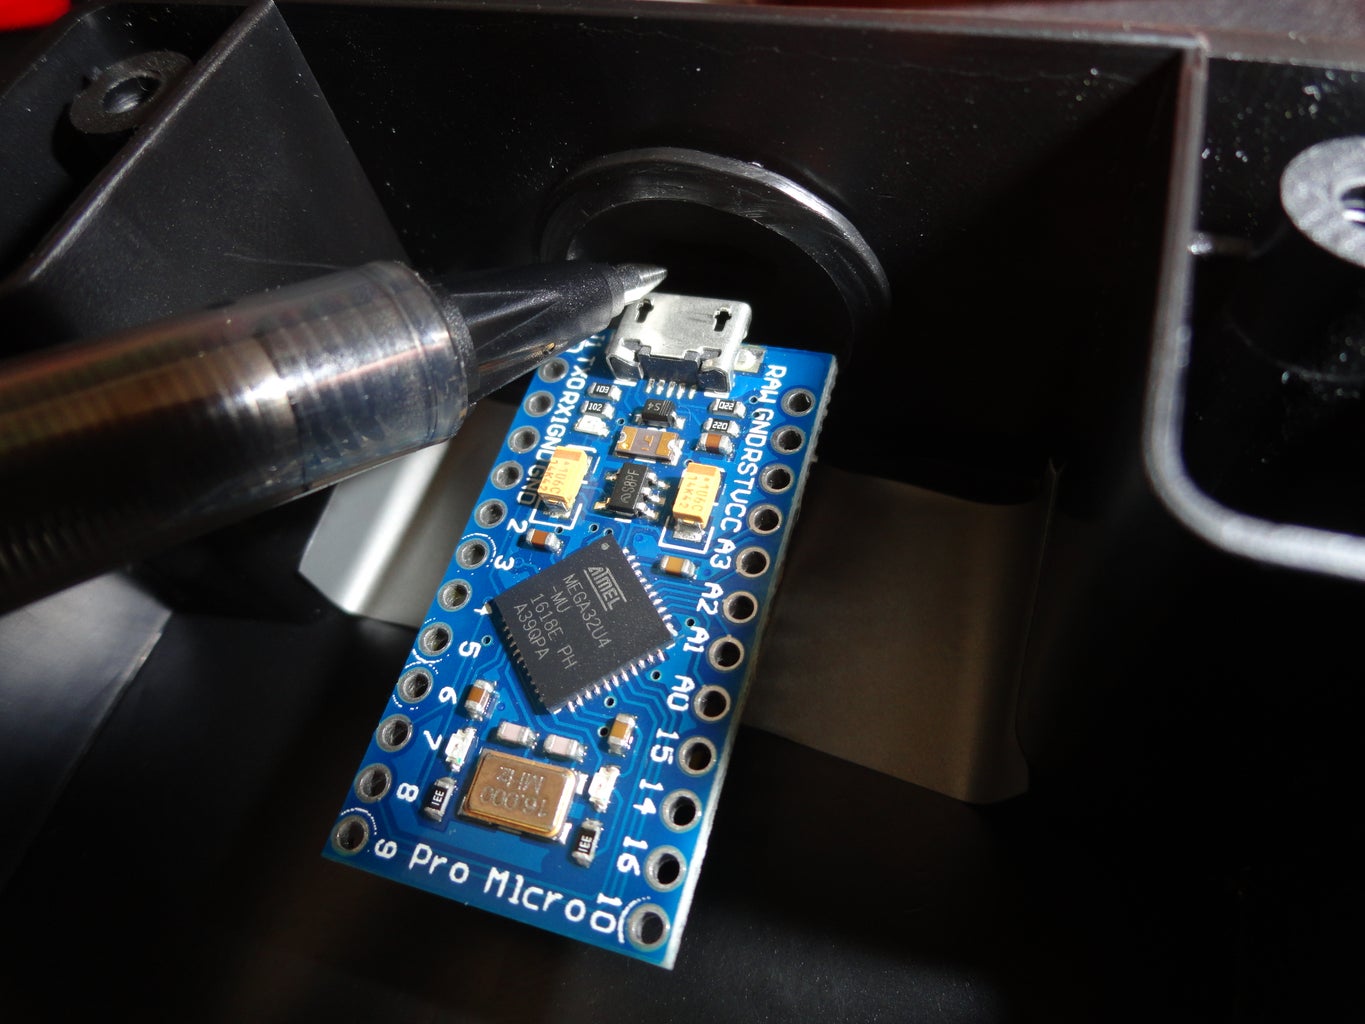
Place the Arduino on top of the spacing material and, while holding it firmly in palce, trace the top line of the USB port onto the rubber cap. If your headers are pre-soldered on the bottom, flip the Arduino upside-down when you do this step.
If you are not using spacer material, place the Arduino at the bottom of the box, and trace the line onto the side where you want the plug to go.
Step 7:
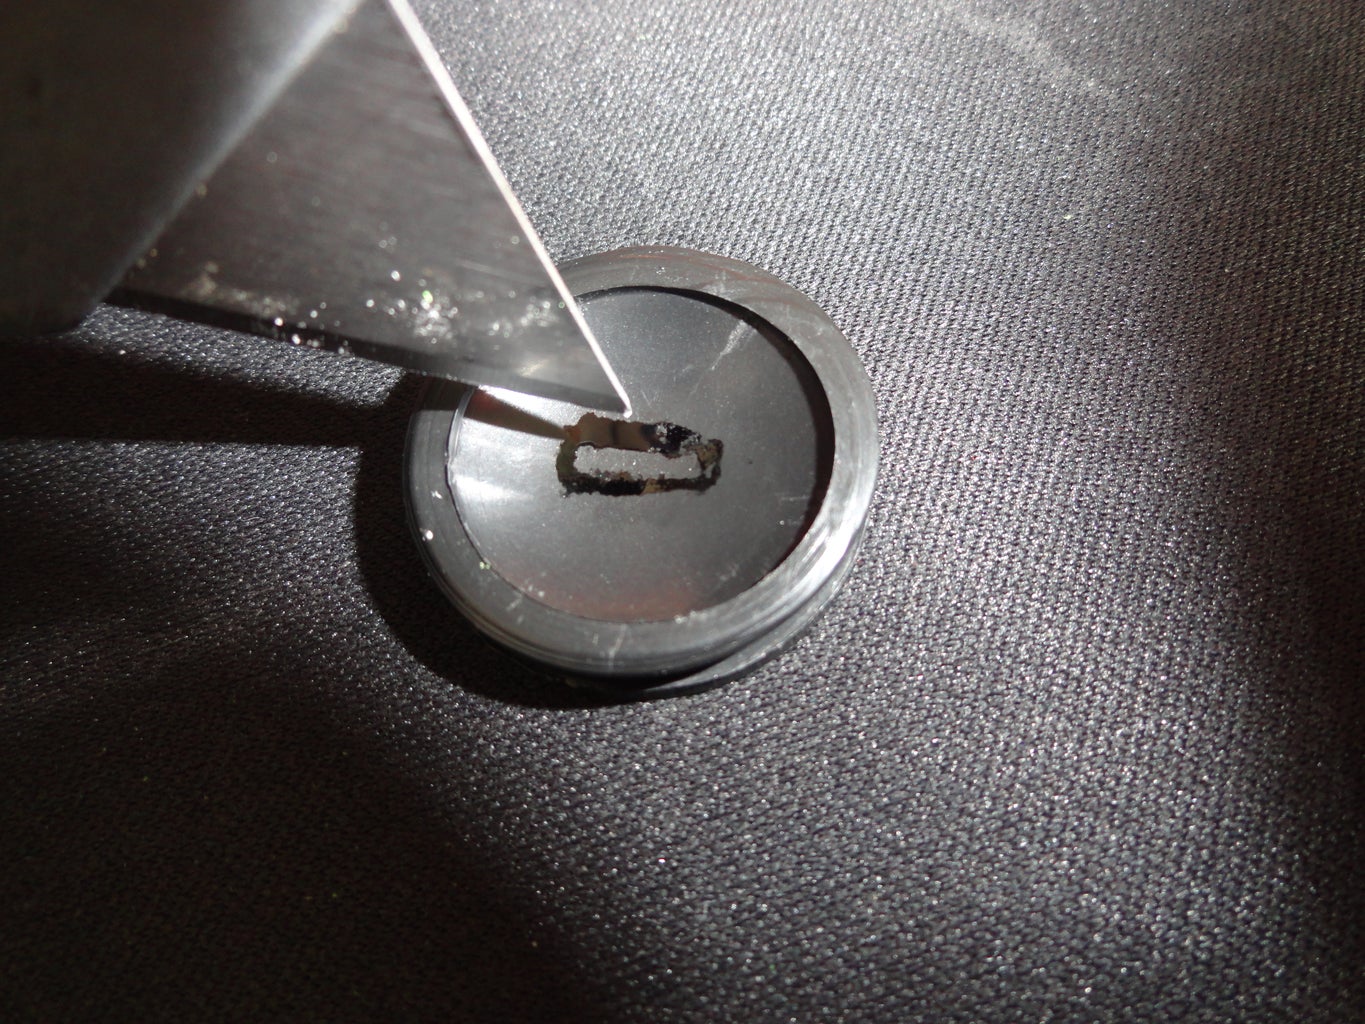
After you have drawn the line, draw a parallel line below it at an appropriate distance (around 1 - 2 mm) and join them up so it makes a rectangle that matches the dimensions of the micro-USB plug. Now, cut this rectangle out with a craft knife, taking care.
If you didn't use spacing material, turn the line into a rectangle on your desired side as instructed above, but either cut it through on the wall (taking care) or drill two small holes next to each other and file it out.
Step 8: Soldering

Solder the headers to the top of the Arduino as shown, rather than on the bottom.
Next, glue the Arduino to the spacing material and push it down tightly (taking care not to break it). Ensure everything matches up by plugging the USB cable in (you may need to wiggle it slightly, but don't force it too hard).
If you didn't use spacing material glue it to the base, matching it up with the hole you drilled.
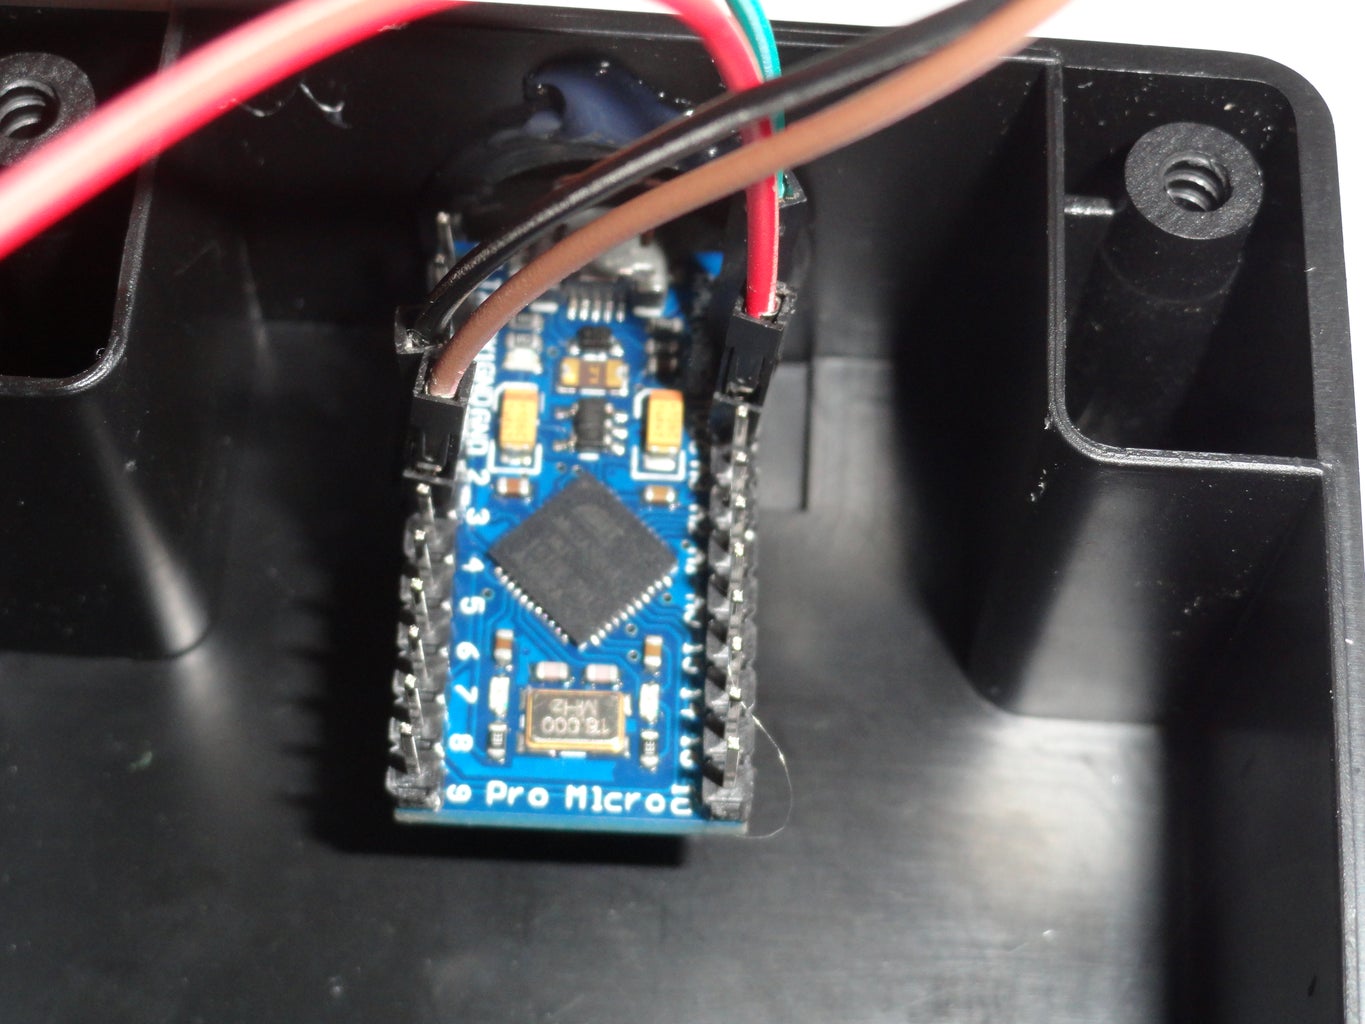
Now, plug the common jumper (from the common side) into VCC.
Plug the pull-down jumper from the normally open switch to ground.
Plug the signal cable (the one on the non-common side) from the normally closed switch (launch/stage) to pin 3.
Lastly, plug the signal cable (the one on the non-common side) from the normally open switch (throttle toggle) to pin 2.
Step 9: Upload and Test
Plug the USB cable into the Arduino, and upload the attached code using the Arduino 1.8 IDE. Ensure you have the Arduino Leonardo selected on the boards list or it will not compile (it will say keyboard not found).
To test the button, open a word editor and push the launch/stage button. This should result in a space on screen and pushing the toggle will alternate between a z and x being typed.
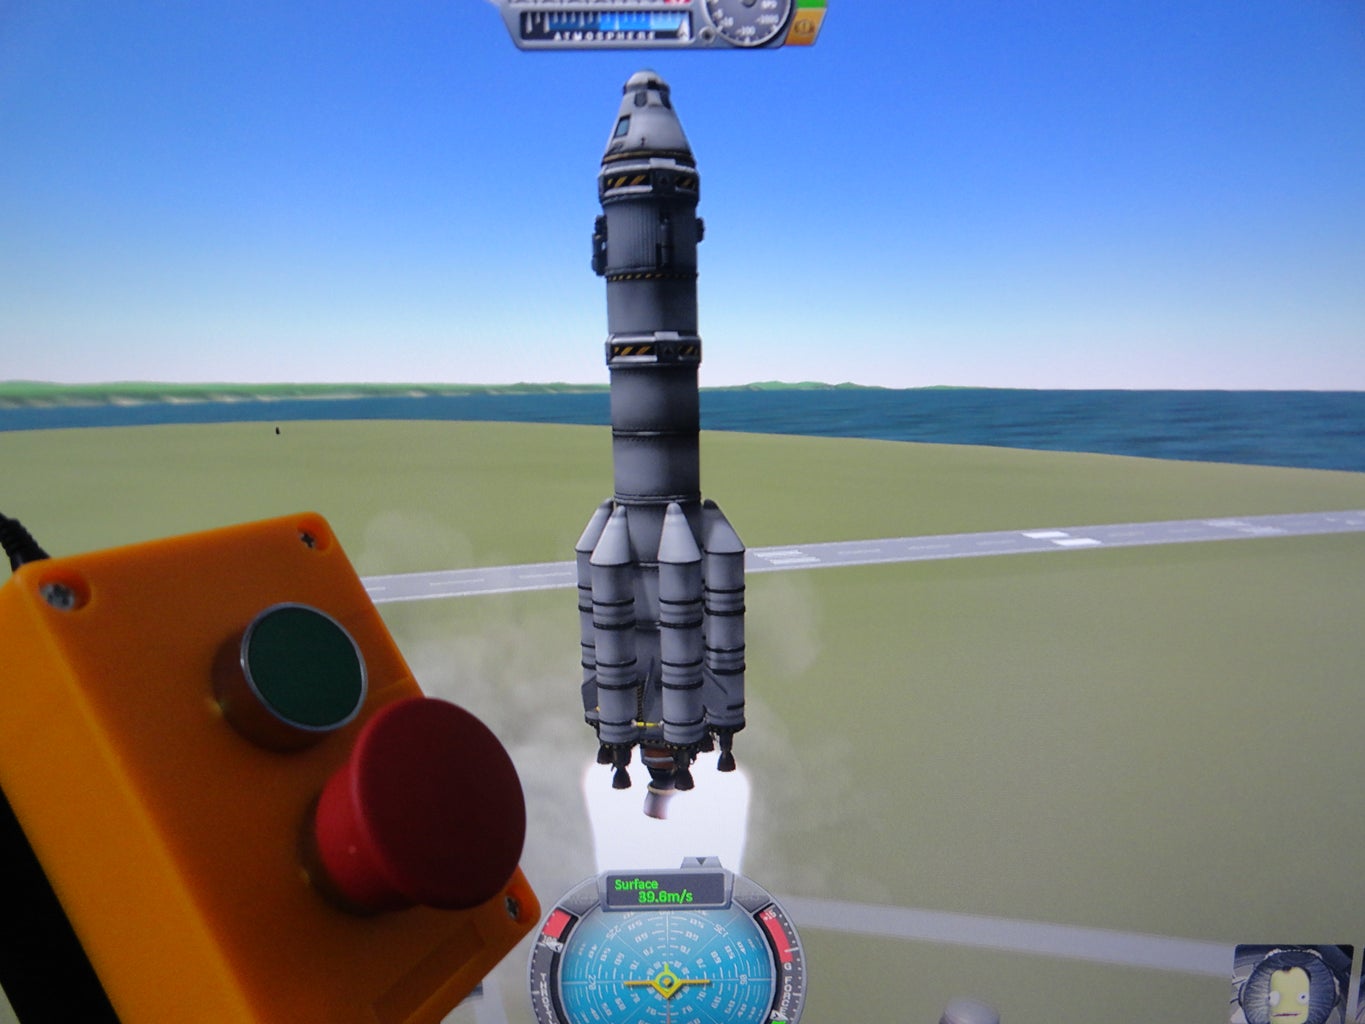
If it works, screw it back together and open Kerbal Space Program (or another game) and enjoy!
Thank you for reading and i hoped you have learnt something. If you enjoyed this Instructable/thought it was good please click the vote button :0)
Attachments


Participated in the
Microcontroller Contest 2017

Participated in the
Sensors Contest 2017


