

Introduction: Autonomous Parallel Parking Car Making Using Arduino


In autonomous parking, we need to create algorithms and position sensors according to certain assumptions.Our assumptions will be as follows in this project. In the scenario, the left side of the road will consist of walls and park areas. As you can see on the video, there are 4 sensors in total, 2 on the left side of the car and one on the rear and front side.
Step 1:
Step 2:
Step 3:
Step 4: System Algorithm:

The two sensors on the left side of the car understand that the wall is 15 cm smaller than the measured value and move forward.It records this in memory. The two sensors on the edge measure continuously, and when these values are the same as the resultant values, you have to decide how to park.
Park Method Selection Algorithm
- Case 1: If the measured value is bigger than the car and smaller than the length of the car, the parallel parking system will operate.
- Case 2: If the measured value is greater than the length of the car, the robot will park vertically.
Step 5: Parallel Parking Algorithm:
In this case, the car crosses the parking area and the car stops when two sensors on the side see the wall again.He comes back a little and turns right 45 degrees. While moving backwards, the rear sensor goes into the park area by measuring and starts to turn left. During the left movement, the sensors at the edges measure ontinuously and the two sensors continue to turn left until the measured value equals each other. Stop when you are equal. The front sensor measures and goes forward until it is small by 10 cm and stops when it is small by 10 cm. Parking is over.
Step 6: Vertical Parking Algorithm
If the sensors at the edges measure the value too much over the length of the car, the car stops and turns 90 degrees to the left. They start moving towards the parking lot. At this time, the front sensor continuously measures and the car stops if the measured value is less than 10cm. Park operation is completed.
Step 7: Materials:
- Arduino Mega
- Adafruit Motor Shield
- 4 Dc Motor Robot Kit
- 4 Pieces HC-SR04 Ultrasonic Sensor
- LM 393 Infrared Speed Sensor
- Lipo Battery (7.4V 850 mAh is enough)
- Jumper cables
Step 8: Mechanical Section:
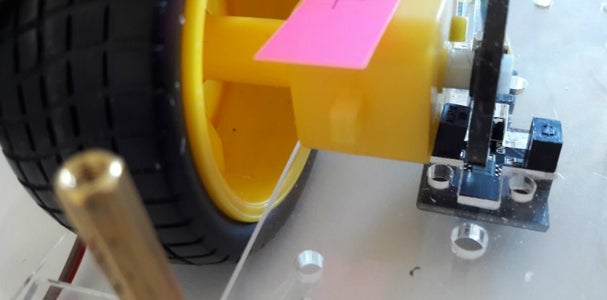
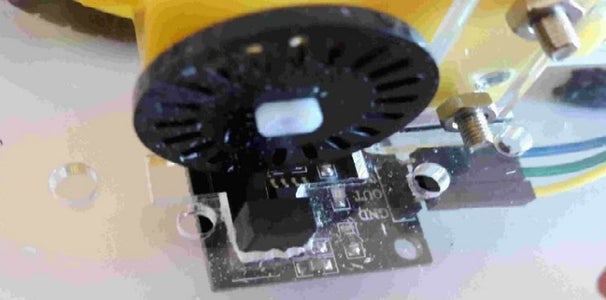
The infrared sensor in the system measures the speed of the motor. This is to measure the number of laps of the wheels when parked and ensure parking without errors. If you do not have an encoder disc in your robot kit, you can install it in addition. The point to note here is the number of holes on the encoder disk.The number of encoder holes in this project is 20 dir. If you have a different number, you need to adjust the car's turns again.
Position the LM393 speed sensor as shown above.Make sure that the encoder disc holes are at the speed.
Step 9: Circuit Diagram:

Pin Connections of Ultrasonic Sensors
Front Sensor => Trig Pin: D34, Echo Pin: D35
Left Front Sensor => Trig Pin: D36, Echo Pin: D37
Left Rear Sensor => Trig Pin: D38, Echo Pin: D39
Rear Sensor => Trig Pin: D40, Echo Pin: D41
Motor Shield Dc Motor Pin Connections
Left Front Motor => M4
Right Front Motor => M3
Left Rear Motor => M1
Right Rear Engine => M2
LM393 Speed Sensor Pin Connections VCC => 5V: OUT => D21: GND => GND
Step 10: Software Part
You can find the sensor library and arduino code here >> autonomous parking car


