

Introduction: Baby's Snot Aspirator


BABY SNOT ASPIRATOR IN ACTION
Video
https://www.youtube.com/watch?v=tGqLQzPsHps
My son is now 1 and half years old. He cannot express his feeling when suffering a stuffy nose, not to mention he is able to blow his own nose. There are several aspirators on the market that are too costy to buy and there are problems with those low cost manual aspirators such as bulb syringe aspirator which bacterial or mold can accumulate in the bulb over a period of time. Another type of aspirator is where parent manually suck from one end of a tube and draw baby's snot out to a container, this kind of aspirator risks parent health because parents can be easily infected too.
The concept of baby snot aspirator was inspired by remixing of the following two projects, 1) Stirling Engine and 2) Homemade vacuum pump.
https://www.instructables.com/id/Toilet-Paper-Engin...
https://www.instructables.com/id/DIY-Vacuum-Chamber...
Step 1: How It Works

To solve these problems, I thought, instead of manually sucking from one end of the tube, why not make a suction pump to do the job. Using a impeller fan can create large suction force, but it will generate big noise. Syringe pump will be the solution to this, the pump has to generate suction continuously which means it will needs two syringes to do the job. Two syringes make up the intermediate suction time for each other while one of the other syringe is pumping the air out.
Once pump is ready, all we need to do is to hook up the tubes with one way valves properly, so that only the suck-in air is kept. Please also purchase one of those manual aspirator so that snot can be collected in the container.
Step 2: What to Gather


1) OD 7mm ID 5mm silicon tubes
2) 2.5mm metal rods
3) 4 x one way valve
4) 1x rocker switch
5) 1x DC female connector.
6) 3 x copper nuts
7) 3 x screws
8) glue gun
9) soldering iron
10) Super glue
11) 3 x 3 way tubes
12) 2x 50ml syringes
13) 12v DC adaptor
14) 2 shafts motor (166rpm)
15) 1x Manual baby aspirator
Step 3: Printer Setting and Files to Download
Nozzle temperature: 245C
Platform temperature: 140C
Infill: 10%
NO of shells:2
Layer height: 0.3mm
Check raft.
Attachments

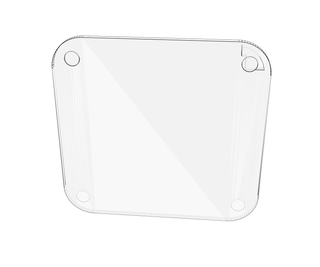


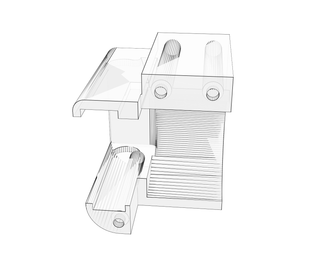
Step 4: Chassis Assembly


Photo 1) Print out the chassis.
Photo 2) Place the motor with wheels installed on the chassis.
Photo 3) Cap the motor and screw tight the cap. (before this step, you will need to use soldering iron to insert 3 copper nuts to the chassis in order to screw.)
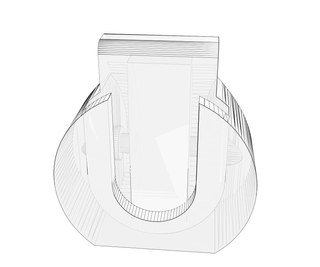
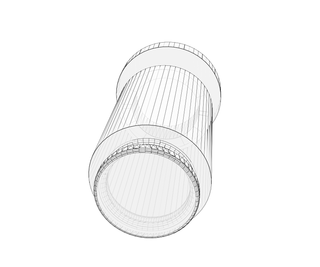
Step 5: Syringe and Casing Assembly


Photo 1) Cut the syringe to the length to align the chassis surface like the second photo red arrow shows.
Photo2) Apply super glue to the syringe's outer surface and insert it to the chassis. Do the same to the other syringe.
Photo3) Assemble the crane and syringe plug and the wheel, you will need metal rods for that.
Photo 4) Apply super glue to the bottom casing, and glue the chassis to it.
Photo 5) Glue the side casing to the bottom casing.
Photo 6) Add rubber foots if you have.
Step 6: Tube Assembly


Photo1) Assemble tubes according to the photo. Pay attention to the arrow direction of one way valves.
Photo2) fold the tube assembly to become the first layer of the assembly.Use hot glue gun to fix all components.
Step 7: Assemble Switch and DC IN Connector


Photo 1/2) Hook up the switch, beware of the wheel rotating direction.
Photo 2) Glue DC IN connector and the switch with glue gun.
Photo 3/4) Insert the three way tube through the front hole and
glue it with glue gun.
Photo 5) glue top cover and its foot.
Step 8: Finished

Well done, now it's time to stop your baby crying and have a good sleep.

Participated in the
Design Now: 3D Design Contest 2016

Participated in the
Remix Contest 2016

Participated in the
Epilog Contest 8


