

Introduction: Cardboard Loom Friendship Bracelet


Friendship bracelets are a long beloved past time for people around the world. They can also have significant cultural value when certain materials and patterns are used.
In recent years making friendship bracelets is what most children will make during summer vacation and give to their friends before or after the school break so they know they were thought of. You may have grown up doing a different knotting method which makes flat bracelets instead. For our tutorial you'll learn how to use a loom to create an intricate cord.
Provided is a list of your needed supplies as well as a print out template so you can get started today!
Supplies
- Embroidery Thread (Having 7 different colors to begin with can make this method easier before you move on to designs with multiple of the same color used.)
- Cardboard Scrap
- PDF Print out Template
- Scissors
- Ruler
- Glue
- Optional - Bracelet connectors (This is useful if you do not want to tie the bracelet on but can easily remove it.)
Step 1: Prepare the Loom


First print out the provided template.
Then, cut out one of the circle templates and glue it down onto the scrap cardboard.
Once it's dried cut around the circle again.
Carefully, cut along the 8 evenly spaced short lines just until you get to the end of each line.
Next, use your scissors or a pencil to punch a small hole where the black dot in the center is.
Now your loom is ready to use!

Step 2: Measure the String


For the average child's wrist the thread needs to be cut to a minimum of 15 inches. For an adult you will want a minimum of 20 inches in length for a completed bracelet. Cutting a little more than you think you will need is a good method to follow because you can always cut off the access.
For your first try it's easier to use different colors so you don't get confused during the braiding.
Cut 7 differently colored threads to your desired length and and double knot the end.
Optional: Gluing your knots can be a good idea, just make sure you wait for it to be completely dry before you either begin your project or at the end before you put it on.
Step 3: Creating the Bracelet


Take the knotted side of your threads and push them through the hole so they are on the backside of your loom facing downward.
Take each color and place one into the slits on your template.
There will be one empty space at all times while you are braiding. Check all our photos to make sure you are getting your loom set up correctly before you begin.
Step 4: Braiding Technique


On our template you will see some quick directions in case you forget how you should braid if you set it down.
With the empty slot facing you count to your left and grab the third thread and pull it out and place it into the empty space.
Now rotate the circle so that empty slot is facing you again, and do the same. Keep moving the third thread on the left into the empty space and rotating it so the empty space is always facing you.
Check our video if our images are confusing.
Step 5: Check Your Progress


Keep checking the back to make sure you are maintaining the same amount of tension making a strong uniform cord.
If it's not perfect don't get too worried, just continue making your bracelet and by the time you remove it and were it the tension will become more uniform over time.
Step 6: Removing the Bracelet From the Loom


Once you have a cord long enough to wrap around your wrist it's time to remove it from the loom.
This may seem risky, but it isn't difficult.
Gently remove each thread from the loom, and pull the whole bracelet through the bottom as shown.
Separate the threads into a group of 3 and 4 then make a knot. This simple knot will help secure the braid from becoming unraveled.
You could double knot it or you could knot it around the other side of your bracelet. As shown in our photos, you can trap the beginning knot on the other side with this method. This is a good option if you don't intend on removing the bracelet or it is a perfect size to slip it on and off without needing to tie it to your wrist every time you intend to wear it.
Step 7: Adding a Little Flair


Once you become familiar with how this loom works you will more easily be able to use several of the same colors to create different patterns. For this we will show you all of the images in one step because they follow the earlier steps very closely.
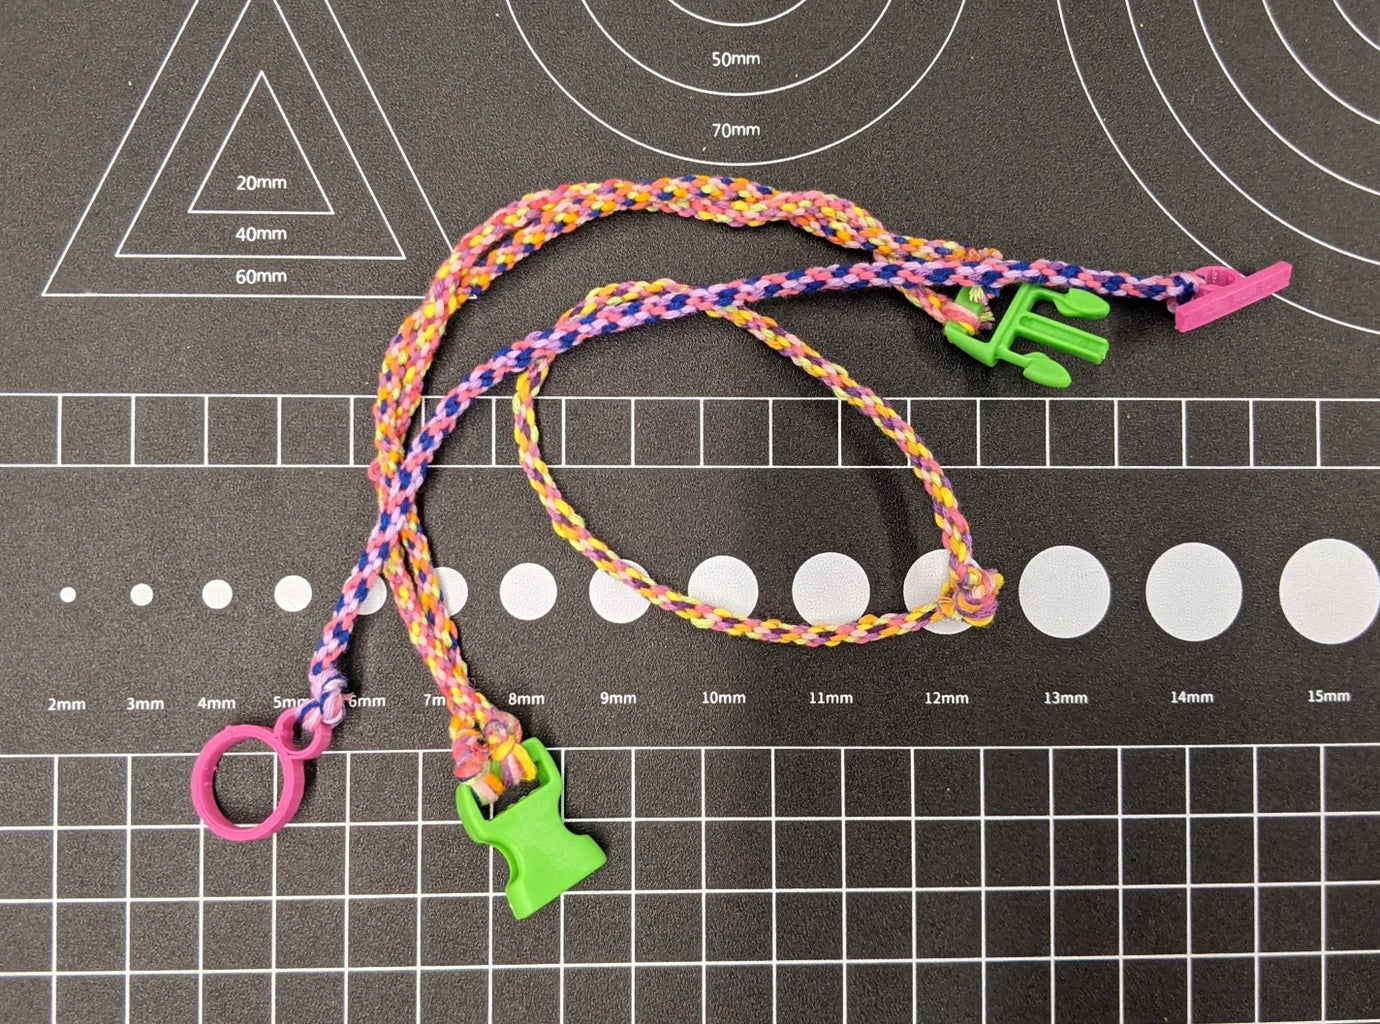
With this design we are also using a 3d printed pass through clasp for bracelets and necklaces.
We began by knotting our threads to one side of the clasp. Because of this we brought the threads through the bottom of the loom to then come out the top this time.
Next, secure them onto the loom in the pattern you want.
Now make your bracelet following the same technique you used before in step 4 until you have a bracelet the length you need.
Remove it from the loom and then slide the other side of your clasp onto one of the two sections of extra threads.
Make your knot which will secure the clasp and then make another knot.
Optional: Gluing your knots is still a good idea when using attachments to your braids.


