

Introduction: Cardboard Mechanical Wave Toy


Here is a quick and easy toy that you can make in an evening. It's a great way to help children (and adults!) practice spatial awareness and modelling, and its a super cool toy that people will be wowed when you tell them you made it!
Step 1: You Will Need...

- Cardboard
- A cutting knife or scissors
- Ruler
- Pencil
- Wooden kebab skewers or similar
- Paint
- Glue
Step 2: Making Waves


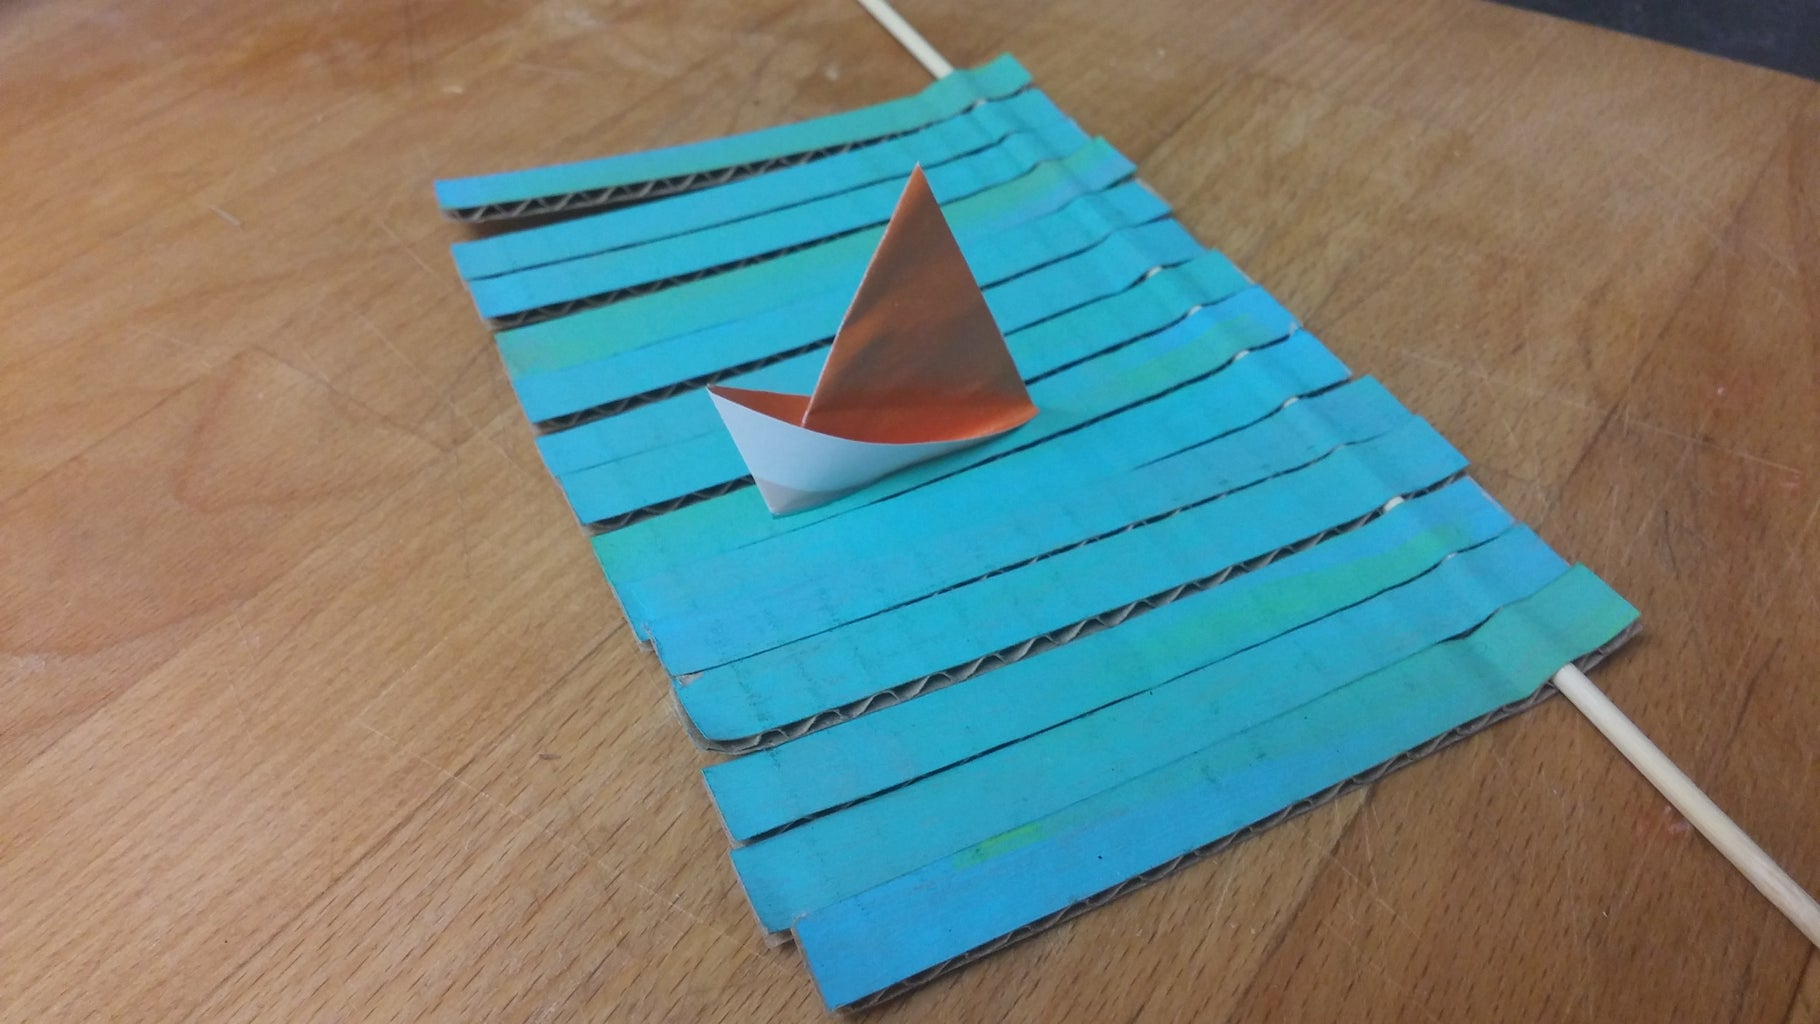
Cut a piece of cardboard that is 10 cm by 14 cm. Make sure that the corrugated parts of the cardboard are running perpendicular to your wave length, so that you can skewer them later on (hopefully the pictures show what I'm talking about).
Draw lines 1 cm apart to segment your wave pieces for cutting later.
Paint your ocean! Let your creativity run wild, and create your ideal water pattern.
Slice up your waves using the lines you drew earlier.
Skewer the waves! Use your wooden kebab skewer to poke through the corrugated parts of your cardboard, and loosely hold the waves. They should flop around easily - if they don't, wiggle the skewer in the hole until they are loose.
Make a little origami boat and glue it to one wave. Make sure it is thinner than one wave so it doesn't get stuck. There's lots of easy origami boats on the internet.
EXTEND YOUR PROJECT: I used 14 pieces to make my waves, but feel free to use more if you would like a wavier wave. However many you do, make sure you use the same number of pieces for your helix!
Step 3: Construct a Helix


Cut a piece of cardboard slightly shorter, but the same width, as your waves. I used 8 cm by 1cm. Again make sure your corrugation is perpendicular to the length.
Slice them into 1 cm pieces.
Skewer the helix! This time put your skewer in exactly the middle of your pieces. Make sure you leave some skewer empty at each end.
Spiralise! Turn your pieces of cardboard so that they are stepped in a helix. I spaced them out by about a centimetre each time. Use your judgement, it doesn't have to be exact.
Glue! Smother the centre with glue to hold the cardboard in place. You could also put some glue on the skewer first, or just use better glue than I did (which was PVA). Still, PVA worked fine.
Leave to dry.
INTERESTING FACT: My grandmother used to hate it when people used the term 'spiral staircase' (which was, of course, all the time). It should actually be called a 'helical staircase' because spirals are 2D, and helixes are 3D. So there you go, go on out there and call it a helical staircase and wait for the strange looks.
Step 4: All Your Base


Cut some cardboard pieces for your base. I used a 18cm by 10cm base, and 10cm by 10 cm ends.
Slice some handy slots 5cm into the ends and base so they stand up nicely.
Poke some holes to hold your helix and waves. I did mine about 2cm in for the waves (which corresponded with where I had put my skewer in the waves), and about 8cm for the helix. Make sure your helix hole is more than 4cm above the bottom, or else the helix will catch and get stuck!
Step 5: Put It All Together!

Slot the ends onto your waves and helix. Make sure your waves sit nicely on top of the helix, and line up piece to piece.
Slide the base into position.
Grab the end of your helix skewer and twist!
Behold! The glory is yours.
Note: If your cardboard is a bit wobbly, or it gets a bit stuck, use small squares of cardboard as washers where the skewers go through the ends of the base. It helps.

Participated in the
Cardboard Contest 2016

Participated in the
Maker Olympics Contest 2016


