

Introduction: Custom Little Boxes


I present a simple method to make small boxes using pieces cut from running length of rectangular electrical conduit.
After cutting the conduit to the desired length and deburring the pieces, 3D printed sides are glued as end pieces to create boxes of custom length.
Rectangular conduit is available in several sizes. I chose the 38mm X 19mm and 49mm X 19mm size for this Instructable.
The top and bottom pieces of the conduit have an interlocking arrangement which makes the completed box a tight fit.
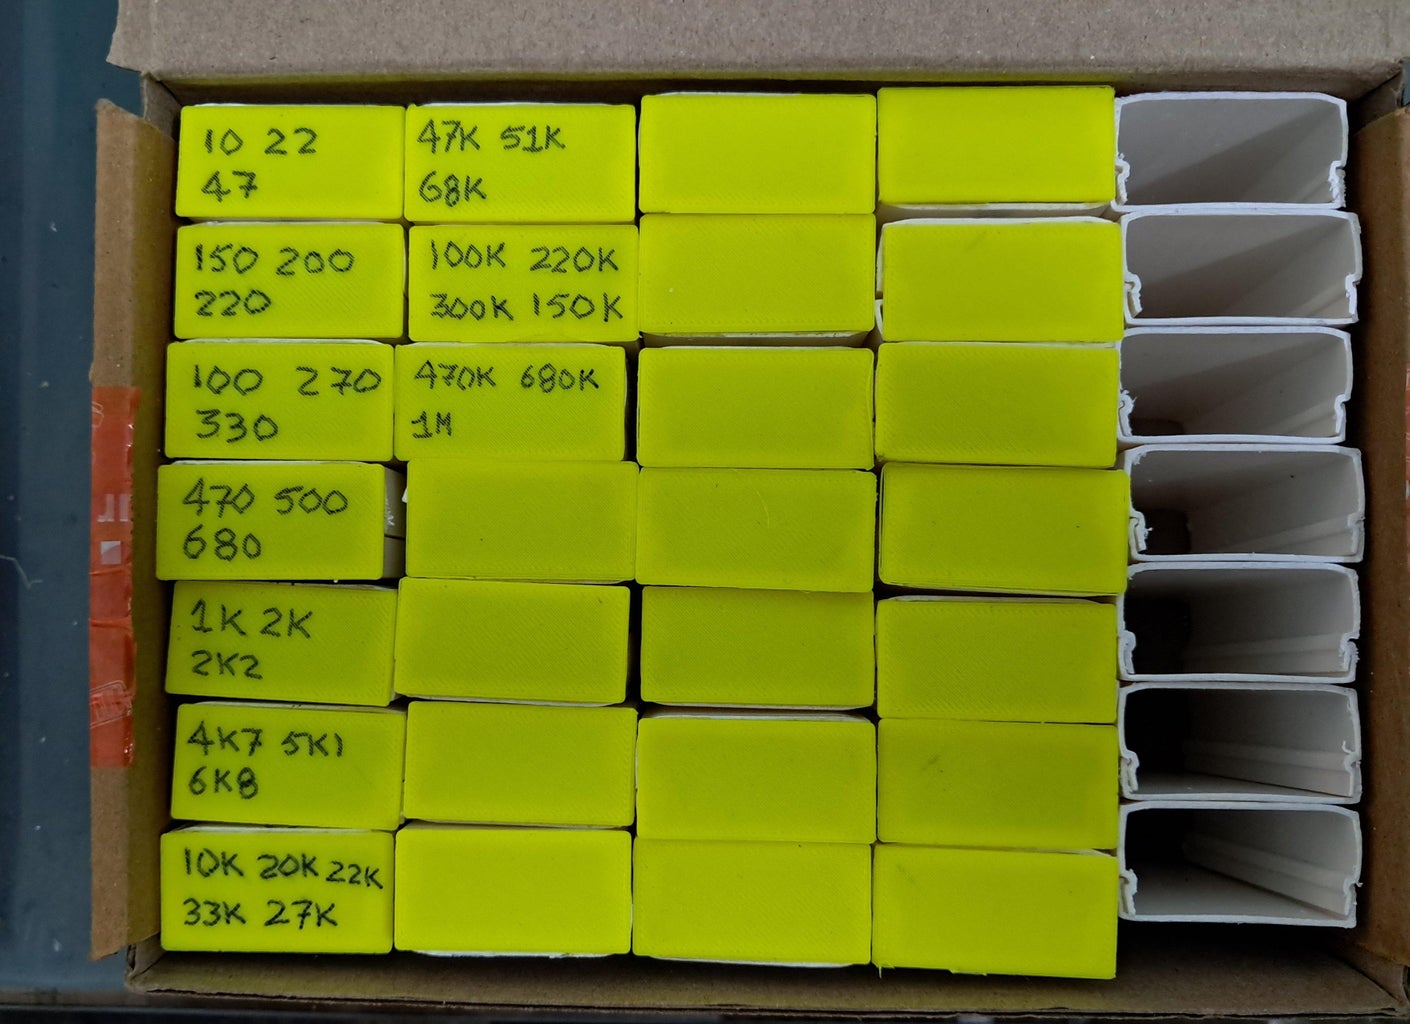
The idea for this Instructable came from a requirement to store 30 values of 1% resistors which I had ordered.
Supplies


- Rectangular Electrical Conduit 38mm X 19mm and 49mm X 19mm 4 meter length
- 3D printer (use .stl files attached, scale-x by 1.3 for the larger conduit)
- Super Glue


Step 1: Preparing the Box Top and Bottom


- Mark the length as desired for the box
- Cut the pieces
- Deburr the cut ends
Step 2: 3D Print the Side Pieces


3D Print the sides using the .stl files provided.
I have provided the files for single and multiple printing.
For the larger conduit 'x' has to be scaled by 1.3 in the slicing software (I did it in Cura)
Clean up and we are ready to assemble the boxes.
Step 3: Box Assembly


Just glue the sides using super-glue, give time to set and the boxes are ready!


