

Introduction: DIY Arduino Motor and Wireless Shield


Ever wanted to make a arduino shield in this instructable is your guide to make a shield with two features and it is a cheaper alternative for the real one . This shield works on IC l278 and Hc 05 combined . This shield can be used to controls motors, toys, etc wireless. The shield can control up to two 24V motors and the wireless functions on Bluetooth you can use a serial monitor on your computer to check out its working. I have several projects using this shield and have no problem with it. It als can work with pmw so you can set speed values, through serial data transfer.
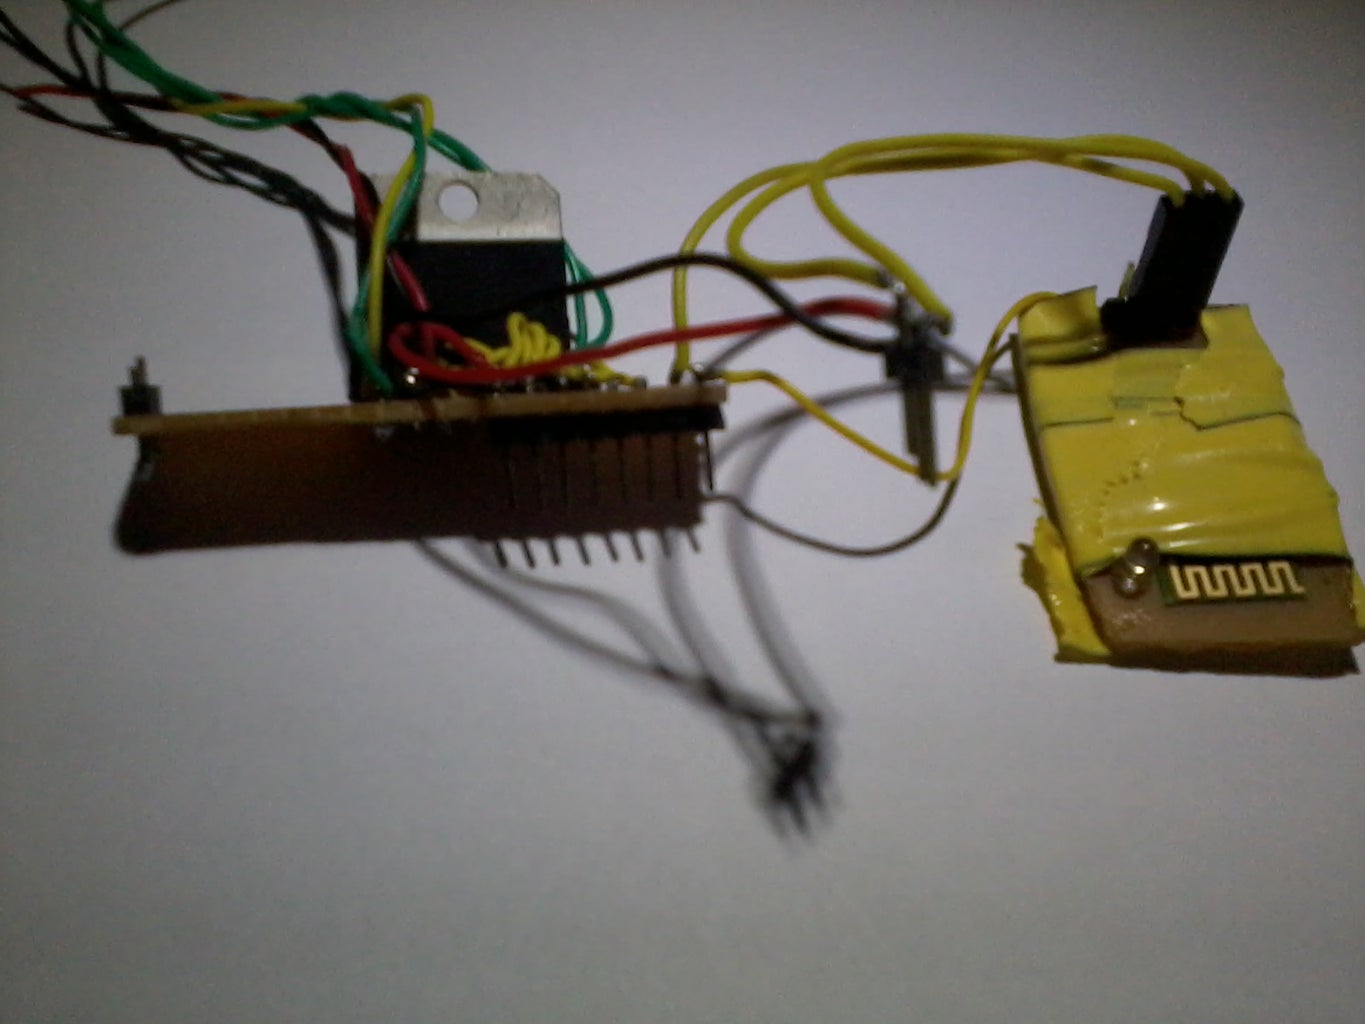
Step 1: Motor H Bridge

IC l298 is used to control the motor part of the circuit The output 1&2 goes to the left motor and 3and4 goes to the right . Similarly the inputs 1and 2 is to control the left motor and 3and 4 is to control the right motor .
As for the inputs should be connected to arduino digital pins go for alternate pins like 2and4 and leave pin 3 for the enable pin. For forward motion set input pin 1and3 high and the others as low also set enable pins as high . Do just the reverse of it for back motion .
Enable pin will set the state and speed of the motors connect it to pin 3and5 . Always set the enable pin to high to get the motors running.
To see an example of how to get the motors going and code check my other instructables
Step 2: Motor H Bridge

IC l298 is used to control the motor part of the circuit The output 1&2 goes to the left motor and 3and4 goes to the right . Similarly the inputs 1and 2 is to control the left motor and 3and 4 is to control the right motor .
As for the inputs should be connected to arduino digital pins go for alternate pins like 2and4 and leave pin 3 for the enable pin. For forward motion set input pin 1and3 high and the others as low also set enable pins as high . Do just the reverse of it for back motion .
Enable pin will set the state and speed of the motors connect it to pin 3and5 . Always set the enable pin to high to get the motors running.
Pin 4 is voltage input for your motors and pin 9 should be connected to arduino 5v . Make sure you connect the ground (gnd) to arduino ground terminal and negative terminal of the battery.
To see an example of how to get the motors going and code check my other instructables

Participated in the
Weekend Projects Contest


