

Introduction: DIY Carbon Heated Sleeping Bag V.2.0


Probably everyone in the hike wanted that his sleeping bag was a little warmer. Of course you could run around before getting in your sleeping bag, fill empty space in your sleeping bag with clothes or use the hot water bottle:) Why waste so much effort if you can just press the button and sleep in warmth and comfort even naked!
I have long dreamed of improving my favorite sleeping bag but I wanted to do it very neat and beautiful and at the same time with minimal expenses.
Sea how easy it is!
Step 1: Just Few Items

1. Carbon rope (and now on Amazon) 3mm: 6x4 feet.
2. Silicone wire 18 AWG: 10 feet or any suitable you already have.
3. Plug 12V Connector Male with Pigtail or from an old power adaptor.
4. Power bank 12V 3A or any suitable you olready have.
Step 2: Heating Pattern


Each carbon cord can be shaped as desired, for example in the form of a spiral, a zigzag, a square, and the like. As an example, we made photos of various options.
Step 3: Connection


Prepare 6 pieces of carbon cord 4 feet each. Wrap the ends of each carbon wire with wires, as shown in the photos. Choose where in the sleeping bag will be placed heating elements. I recommend that you use 3 items at the bottom and 3 items at the top. One pair of elements warms the legs, the second pair warms the back and hands and the third pair warms the shoulders. Perhaps you choose another option, for example, place 4 heating elements at the bottom and only 2 at the top.
The diagram and the photo show how all 6 carbon ropes are connected to the central wires in my sleeping bag.
Step 4: Installation


It took me three hours, I think that an experienced girl could cope with this for an hour :)
1. Unroll the sleeping bag and find the central seam. Cut the seam a little to make a small hole near the head as on the photo.
2. Using a safety pin, insert the 2 main wires into the hole and drag them along the entire sleeping bag until the end.
3. Cut the seam at the shoulder level where will be a pair of heating elements. Make a hole large enough to stick a hand into it. Pull out and bare the center wires, as shown in the photo.
4. Insert the carbon cords into the hole and carefully place them in the shape you need. If the hole is big enough, you can do it by hand. But you can also make it with a small hole using a safety pin as I did.
5. Carefully sew the carbon cord at several points so that it can not move during use. I placed the carbon cord in a zigzag and sewed it in the corners.
6. Connect the wires of the heating element to the center wires.
7. Install the second carbon cord and gently sew the seam. Make the next cut at the waist level and repeat steps 1-7. Do the same at the foot level. The work is almost ready.
8. Connect power male plug to the main wires. All is ready at last! Power it directly with you power bank or use a dimmer.
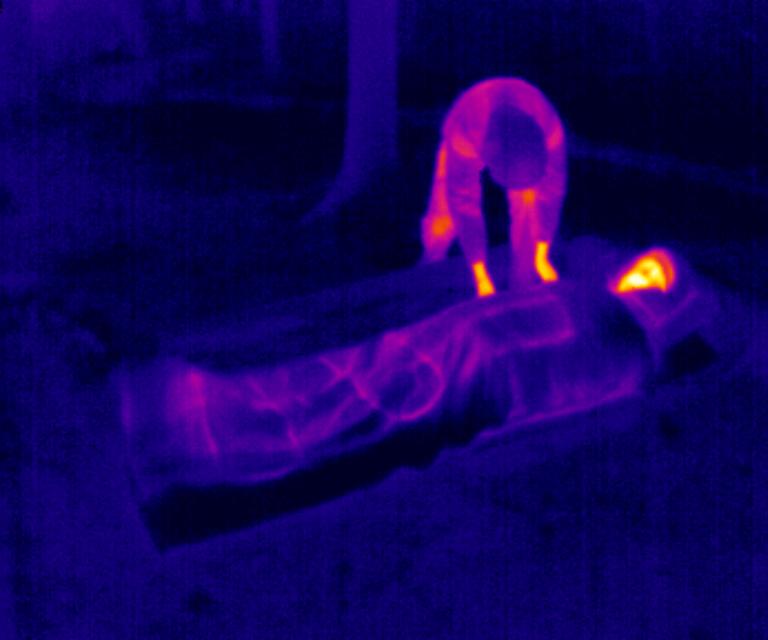
Step 5: Warm As Toast

If you used 6 pieces of carbon cord then your sleeping bag has a power of 36 watts. This is enough to extend the temperature range of comfortable sleep by 15-20 degrees. The operating time depends on the capacity of the batteries. For example, the well-known manufacturer Ravean uses batteries of 15000 mAh. If you take the same, then this DIY carbon heated sleeping bag will work for 5 hours at full power.
Usually I turn it on full power for a few minutes to warm up more quickly, and then severely reduce it to 20-10%, because it's very hot :)
Step 6: And Yes, You Can Wash It!

Participated in the
Outside Contest 2017

Participated in the
Sew Cool Contest


