

Introduction: DIY Raspberry Pi VR Goggles


DISCLAIMER! Due to the fact that the Raspberry Pi Zero is not a very powerful computer, the frame-rate on this extremely low (Under 10 fps) which can be harmful to your eyes.
These VR goggles are built using the Raspberry Pi Zero which makes them a bit lower-cost.
You can access USB on the side, which is four ports. It uses one battery and the screen is plugged directly into the Raspberry Pi for power, which takes away a USB port.
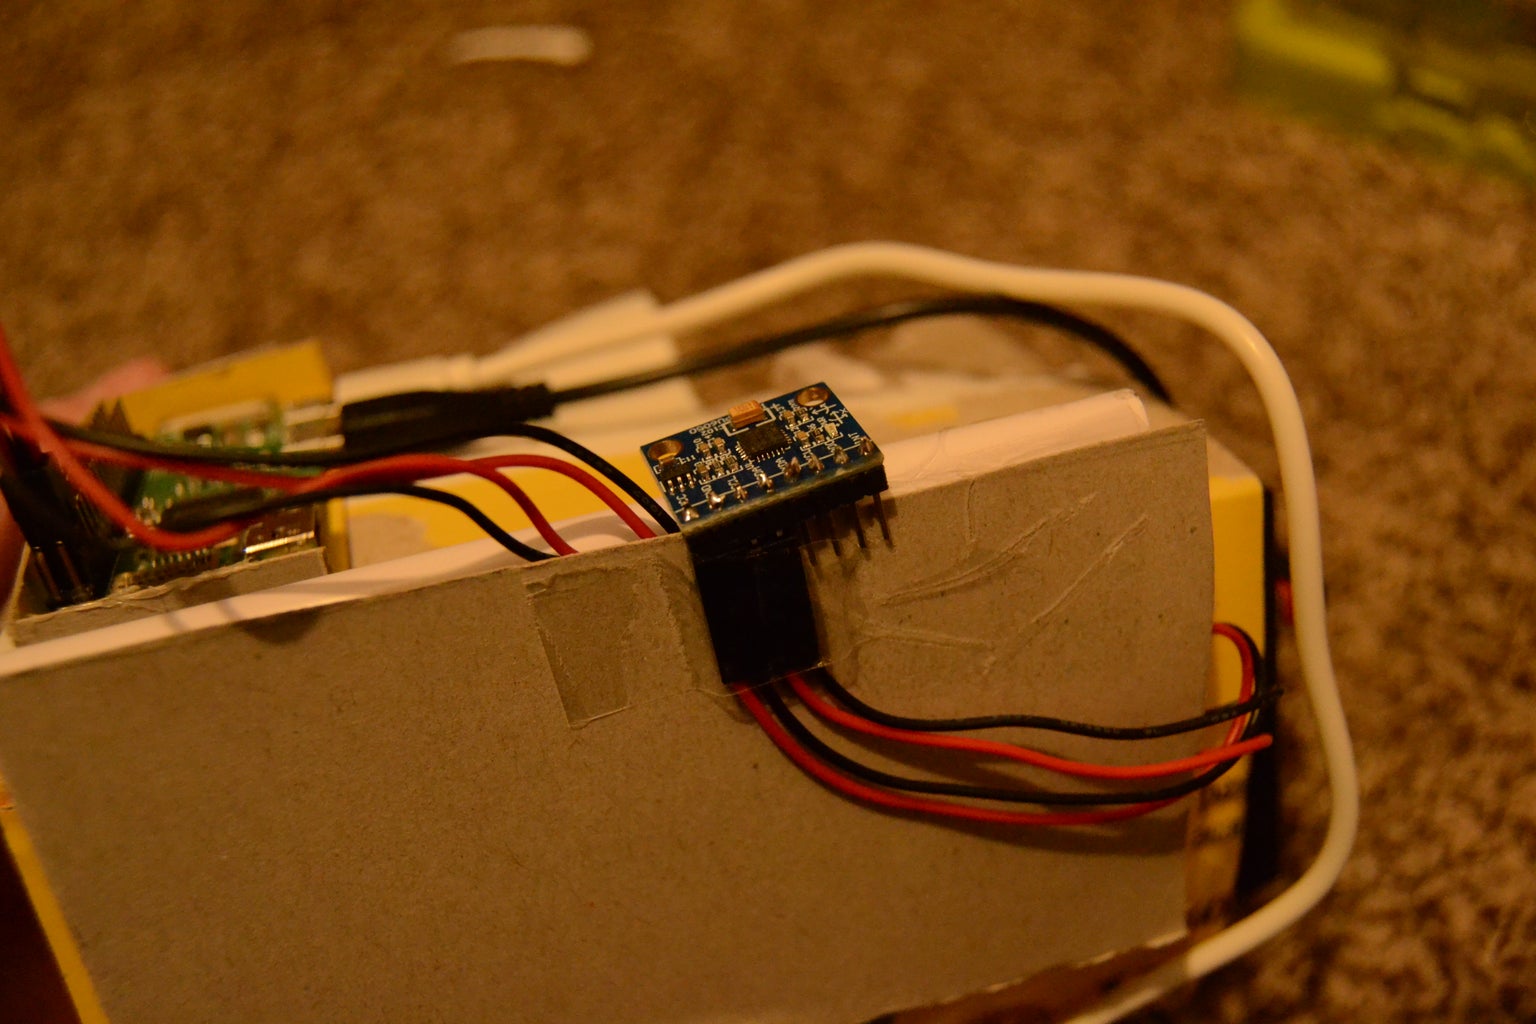
It may look like it just has a lot of wires on the top, but I am not much of an organizer, and there are only 3 wires.
Sorry if the images aren't that great, I didn't have very good lighting when I took them.
Step 1: Materials
Here is a list of materials I used:
A micro-SD card (8-32 gigabyte, any will work (I think)),
Some Female/Female jumper Wires (If you don't have any or don't know where to find them here is a link to Adafruit for them: Female/Female Jumper wires),
Raspberry Pi Zero: Raspberry Pi Zero W on Adafruit
Elecrow 5" TFT Screen: TFT LCD screen (It works fine for a screen without any reviews) Or any 5" TFT lcd screen should work, I just used the configuration for this screen.
5V 1A Battery pack (I don't know where to find one, I am sure you could find some specifically for the raspberry pi zero)
3-Axis Gyroscope/Accelerometer: MPU-6050 on Amazon (I know it doesn't have the best reviews, but so far it has been working fine.)
Two micro USB to USB cables. (7" long or so should work)
A powered micro USB to USB hub: LoveRPi USB hub for Raspberry Pi zero
A small mini HDMI to HDMI cable. (If you just have a mini HDMI to HDMI converter, that will work too, That is what I use, but I don't have any cables shorter than 3' or so)
Tape,
Foam Double-Sided tape,
The following items can be optional, although if you don't use them, I would recommend using a cheap VR viewer you can get for your phone. (Please read through the entire instructable before purchasing a viewer though)
Lots of non-corrugated cardboard.
I had a template from a cardboard VR viewer template and lens that was from Radoishack® and you could probably find a template on google image search. Like this template: Template
I don't know where you could find the lens but this place: DIY VR Viewer Gives a pretty detailed descripion on how to make one.
Step 2: Tools
The tools you will need are just:
A hot glue gun,
An X-acto Knife,
And Scissors.
Step 3: Making the Viewer.


For making the viewer, I glued the template to my cardboard (If you don't have enough cardboard, cut the template in half without cutting any of the actual lines and such). After I glued the template, I cut out the cardboard in the places the template told me to, and folded it in the places it told me to.
After I was done with that, I glued the separate pieces together were I was supposed to, and slid a phone in to test it. It worked fine with its first test.
Step 4: Setting Up Your Raspberry Pi
You will need to download Raspbian Stretch: Stretch Image
Click Download ZIP for Stretch With Desktop.
Once the download is finished, You can follow the instructions here for installing the image:
Once that is done, plug the SD card into your Raspberry Pi Zero and boot it up!
Your Raspberry Pi should boot up into the desktop, but if it boots into the login screen :
the username is: pi
and the password is: raspberry
Once you are in, get yourself comfortable with how it works and where everything is.
Now we will move onto installing Pi3D.
Step 5: Installing Software
You can get pi3D from here:
This will give an explanation of how to install it from the command line on the Raspberry Pi.
You can install the library for the sensor by simply running:
sudo pip install mpu6050
Once they are installed, you can move onto the next step.
Step 6: Attaching the MPU6050

The image above is a schematic of where you should attach the MPU6050 Pins to the Raspberry Pi Zeros GPIO pins.
Once you have them connected, you can move onto the programming.
Step 7: Programming
There is a file attached that has the program for the VR goggles. Open it in Geany Programmer's Editor and press F5 to run it and to make sure it works, then test out the gyro sensor by rotating it and making sure it is aligned with the rotation of the image. To close out just press Esc on the keyboard and the terminal should show up saying "Press Enter to continue" If you did everything correctly, you should have a screen that is rotated depending on the gyro sensor!
But that's not all... I am going to show you how to make the rest of the VR goggles!
Attachments

Step 8: Putting It All Together.


These are some pictures of the different holes and boxes I cut out to make things fit.
I put the screen in the slot where a phone would go, and the battery pack went right in front if it. I used tape to attach the gyroscope, and the double-sided tape to attach the USB hub. The Raspberry Pi was attached with foam tape and the battery I just slid into the compartment I had made for it.
The head straps were not included, I fashioned those with some elastic and an old headlight band.
Step 9: Conclusion

Now that it is done, you can test it out! Plug the screen's power into the USB hub and plug the USB hub into the Raspberry Pi Zero. If you aren't quite sure what the different ports are on a Raspberry Pi Zero, there is an image above that tells about the different ports.
Make sure the HDMI is connected between the Raspberry Pi and the screen. Plug the Raspberry Pi power into the battery and turn it on!

Participated in the
First Time Author Contest 2018

Participated in the
Raspberry Pi Contest 2017


