

Introduction: Fixing a Broken Car Door Handle


One marvellous day, I decided to open my car door...
Bad idea. I snapped a lever inside and was no longer able to open the door from the outside.
So I went to a junk yard looking for a car like mine: Hyundai Accent 5 door, but did not find one.
I tried to see if I could fix this issue without the parts, yet again to no avail.
Then one day, a flash of brilliance struck me, and I noticed that the rear door handle on the driver's side has the same frame size and dimensions as the front. All I would have to do would be to:
- Dismantle the front and rear driver side doors;
- Remove both handles;
- Replace the broken part from the rear door with the front;
- Fix the broken part that has been broken and put on the rear door;
- Hope my idea works out the whole time, and I don't look like a fool;
- Replace everything where it came from;
- Not lose my mind with all the little things that go wrong with old vehicles and stripped screws and general ignorance...
So, here we go!
Step 1: Removing Inside Door Panel


To get at the exterior door handle, you have to go through the door itself from the inside.
If you look at the pictures with the notes, at least for this car, you have all of the screw and pressure clip locations. You have to take all of these out.
You also have to remove the window handle, and that required a bit of scratching of the door and my head seeing as I couldn't figure out where the pin holding it to the mechanism was located. Both on the front and rear door, I broke a part to get to it, but it was more for aesthetics and preventing people like me to get at these parts...
There are several other parts that need to be removed to get at all fo the screws, and I am sure all of the locations are different for different makes and models, but unless you're driving a Lambo you should be able to do it yourself.
Finally to get the cover off, you need to pop it off the top of the inside of the door.
WARNING! You are not done, do not yank the cover off! (See next step)
Step 2: Unhooking the Interior Door Handle

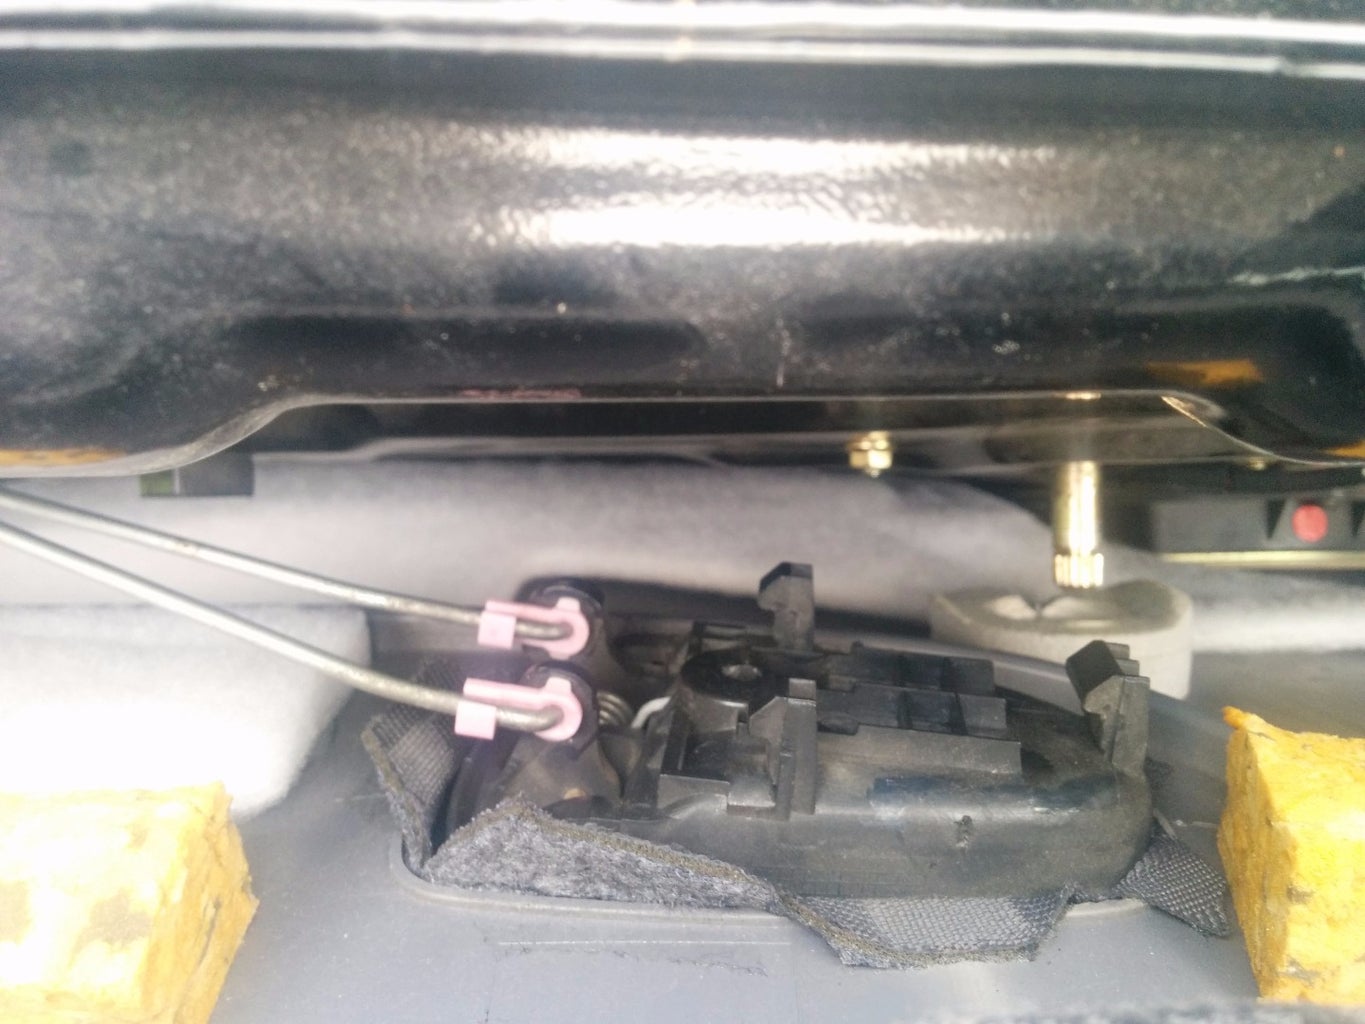

Before finally getting the door cover completely off, you need to unhook the interior door handle that has the locking and opening mechanisms inside it.
Unhook the cover form the top of the door, right under the window. The only thing left connecting the cover to the door should be the 2 rods connecting the interior handle to the locking mechanism and the exterior handle.
To remove these you need to unhook the (pink in this vehicle) plastic holsters, and then lift the rod out of its respective hole.
Now you can dispose of your interior door cover as you wish.
Step 3: Accessing the Door Handle


This is when this got a whole lot more annoying the first time around, as I couldn't get to the handle from the inside.
Before seeing everything in black like this, there was some siliconed plastic covering everything in the holes of the doors. SO that had to be removed as well. Later never to be replaced.
The bolt sizing will vary depending on what car you are driving, but to get to them, you have to find them.
On the front door, they were behind a plastic cover. On the rear door, they were behind the locking mechanism which meant that I had to remove it. Only to find out that my hulk like strength stripped 2 screws. A trip to the hardware store and a stripped screw remover purchase later we are back in the game...
After getting at all of the bolts for both handles, I removed the handles and moved my work inside out of the rain an the electrocution hazard of drilling in a thunderstorm. (Not my brightest moment, but I was determined!)
Step 4: Spot the Difference!
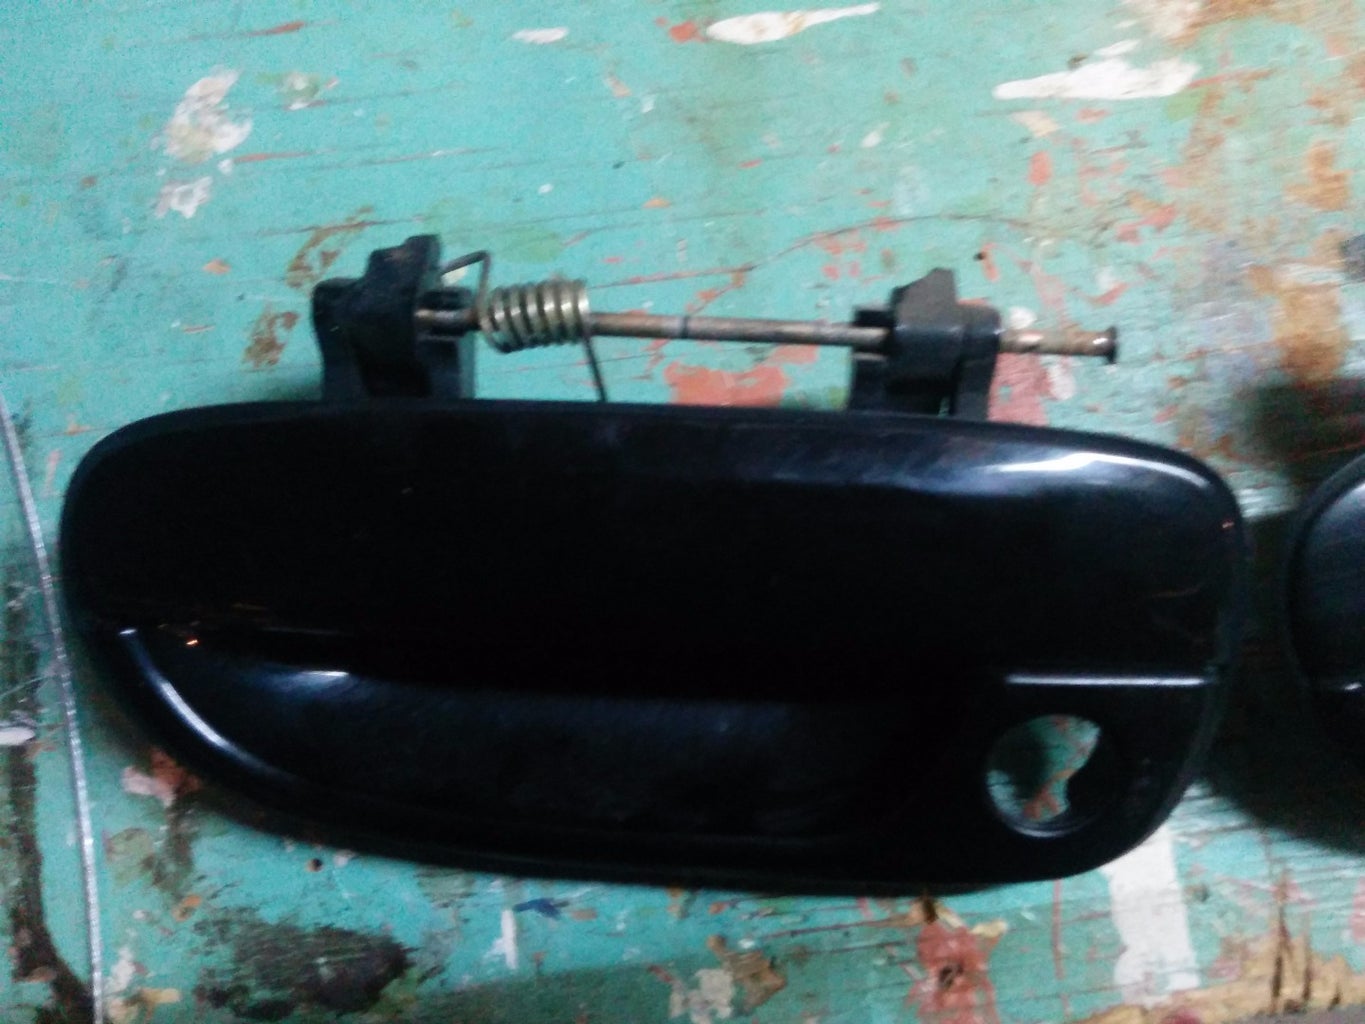

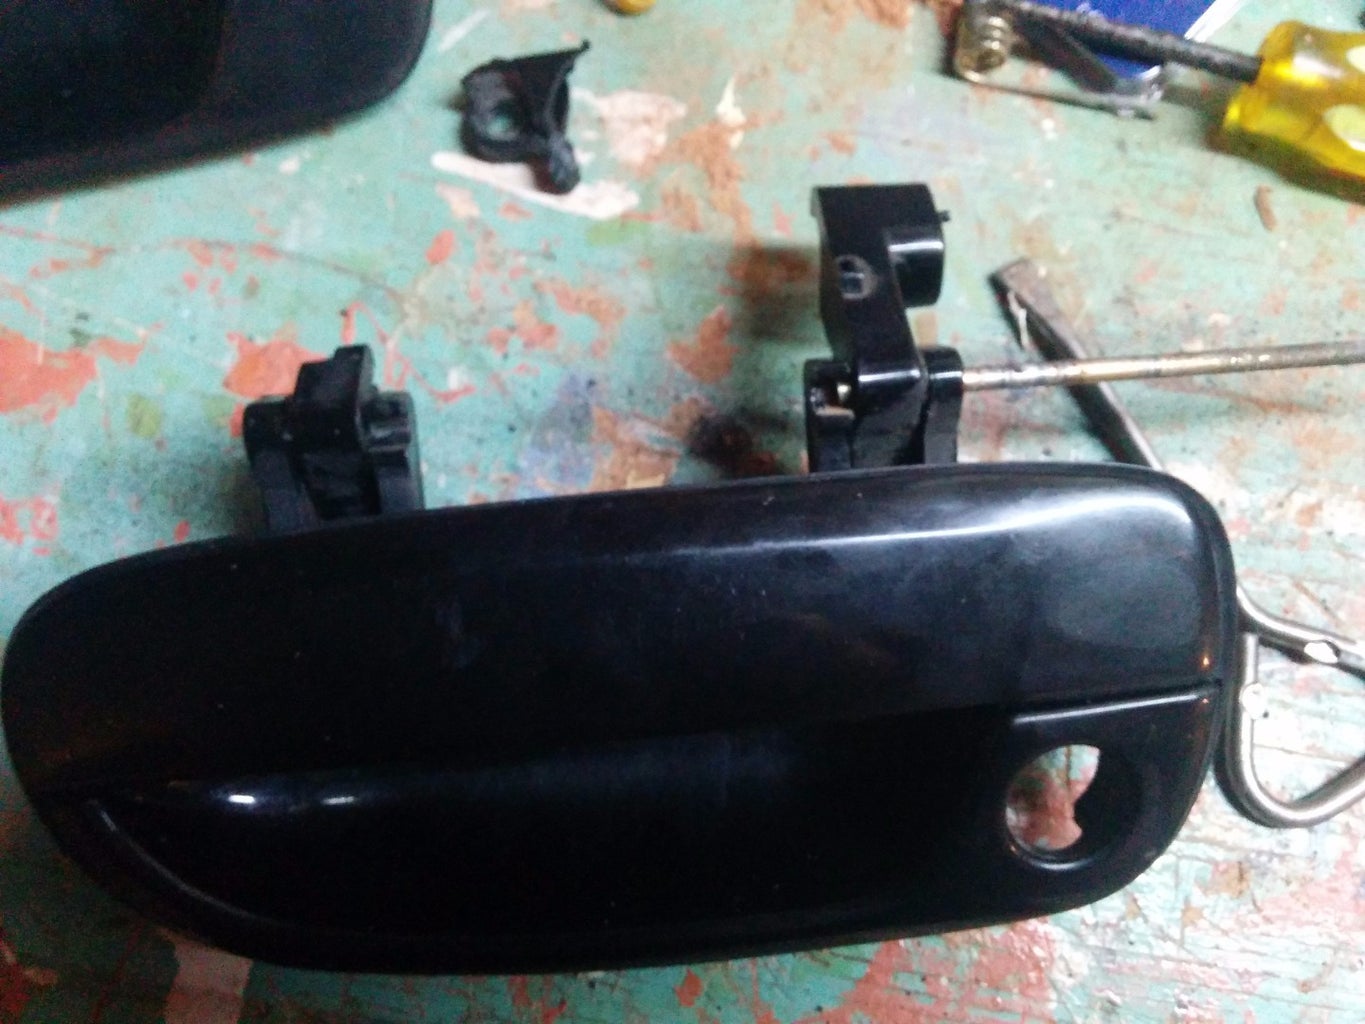
The front door handle is the first picture and if you compare it to the second one, you can see that the part that connects to the opening rod (the yellow piece) is broken off on the front handle and not on the rear. So it is now time for the old switchamaroo!
Step 5: Piecing Apart the Handle


In order to perform this switchamaroo, you have to remove, on both handles, the spring holding rod, the spring and the rubber joiner.
With a hammer to one end, you can bang the rod out a bit.
With a pair of pliers and some twisting you can pull it out the other end.
*Don't let the spring fly out!
Remove the rubber ring around the 2 parts.
Separate the 2 parts from each other, and replace the good with the bad.
It is important to note, that I am doing this because I use my car a lot for work, and I would like to be able to access my car without having to open it from the inside by putting my arm through an ajar window. This is so to avoid looking like I am perpetually stealing my own vehicle really...
Step 6: Putting It Back Together

Now, if you remember what you did in the last step to separate all of these pieces, you can do the opposite to put them all back together!
Tip 1: when you are hammering the rod back in place, use a smaller hammer and hit harder rather than a large hammer and hit lighter. It will avoid cracks and you having to actually find the right parts to piece this all together again.
Tip 2: When you are supergluing, add some super glue around the cracks so as to add another layer of bonding. Sort of like a mould of the pieces that are being joined.
Step 7: Placing Everything Where It Belongs


Putting everything back where it belongs is a little tricky seeing as everything is meant to fit just right.
A little bit of fiddling around and brute pushing and pulling goes a long way as long as you do not break another part!
Remember all of those screws, bolts, nuts and whathaveyou's? Yeah, now is the time to remember where they all go and why they go there.
Tip: take mental notes along the way as to what order things come apart so that you can put them back together backwards and have them be the right way around. It is always best to just follow the process, as much as you can remember it, so that you can do it backwards and not forget anything.
Step 8: Screw Everything, Yes Everything, Back Together


Once, again, don't forget any screws!
I say this because I did, and I know where it is from. Now it is too late and all of my patience is gone so I will maybe keep it for another day, or put it in a junk part bin, but most likely the later.
The most interesting thing I learned while putting this all back together is that, if you want to put the interior door handle back in place without a problem, you have to turn the child safety latch on so you can move that rod around freely! Otherwise it gets stuck in the open position and won't allow you to move the handle at all.
Now, I am happy to say that one day in to using this fix and replace everything is running smoothly! My idea worked, it was tedious, but it works, and now I can fix the other door that has the same problem on the other side...
Thank you very much for reading, and hopefully this will help you out when your things come undone or fall apart!
If you want any clarifications, please say so in the comments as I might have skipped over some things that seemed obvious for me, but are essential for comprehension.
Have a good one!


