

Introduction: Fixing the Stuff Around You With a 3D-printer


Oh, the frustration when dropping a device, breaking it into pieces. Or losing parts from an item which besides that works perfectly fine. You already checked out the websites for spare parts but the thing you're looking for is not available (anymore), or is nowhere to be found. Then you might consider trying to use the hyped technique of 3D-printing and use it to extend the lifecycle of your products' functioning. But how to get started? And what are the things you need to know before you can start using your beloved product again?
This Instructable includes some personal examples with insights and valuable resources for 3D-printing and, more importantly, using it to fix the broken parts around you. I will not explain every type of 3D-printer at all or how 3D-printing works. I think there are already enough webpages and instructables about them. But I will try to explain my experience from the using of the 3D-printer at Fablab Genk: Makerbot Replicator 2X with two fixes I did. And many insights can be used for other types or brands of 3D-printers.
English is not my native language so please mind my spelling mistakes.
Step 1: 3D-printing Tolerance Check


What I first did with the printer at hand was checking what it's capable of by printing some small parts. I wanted to know how much the printed parts differed from the file on my computer. So I tried to print out this Wall Thickness Calibration Strip by berserkerscientist:
http://www.thingiverse.com/thing:30249
Afterwards I saw this was a remix from this model from miserybot, which might be better suitable for testing wall thickness:
http://www.thingiverse.com/thing:8859
EDIT: These models might also be suitable for tolerance and performance checking of your printer:
http://www.thingiverse.com/thing:533472
I found for the Makerbot Replicator 2X my printed models differed about 0,4 mm from my digital model.
This pdf is also helpful for 3D-printing information concerning support structure, draft angles etc:
Step 2: Partsearching


If you're lucky, the part might have already been modeled by someone so check Thingiverse first. Also search for customizable parts, where you can enter the dimensions for the needed part. For example: check out this knob by charliearmorycom: http://www.thingiverse.com/thing:54024
and its remixes: http://www.thingiverse.com/thing:54024/#remixes
Step 3: Direction of Print
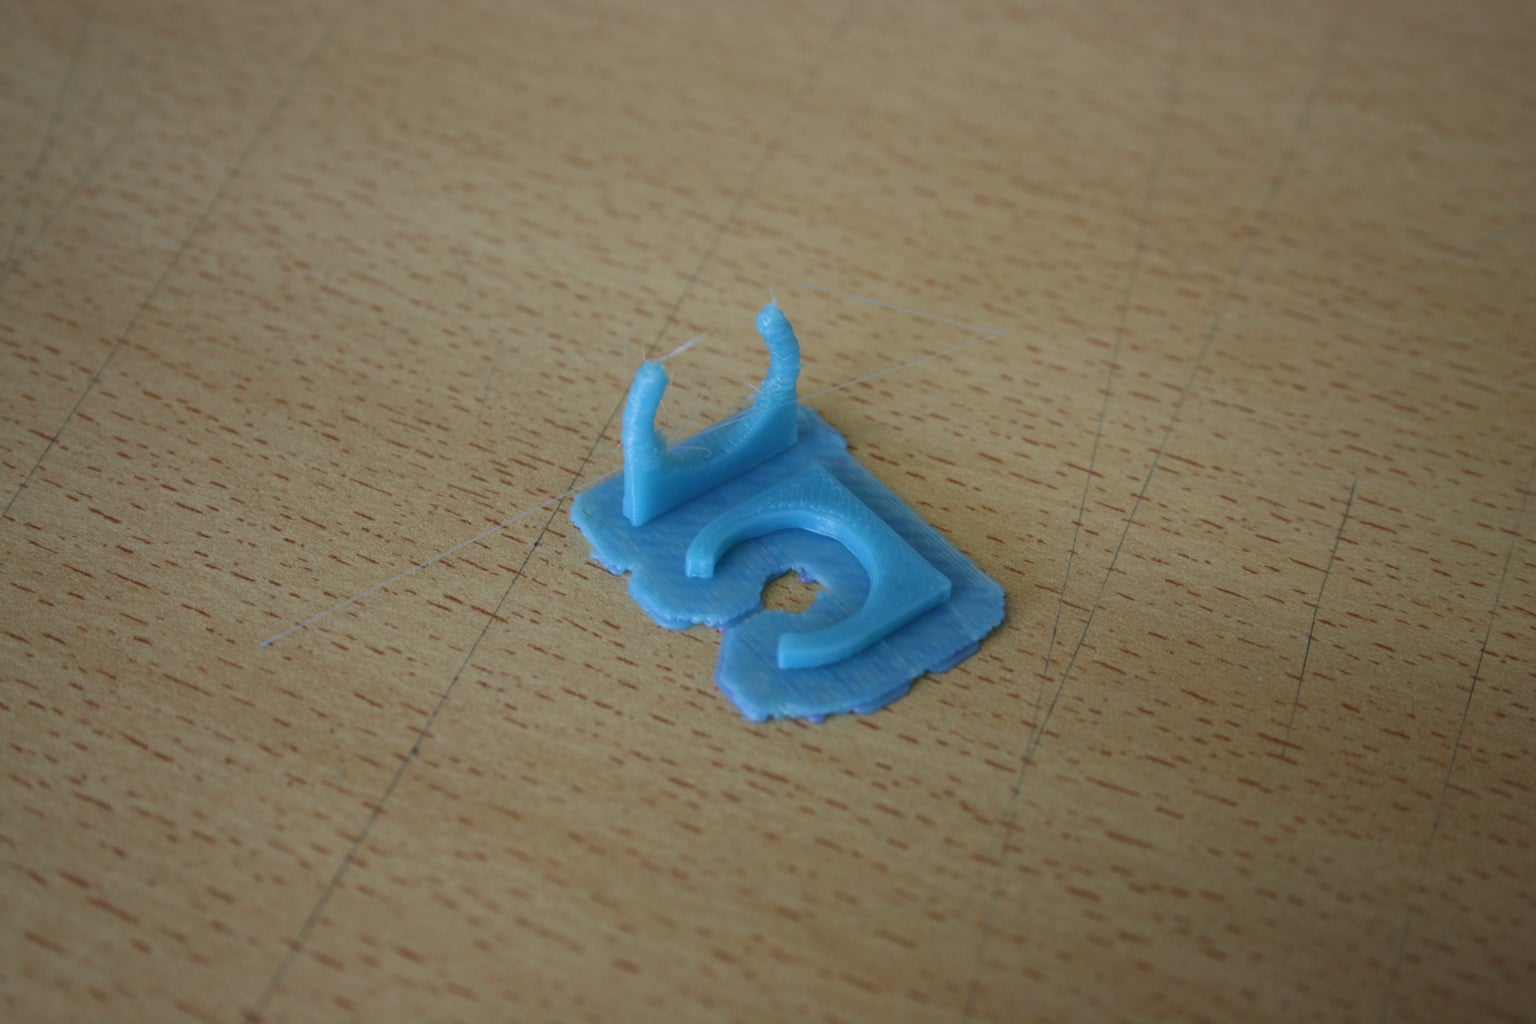


When you're thinking about 3D-printing an object, take the direction into account (Depending on which type of printer you are using off course). I made a small model placed in different directions which gave me some better insights in modeling properties. FDM printers lays a molten plastic layer on top of the previous layer, fusing it together. Because of difference in temperature between the plastic of the layers the bonding isn't perfect. Therefore you will end up with a model which is stronger in one direction in comparison to the other. How much this differs depends on the shape of the model, wall thickness, infill and layer height.
In the example I printed out you can see a clear difference in the amount of detail. This is because it was a small model. When the previous layer is still in a molten state, it is hard to build upon since it pushes the plastic aside during printing.
Step 4: Analyzing Broken Part & Context


Analyse the broken part to see what you will have to model. Does your part need to slide into an other part? And if so, how will it stay in place? Or should it click onto a switch axe? Most solutions can be found by looking at the broken part to learn from them. The dimensions from the model which interact with other parts will be the most important. A fraction of a millimeter can sometimes improve the parts' functioning (or make it worse).
Sometimes it's interesting to just analyze everyday products which are not broken. Figure out how all pieces fit together and how they interact with each other. They are often full of great admirable solutions to learn from and use in other designs.
Step 5: Material Properties

Think about which function the part has, how it will be used and in which environment. Will the part get very warm? Does it need to be flexible? How strong does the part need to be? In which environment will the part be used? Does it need to be hygienic? If you still have the original broken part you might check in which material it was produced and search its properties to compare it with the material you will print and figure out if it will work. Often you can just google your question to find somebody asked the same question before.
For example, the cap for my clipper was made out of PC-ABS, (obviously) a combination of ABS, which is commonly used in 3D-printing, and PC, which gives extra strength to the material (it's also being used in safety goggles). So it's quit similar to the material I will print which is good. But if you'd need a flexible part, it's probably not a good idea to make this in a hard plastic.
Don't exaggerate with the material you use. You don't need to spend much money and effort on making a part indestructibly strong when the rest of the product won't last long. The rule of thumb for products is to make the life cycle of every part similarly long.
Sometimes it's guessing why they choose a particularly material for a part. Then you might just go ahead and try and see if it will work, just always try to think it through and keep safety in mind. Don't just go and make a 3D-printed part for your climbing gear for instance. If something has strict safety regulations, it probably has it for a reason. (but then again, it should not break in the first place so you wouldn't have the need to repair it)
Note: if the original part is made in the same material as you will print, the model might still behave differently because of different production techniques. Be prepared for that.
Step 6: Measuring Part


Use a Caliper to measure the parts. Correct measurements will be pretty important with parts that need to fit together properly. Remember the analyzing step in this instructable? Use the information you gathered there to decide which parts are most important for exact dimensions. Remember: Parts which need to fit or click into other pieces for instance are gonna be pretty important.
If you don't know how to use a caliper, you can check out this instructable:
https://www.instructables.com/id/How-to-read-a-vern...
Or use a digital one.
Step 7: 3D Modeling


This is often a gap people experience I think. Don't be scared by all the buttons and functions of software. Go ahead and learn it, you'll benefit much from it!
For deciding on which software to use I recommend the chart in this instructable by gillespinault:
https://www.instructables.com/id/Which-3D-software-..
When modeling your part, take into account how you afterwards might change certain dimensions. So when you've printed a part and it's not properly done you can adjust it easily and print it again with the right adjustments.
Step 8: Test Dimensions


When you have parts which need strict dimensions to fit, it's good to print only the necessary parts and see if they will fit. It saves you time and material. For the hair clipper you can see the first time I tried printing it, it wasn't fitting so well. So I adjusted the dimensions until they were right, before printing the whole thing.
With an other project I did, I needed to emboss a bolt & nut. So I made a test plate with different dimensions to check which dimension fits best.
Then with the volume button it was a small adjustment I had to make. The pins in the back were not long enough with my first prototype. A small adjustment made it work.
Step 9: Unexpected Errors


Sometimes the 3D-printing causes an unexpected error in your model: support-structure collapsing, a crooked layer or a burnt spot. Think about what caused them and figure out a way to solve it. If it's not blocking the function of the object you might consider leaving it the way it is and accept these 'mistakes'. For instance on a coffee maker project I did, one of the parts got a burned spot. Since it was not influencing the way the device would work, I decided to call it it's 'tache de beauté' (beauty mark) and keep it just like that.
Also on the cap for my clipper one of the ribs support structure collapsed. But it didn't matter if the bottom part of the rib, which should have been supported, wasn't done well. I was able to use my trimmer with no problems caused by the error in the 3D-print.
Step 10: Smoothing Texture
If you don't like the typical 3D-print texture, or if it's necessary to get a smoother texture, you can try to clean up your parts. Sandpaper will do the job, but can be time consuming and hard for small corners. An other way for smoothening your part is to use acetone.
You can check out this video from Make which explains it
Or, if you might happen to have a sandblaster nearby you, you can try a technique for finishing parts which I have not tried yet but seems like a good way. (by andreasbastian)
https://www.instructables.com/id/3D-Print-Finishing...
These techniques might influence the dimensions of your model though, so keep that in mind. I usually keep it to sanding by hand, so I have much control over the dimensions.
Step 11: Ready to Use!


Enjoy the power of your self-made part. Share your models online so other people can use them for their broken products and don't have to go through the whole effort of modeling all over. (even though I think that's part of the fun of fixing your stuff ;-) )
Here are the links to the parts I made from this Instructable:

Participated in the
Fix & Repair Contest

Participated in the
Tech Contest

Participated in the
Formlabs Contest


