

Introduction: GETTING STARTED WITH ARDUINO #1


WELCOME BACK!!!!!! I felt there are many beginners who needs to learn Arduino so I decided to help them out by releasing a series of Arduino tutorials. The main reason for publishing this Arduino series is
- I like publishing here.
- Help beginners to learn Arduino effectively.
So in this Instructables, I am teaching you very simple program of blinking a led with the help of Arduino.
So let's start up the project now.If you have any doubt, please feel free leave a comment and I will be really glad to help you. Follow me if you want more Arduino tutorials.
Here is a brief intro to the Arduino uno :-
Arduino is a credit card sized micro-controller, that are used to control to control the physical world which cannot be performed by your desktop. It takes input from your input device such as sensors, switches and many more accordingly it controls the output device such as motors, etc.
The other application of Arduino is : -
-Programmable light displays that respond to music or human interaction
- Robots that use information from sensors to navigate or perform other tasks
- Unique, customisable controllers and interfaces for music, gaming, and more
- Connecting real world objects to the Internet (twitter is especially popular)
- Anything interactive
- Automating and prototyping
So lets get started....
Step 1: ELEECTRONICS :-

As this is a simple project which implies demand of simple components :
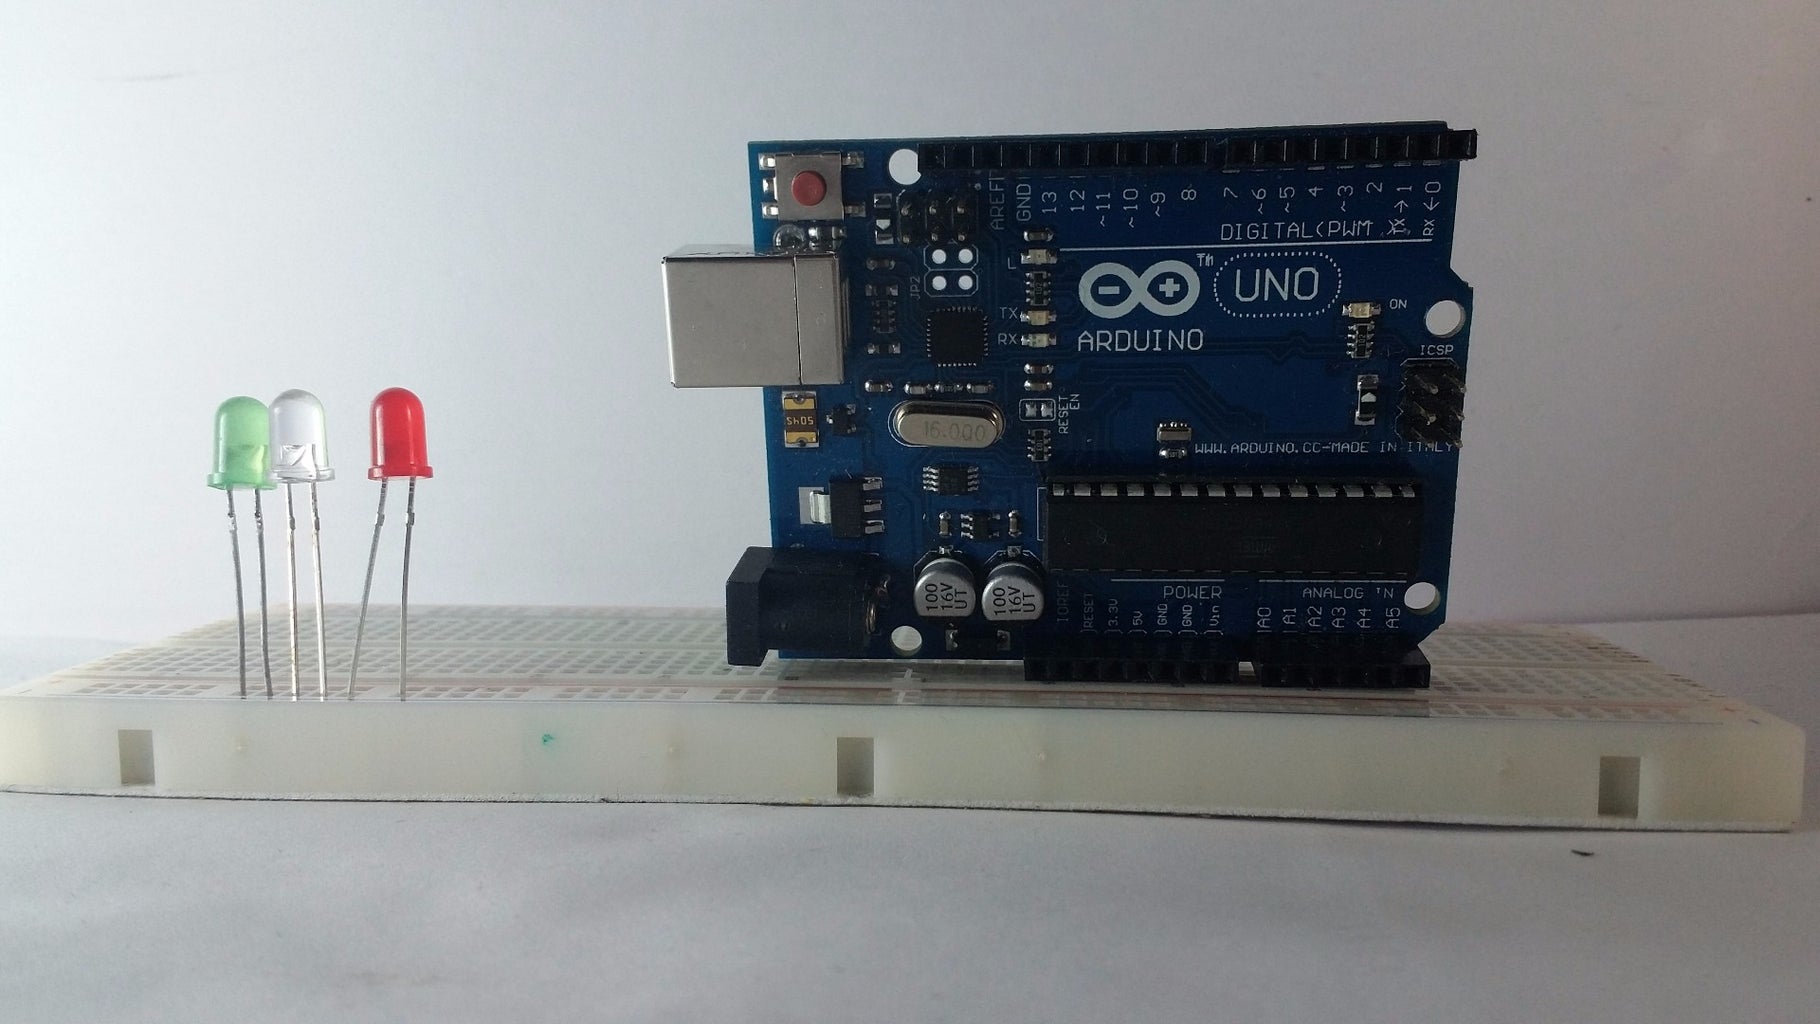
• Arduino
• Led
• Breadboard
• Jumper wires
So let's build electronics now
Step 2: BUILDING ELECTRONICS :-


So I am going to explain the construction in 4 simple ways :-
step 1 : Fix a led on a breadboard. Bend the cathode of the led in such a way that the cathode should be inserted in negative supply row of breadboard (fig , 1)
step 2 : One end of the resistor(220khm) is fixed to the anode of the led (fig , 2)
step 3 : The other end of the resistor is connected to the digital pin of Arduino UNO ( fig , 3)
step 4 : Now connect the Arduino to the Arduino IDE .
Now its time for coding.
Step 3: CODING :-

Now time for programming, programming a micro controller might give nightmares to some one not familiar with it, well I'm happy to say that is not true its really quite simple. I will try as simple as possible to make you understand each and every word in the given code. If u couldn't follow please comment below your problem I will be pleased to help.
step 1 : int ledpin = 2
int = this means integer in c program which is used to assign value i.e whole number but we can't assign decimal value
ledpin = this is just a variable which is not a constant.It's your wish to name it
2 = digital pin to which the led is connected
step 2 : void setup()
When we write void main(). It means that this main() program will not return value. And if we write int main(). It means this program will return an integer type value.
step 3 :
digitalWrite : it's just like a switch. if we write (ledpin , HIGH ) which means there is a supply of 5V to the ledpin which means to D2
If we write (ledpin , LOW ) which means there is a supply of 0V to the ledpin which means to D2.
step 4 : delay(1000)
Here in delay, time are defined as millisecond i.e. 1000 mS = 1 S. if we write delay means there is no changes in the supply voltage for the given delay. mean after digitalWrite(ledpin , HIGH ) delay(1000) means there is constant supply for 1second then digitalWrite(ledpin , LOW ) delay (1000) means there is no supply for 1 second.
That's it see so simple the code is. keep following for Arduino tutorial series and i will be publishing 5 series per weak.
if you have any doubts in this ibles please feel free to comment.thank you :-)


![Tim's Mechanical Spider Leg [LU9685-20CU]](https://content.instructables.com/FFB/5R4I/LVKZ6G6R/FFB5R4ILVKZ6G6R.png?auto=webp&crop=1.2%3A1&frame=1&width=306)


