

Introduction: How to Create a Frankenstein-Han Solo Love Child/Abomination


- Digging Up Material
- Transplanting Parts
- Scaling and Shifting
- Blending the Parts Together
- Adjusting the Lighting
- "Lightning" Elements
- Conjuring Shadows
- Picking Your Brain for a Font
- Inscribing the Photo-chop
- Enhancing the Text
- Making the Text Pop
- Shocking Final Touches
- ITS ALIVE!!! Muah hah hah hah ha!
Step 1: Digging Up Material


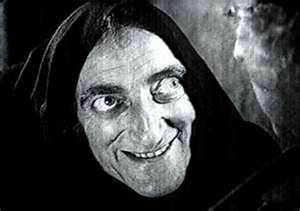
First you must decide what elements to include as components of the image. Because we are making a “FrankenSolo” composite image we will need an image of Han Solo in carbonite as well as a good image of Frankenstein. For each of these elements you should pick images that you find the most interesting according to your own personal taste. Don’t worry about the size, color or quality as these elements will be adjusted later. Use your favorite search engine to find source images of these two components. I used the following images.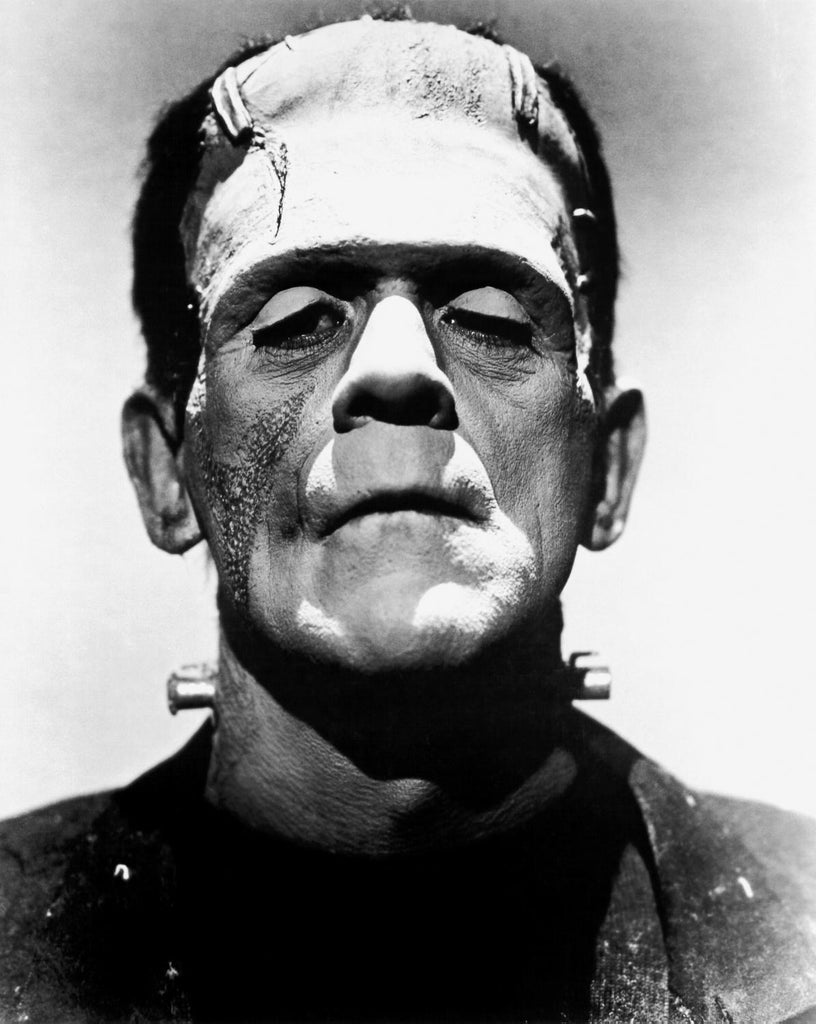

In addition to Frankenstein it would be fun to include a picture of his lovely bride. A screaming profile caught my eye like a rusty nail.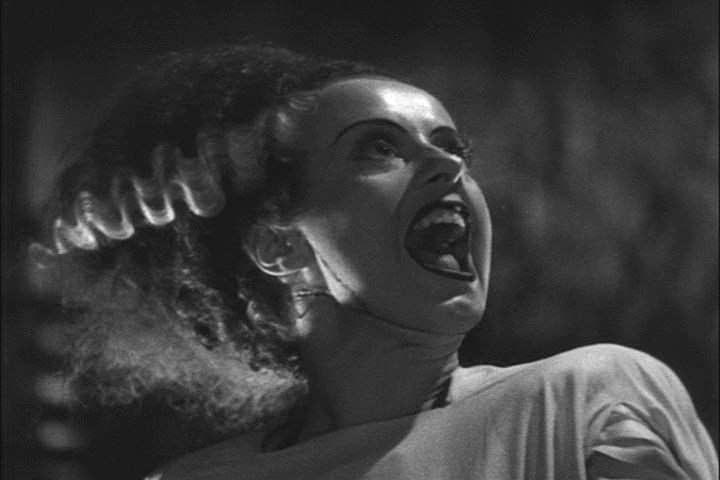
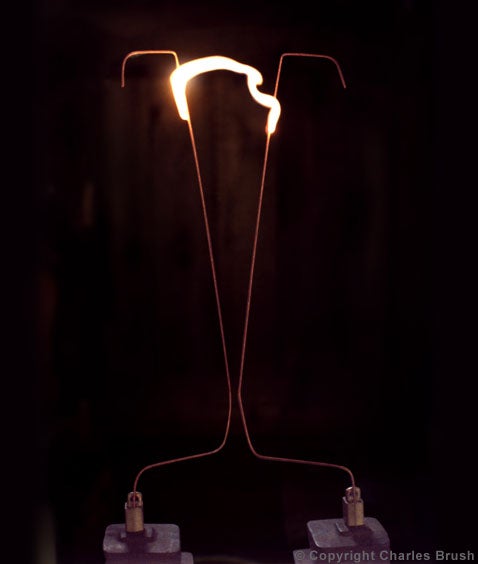
We also need the electro-steam-punk style scientific tools that are typical of Dr. Frankenstein’s laboratory.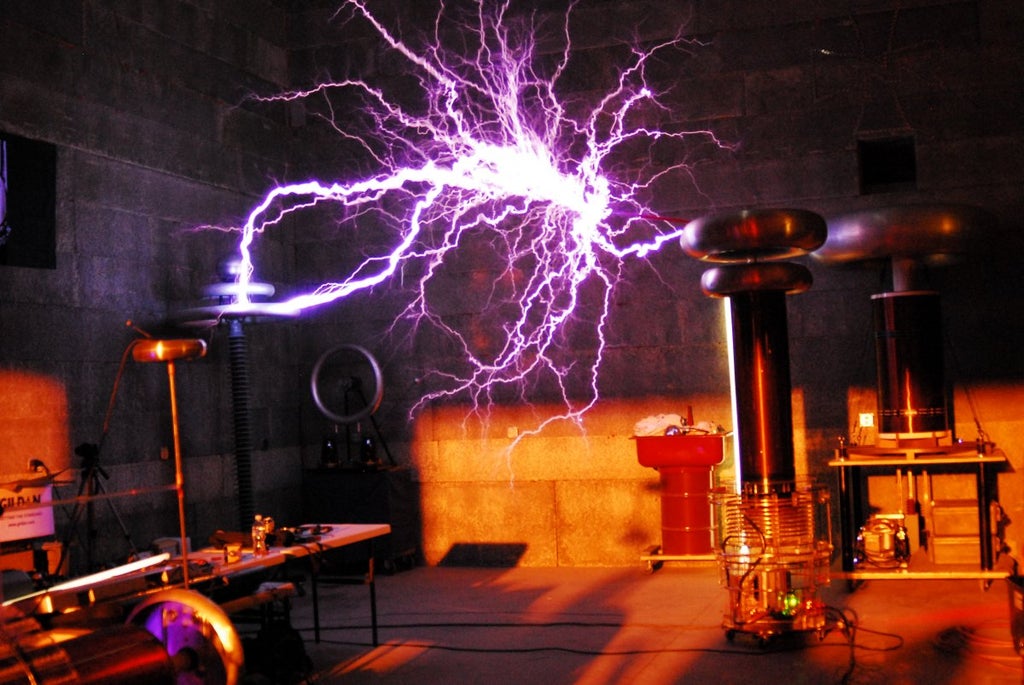
Step 2: Transplanting Parts

Once you have selected and saved the elements from the picture patch of the Internet you will need to add each one into a single image as a separate layer. First go to www.pixlr.com and launch the advanced editor. Once the application launches click on "layer" then "Open image as layer" from the menu bar. Then select one of the saved files to add it as a layer. Do this for all of the elements you have saved. You may also need to make the canvas size larger to accomodate all of the images. Click on "Image" then "Canvas size..." and increase the canvas to an appropriate size.
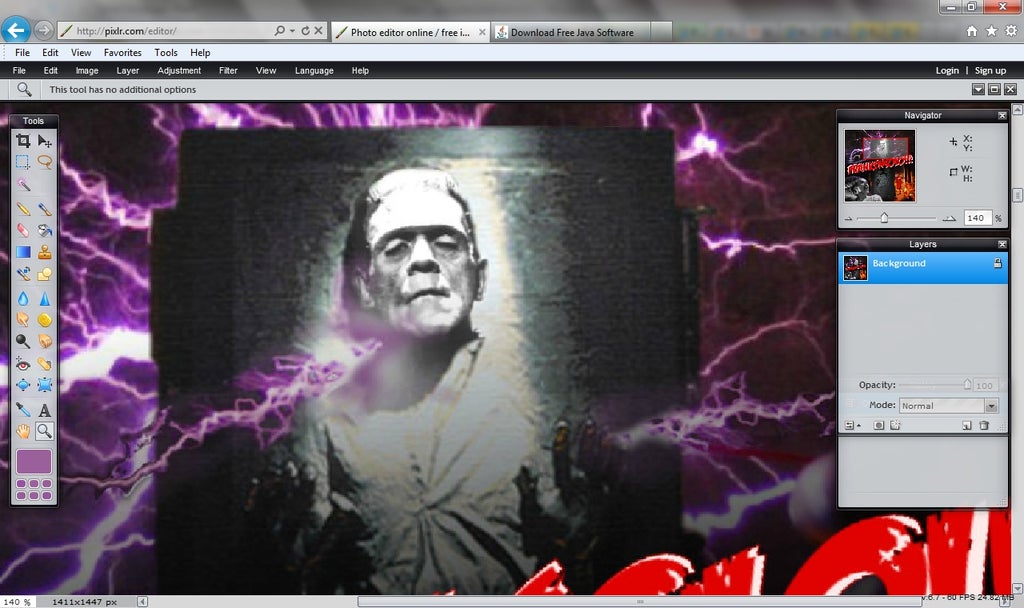
Once all of the elements have been tossed into the cauldron use the selection tool to select and delete the imagery surrounding the parts you want to keep. Keeping a wide margin, select the background that you want to remove. Then delete the selection and repeat this for all of the elements. One of the images should be used as a background layer so keep this image whole without removing any material. The background image should also be cropped down to only show what you want as the background image. The Tesla coil image is what I’ve chosen for my background but you could also use a screen shot from a Frankenstein movie or even the Great Pumpkin Charlie Brown special.
Step 3: Scaling and Shifting

Now each element must be resized and moved to an appropriate location in the image. Selecting one layer at a time you will scale and move each component to fit the image you are using as the background. In order to scale each element you must use the "Free transform..." option. This is located under the "Edit" menu. One trick I use to get things looking proper is to make the non-background layer slightly transparent. You can do this withing the "Layers" window where a slider labeled "Opacity" is located. This lets you align features like eyes, noses and forked tails. Once all the elements have been placed be sure to transform them back to their opaque state from the ghastly transparent form.
One more thing to do in this stage is to crop the entire image to a appropriate size. To do this you may either click on the crop icon in the "Tools" window (upper left hand corner) or click on "Image" then "Crop" in the menu bar.
Step 4: Blending the Parts Together

The elements must now be blended into the background to stitch the disparate parts together. First zoom in to the object that you are going to work on.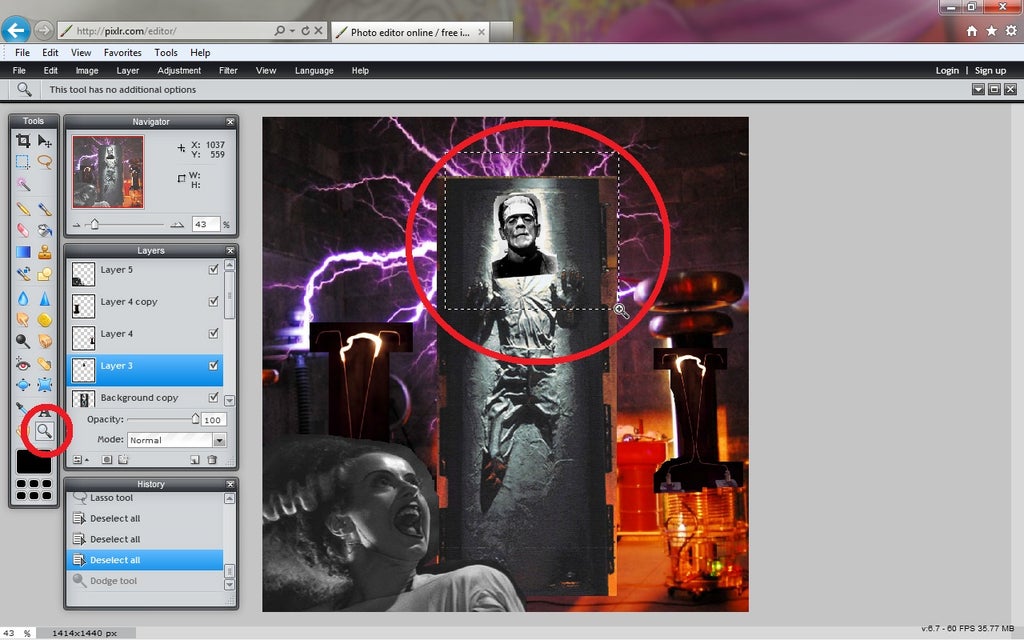
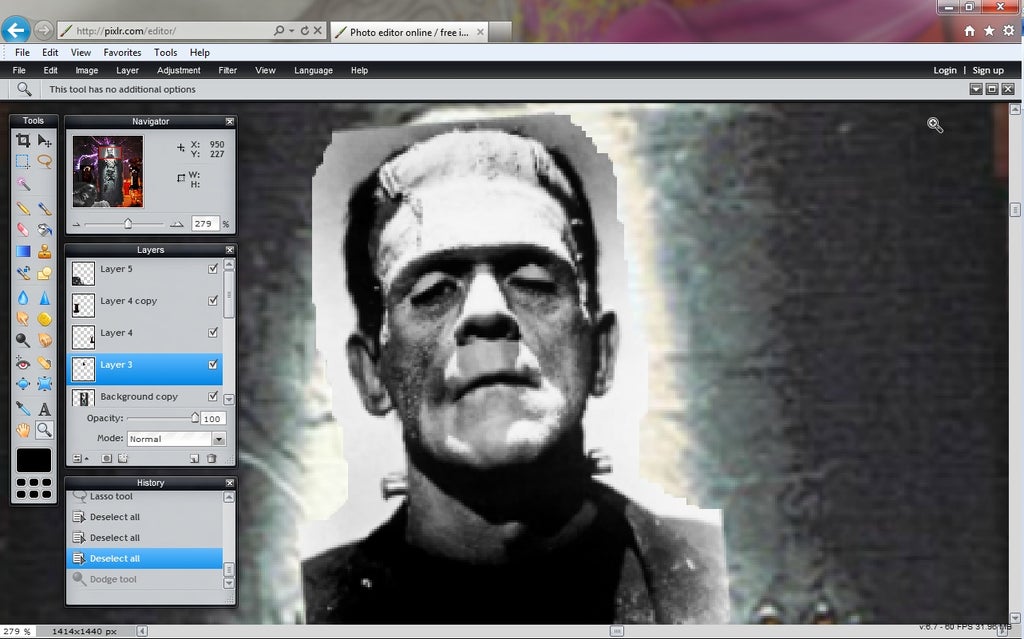
You can also make the background layers invisible to better see the object you are cleaning up.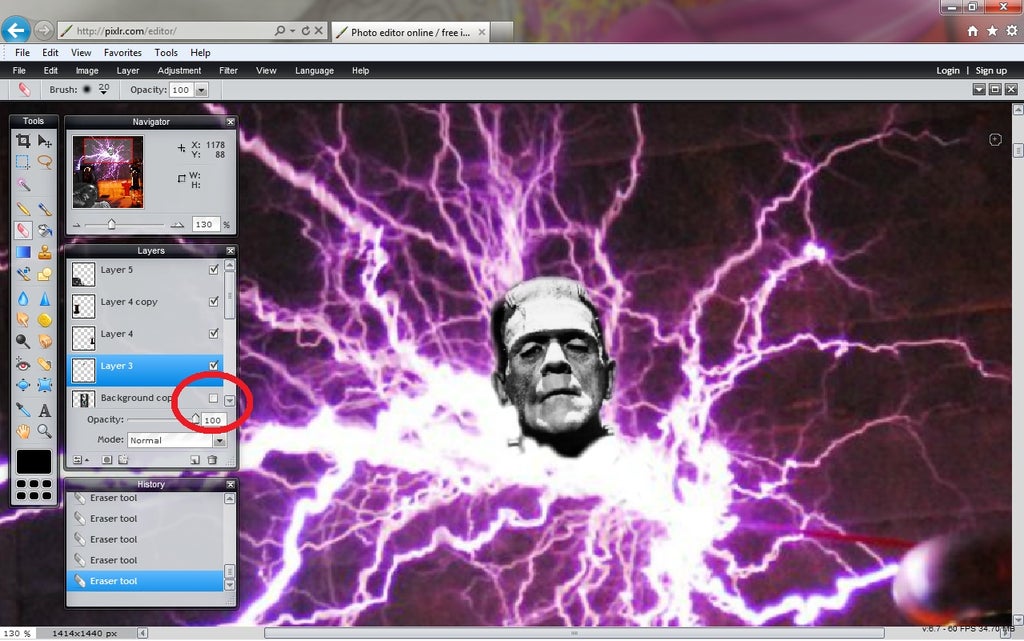
Now use the eraser tool and a brush that fades radially from the center and begin slowly “erasing” the extra pixels from around the component. It is also helpful to uncheck the visible background layers for greater precision. Be careful not to erase too much or too little to make the blending seamless.
Repeat this for all of the elements in your creation except for the background layer.
Step 5: Adjusting the Lighting

The source material will also have different lighting characteristics and each one should be adjusted individually to create a consist brightness across all of the elements. Select one of the layers, then click on "Adjustment" then "Hue & Saturation" in the menu. Now adjust the lightness slider back and forth until the two images appear consistent in how they are lit. If you have color elements that do not match up you will need to repeat this for the "Hue" slider to match up the different hues across the two images. Repeat this process for all of the remaining elements in the image.
Step 6: "Lightningâ Elements

The Tesla coils and their purple arcs would cast their light onto nearby objects. You can create this effect by first selecting the appropriate color using the color selector tool and then clicking on the purple color in one of the electricity arcs. Once you have captured a good purple hue create a new layer to builld the reflection layer. Select the paint brush and choose an appropriate sized brush. Set the opacity very low (in this case I use 7%) and begin adding a layer of subtle color where the reflection should appear.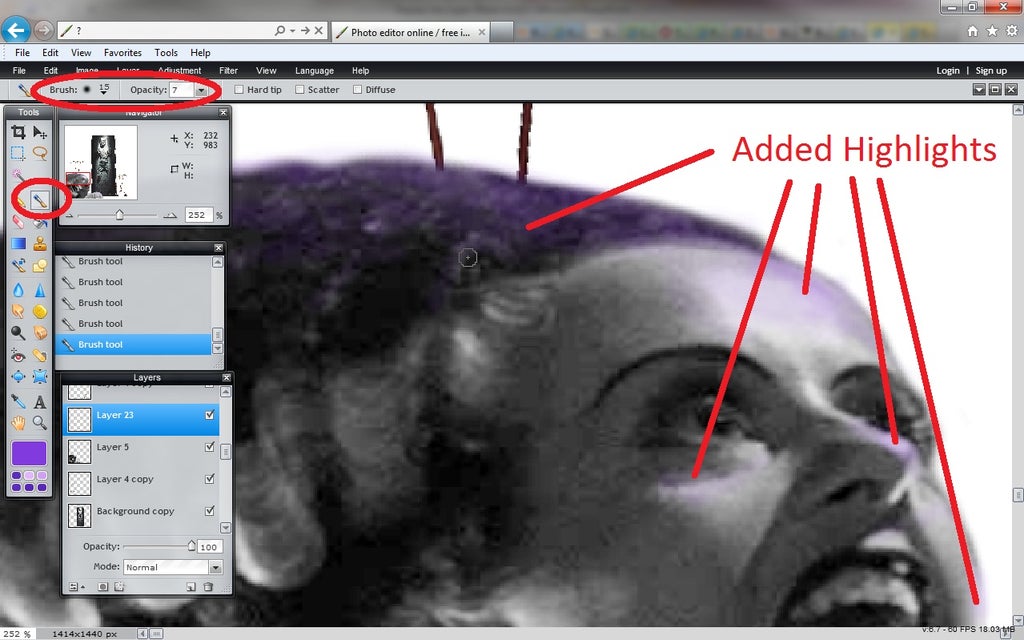
Now repeat this same process for the orange/yellow light that appears behind the camera in the Tesla coil image. You can sample the appropriate color using the color selector again and sampling the light cast against the back wall. Apply the same touches of light in the same way we did this for the purple light casted by the electricity.
Step 7: Conjuring Shadows

Casting shadows is the next illusion we will conjure to further fool the viewer’s mind into accepting the authenticity of our monstrosity. This technique will convince the viewer that each separate component is connected to the background world since it is casting shadows into it. First identify which elements you would like to cast shadows then create a new layer ordered just beneath that object. 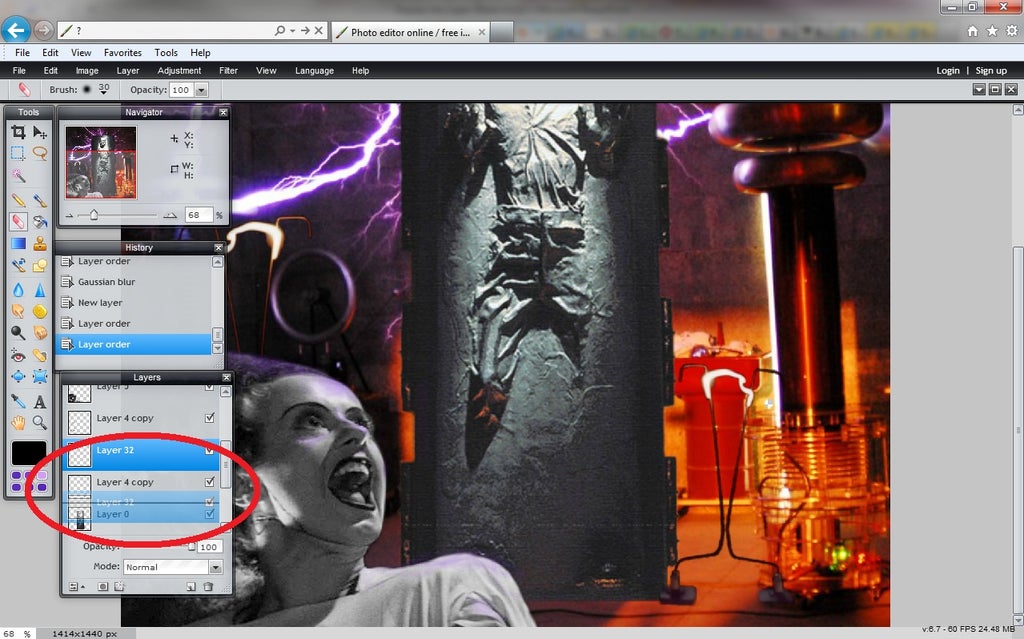
Using a radially transparent brush with a lot of overall transparency (I used 10%) begin painting the shadows where you think they should appear. Don’t worry about “drawing within the lines”. By placing this shadow layer beneath the object layer any shadows you have drawn on the object will disappear behind it. This is one of those magical properties of layered image editors. Continue to apply multiple brush strokes until you feel there is sufficient shadowing to integrate the elements together.
Step 8: Picking Your Brain for a Font

Scouring the web for “monster fonts” or a similar search term will point you towards font banks that can be used for the text overlay. The "Feast of Flesh" font was the most compelling to my "taste" and I downloaded and installed this font.
Step 9: Inscribing the Photo-chop

Using the text tool type out the name of our atrocity and define the font size to extend the text across 95% of the background image. If the maximum font size is still too small you will need to rasterize the layer and then scale the layer like we did in the 3rd step to resize it. The font color should be appropriate as well and a deep blood red will flood the letters to set the proper tone. 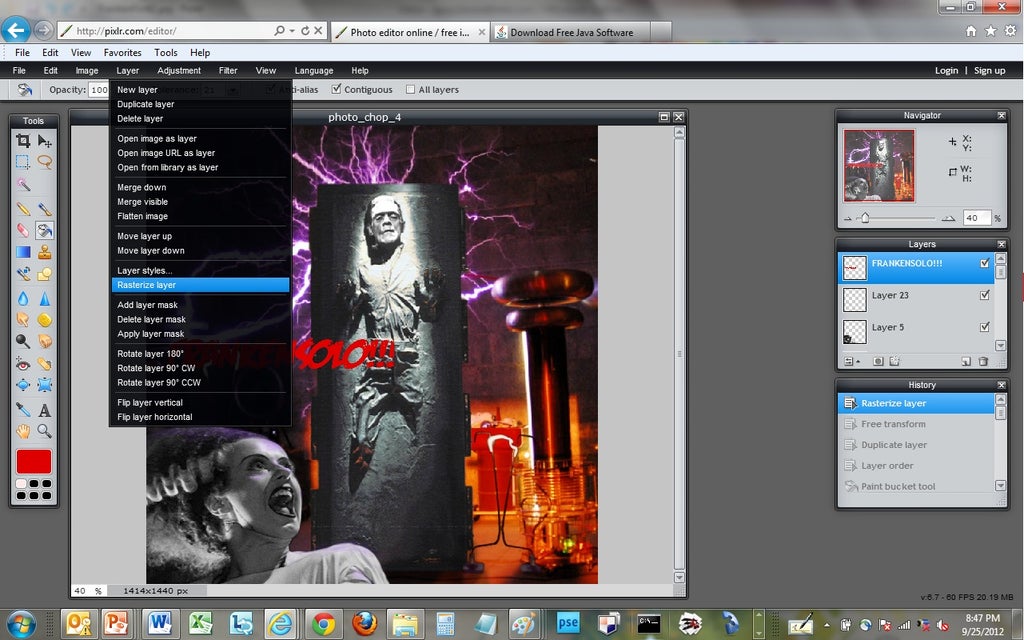
Step 10: Enhancing the Text

You’ll notice that the text may not stand out enough against a dark background. One way to solve this is to create a Siamese twin using the same font and letters, but with a slightly larger size. 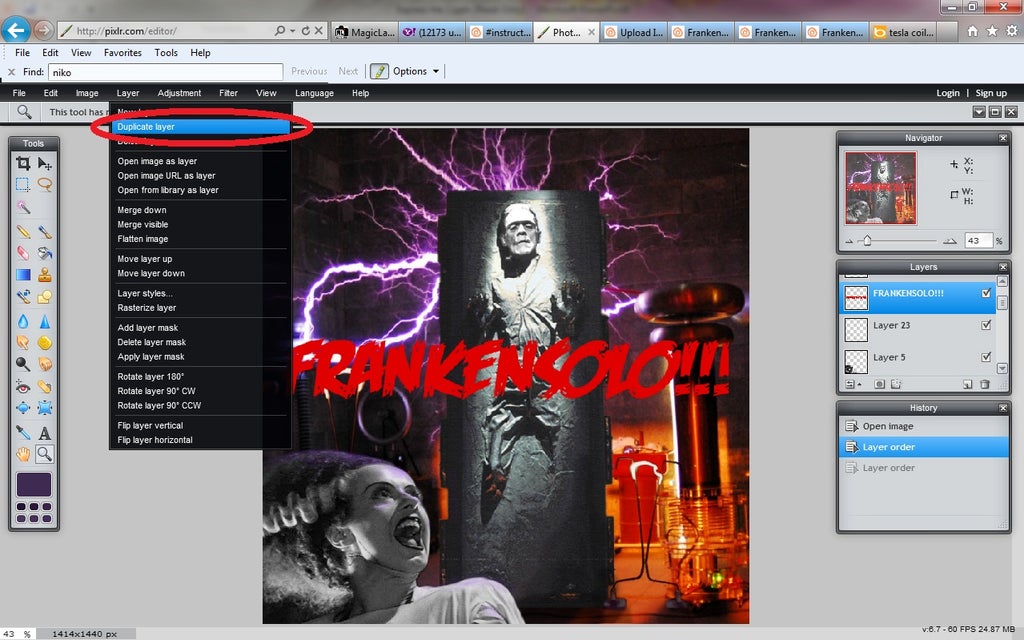
After creating the duplicate layer increase the size slightly using the "Free transform..." tool located under the "Edit" menu item. Now use a nice pale bone color to create enough contrast for the image. First select the color then use the paint bucket tool to fill in the letters.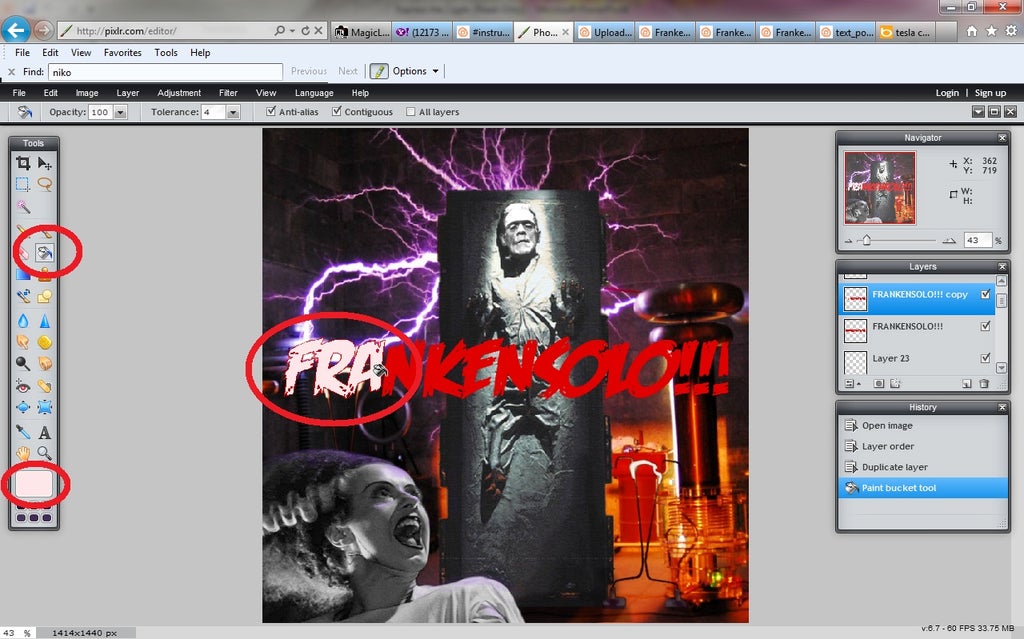
Line up this slightly larger twin behind its smaller sibling and adjust them to create a high contrast boundary.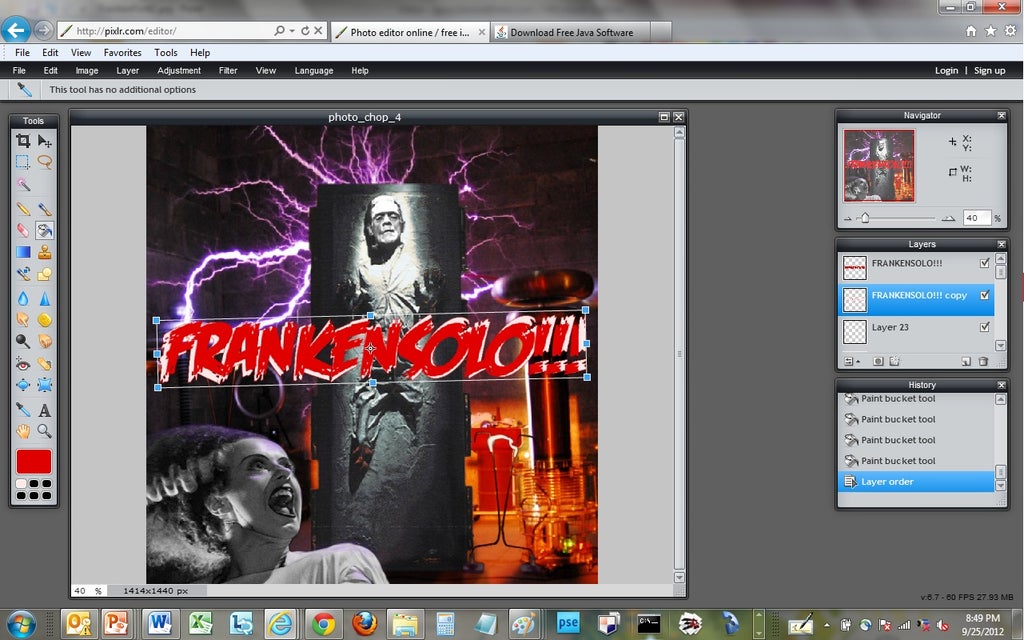
Finally give the text that cattiwampus appearance by rotating the two text layers slightly counter clock-wise.
Step 11: Making the Text Pop

One more step to make the text stand out is to modify the background behind the text. Start by summoning a new layer and order it just beneath the text layers. Now click on the gradient tool in the tool bar (1), change the pattern (2) to be transparent (3) and radial (4). Finally select a dark red color for the gradient (5). You should also double the size of the canvas keeping the content in the center to accomodate the entire gradient.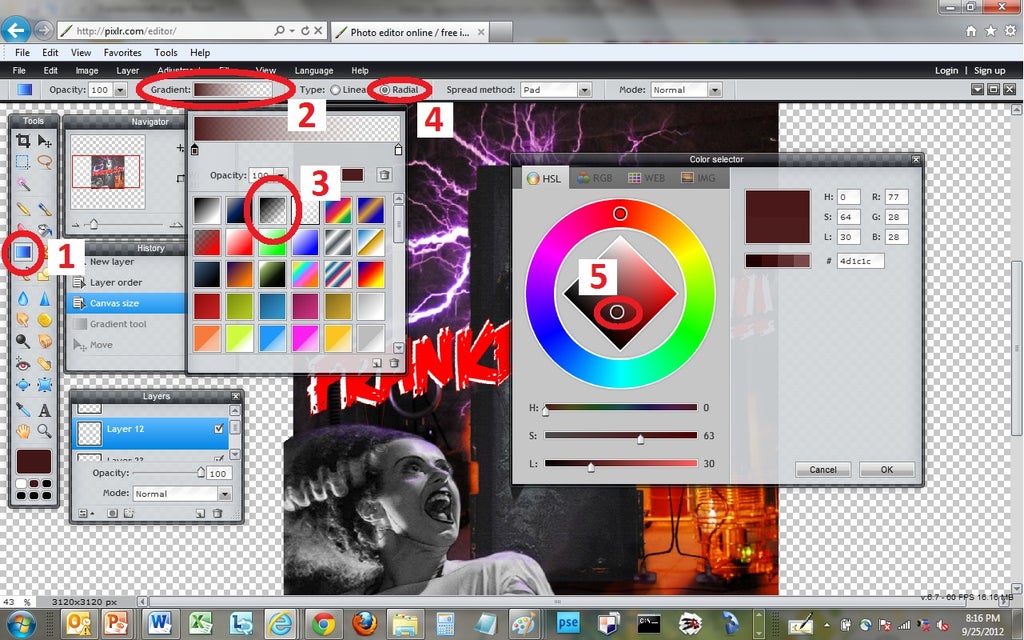
Now that the gradient has been prepared draw a line that extends from the center of the image to about 50% beyond the image. This will create a gradient that you can shrink down to the appropriate size.
Now take this gradient and transform the layer to squeeze it down vertically and rotate it to align with the text. You can also stretch this layer horizontally to create the desired effect.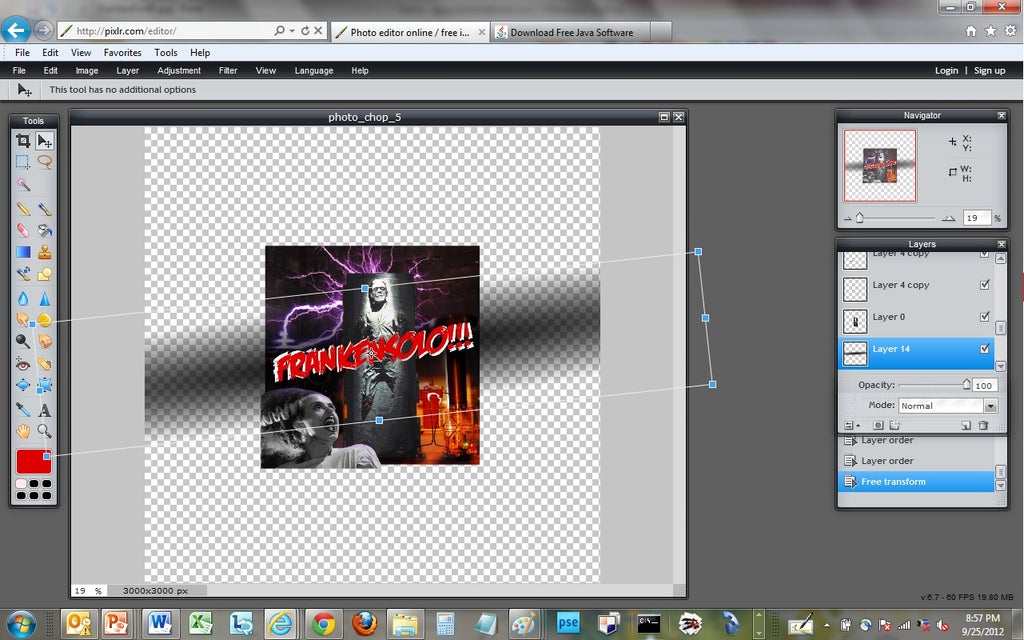
The last thing to do here is to crop the image down to the original size.
Step 12: Shocking Final Touches

The goal here is to add some electricity arcs extending from Frankensolo. To do this we will need to copy an arc from the background image and prepare it for cloning and transplantation. Begin by hiding the Frankensolo layers to reveal all of the electrical arcs from the background image.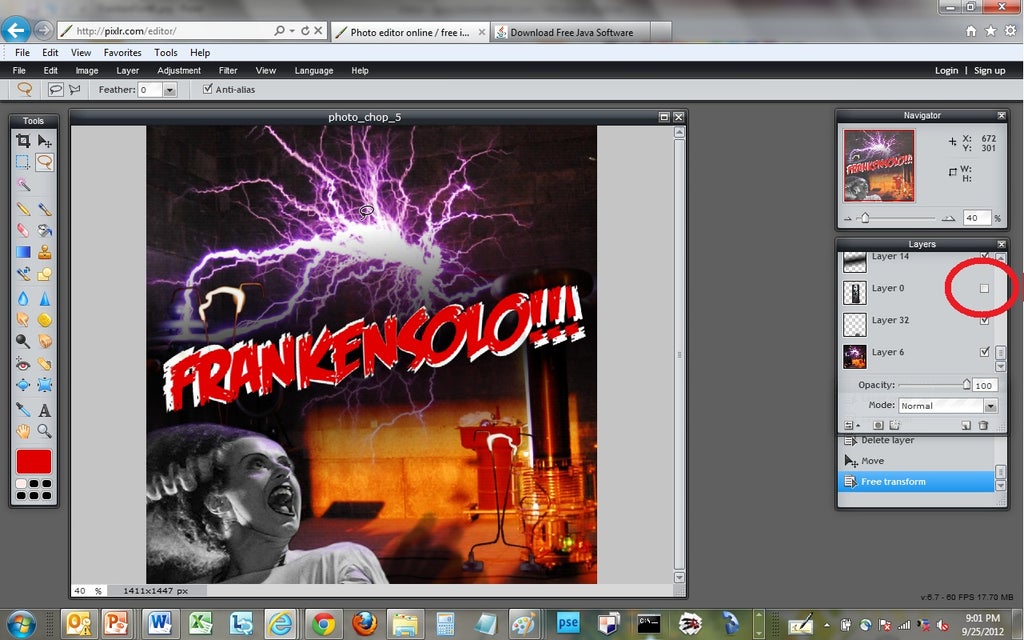
Now roughly select one of the arcs, copy it, create a layer and paste this copied arc into the new layer.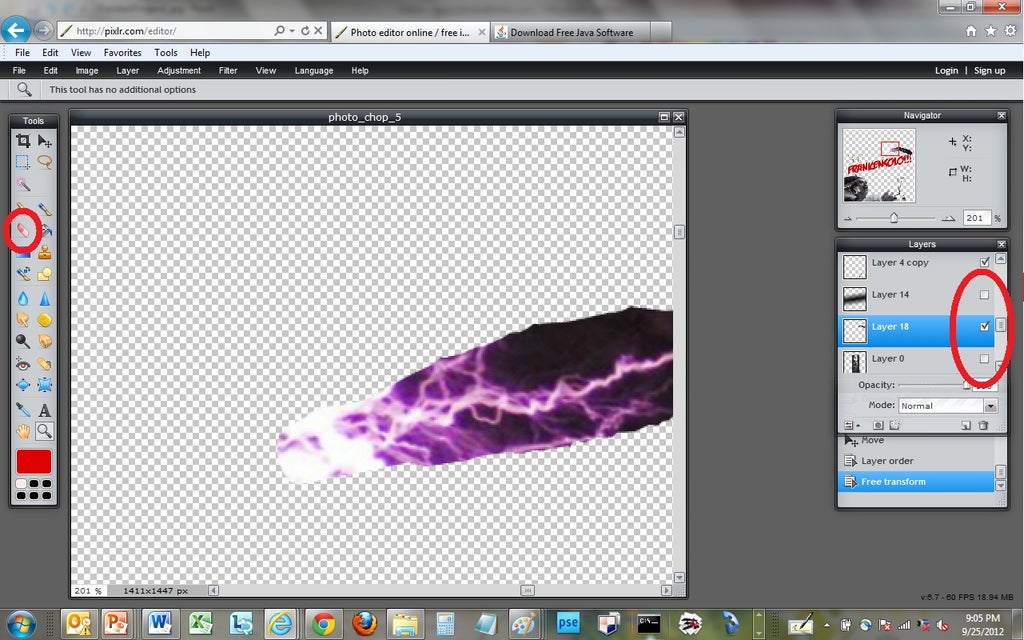
Use the "magic wand" tool to select the dark areas of the arc and begin deleting all of these regions. Once you have done a rough cut go back with the eraser tool and take care of deleting the finer details.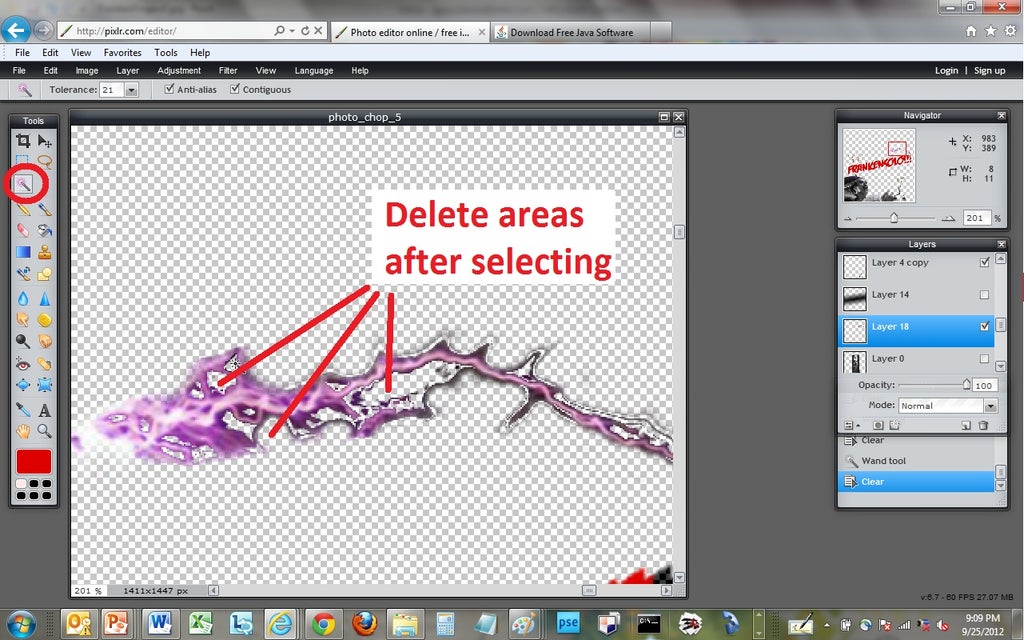
Now you can place the arc into an appropriate position on Frankensolo. I chose to connect the arc to his fingers extending out towards the Tesla coil. 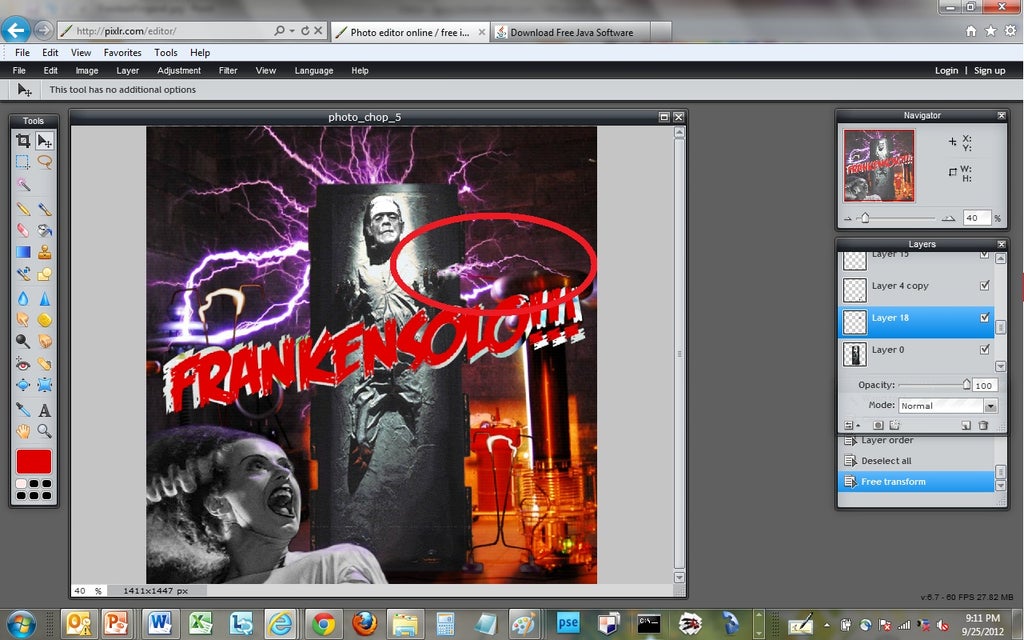
You can also copy this later and rotate and scale it to create a second arc striking his neck bolt. The last thing to do here is to add some puple lighting like we did for his lovely bride in step 6.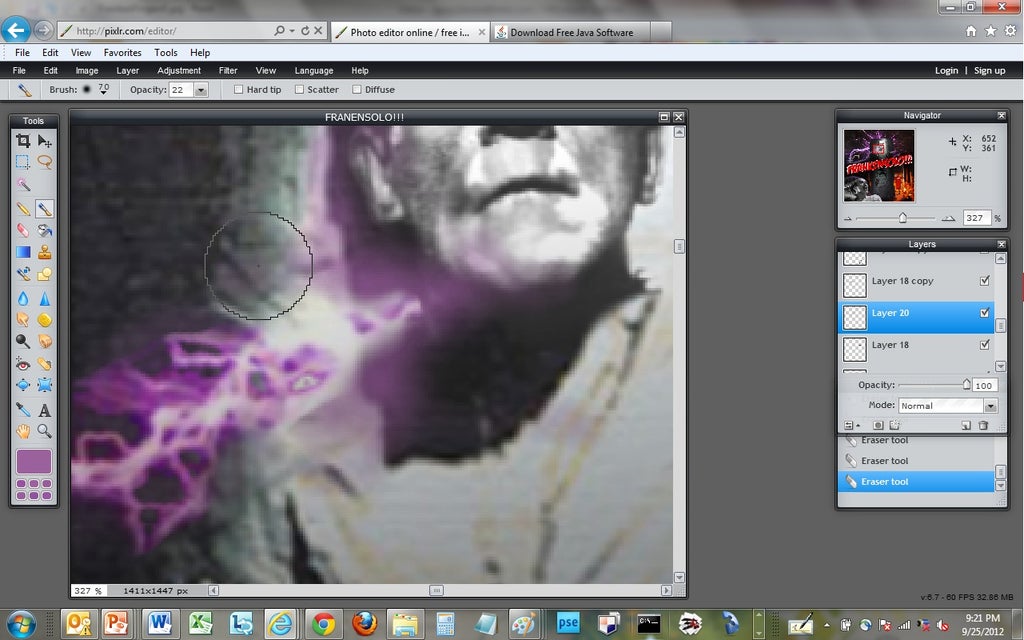
Step 13: ITS ALIVE!!! Muah Hah Hah Hah Ha!
You have almost reached the end-of-the-line of this instructable. All that remains is a little touch-up. First use the dodge tool to lighten up Frankensolo's neck where the arc is striking. Apply this tool to the carbontie slab where the illumination would effect the lighting. Now we need to soften Frankenstein's face to fit in better with the carbonite slab. Select the layer with Frankensteins face and use the smoothing tool (looks like a water drop) to soften the face until it matches the texture of the carbonite slab. Do this gradually until the images have the same "sharpness".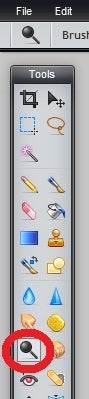
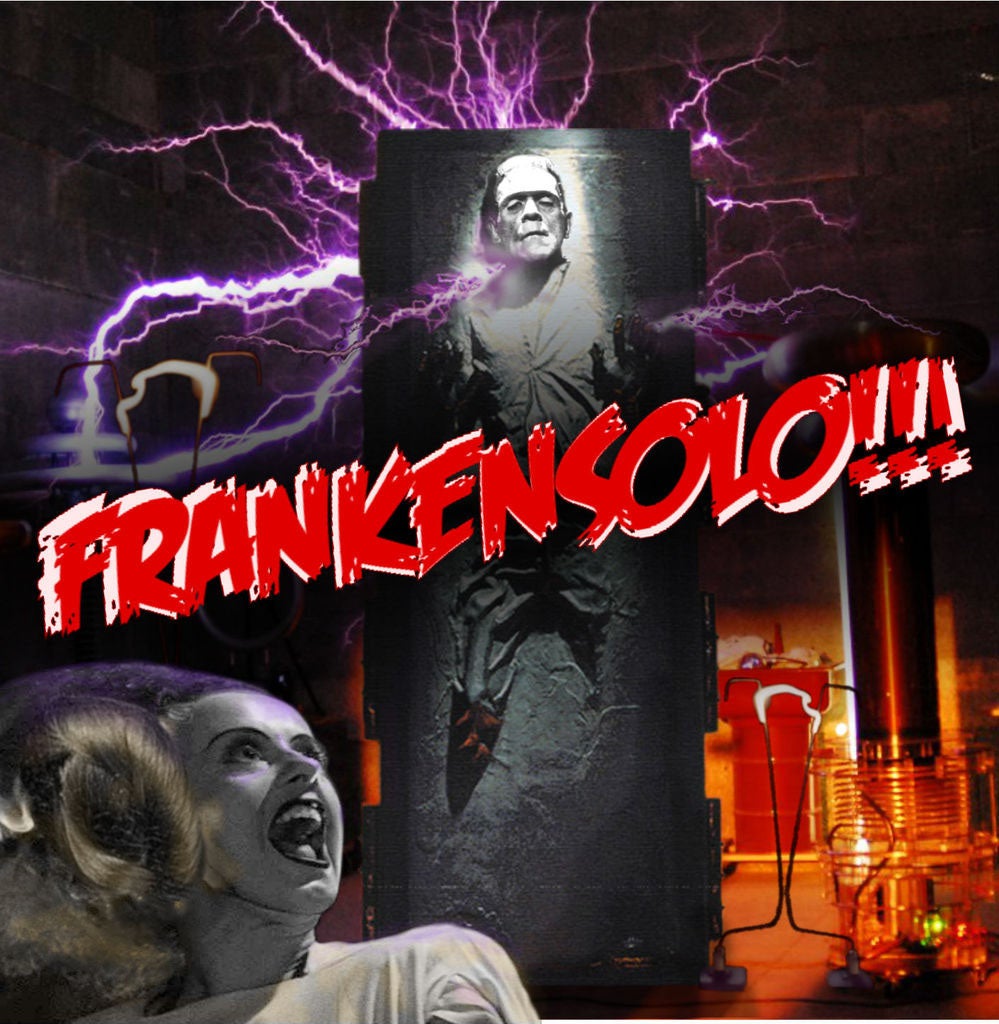
All that remains now is to flip the switch and ZZZZZAP! You've created a monster! AHHHHHHHHHHH!
And here is an updated version with Princess Leia curles in the brides hair. This was a request in the comments :-).

Finalist in the
Halloween Photo Editing Contest with Pixlr


