

Introduction: How to Make a Turtle Pencil Bag !!!


*******How to make a Turtle Pencil Bag for someone special !!!******
Short on money after the holidays. Well this is great way to show how much you care about them.
This cute pencil bag is a great way to show someone how much your care about them without costing you an arm and a leg.
This type of gift is something a person would probably use everyday.
Whenever this person uses this bag the person will think of you.
Too many people to give gifts to. --> short on cash. This project will cost you under $ 2
WARNING!!!
- I'm not a professional on sewing garments or small projects. However I hope you enjoy this tutorial.
- Please excuse me if I use wrong terms to describe how to sew certain areas.
- there are probably other methods or faster methods in sewing this small project
-there are probably more correct ways to sew this but this is how i made this small turtle bag.
- please excuse my English and grammar if i used wrong English
* I hope you will view this tutorial and enjoy it *
Attachments

Step 1: Materials ( the Body)


Material needed:
* Glue gun
* 3 pieces of felt (9x12 in) (brown, green, ivory)
* 7in zipper
* 2 button for eyes
* cotton balls to fill head
* sewing machine/ sewing by hand is possible
First a body must be made for the turtle
+ using the ivory felt cutting the felt in half (9x12)--> 2 pieces of (6x9)
+Hard part: Using the ivory color felt a bag must be made using a zipper as closure.
+insert/ Sew in the zipper
Step 2: Step 2
step 2
-sew along the edges to make a bag be care not to sew over zippers
Step 3: Step 3
step 3
=sew a perpendicular or line across to make a rectangular shaped bottom for the bag.
= do this to both side for the bottom of the bag.
Step 4: Completed Body (Final Step)
completed body (Final Step)
- Flip inside out!!
Step 5: Finished Body for the Turtle.
finished body for the turtle. (hard part over!!! :) )
= Now it's time to make it look like a turtle --> easy part.
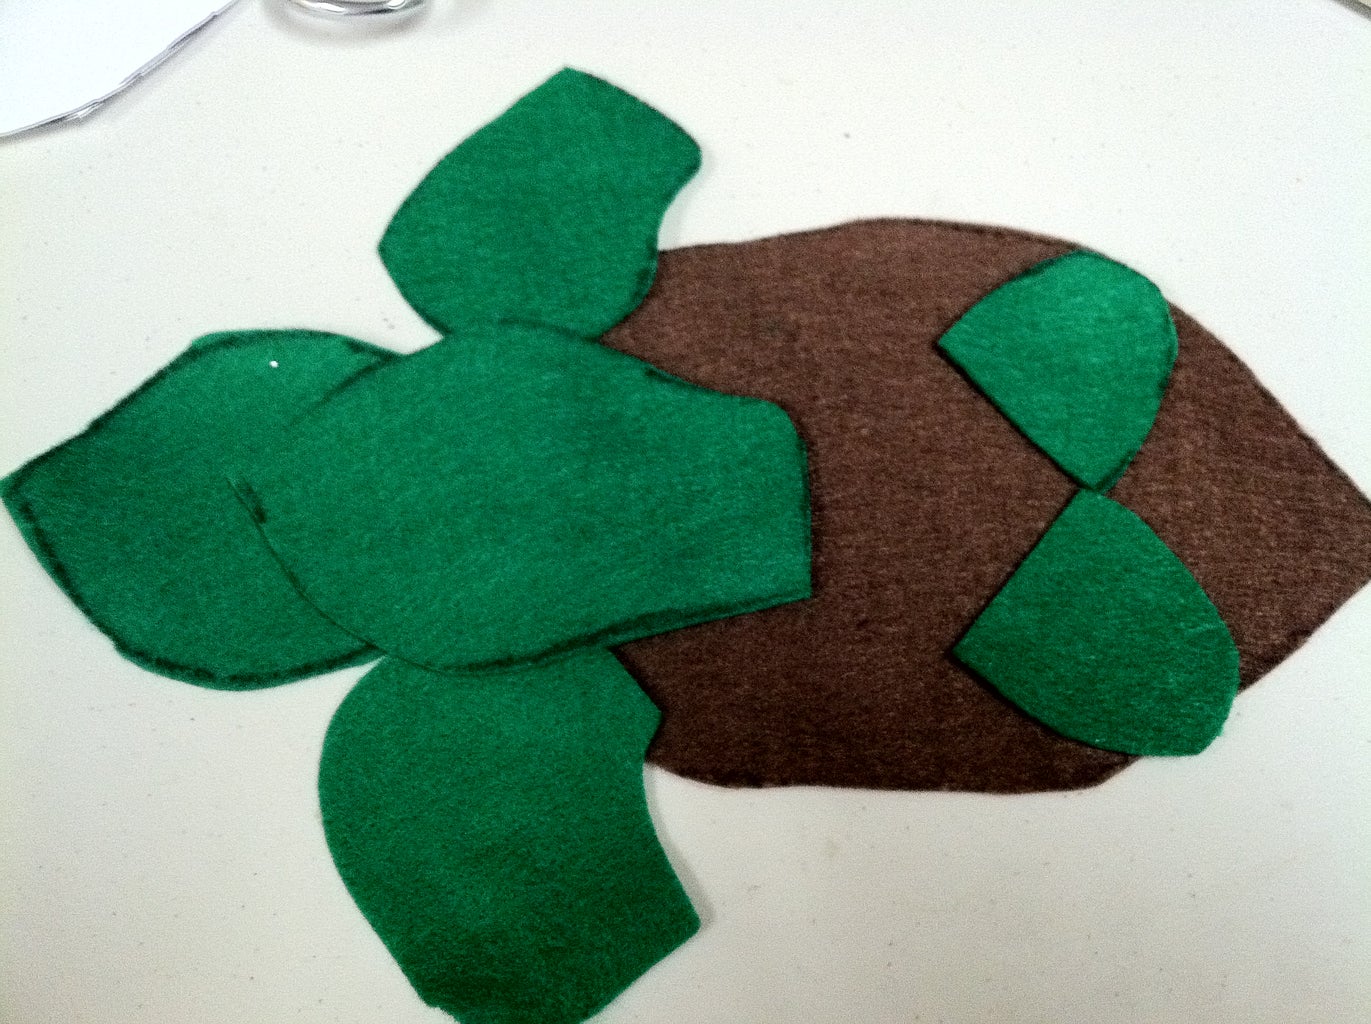
Step 6: Legs/ Head/ Shell (step 1)
step 1
-cut out all the pieces to make the turtle
-you can use the stencil i provided or you can freehand draw it yourself . :)
this includes
2 pieces to make a make a head
2 front legs
2 back legs
2 shells ( one for top , one for bottom)
Attachments
Step 7: Step 2
step 2
- sew 2 cut of head together and flip inside out and stuff with cotton balls or some of that stuff they put in pillows.
- glue gun 2 button to make the eyes
Step 8: Step 3
step 3
- glue all legs and head onto the bottom shell using a glue gun.
-glue the bottom of the bag/body of the turtle onto the bottom shell also .
Step 9: Step 4
step 4
- cut the top shell in half and glue gun along the zipper.
-make sure the shell is attached to top of the bag.
Step 10: Finished!! Adding a Few Touch Ups!!!
project cost:
3 pieces of felt- Joann's $1.00
1 zipper .25 cents
optional:
add some patterns onto the turtle shell
+personalize the turtle sign inside the bag so whenever a person opens the bag to get a pen they will think of you. :)
Step 11: Some Other Pictures.
some other pictures...

Participated in the
Holiday Gifts Challenge


