

Introduction: IBC Tote Kiddie Pool


IBC stands for intermediate bulk container. These containers can range from 275-325 gallons and are mainly used for industrial chemicals. The IBCs used for industry are classified as returnable (re-usable) and non-returnable (disposable). I work in industrial water treatment and we go through several non-returnable IBC totes a week.
My coworkers and I have come up with some creative uses for these containers and I will share some of my best ideas here on Instructables.com. I will share some of my coworkers ideas as well with their permission.
Now, I present to you the IBC tote kiddie pool!
Step 1: Materials and Tools Needed
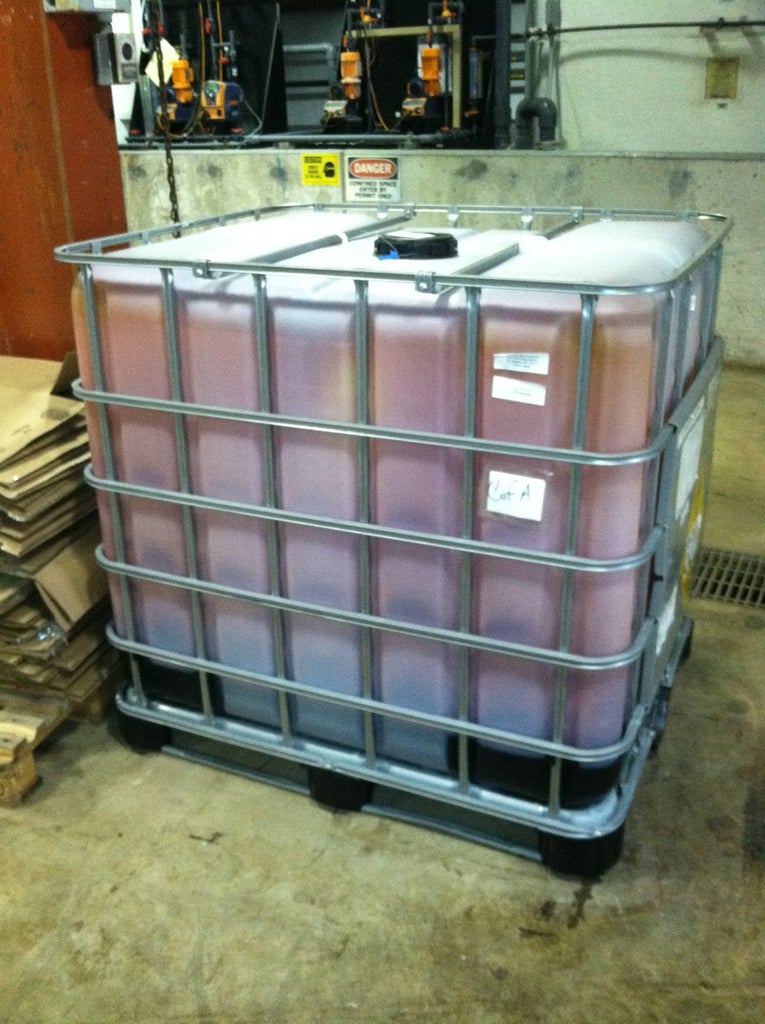


1. You need to get your hands on a tote. For some, this will be easy. For others, it will probably cost you. I see totes on Craigslist for free (rarely), but usually they sell for $25-$50. Well, that is the asking price. If you are patient, or know someone that works in water treatment or possibly a beverage plant, you may be able to score one for little to no money at all.
The picture above is just a representative of an IBC tote. It is not the tote I used nor should it be. Make sure the tote you use previously stored relatively mild chemicals. Clear and non-staining chemicals are obviously preferable. The totes I use contained food-grade citric acid that rinses out completely after a couple of flushes.
2. Sawzall
3. Pool noodles will be used to create a protective edging around the perimeter of the pool. We need 3 of them.
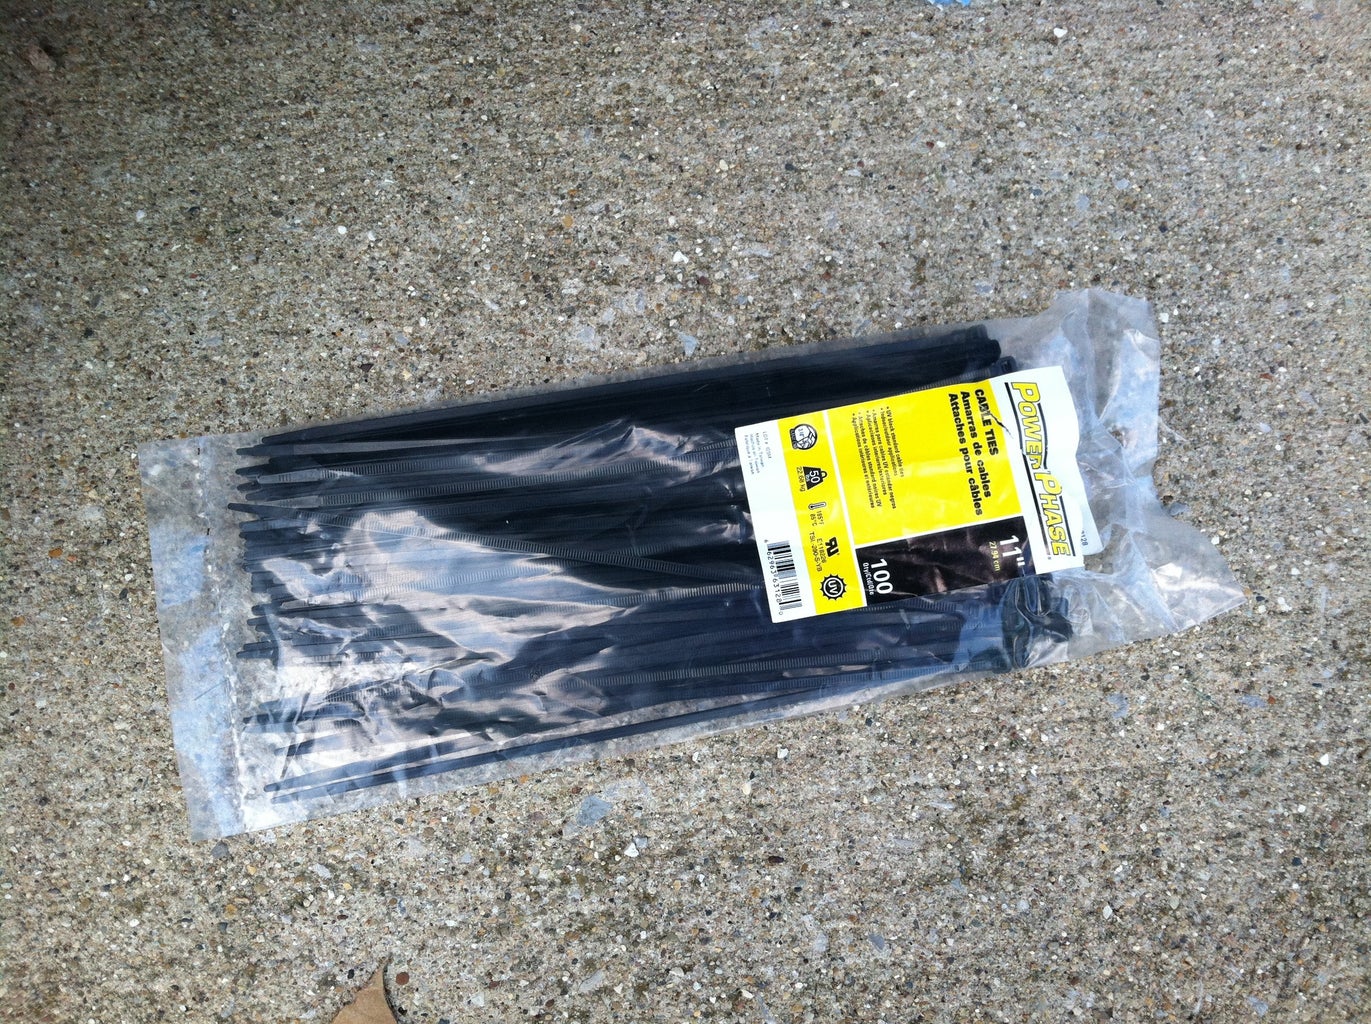
4. Zip ties. Lots of zip ties. UV resistant is best since this thing will be out in the sun all summer long.
5. Some sort of drill.
Step 2: Cut the IBC Tote

Determine how tall you would like the pool to be. You will need to use the sawzall with a metal cutting blade to cut just above one of the horizontal metal bands of the tote cage. I find it useful to use the horizontal band as a guide to cut the plastic inner envelope as straight and flush as possible. I chose the lowest rung since this pool is for a 3-year-old and I want him to be able to get in and out on his own.
Step 3: Split the Foam Noodles

This one is simple. Use a sharp knife to split the foam noodles down one side only. That way you will be able to slip it around the wall of the pool.
Step 4: Start Wrapping the Pool Edge


Spread open the noodle on the cut side and slip it over the edge of the tote. Keep working around the tote until the whole perimeter is covered. There will be some overlap at the end. I would leave the overhang and cut it after everything else has been secured. Try to make sure the seams meet somewhere between 2 vertical rungs. This will make it easier to lock the ends down real well. Also make sure the ends do not meet on a corner. The curvature of the corner makes it difficult for the ends to meet up flush.
Step 5: Drill Holes and Apply Zip Ties


I used a 3/16" bit and drilled a hole centered between each of the vertical rungs. I also drilled extra holes in the corners (you will need extra strap support there) and about 1/2 inch back from each noodle end (like the picture above shows).
Run the zip ties through the holes, making sure the "head" of the zip tie is on the outside of the pool. Cinch it down pretty tight, but not so tight that you begin cutting into the foam.
I chose not to cut off the excess zip tie because I felt it may create a sharp edge and the whole point of this exercise is to eliminate sharp edges to protect my kids.
Step 6: Complete. Enjoy Your New Pool!
Maybe rinse it out one more time, then fill it up. This particular pool I built holds about 75 gallons of water. The ball valve at the bottom makes draining a cinch, plus it has a 2" cam lock fitting on it so you can adapt it to a hose to route the water wherever you want it to go.
Total cost of this build:
IBC tote: Free
3 pool noodles: 1.88 x 3 = 5.64
1 package of zip ties: 7.99
Total: $13.63
Your cost will vary depending on how you get your tote. You can also buy a smaller package of zip ties for less money. I just like to get the big pack because there are ALWAYS uses for zip ties around the house.
I hope this Instructable was useful and I will update it from time to time if I make any improvements or upgrades. Thanks for reading!

Finalist in the
Father's Day Contest

Participated in the
Epilog Challenge V

Participated in the
Great Outdoors Contest


