

Introduction: IPad Mini 6 Drawing Board


I love paper and most of my sketching ends up on cellulose, but with the new iPad mini 6 and the Apple Pencil, I had to add this tool to my arsenal. I had big hopes for the drawing apps, but quickly found the screen size limiting… no handrest! So I made the iPad mini drawing board!
Sketch Or Die (On An IPad MINI)
Supplies
- 9mm birch plywood
- And a 3D-printer to fit the iPad on the print plate. (so you need a 3D printer or a 3D printer friend:-)
- Superglue and gluegun
Optional:
Paint, router for edges (sandpaper works fine too:-), magnet, wall mount/lanyard for storing
Step 1: Cutting Template

I made a template for the cutting of the square to fit the 3D-printed iPad Mini 6 frame. Found the exact measures online, and added some tolerance for the 3D print to fit.
iPad mini 6 - 6th gen - 2021 - H195.4mm × W134.8mm × D6.3mm
Attachments

Step 2: Woodworks


I had a leftover 9mm birch plywood board. Rounded the corners and used the cutting template for the inner square.
I used a jig saw for cutting the square, no need to worry about precision just need the 3D print to fit. Rounded the edges inside and out with a router for smoother fit and handling. Also made a grove for the Apple pencil. Sanded and ready for fitting test…
Step 3: The Finish


As a tradition, I never leave plywood alone… I and coffee paint and a layer of varnish. A bunch of stamps is a must as well, it POPS!
Step 4: Material Combo


I love how 3d printing in combination with other materials fulfills niche needs.
With 3D I could make an exact fit for the iPad Mini 6 and it would fit smoothly into the plywood frame without minute precision.
I've added the step file if you want to adjust for the iPad Mini 5 (slight width difference).


Step 5: Do…


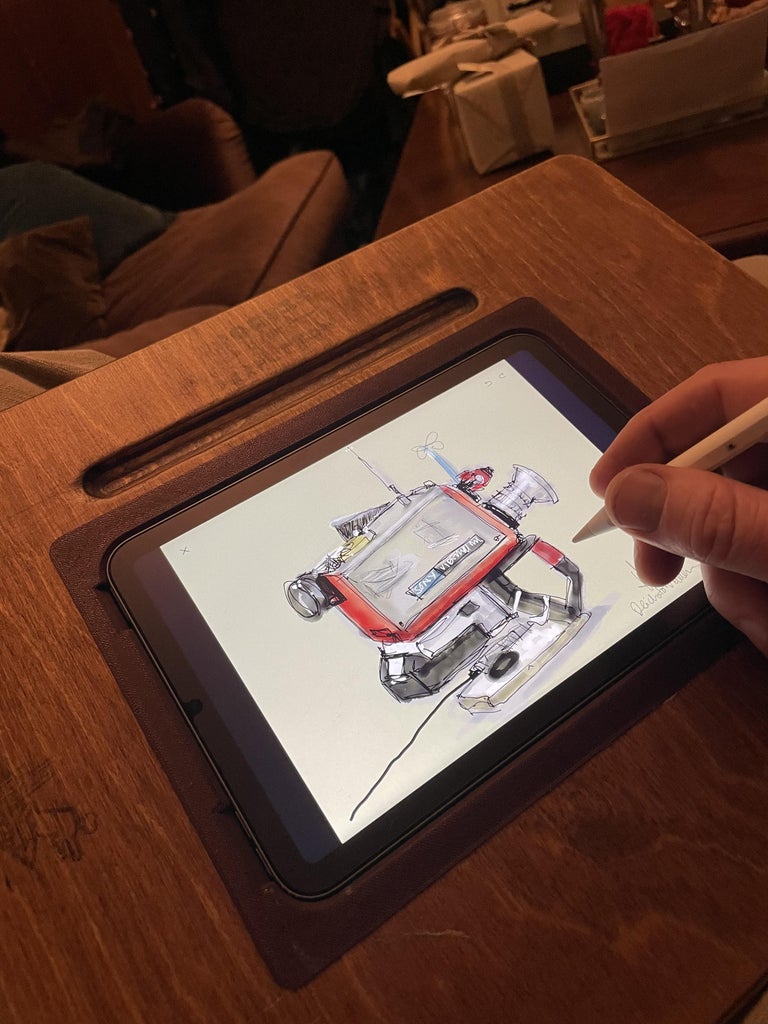
The 3D printed iPad frame almost filled the print plate, almost. I made a lip for nicer feel when running the hand across the board. The fit is tight, but I think over time it will be looser and I really want my iPad Mini 6 to stay in place. Added small groves to turn on and adjust volume (best dine with the pencil:-)
Step 6: One More Thing…


After testing I added a magnet to secure the Apple pencil since it already has a magnet inside. For storing I made a hook on the back and a lanyard in the upper left corner. So when not in use it can be a frame on the wall:-)
Hope this will be a nice addition to the drawing toolbox, a sketch a day keeps the doctor away!
If you enjoyed this Instructable please follow along at my Instagram: @smogdog for more builds… & shenanigans…

Participated in the
Anything Goes Contest


