

Introduction: Improved Perpetual Calendar (to the Year 2124)


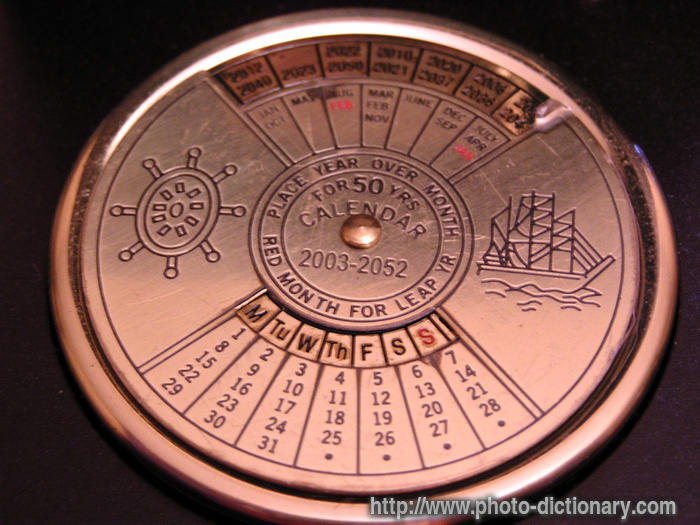
Most (non-computer) perpetual calendars do not render good representations of a month.For example, see http://www.photo-dictionary.com/photofiles/list/1717/2276perpetual_calendar.jpg and http://chestofbooks.com/crafts/scientific-american/sup4/images/PERPETUAL-CALENDAR.png. Some show the month with a variable starting day of the week. Others show the month with the maximum number of days instead of the actual number of days in the month. In general, they usually require a complicated table lookup to determine how to set the calendar view.
This calendar attempts to address this by:
1) Eliminating table lookups by providing viewports that show only relevant information.
2) Providing an accurate representation of a month, always starting with Sunday and showing only the days that actually exist in the month.
3) Providing a logical process for setting the calendar: set the year, set the month, set the starting day of the month, then mask off the days that don't appear in that month.
The calendar is double sided to reduce the diameter of the overall calendar.A single sided version could be created by putting the year and month information on outer rings. That was my initial design, but it got too big, and I was hoping to create a smaller, pocketable version like some of the older ones. See http://en.wikipedia.org/wiki/File:50yearcalendar.JPG.
This calendar would be easy to convert to laser cut and laser etched metal sheets, which would yield a keepsake that would work for more than a century. Replacing the year disk would make it work for another century.
Step 1: Print PDFs
Print out the PDFs onto individual card stock sheets.

Step 2: Cut Out

Cut out the sections designated in red lines. These are small and large irregular sections.
Cut away the outer red ring from each disk.
Step 3: Punch Center Holes


Punch a small hole in the center of each circle. I’d start with a pin first to get good alignment of the disks.
Carefully align Disk 2 Back and Disk 2 Front by their center holes and then glue them together, using the light blue marks for alignment.
Step 4: Assemble Back and Front Masks

Carefully align the Back Mask and the Front Mask by their center holes (temporarily insert a pin) and then glue or staple them together only at the very bottom.
Step 5: Assemble Year Disk

Insert the Year Disk (Disk 1)
Step 6: Disk 2 - Month Disk

Insert the Month Disk (Disk 2) behind Disk 1 with the Back disk facing to the Back Mask.
Step 7: Flip Over

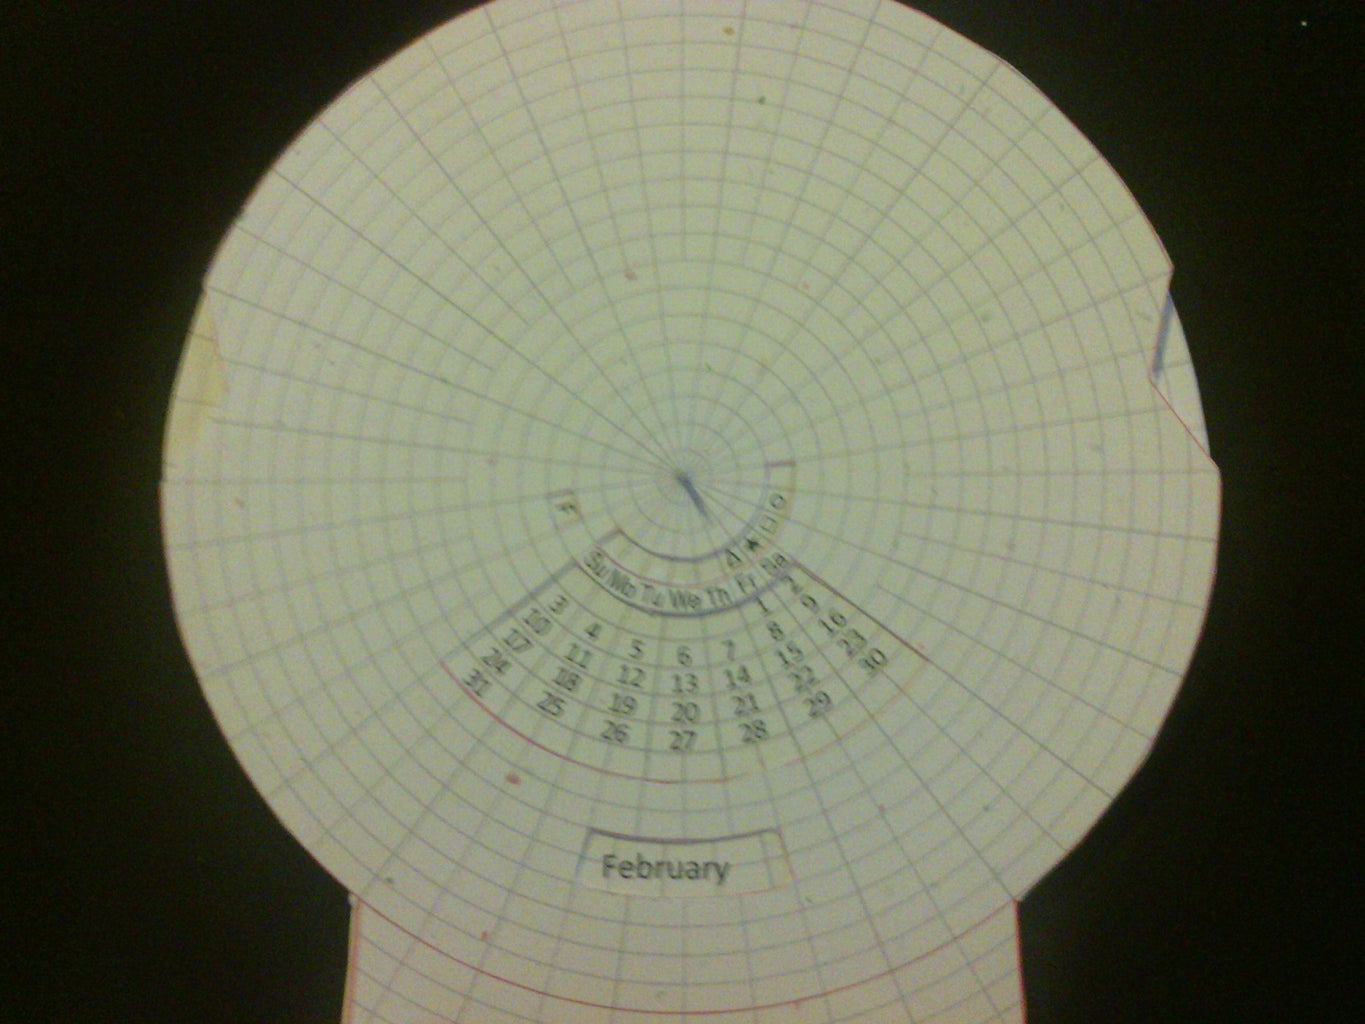
Flip the assembly over. Note Disk 2 (the Month disk) with the Front Disk facing the front. February is visible in the port.
Step 8: Insert Disk 3 - Calendar
Insert Disk 3, the Calendar disk.
Step 9: Insert Disk 4

Insert Disk 4 - the days in month disk. Note that F and Triangle are in the view ports.
Put a pin, paper clip or a small plastic bolt through the center of all the disks and covers.
TO USE:
1) Set the year on the back of the calendar.
2) Set the month and note the letter and symbol that is visible.
3) Turn over the calendar and set the letter.
4) Set the symbol.
Step 10: Explanation

DESCRIPTION OF ELEMENTS:
1) Back Mask
This masks off all other years and months so that only the relevant year and month is visible. It does not move and the visible information is shown at the top of the mask.
2) Year Disk (Disk 1)
This has 14 segments to it. This is because a year can start on any 7 of the days of the week and a year can be either a leap year or not (7 * 2 = 14). The year is grouped with all the other years in the future that have the same configuration. This disk provides a viewport to only the month information for that year configuration. This is a moveable disk that basically only changes each year.
3) Month Disk (Disk 2)
This is a double-sided disk with 12 segments on each side for each month. On the back, the month is displayed centered at the top in each of the 14 possible year configurations. Each year configuration unmasks just the month data for that year. Thus, each month has calendar configuration information for each of the 14 possible year configurations.
On the front of this disk is the month name to simply be displayed under the calendar.
4) Calendar Disk (Disk 3)
This disk works with the next two layers to display a correct calendar for the month. It is designed to provide all the information needed for any possible calendar configuration. This disk has a "handle" on it, so it does not freely spin all the way around.
5) Days in Month Mask (Disk 4)
This disk, when positioned to view the desired symbol, will mask off days from the end of the month so that the month will have 31, 30, 29 or 28 days. 31 days corresponds to the circle symbol, 30 days is the square, 29 days is the star and 28 days is the triangle. Once the mask symbol is selected, this disk moves with the calendar disk. This disk has a "handle" too, and does not freely spin all the way around. The handles of Disk 4 and Disk 3 coincide for a 31 day month because it is the most common.
6) Front Mask
Provides a mask for the calendar view so that only the 7 days of the week are shown in the proper configuration. With the correct letter in the viewport, the correct month view is shown. Also, a viewport is provided to show the selected month’s name. This mask does not move and is attached to the Back Mask.
NOTES:
This is still a prototype. I am seeking input on the design. This is why the grids are still left on the printouts. PDFs without the grids could be made available.
Look at the spreadsheet to see the data used to create these disks. Years follow a 28 year repeating cycle (except for century years).
The PDFs are printed with polar grids to show how they align. The polar grids were invaluable templates in developing this calendar. The custom grids were created on the site, incompetech.com/graphpaper/polar/.


