Introduction: LED Tracing Light Box (simple and Awesome)
If you're into traditional animation, a light box is something essential. Here I will show you how to make a simple and great LED Light Box that has also a nice tilt for a more comfortable drawing position.
This is my first instructable and I've just thought of doing it right after I finished the project... so I apologize if any of the steps or pictures are not clear enough. I'll do my best!
Step 1: What You'll Need...


You will need just a few things to make this light box:
- Methacrylate sheet (5mm, DIN A3): For the drawing surface.
- Wood (30x40cm): For the base. Any kind of wood will work.
- LED (I've used IKEA DIODER ): For the light.
- Cardboard (23pieces of 3x40cm, 1piece of 1x40cm): For the methacrylate sheet support.
- White paint (I've used tempera because I already had it but you can use spray or whatever you want).
- Insulating tape.
- Glue.
- Scissors.
- Soldering iron (optional).
Step 2: Cut and Glue the Cardboard


First of all, cut the pieces of cardboard needed:
- 23 pieces of 3x40cm.
- 1 piece of 1x40cm.
Once you have the 24 pieces, glue them on the wooden base like you see on the pictures:
- For the back, use 19 pieces of 3x40cm.
- For the front, use 3 pieces of 3x40cm and the piece of 1x40cm. The piece of 1x40cm is there to avoid the methacrylate sheet from sliding down.
Step 3: Paint the Base
Now that you have glued all the cardboard pieces, it's time to paint the wooden base in white. We do this because the white color will reflect the light better.
Step 4: Set and Fix the LEDs

Once the paint is dry, it's time to set up the LEDs. The best distribution that I've come up with is the one in the picture. The LEDs are fixed with a tape that comes in the package. The rest is fixed with insulating tape.
If you use the IKEA DIODER like I did, you may find the wires too long. That's why I've made them shorter by cutting, soldering and recovering the joints with insulating tape (the soldering is optional but recommended).
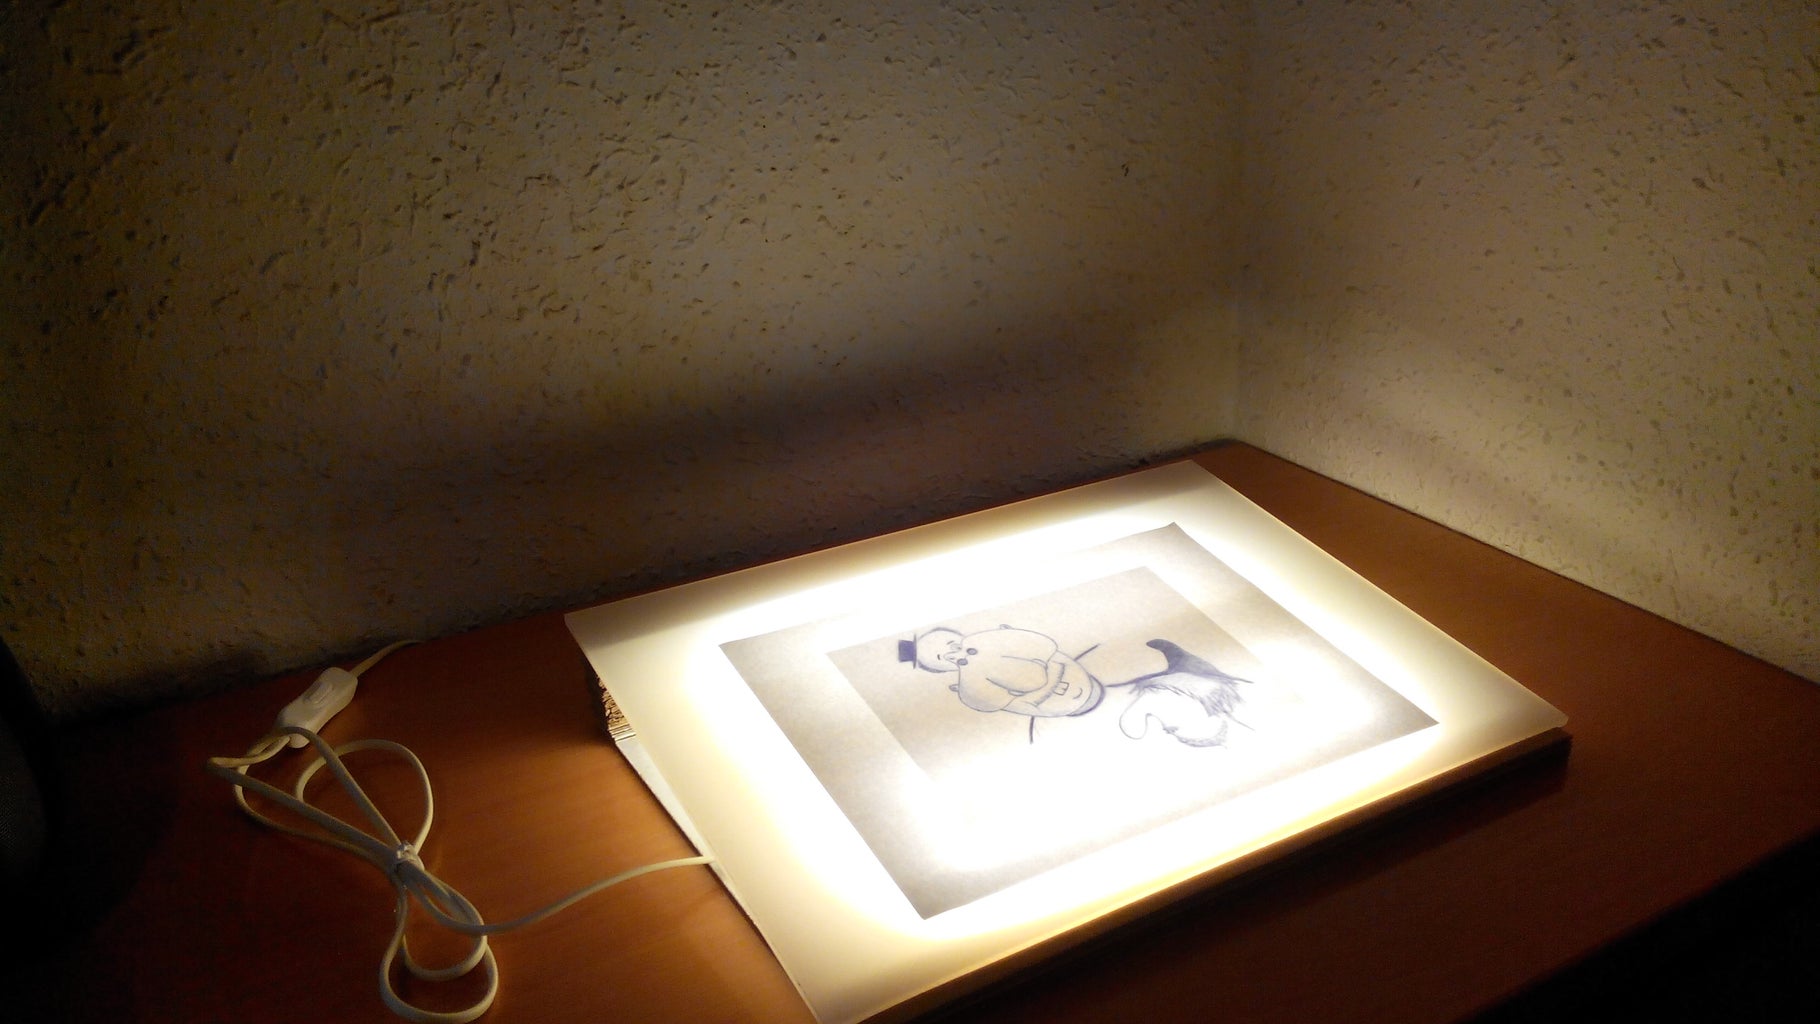
Step 5: Put the Methacrylate on Top And... Done!

Now the final step is to put the methacrylate sheet on top of the cardboard support. Don't glue it or anything, just put it on top. And that's it! You just made a fantastic light box!
Step 6: How Bright Are the LEDs?
They provide 30 lumen. I've recorded a video to show you how bright they are.
That's all! I hope you liked it and I encourage you to make one yourselves! If you have any questions, please let me know in the comments. And I'll be happy to see your versions of the light box.


