

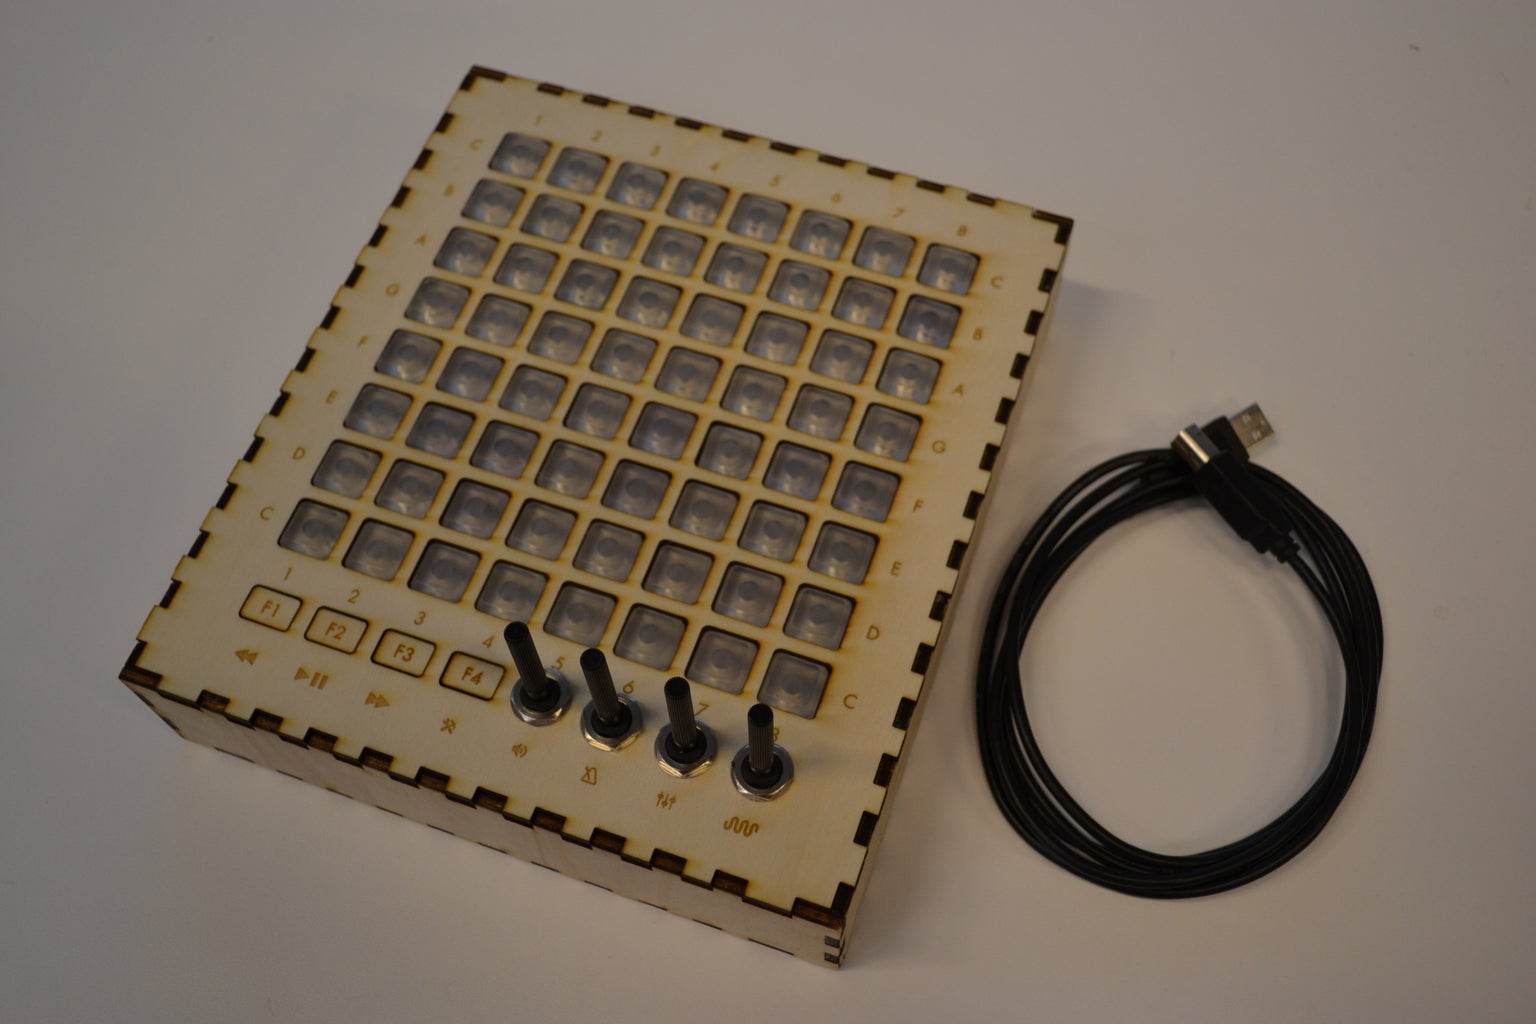
Introduction: Launchpad / Sequencer With MIDI Output


For a project we had to make an instrument, we came up with the idea to make a Sequencer capable of sending MIDI data to a MIDI player. We made this using Arduino and Processing. It took us about 5 days to design the instrument, collect all of the parts, construct it, make the software and put it all together. The costs for making it where quite low, about €30 (about $40).
Step 1: Materials and Tools

Materials needed:
- 64 3mm red LED's
- 68 high pushbuttons
- 64 220 Ohm resistors
- 12 1K Ohm resistors
- 4 10K Ohm linear potentiometers
- 1 Arduino UNO
- 1 USB cable
- 1 16bit parallel I/O expander (MCP23016)
- 1 3K Ohm resistor
- 1 33pF capacitor
- Perfboard (aproximately 70x70 holes)
- Wires
- 600x300mm triplex for lasercutter
- 64 Doorstoppers
- 1 latex glove
Tools needed:
- Soldering iron
- Wirestripper
- Wirecutter
- Sandpaper
- Sharp knife
- Woodglue
- Lasercutter
- Duct tape
- Glue
Software needed:
- Processing - http://processing.org/download/
- Arduino IDE - http://arduino.cc/en/Main/Software
- optional a vecor file editor (illustrator, coreldraw)
To get the sequencer up and running you need some basic processing and arduino knowledge. Understanding how it works requires average knowledge of processing and arduino. But don't hesitate to take a look at the code and learn from it.
Step 2: Electronics


We used multiplexing to control the LED's and at the same time we read the state of the buttons.We used a separate piece of perfboard for the I/O expander to make it fit inside the box. To make sure that the multiplexing worked fine we changed the I2C speed to 4kHz, take a look over here on how to do that.
Step 3: Box


We used http://boxmaker.rahulbotics.com/ to make the box and edited it in Adobe Illustrator for the buttons. We made a pdf file of our design and cut the wood with the lasercutter.

Step 4: Code
The code is made and tested on a mac, windows does not have an internal MIDI input. It is possible to adapt the code to run on a Windows machine. We used the SoundCipher library to produce the MIDI.

Step 5: Buttons


We used a sharp knife to cut the ridges from the side of the door stoppers and made them smooth using sanding paper. For keeping the buttons in place we put a latex glove on the back with duct tape and glued the buttons on top of it.
Step 6: Putting It Together

Sandwich the electronics between the stand and the buttons, attach all of the wires to your arduino and connect it to your computer. Upload the firmware to the arduino and run the processing software. Then start a music program capable of playing MIDI, you should now be able to use the sequencer.


