

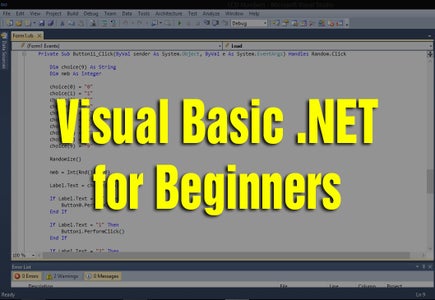
Introduction: Learning Visual Basic .NET for Beginners

If you want to learn how to code, Visual Basic .NET (VB.NET) is the easiest language to start with. This language is suited for bedroom beginners to expert hackers. In this instructable we will make a simple interactive LCD Display. NO EXPERIENCE NEEDED. This simple program will show a number in the LCD display when a button is pressed.
Step 1: The Tools

Before you get started you need to have the necessary programs and requirements.
To write the code and create the design you will need Microsoft Visual Studio Community 2013, you can get that from here for free: https://www.visualstudio.com/en-us/products/visual-studio-community-vs
System Requirements are shown at the bottom of website.
FULL VERSION FREE FOR STUDENTS HERE: https://www.dreamspark.com/
Follow the prompts and install
Step 2: The Design


Start by opening Visual Studio and starting a new project. Make the project name ‘LCD Display’ and click OK. Now we are ready to design the Graphical user interface (GUI).
First select ‘Form1’ and we will define some properties, go to the properties tab on the right side. Find the ‘Text’ property and change it to ‘LCD Display’, you will see it change at the top of the window aka the Form. Now make the following changes.
Size: 600 x 415
BackColor: Black
You should now have what’s shown in image #2 and you can always see your program in action by clicking the green play button at the top.
Step 3: Add Buttons and Labels


Go to the ‘Toolbox’ tab (If you can’t find this go to View > Toolbox) and add a ‘Label’ to the form. Give it these properties:
Name: Top
BackColor: Gray
AutoSize: False
Text:
Size: 100, 15
Copy and paste this label to match image #1 changing the size to 15, 100 where necessary. Name them Top, Middle, Bottom, TopRight, Etc…
Now add a button and give it these properties.
Name: Button1
Size: 60, 35
Text: 1
Copy and paste this button to match image #2 and change the text to match. Make sure the name of the button corresponds to its text (e.g. Name: Button3 and Text: 3). Add one last button and name it btnReset.
Step 4: Time for the Coding

Once you have finished designing the form we can add the code to make it work. Start by double clicking on the form, this will bring up the ‘behind the scenes’ window. Now you can add in all the code, I have attached the code but I STRONGLY suggest that you print out this document and type the code in yourself. This way you will learn how to code a lot quicker and see what the code does and how it works. All text that is coloured green with an apostrophe before it is a comment I have added in to help explain the code. I suggest you type this as well (don’t forget the apostrophe or you will get errors).
Double clicking on each of the buttons will add in the necessary code.
Attachments

Step 5: Finish

Once your all done don't forget to save it somewhere safe and always backup your work. Now you can get the single application file from save folder, just go to LCD Display > LCD Display > bin > Debug, and there it is shown in image #1. You can copy this file anywhere you like but can't edit the code from this file, only run it. If you like you can go back and change your colors or fonts etc. and if your feeling confident with the code you can add some more features. I hope now that you are confident with some basic VB.NET coding and continue to learn this great skill. If you have any questions or feedback I encourage you to comment below, don't forget to click if 'You Made it!'.

Participated in the
Coded Creations


