

Introduction: Make Anything!! Duck Tape Guide


Duck tape is a universal item. First of all it has a light side and a dark side, and holds the universe together. ( Just bear with me).
This guide can be applied to anything. Once you have this basic skill down, you options of what to make will flourish.
Some of you might be wondering what the secret is to it all. Well in my opinion, there really isn't one. There are "guidelines" that you kind of have to make observations of, like being very exact. I have gotten one piece a little bit off center, and I've had to strip off a yard or two of tape from the project. So just be careful.
I have included MANY pictures just to make sure that everything was covered. I hope this helps, but if you have any questions, feel free to ask away.
One last thing. I HIGHLY recommend using Duck brand duct tape. Professional grade is what i use to make things and it's almost as if it was manufactured to make things with.
Step 1: What You Will Need

Duck tape ( try to get Duck brand)
A smooth flat surface ( this is difficult to do in your lap)
A clean surface ( pet hair is just bothersome and way to much dust, like if you do this on top of your bookcase, the adhesive can wear down.)
Time ( some projects can take a while.)
Step 2: First Step

Get a strip of tape about 4 inches long. That is what I used, but you can use longer of course.
Step 3: Second Step


Now here is where the precision comes in. CAREFULLY put another strip of tape over the sticky side of the first strip. The second strip doesn't have to be exact, and it actually better to have a little but more. If you do have more than you need though, make sure to keep all it all on one side for a clean look.
Step 4: What You Should Have by Now

By now you should have a strip of Duck tape about 3 inches by 4 inches (if you used a 4 inch strip in the beginning)
Step 5: Fourth Step
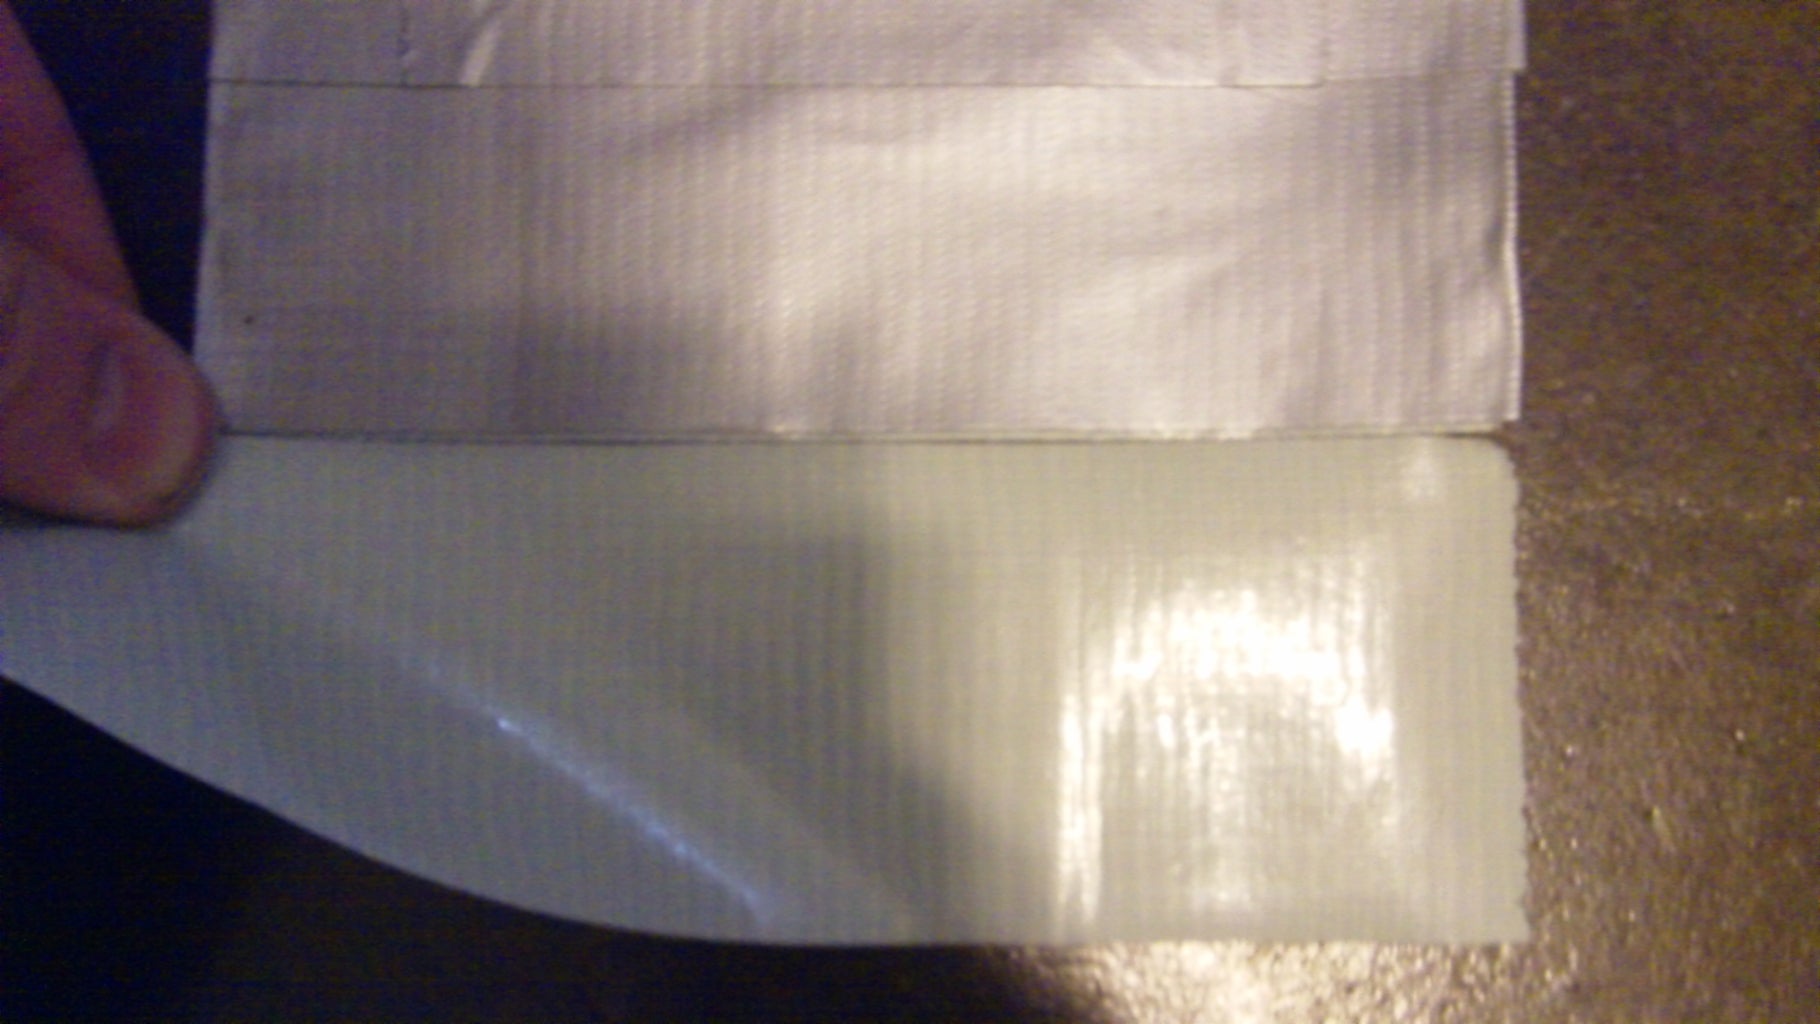

Now you will be making the second slab of tape. It should turn out to be an exact copy of the first.
You also need to be very exact here, but mistakes made on this step are easily corrected. Remember, it's better to have too much than to have too little. If you do happen to have too little, you can always tear off a small strip of tape from the roll and match it up with the short piece. Use the first slab of tape you made earlier as a guide to how long this needs to be.
as you can see in the picture, I'm being very careful. Or at least trying to be.
Step 6: Fifth Step

repeat steps 2 and 3. You will end up with 2 identical slabs.
Step 7: Step Six

Tape the two pieces of... tape together. You want to leave about 1mm in between them before you tape. If you don't leave that space, it will be hard to make angles for your project. If your doing a wallet or something, you don't need this gap.
Notice how all the excess parts that i had to fold over are on the part facing the floor. This will give the finished project a nice look.
Step 8: Outro
These steps can all be applied to just about everything basic. Along the way you should experiment and thats what will make you projects stand out. As an example, I put curves instead of right angles for the bottom of a purse i am selling.
I almost forgot to mention that you should get your skills noticed at your school or something. You can make a lot of money if you sell enough of your projects. Make things that will appeal to your customers. I go to a school full of rednecks. I sold camouflage wallets for 3 dollars each and made 50 bucks in one month!!


