

Introduction: Make Your Own Beyblade Micros: Paper Edition


I am a huge fan of Beyblades! I've been in the hobby since the plastic generation, or for those of you who Let It Rip the Bakuten Shoot era. Recently I found out Beyblade had micro versions of the Burst generation. Sadly, the Beyblade Micros series ended with its 3rd iteration. Because the series ended some of my favorite burst beys were never made into micro-scale. I decided to change this by breaking out my hot glue gun and making my own micro Beyblades!
In this Instructable I will show you how to make your own micro paper Beyblades that can compete with the official ones.
Supplies
Materials
- Craft Glue
- Mod Podge
- Hot Glue Sticks
- Construction Paper
- 3D Printed Micro Beyblade Gear (See step 6 for a link to the file)
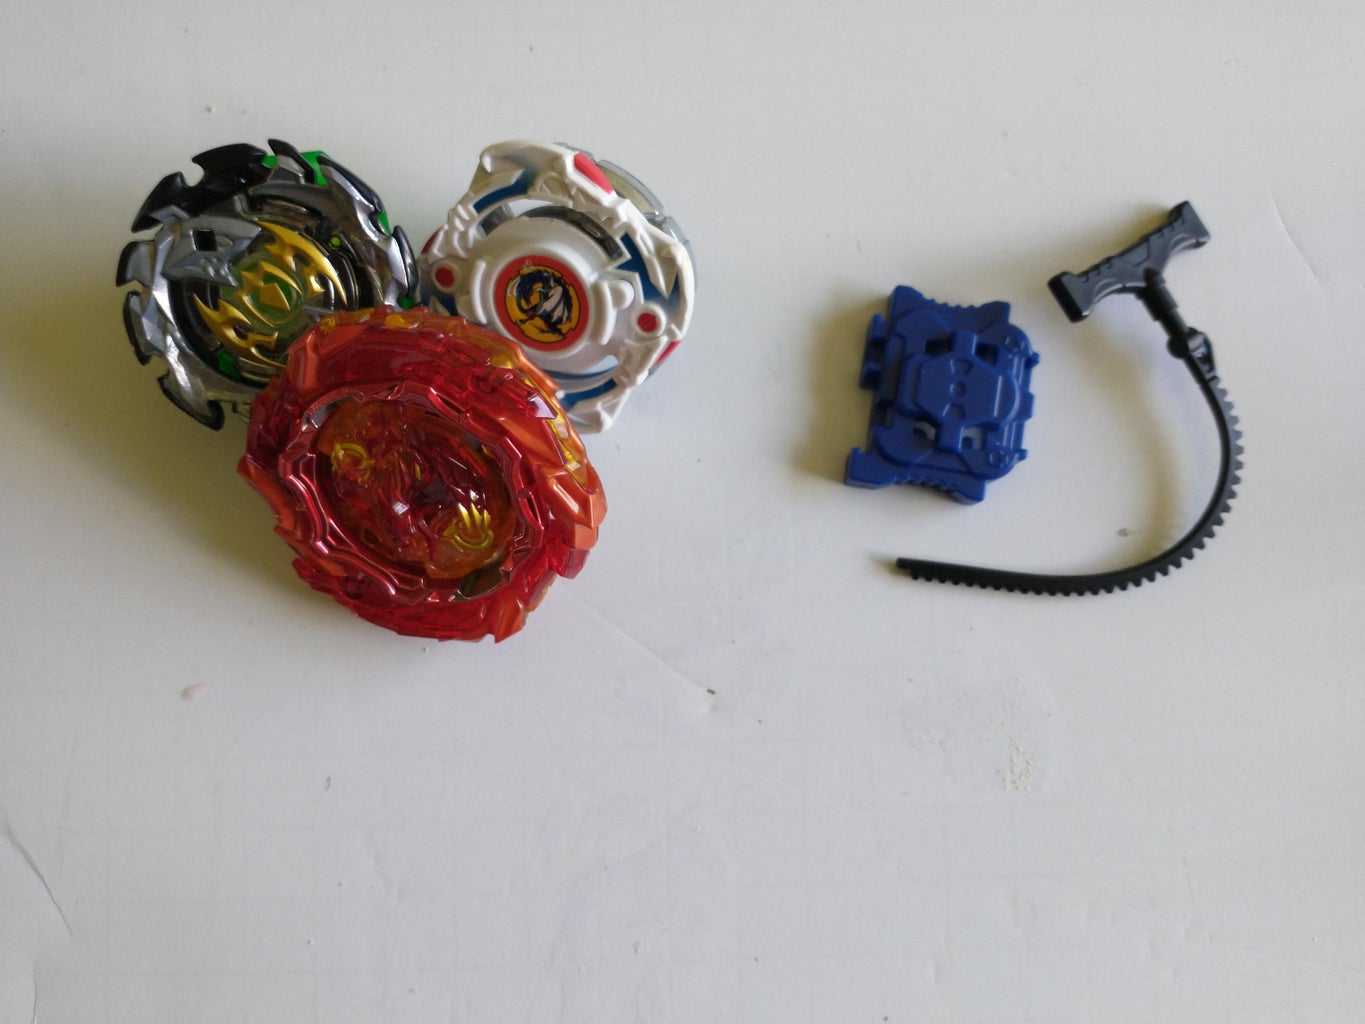
- Beyblade Micros Launcher and Ripcord
- Favorite Beyblade or a Top-Down Picture of a Beyblade
- 3mm Round Spacer Beads
- Craft Dowels with a Radius of 2mm
- 3/8" Flat Washer or Any Metal Washer with a 1" Radius.
Tools
- Hobby Knife
- Hot Glue Gun
- Plastic Nippers
- Scissors
- Ruler
- Paint Brush
- Tooth Pick
- A Recycled Bottle Lid
- Pencil
- Any Kind of Polymer or Modeling Clay
- 3D Printer
- Printer
- Computer
Step 1: Prepare Paper


Trace eight 1/2 cm strips along the length of construction paper. The strips should be 11" in length. Trace a line 1.5cm from the top of each drawn strip. Do the same for the bottom. See the second picture for an example. Cut out each traced strip. Do not cut the lines marked at the top and bottom of each strip.
Step 2: Paper Quilling


Take the craft dowel and mark a line 4mm from the bottom. This will become your Beyblades tip. Squeeze a penny size worth of glue into the recycled bottle cap. Take a strip of paper and add glue from one of the line-markings to the end of the paper with a toothpick. See picture three for an example. A light coating of glue works best. Above the 4mm marking roll the glued end of the strip tightly around the dowel. Make sure the marking on the paper strip is facing you. Let the glue dry for two or three minutes. Tightly roll the paper strip around the dowel until you reach the other marking. Once you reach the other end of the paper add glue from the marking to the end of the strip. Attach another strip of paper aligning the marking to the glued one. Repeat this process until you make it to the end of the eighth paper strip. Apply glue to the final strip from the marking to the end and then adhere it to the paper disk. Hold the glued end in place for a minute to make sure your paper disk does not unfurl. Let the glue fully dry before moving on to the next step.
Step 3: Form Paper Disk Into Beyblade Shell


Gently form a cone shape out of the paper disk. A good technique is to take the disk in both hands with the Beyblade tip facing away from you. Use your thumbs to slowly message the disk into a cone. The height from the bottom tip to the top of the Beyblade shell should be approximately 1.5cm tall. Once you are happy with the shell give it a test spin. If you are not happy with your Beyblades balances reshape the cone and test again. Repeat this process until you are happy with the way it spins. Once you are satisfied with your Beyblade take your paintbrush and gently coat the inside with craft glue. A thick coat of glue works best. Do the same for the outside of the Beyblade shell. Let the shell dry for 10 minutes. Apply a thin coat of Mod Podge to the outside of the Beyblade shell. A chunk of polymer or modeling clay works well as a drying stand. Make sure to let it dry completely before attempting steps 7 and 8.
Step 4: Printout Micro Attack Ring


While the paper shell dries it's time to make a printout of your blades, attack rings, or whatever your favorite generation of Beyblade calls the top layer. I will refer to this part as the blade, this is the newest terminology used in the Dynamite System. Gather your favorite Beyblades and take a top-down picture of their blades. If you do not have the Beyblade you want to turn micro you can always do a quick Google search. You can also draw your own blades with a template I made. You can find the template here: LINK.
I am using Inkscape in this Instructable but, feel free to use your favorite editing software. On the page draw a circle and resize it to 25.4mm x 25.4mm. Make sure to turn the fill option off. Change the outline of the circle to red. The red will signify where to cut the blade. Next, make another circle. Turn on the fill option this time and change it to red. Resize the second circle to 7.3mm x 7.3mm. This will be used to mark where the gear is to be attached. Import your first Beyblade image. Resize the image to 25.4mm x 25.4mm. If your image disappears use the Zoom Out option on the lower right of the screen to locate it. Copy and paste both circles. Select the copies and the Beyblade image and then center align them. Group all three items together to form the first cutout. Do this for each of the Beyblades you wish to make. You may want to make multiple copies of the cutouts for backups. Align the objects, save the document as a PDF and then print it out on normal copy paper.
Step 5: Blade Cutout


Select and cut out a blade from your printout. On your remaining construction paper brush a light layer of craft glue about the size of your blade. Adhere blade to the paper. Lightly brush a layer of craft glue over the blade. Let the blade dry completely. Cut the blade out using the outer red circle as a guide.
Step 6: Designing Beyblade Gear in Tinkercad


While your blade and Beyblade shell dry let's make the micro gear on Tinkercad.
Note: All measurements for the following shapes were found with the help of a caliper. The gear settings were found by trial and error.
If you would like to download and print the gear head over to this link.
Note: Tips for finding a place that offers 3D printing are at the end of this step.
Otherwise, head over to Tinkercad.com and log in. If you do not have an account you can make one for free. If you don't have any experience with Tinkercad please complete a few of their tutorials before proceeding.
Create a new design and gather the following shapes:
Note: All measurements are in millimeters.
- Metric Gear: Height 3.75, width 10.89, length 10.89, and teeth count 12. Found under Shape Generator -> All -> Page 3 (See picture 4 for setting details).
- Tire: Height 1.12, width 9.96, and length 9.96. Found under Shape Generator -> All -> Page 3.
- Cylinder: Height 0.75, width 11, and length 11.
- Cylinder: Height 4.5, width 7.3, and length 7.3.
- Cylinder Hole: Height 20, width 1.5, length 1.5.
- Cylinder Hole: Height 5, width 5.2, and length 5.2.
Take the tire shape and make sure it's on the floor of the Workplane. You can check this by clicking and dragging the black cone handle above the selected tire. If both the measurement boxes show 0.00 the object is on the floor of the Workplane. Bring the cylinder that is .075mm tall over to the tire. Raise the cylinder 1mm above the floor using the cone handle. Select both the cylinder and tire and center them with each other. You can center shapes using the Align option on the topmost ribbon(see picture 18).
Note: you can select both shapes by holding Shift and then clicking on each of the objects.
Group both the tire and cylinder together. Resize this new shape to have a height of 1.5mm. You can do this by using to topmost white square handle.
Note: You can group selected shapes together by pressing the keys Ctrl and G at the same time. To ungroup a shape hold down Shift, Ctrl, and G at the same time.
Bring the metric gear over to your new shape. Raise the gear 1.5mm off the floor and center it with the shape you just made. Group these together to form the top of your micro Beyblade gear.
Bring the cylinder with a height of 4.5mm over to the Beyblade gear. Raise this cylinder 5.25mm off the floor. Center the cylinder with the Beyblade gear and group them together.
Grab the cylinder hole shape with the height of 5mm and bring it over. Make sure the cylinder hole is on the floor. Center the Beyblade gear with the cylinder hole and group them together.
Rotate the Beyblade gear 180 degrees using the curved arrows handle. Bring the remaining cylinder hole over. Make sure this shape is also on the floor. Center the cylinder hole with the Beyblade gear and group it together.
Congratulations you made your very own Beyblade Micros Gear!
Now you need to print your Beyblade gear. If you have a printer make sure to set the print job to include supports. The part works well when printed in PLA or ABS.
Tips: If you don't have a 3D printer check with your local library, makerspace, or university. Where I live the makerspace and university charge about $5 per hour of printing. My local Library offers free 3D printing for objects that only take an hour or less to complete. One Beyblade gear takes about 10 - 15 minutes to print. Another option would be to use an online service like Shapeways.
Step 7: Adding Weight to Your Micro Beyblade


Warm up your hot glue gun and glue around the craft dowel where it connects with the Beyblade shell. See picture one for an example. Once the glue dries take your plastic nippers and cut the craft dowel off from inside the top of the shell. Hot glue around the inner top edge of the shell, then insert the washer. Make sure to let the glue dry before moving on to the next step.
Step 8: Complete Your Micro Beyblade


Use your plastic nippers, remove the support from the 3D-printed Beyblade gear. Hot glue the cutout blade to the top and center of the washer. The cutout should align almost perfectly with the washer. Put a small dab of hot glue onto the blade's red circle and adhere the gear to it. Once the gear dries test spin the Beyblade to make sure the gear is centered. If the gear is wobbly carefully peel it off and glue it again. Once you are satisfied with the placement of the gear apply hot glue around its bottom edge. If your gear is made from PLA be careful to not let your glue gun touch it for too long. The glue gun could possibly melt your gear. Finally, put a thin bead or dot of hot glue on each contact point of your blade. In the fourth picture, you can see I put a thin bead of hot glue at each of Dragoon Fighter's wings. The hot glue beads or dots simulate the contact points found on the full-size version of the Beyblade you are making
Great job! You have now completed your very own Micro Paper Beyblade. Check out the bonus steps for information on how to switch your Beyblade to defense/ stamina mode and advance blade designs.
Step 9: Bonus Step: Defense/ Stamina Mode


If you would like a Defense or Stamina mode Beyblade, remove the wooden tip with plastic nippers. Take a spacer bead and lightly press it against the center of the Beyblade's bottom until a small indent forms. Hot glue the bead inside the indent. This will give you a round tip great for taking the center of the arena and long spin times. Experiment with different types of beads to see how your Beyblade reacts.
Step 10: Bonus Step: Advance Blade Design

In the picture, the Beyblade on the left is Emperor Forneus with a special defense blade. I took a leftover craft dowel and cut six 1/2cm bits from it. I glued these bits to each of the blade's contact points. Once it dried I wrapped another strip of paper around it and sealed it with Mod Podge. This defense ring reduces stamina by few seconds but, deflects attack types quite well.
The Beyblade on the right is Roar Fafnir from the new Dynamite system. With this blade, I printed its cutout to the size of 30mm x 30mm so it would protrude past the Beyblade shell. At each contact point, I added hot glue under the blade in thin smooth layers to create rounded curves. The idea with this design was to create a blade that dampens recoil when it's hit by another bey.
It's really fun trying to get a micro to react like a full-size bey. Experiment with different materials to see what kind of behaviors you can give your Beyblade.
Step 11: Conclusion


Thank you for checking out my Instructable! If you have any questions please leave them in the comments and I will do my best to respond ASAP. If you make some of these Beyblades post a pic I would love to see your design! I guess all that's left to say is...
Ready! Set! 3... 2.. 1. LET IT RIP!!!

Participated in the
Fandom Contest


