

Introduction: Marker Flags for Reversing Car/Trailer Safely
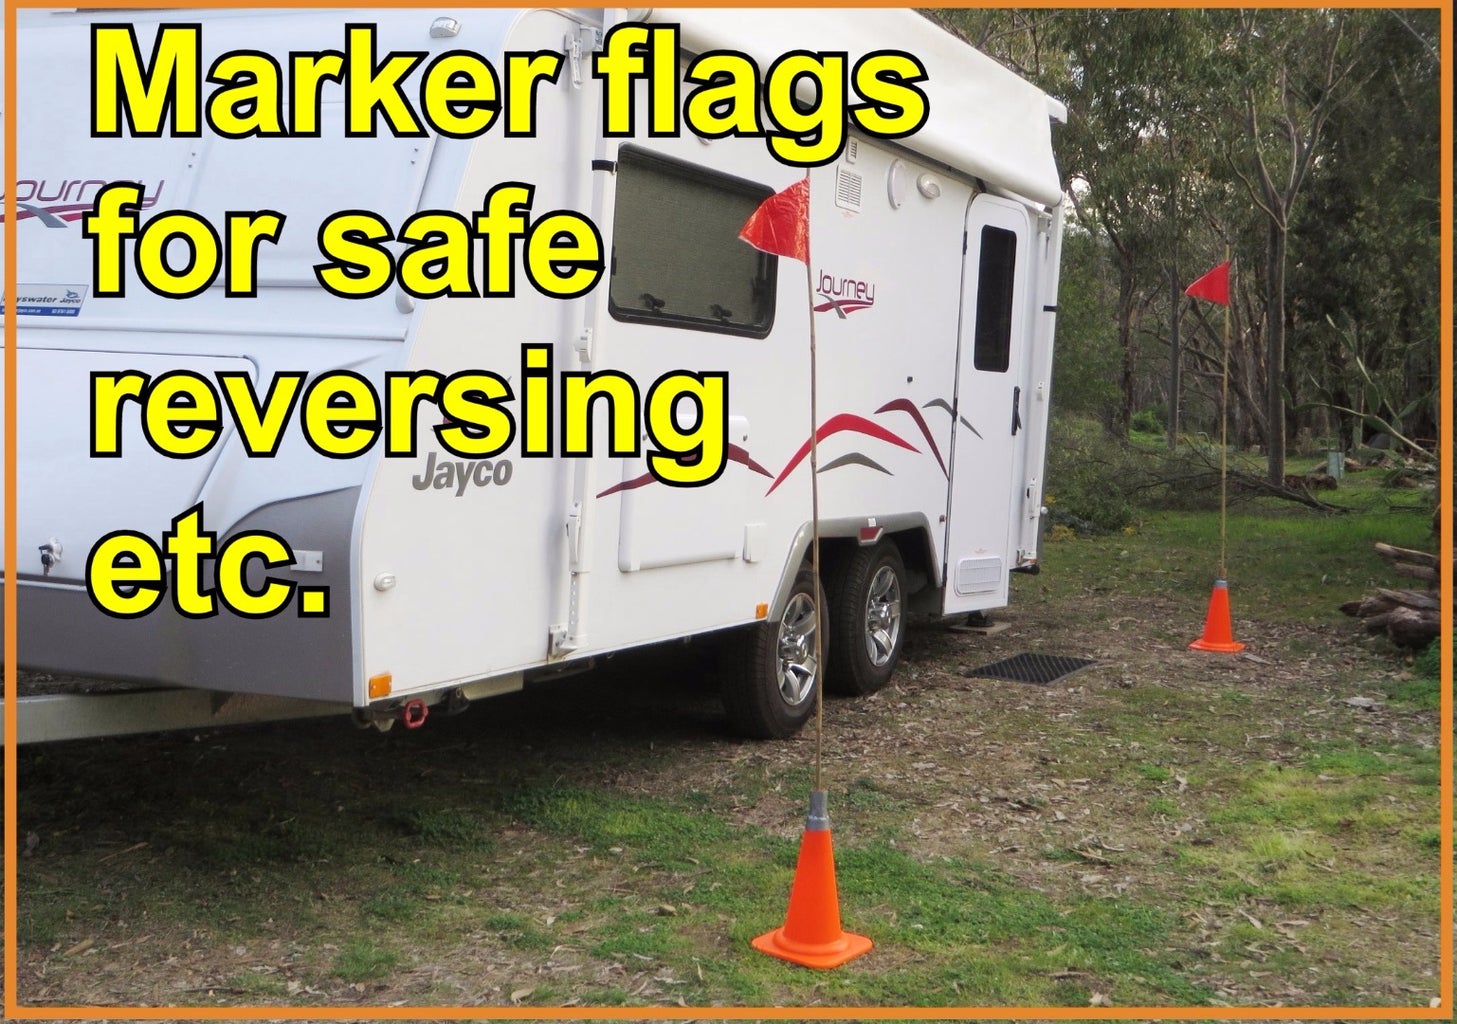


We recently bought our first caravan, so we needed practice in reversing and parking safely and accurately. These marker flags were quick and cheap to make.
We use them for marking where we want to reverse, and for placing on front of any obstacles. They're easily visible from the tow vehicle, so we can line up more efficiently and confidently.
When we're hooking up the caravan, we can place them either side of the tow coupling, and with a line of tape down the back window of our vehicle it's easy to line up and reverse the vehicle straight to the coupling.
The markers are light and can be easily dismantled and packed in the van to take with us, so we can set them up when we need to park in unfamiliar places.
Step 1: What You Need

1. Traffic/safety cones with hole in top - I bought these at the hardware store for $6 each; they're quite lightweight
2. Long, straight sticks- these bamboo canes were about $6 for a pack from the hardware store
3. Thick cardboard from a large carton - you'll need maybe 2 - 2 1/2 ft (60-75cm) long pieces, and about 6 inches (15-20cm) wide
4. White PVA glue (also known as woodworking glue - the kind that dries clear)
5. Duct tape
6. A brightly-coloured plastic shopping bag (fairly firm plastic, not too flimsy)
7. Scissors
8. You'll also need a stapler and a broom or mop handle
Step 2: Dampen Cardboard and Roll Up


Dampen the cardboard strip slightly on both sides to make it fairly pliable.
Put a line of glue on one end to hold it, then wrap around the broom handle (with the glued end inside) to shape it into a roll.
Step 3: Glue End, Insert in Cone and Glue Top Edges to Seal; Leave to Dry


Slide the roll of cardboard off the broom handle and see if it fits in the hole in the cone. Trim some off if necessary (or dampen an extra bit of cardboard and roll it in if it's not thick enough).
Open out the roll of cardboard and add glue inside the end; close up and squeeze into the hole in the cone. Make sure it's tight.
Spread glue over the top edges of the cardboard to seal the edges.
Try the stick on the hole to check that it fits.
Take the cardboard roll out f the cone and leave to dry.
Step 4: Tape Around the Cardboard Roll to Hold It in Place.


When the cardboard roll is dry, insert it back in the cone so that about half is sticking out.
Tape around where the cone and cardboard meet, stretching the bottom edge of the duct tape as you go so that it's a fairly snug fit.
Tape around the top bit of the cardboard roll to neaten it off and make it stronger.
Step 5: Make the Flag


Cut a flag shape from the side of the bag, through both thicknesses, so that the fold of the side is still intact.
Fold it over the stick and staple as close as possible to the stick. You may need to roll the ends of the flag under to fit in the arm space of the stapler.
Step 6: Assemble the Marker Flags


Slot the flags into the cones and check that the sticks are upright. Trim the sticks if they are too long.
Place them where you want them!
You can take them apart to transport them easily (though the cones won't stack neatly with the cardboard plugs in them). You can also use the cones without the sticks when you need them for other purposes.
Note that they are not weatherproof, so don't leave them out in the rain.
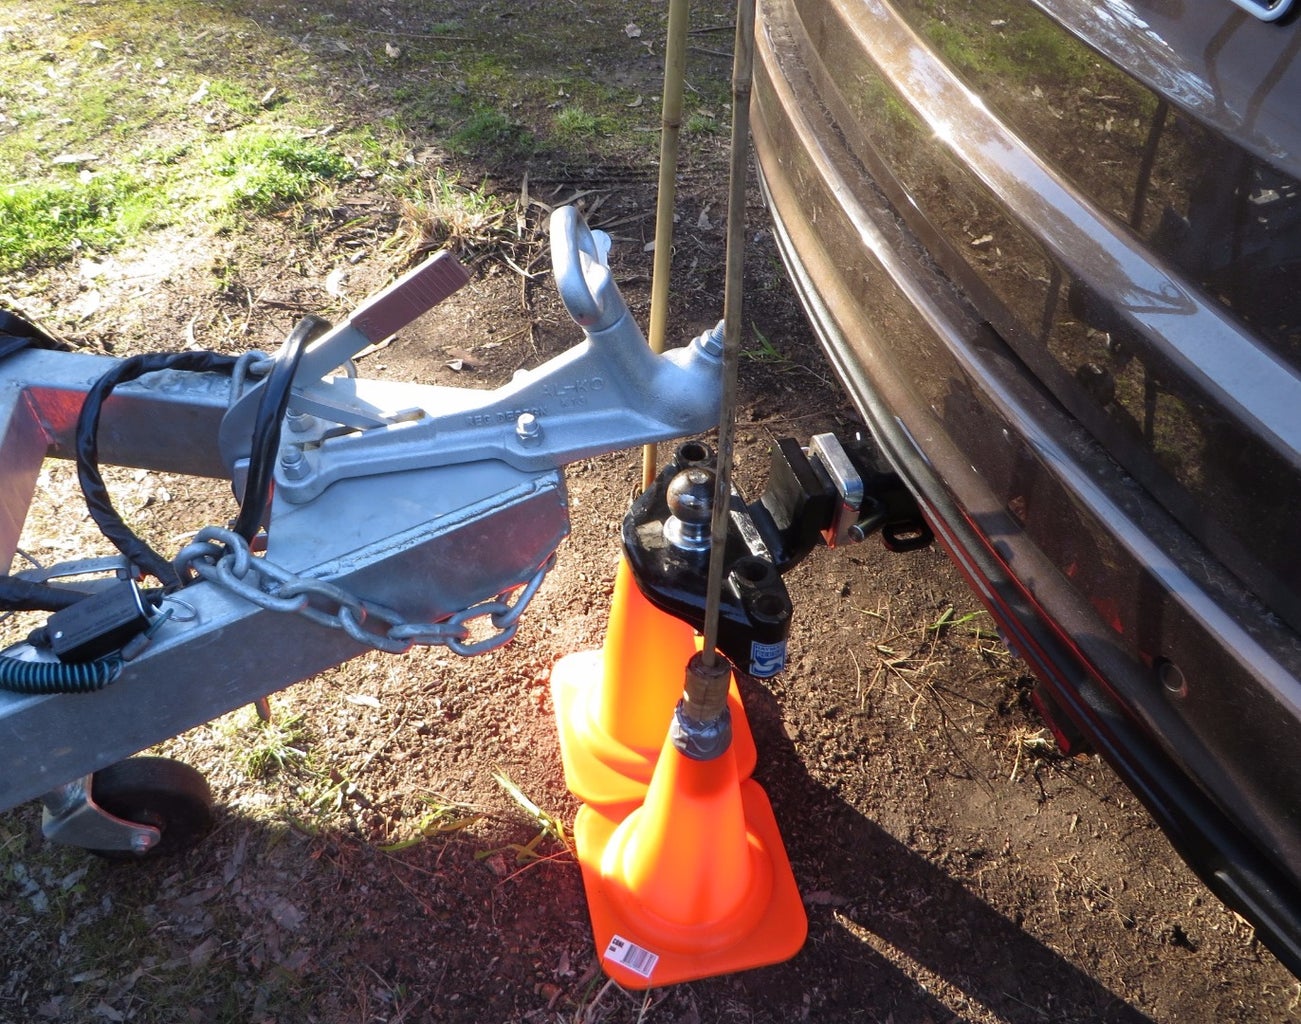
The second photo shows the flags either side of the trailer hitch receiver, ready to reverse the vehicle and hitch up. It would be useful to tie the sticks together with a twist-tie where they cross, to keep them steady if it's breezy.
The third photo shows our first attempt at reversing using the 'crossed' flag sticks and lining up with the rear wiper mount on the back window of the vehicle (or we could have put a bit of tape on the rear window, but didn't need it). The tow ball was lined up perfectly and the plate on our tow bar (for weight distribution hitch) nudged the flag poles when the ball was in position, so it was easy to see when to stop.


