

Introduction: Moravian Star


Moravian Stars come in various sizes and number of facets... the most common is the 26-point form which is composed of eighteen square and eight triangular shaped points. The star featured here is an adaption, using one of the points / facets to mount the star atop a tree.
The shape is technically known as an Augmented Rhombicuboctahedron.
Say that ten times fast...
If you favor durability, print-up your parts as-is with your favorite transparent or semi-transparent filament. I used Natural PLA from Matterhackers. It's easy to work with and looks great. If you want something lighter, you can go with one layer + zero in-fill.
I'm big into RC aircraft and ran into Ultimate RC Foam Glue a long time ago... it's awesome stuff. Until it was discontinued that is (major sad).
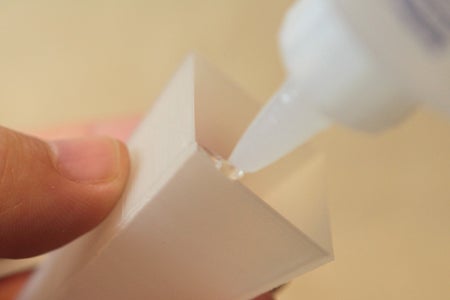
A friend of mine suggested Beacon 3-in-1 as a replacement. It turns out that it has many of the same desirable characteristics as URCFG. It dries slightly opaque / flexible and doesn't dissolve plastics.
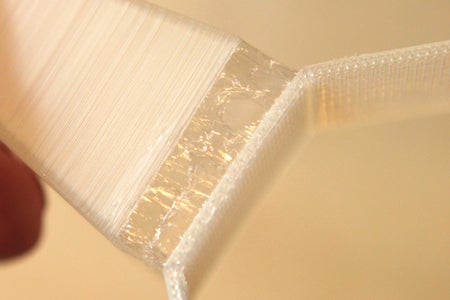
It can get a little stringy during application. Just take it slow, and make sure to cover your entire surface with a thin coat.
Here's a trick in application.
Press the two parts together lightly, then pull them apart two to three times - until you can feel the adhesive resist being pulled apart. You may need to blow gently on the glue a bit to help things along.
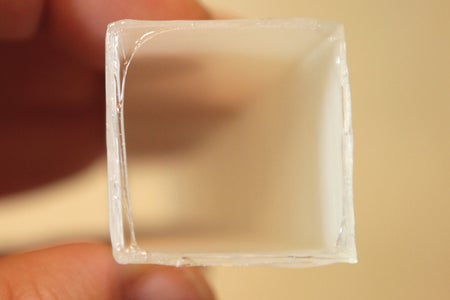
Now, press the parts firmly together; you can make small adjustments for some time after. Glue a few segments at a time, leaving them to dry / cure for at least an hour between.
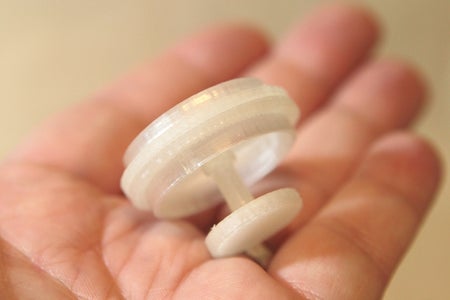
The funny-looking top thing is what I used to mount two NeoPixel Rings inside the star. The brains behind this beauty is a Trinket running at 5 volts. Make sure to place the cluster so that the USB connector and reset button are accessible.
The LED rings will get a little warm... so you'll need to provide a way for the star to 'breathe' a bit. Either drill or melt small vent holes in the top and bottom of the star.
Then, pass your power leads through one of your vent holes on the bottom and terminate with your female DC power adapter. You can power the star with a standard 5 volt power adapter.
What color(s) do you want your star to be?
Grab the Adafruit NeoPixel Library and check the example folder. I used the rainbow cycle which I think looks beautiful. If you prefer something else, those examples provide a great base to work with.
All done? Slap that thing on your tree and enjoy!
Attachments


Participated in the
Holiday Contest

Participated in the
Make It Glow Contest


