

Introduction: NICU Blankets


There is no one you want to be more warm and fuzzy than a newborn baby, especially if that baby is in the NICU – Newborn Intensive Care Unit. Babies are sent to the NICU for a multitude of reasons, including premature or full-term babies with underdeveloped lungs or complications like birth defects or infections. This can mean they stay in the hospital for way longer than normal. Often, hospitals like to gift parents of these babies a colorful quilt make their stay a little brighter.
This Instructable is for those people or quilt guilds who are looking for a service project. Make sure you contact your local hospital or organization that accepts and delivers quilts to hospitals BEFORE you make anything. Often, hospitals or organizations will have criteria that you’ll need to follow, as well as desired materials, sizes, needs, and/or prewashing instructions. I recently spoke to a nurse who said they actually need more bereavement quilts for the parents whose babies, sadly, pass away. The parents will get to wrap their child in a homemade blanket and take the quilt home with them.
Once you have your requirements, this tutorial gives you three different quilt types you can make, ranging from easy to intermediate.
Step 1: Materials

- Flannel (1 or two colors) (Joann often sells for $1.99/yard)
- Thread
- Rotary cutter, mat, and ruler
- Clips or pins
- Scissors
- Pinking shears
- Erasable pen or chalk
- Round cup or lid
Step 2: Blanket #1 - EASY - "Serged/Zig Zag-Edged"


You're thinking, "no, that's too easy. A hospital wouldn't want that. It's too thin for a baby." Right? Some hospitals actually want just this! You don't want a heavy blanket on a baby that tiny, so a thin flannel sheet might be all they need.
To make this tiny blanket, cut your flannel into an 18x21 inch rectangle. Yes, with a yard of fabric, you can make FOUR blankets. What a quick, cheap, and impactful service project!
Then, either serge or zig zag stitch around the entire rectangle. When using a serger, I use a very thin-width and short length overlock stitch; I don't want there to be any chance to get a teeny toe stuck in a loose thread loop. You could also use a rolled-hem edge. If I were to zig zag stitch, I would do a wider, but short stitch to ensure the blanket didn't fray.
Step 3: Blanket #2 - EASY - "Pillow Case & Top Stitch"


The second blanket type uses two pieces of flannel, which gives it a little more weight and makes it look more finished.
Start by cutting two pieces of flannel 18x21. (With one yard of fabric, you can make TWO blankets.) They can be the same or different colors. Lay the pieces right sides together and clip around the edge. You can either leave the edges with a 90 degree corner or make a soft rounded corner. For a rounded look, place a cup or round object on the corner and draw a line around the edge. Use your scissors to cut on the line and repeat on all four corners. I then mark two lines – 3 inches apart – on one edge of the blanket to remind myself not to sew there; this is where I turn the blanket inside out!
I then sew ¼” around the edges, reinforcing at the beginning and end. I use my pinking shears to reduce some of the bulk around the edge but leave the seam allowance around the opening gap uncut. I then turn the "pillowcase" inside out and press with my iron around the edges, folding in the opening edges. Lastly, I sew an 1/8” topstitch around the entire blanket, closing the gap opening along the way.
Step 4: Blanket #3 - INTERMEDIATE - "Bind From the Back"


This blanket looks the fanciest of them all, but it’s also super easy, so you can still whip up a bunch of them for a service project! What I like about this blanket is that it looks really cute on an isolette (the clear plastic enclosed crib at a hospital that maintains a warm environment for a new baby and isolates them from germs). Some hospitals request isolette covers (final size around 30”x35”), but some just use regular large hospital blankets. Ask before you make this larger blanket!
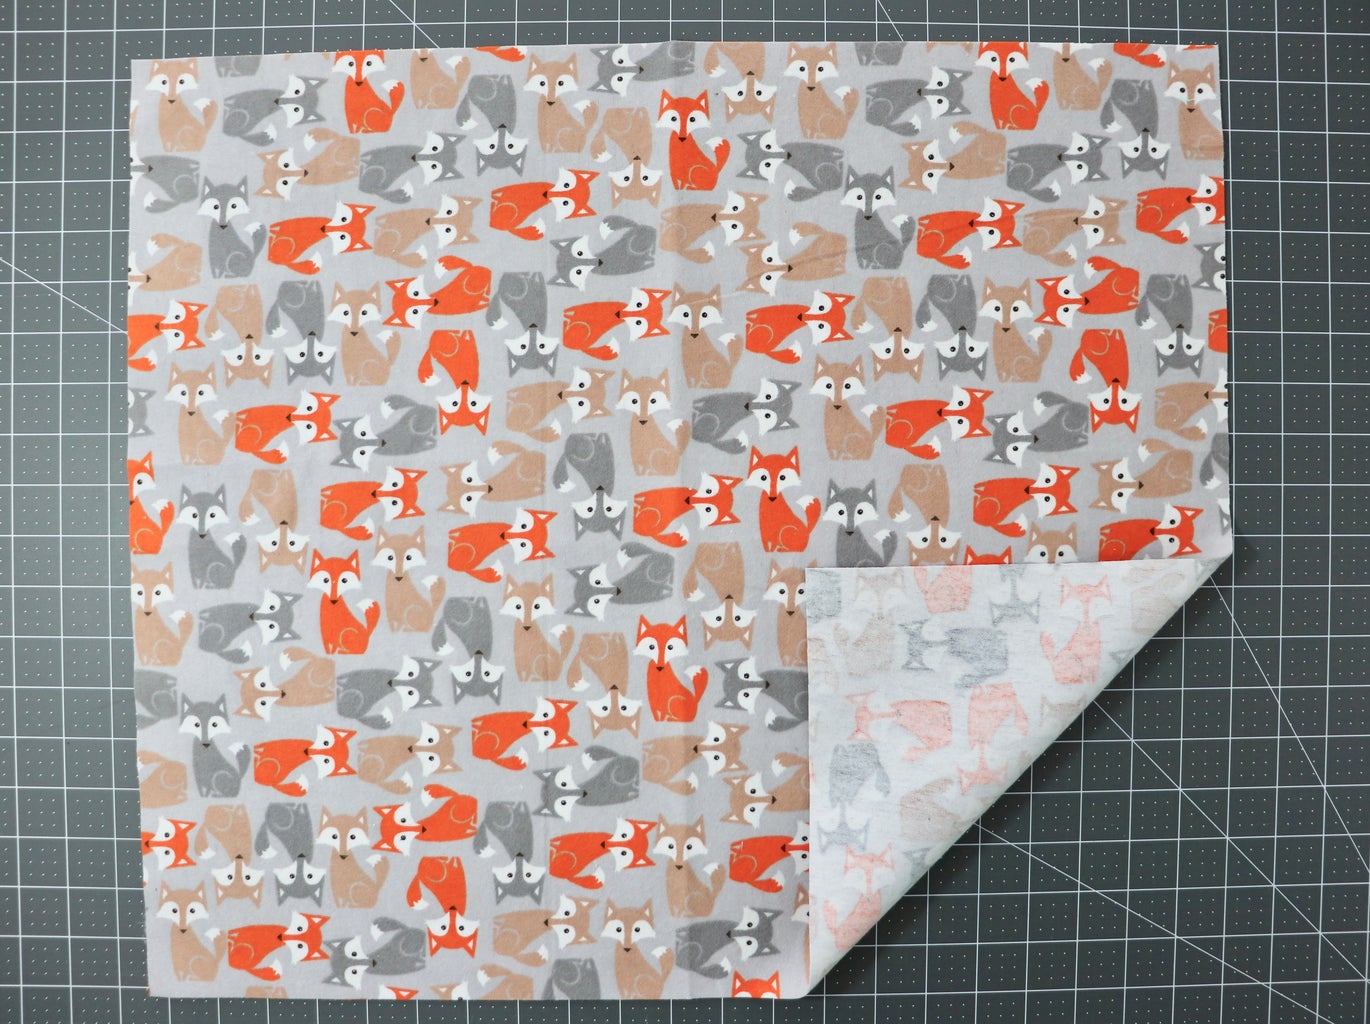
All of these blankets can be made to any size needed, and this one is no exception. You will need two rectangles, one that is 2” bigger on every side than the other. For my quilt, I cut the dimensions of the fox fabric to 22”x22” and the white fabric to 18”x18”.
To find the center of both fabrics, fold each one in half twice and either iron or finger press on the creases. When you open up the squares, there will be crosshair lines for you to line up the squares perfectly.
To begin the bind from the back, fold the edge of the outer fabric to the edge of the inner fabric. Then fold over once more. Clip in place and repeat on the opposite edge. Before following those same instructions on the other two sides, tuck the corners in as shown. This will give you the nice mitered edge. Clip around all edges and sew an 1/8” topstitch around the inner edge.
Step 5: Washing & More

It is unlikely that you will be required to wash your blankets before you donate them as most hospitals have a laundry room for this exact purpose, using the necessary baby-friendly detergent and high temperature water.
Have fun with this simple service project. You're not only reducing some of your fabric stash, but you're making a family all warm and fuzzy inside!

Runner Up in the
Warm and Fuzzy Contest


