

Introduction: Paper Bow Tie


Learn how to make an easy origami bow tie or ribbon with these easy to follow step by step instructions! It's also easy to make different variations of this traditional origami bow.
This is one of the first origami models that I learned how to make, I have been obsessed with origami bows since then.
There are many different ways you could use this bow to decorate your crafts. The most popular way seems to be a bow tie for an origami shirt (tutorial here). Other ways include as hair clips, you can even lacquer them with clear nail polish, decorate origami boxes, add them to the hair of origami dolls, or use them as part of earrings or necklaces.
Step 1: Creasing Paper
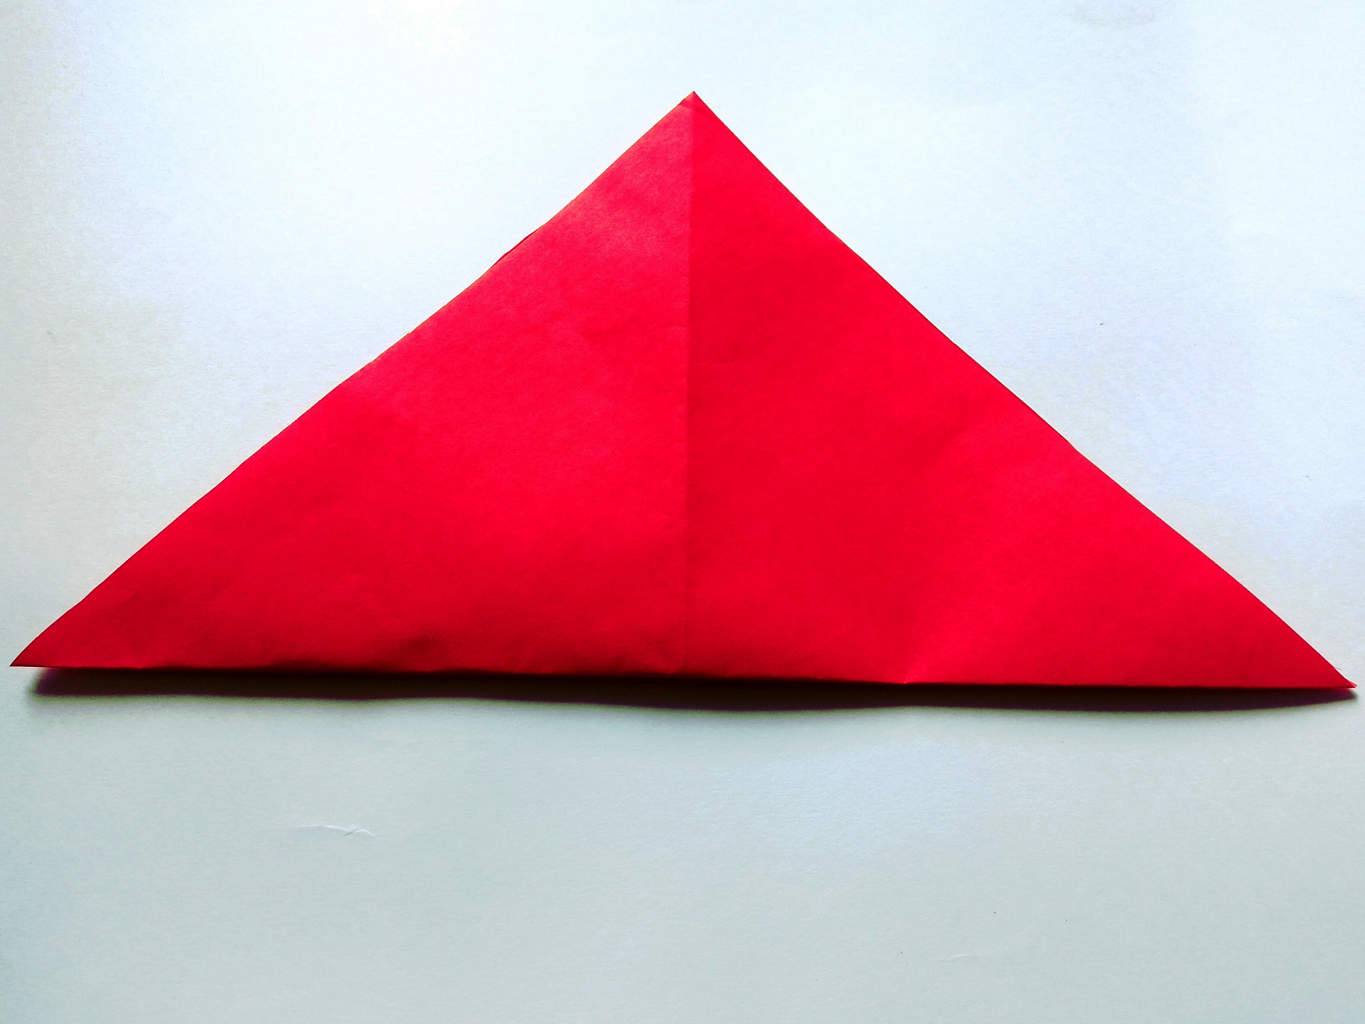

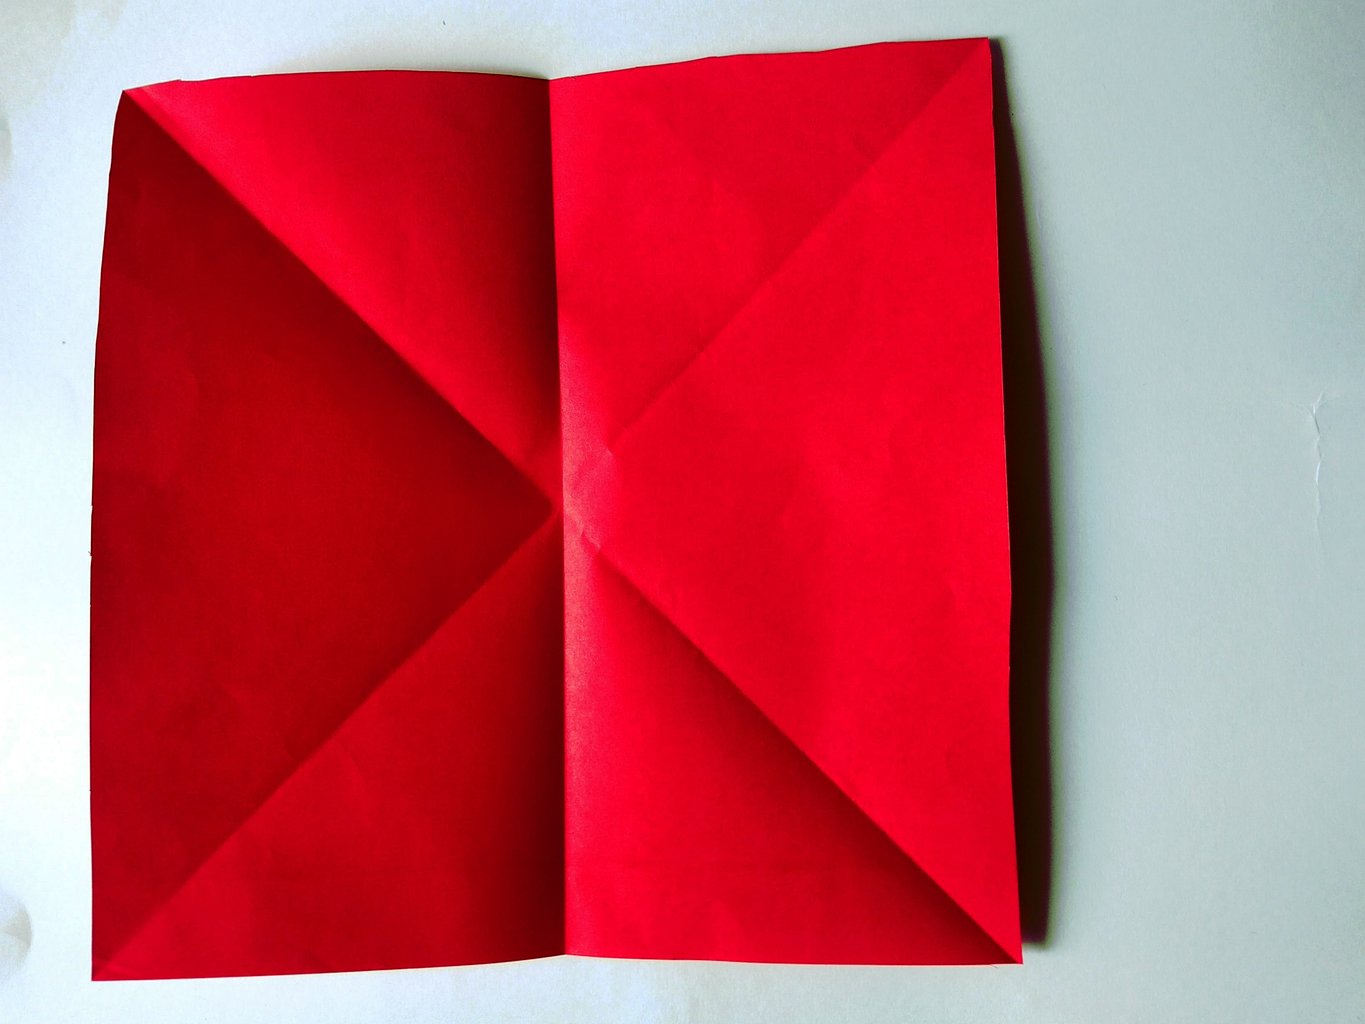

The basic structural crease for the paper is folding the paper in all ways to get a star like crease on the paper for the easy folding and cutting of the paper.
Do the creasing as per the above instruction or refer the picture above
Step 2: The Inside Folding


- Fold the top tip of the square by 1cm or maximum 2cm
- Next step is to make the sink technique.To make a sink technique recrease the paper as mountain and valley folds as indicated.
- After recreasing the paper,You can proceed to collapse the paper again.Push the paper from right and left sides.
Step 3: Folding Up the Layers


when the previous step is complete, The top tip would have been disappeared
Follow the steps mentioned below:
- Starting from the fold both the layer to meet at the center.
- Flip the paper over and repeat the step mentioned above.
- Open the paper back up slowly.
- Gently pull the paper all 4 side, You will see a trace of square at the center.
- Press the paper gently and you can the magic of the appearance of the square at the center.
Let's construct the wings
Step 4: The Two Wings


- Cut the triangle that can meet to the other end below .
- Now you can see a hand like structure projecting at the left and right side of the bow.
- Fold the sides of the hand to meet till center of the crease.
- Repeat the 3rd step to the left hand as well.
- Turn over the paper.
- Now fold the hand of the bow gently towards your direction and latch it off in the square formed in the previous step.
- Repeat the same for left hand.
Congratulations!!! you have successfully made a Bow tie that can be used for gifting purposes.Stay tuned for further ibles.
Thank you

Participated in the
Makerspace Contest 2017


