

Introduction: Pot Plant Monitor Powered by Arduino


Hey there guys, I recently watched a video on Makes youtube page called the potted plant protector and I really liked the idea of a plant health monitor however I wanted mine to have its own display so I could always keep an eye on the data. So here's my build.
Step 1: Parts Needed


Eletronics:
- Arduino Pro Mini x1
- Nokia 5110 Display x1
- Photoresistor (light sensor) x1
- Humidity and Temperature sensor (RHT03) x1
and one boot loader of choice for the arduino pro mini, im using and arduino uno with the atmega 328 chip taken out to upload my scketch.
Materials:
- Cardboard (any kind)
- A potplant holder x1
- soil
- Metal Screws x2
- A plant
- Copper Wire
Tools:
- Soldering Iron
- Cutting Knife
- Hot Glue Gun
- Pen or Marker
Step 2: The Idea


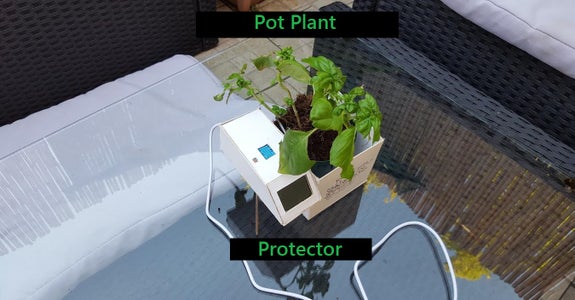
The Idea of the pot plant protector is to make a plant holder that will tell you if the enviroment is right for your pot plant by reading the light levels, the room temprature or humidty as well as being able to sense the moisture in the soil to alert the user to low water levels. In future iterations I hope to automatically activate a water pump when the water levels are low but thats for a whole other project.
Step 3: The Wiring


Nokia 5110:
SCK or CLK- Pin 7
arduinoMOSI or DIN – Pin 6 arduino
DC – Pin 5 arduinoRST – Pin 3 arduino
CS or CE – Pin 4 arduino
VCC – 3.3 volt arduino
BL – 5 volt arduino
GND- ground of arduino
Temprature Sensor:
Sourse pin - analog pin 2
VCC - 5v
GND - GND
Photoresistor:
leftside - analog pin 1
rightside - VCC
Moisture Sensor (Screws)
Screw 1 - analog pin 0
Screw 2 - VCC
Humidity Sensor:
Source pin - analog pin 3
GND - GND
VCC - 5v
Step 4: The Code
For this sketch you will need the following libraries
- Adafruit_PCD8544.h (https://github.com/adafruit/Adafruit-PCD8544-Nokia...
- Adafruit_GFX.h (https://github.com/adafruit/Adafruit-GFX-Library)
The sketch is a bit rough however all the fearures work fine on my arduino pro mini (Warning this sketch acts very funny when uploaded to Arduino Mega)
Attachments

Step 5: Putting It All Together


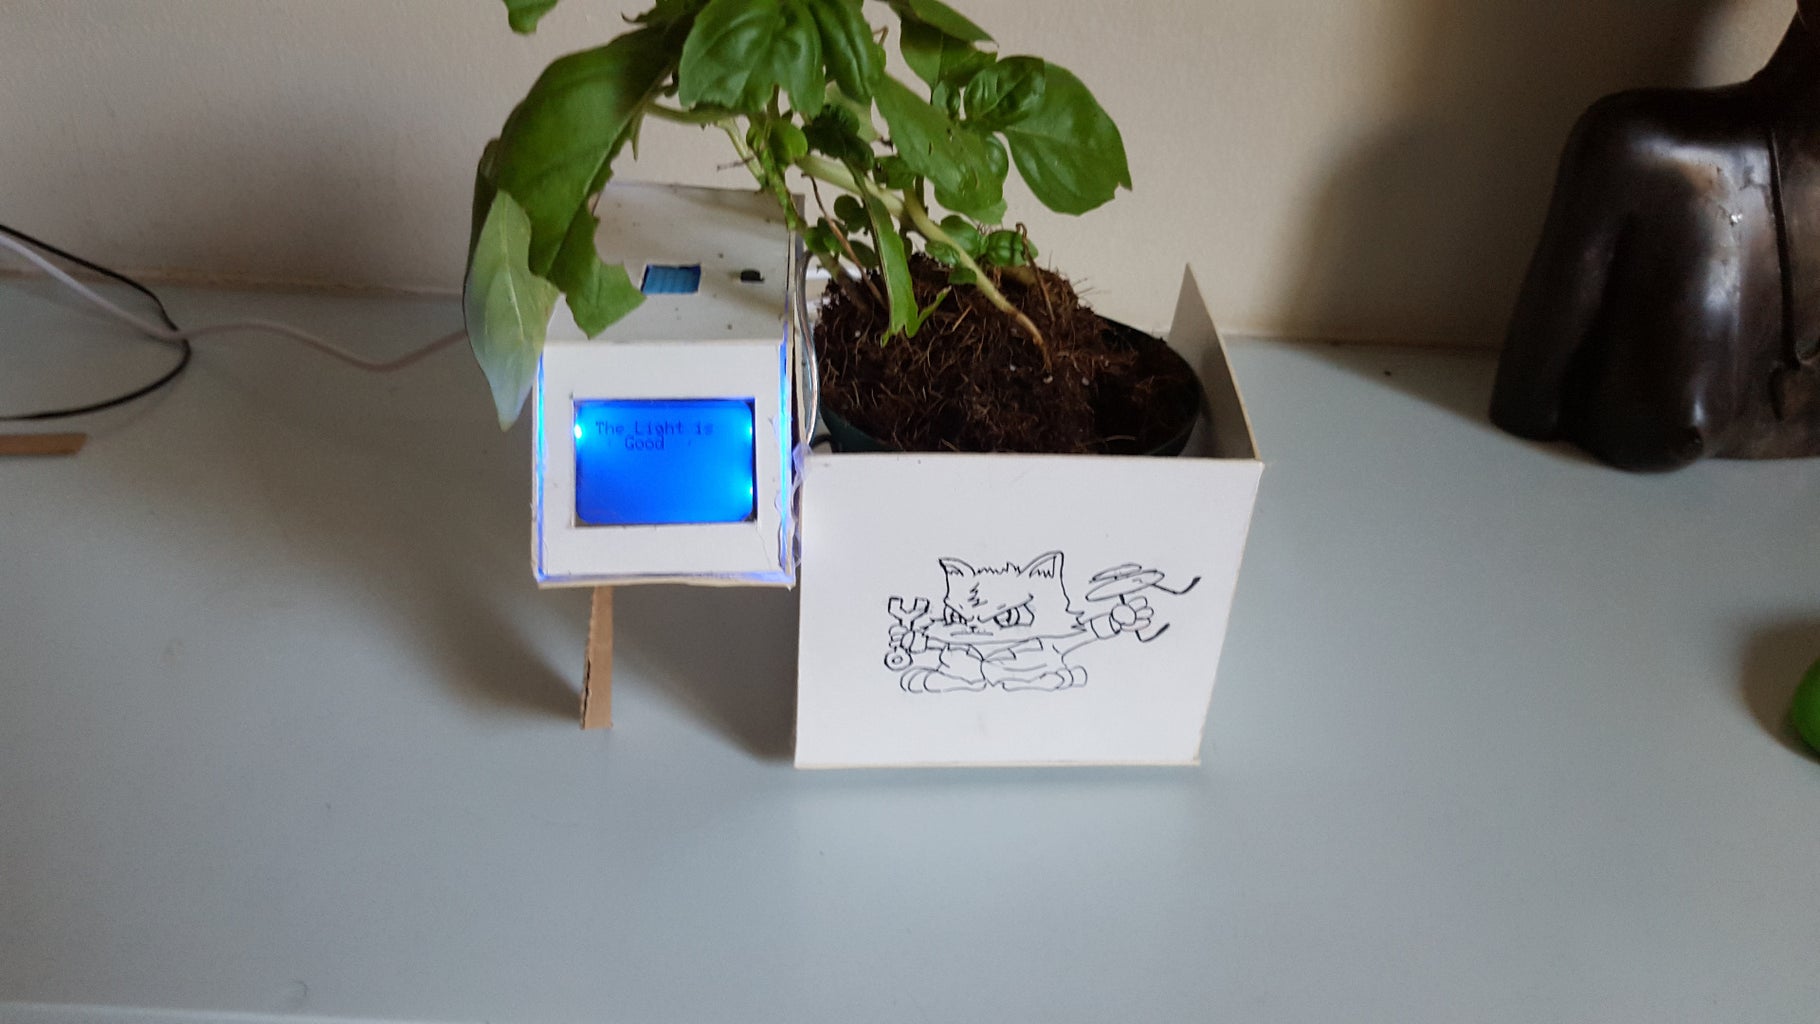
This is one of those steps that I can't really help you with, if you have finished all of the wiring and got it to work, then designing a cool case to put it in should be a piece of cake. I invite you to use my design which houses all of the electronics near the plant for ease of access, however I would love to see your interpretations. I will include pictures of my final project if you would like to use my design.
as always if you want to learn more about how I made it or have questions of any sort please feel free to ask me ill always try my best to reply.

Participated in the
Arduino All The Things! Contest

Participated in the
Indoor Gardening Contest 2015


