Introduction: Preparing the Printer


Creating the pack to send to the printer.
Step 1: Control Center

SEND THE JOB TO CONTROL CENTER
Click the printer icon to send the job to Control Center.
- This will save your le as a .CBM in the same directory as your .STL le.
- To print the le again, simply open the .CBM,

USING CONTROL CENTER
Control Center is the software used to pack a tray with parts and send to the printer.
- If there is an existing model on the grid, select it and click Remove.
- To add additional models, click Insert CMB.
- To add an additional copy of your model, select it and click copy.
- Click and drag your model to change their position if desired.
- Click Estimate Pack to estimate print time and material use.
- Jobs that use 100 cubic inches (or more) of support and model material require Shop Staff approval.
- Click Save As to save the job.
- Use this naming convention:
- team_ rstname_lastname_sheetname
- Use this naming convention:
- Click Build Job to send the job to the printer.
Step 2: Preparing the Printer

- Wear heat resistant gloves before opening the door or handling hot parts.
- When removing the build sheet it will be hot.
- Clear a space for it before opening the door.
- Open the door all the way.
PREPARING TO PRINT
Inside the oven is an aluminum plate called the build platform. A plastic build sheet needs to be placed on the build platform, and the model is built on the sheet.
A sheet can be reused, but the print must be made on an unused section.
Note: Different materials require unique build sheets. For example, printing with nylon requires the use of a nylon compatible build sheet.
Using the wrong build sheet may cause it to melt inside the printer.

- Open the lower printer door and empty the trash can.
- Insert the correct build sheet for your selected material.
- Ensure the build platform is clean.
- Any lament adhered to the sheet must be on the top side.
- Place the sheet on the platform and slide it to the back.
- Close the door and check the Vacuum Seal Indicator on the screen.
- If the sheet doesn't seal after a minute, reposition the seal.
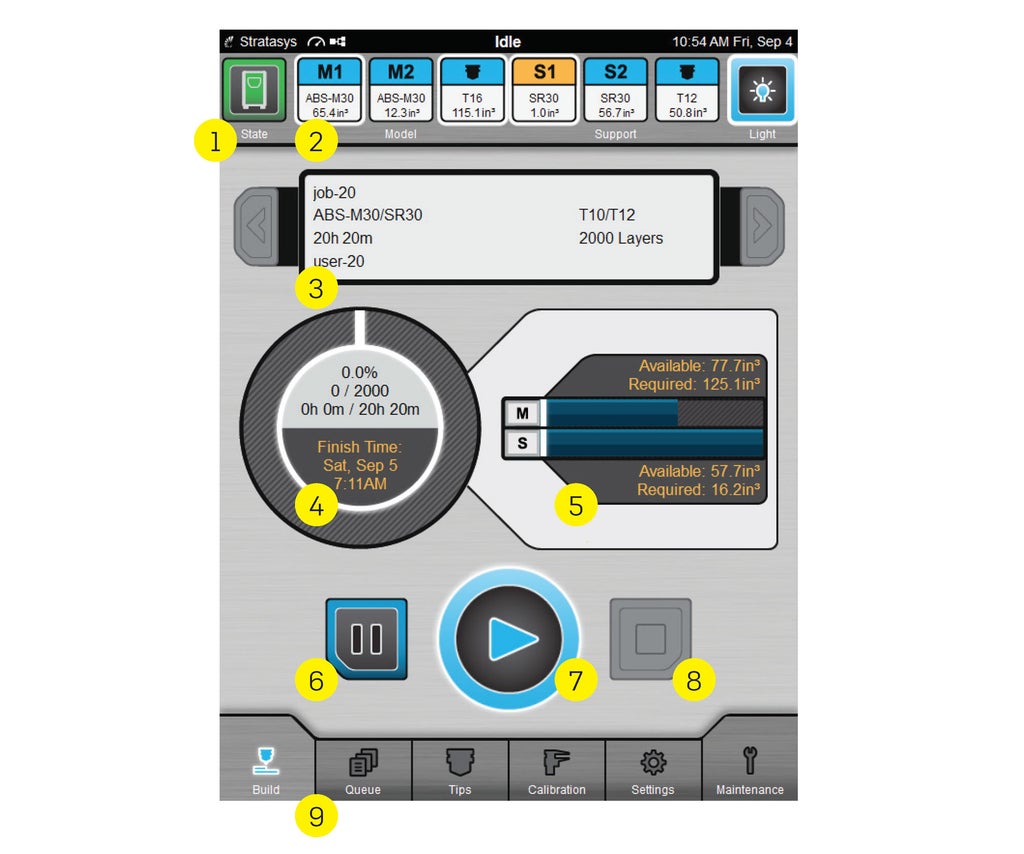
Understanding the Control Panel
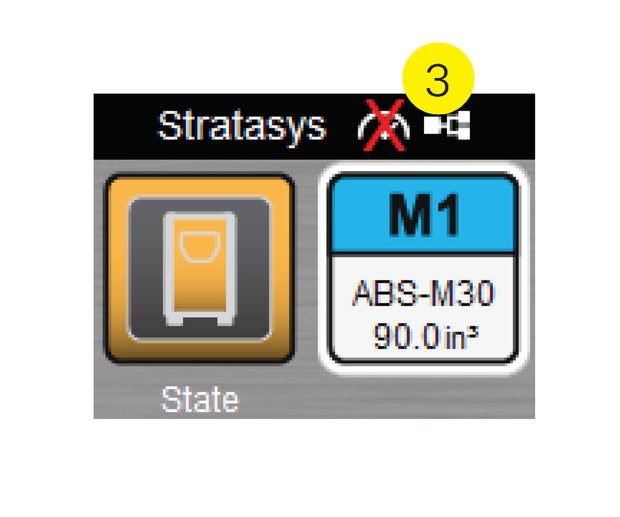
- Machine State (touch for more info)
- Material and Support status
- S1 (support spool 1) is yellow, meaning that it is almost empty.
- Current job stats
- Use the arrows to scroll through current jobs.
- Completion data
- Percent completed
- Layers completed
- Elapsed time
- Expected completion time
- Material and support required and available
- Note that 125 cubic inches are required for this job. Remember that Shop Manager approval is required for all jobs of 100 ci or larger.
- Pause job
- Start job
- Cancel job
- Queue


