

Introduction: Pressing, Cutting and Pinning


One of the most important parts of hand sewing is prepping your project before you start.
By spending time pressing your fabric, cutting it to the perfect size and pinning it in the right way, you'll make the actual sewing part of your project really enjoyable! If you skip fabric preparation or try to rush through it, you'll almost always find a bigger issue later on.
Remember the sewist's motto: measure twice, cut once!
Step 1: Tools and Materials
For this lesson, you will need:
- Woven fabric, like linen, cotton, or muslin
- Iron
- Ironing board
- Sewing pins
- Scissors
- Clear sewing ruler
- Water soluble pen
- Self healing cutting mat and a rotary cutter (optional)
Step 2: Prepping and Pressing Your Fabric

Washing and Drying Your Fabric
If you're planning on washing your finished project, it wouldn't be a bad idea to wash it before you start to sew. Though it's not 100% necessary as far as I'm concerned.
If you do wash and dry your fabric, make sure you've taken note of the washing instructions on the fabric bolt and followed them.
Also: don't cut your fabric before you wash it - it will unravel and shrink slightly when it's washed, so your piece will no longer be the correct size. All I do is trim the raw edges with pinking shears and throw the fabric in the wash.
Pressing Your Fabric
Pressing is never optional - you have to press out wrinkles before you start!
You always want to press your fabric BEFORE you cut it. A small piece of fabric is easy to deform by being a little too rough with the iron. You don't have to iron the whole piece of fabric, just a piece large enough to cut your pattern pieces out of. Drape the rest out of the way on your work surface. (You can hang the excess fabric off an ironing board, but be advised that if the fabric is heavy it will pull and could make ironing harder. I often just pile the excess on the end of the ironing board.)
There's no use ironing a whole piece of fabric anyway - it'll only get wrinkled when you fold it and store it later. :P
Set your iron to the cotton setting. Make sure it's full of water! A heavy iron is an awesome iron. :D

Use the spray function on your iron (or a small spray bottle) and lightly spray the area you want to iron.
We're using the spray function here because I've found it's the absolute best way to get out stubborn wrinkles.
Using this method, we're spraying room temperature (or slightly warmer sometimes, depending on your iron!) water onto the fabric and instantly evaporating it with a very hot iron. This leads to a crisper looking result because you're not keeping the fabric damp while working with it.
Steaming while you iron means the steam is also penetrating the ironing board cover and the batting beneath it, and you don't want all that moisture sticking around! Damp fabric will cling to the ironing board and be harder to move, which means you'll end up with more wrinkles as you press and maneuver the fabric it around.
Steaming is a great choice if you're working with something that's very lightly wrinkled, but if you have a piece of fabric like the one shown here with deep creases, stick to spraying the fabric and avoid steaming it.


Now you'll press! Move slowly from one side of the fabric to the other. I start on the left and work my way to the right because I'm left handed. Don't use fast sweeping motions - instead set the iron over the wrinkled areas and glide slowly towards the opposite side - let the iron rest in each spot for a few seconds.
(Don't use a lot of pressure - the weight of the iron should be enough! The more pressure you apply while moving the iron, the more the fabric will warp!)
For really bad wrinkles, I spray them and press again. (You can also combine 50% white vinegar and 50% water in a spray bottle and use that to dampen the fabric. It works really well on the most stubborn wrinkles.)

Make sure to let the fabric lay flat on the ironing board and cool down completely before you move it - when the fabric is warm and a little steamy, it can get a bit wrinkled or bumpy where you grab it. It'd be a shame to undo all your good work!
Step 3: Cutting Out Pattern Pieces With a Rotary Cutter

This is my preferred way to cut out small items with straight edges (and by small, I mean anything smaller than the ruler you're using) - it's fast and easy once you've done it a few times!
To do this you'll need your pressed fabric, a clear sewing ruler, a rotary cutter and a self healing cutting mat.
CAUTION: rotary cutter are serious business. They are very sharp and often used with more force and speed than necessary, so they can get dangerous fast. Make sure your fingers are well out of the way before cutting!
Lay the flattest bit of the fabric down on the cutting mat with a selvedge edge close to you. (The selvedge is on the right here.)
Line the ruler up with the selvedge as your straight edge. Because the piece I need is 4x6.75 inches wide, I'm cutting this piece 5x7 inches wide so I can trim off the selvedge and slightly crooked bottom edge.

Hold the rotary cutter in your dominant hand and press the sewing ruler down with the other. Glide the rotary cutter along the ruler's edge to cut the fabric. You may want to go over the whole thing twice.
You don't have to press SUPER hard - the blade should be sharp enough to do the work for you. If it's not, you probably need to sharpen the blade or swap out for a new one. These rotary cutters are designed to cut through layers of fabric with ease, so if you're having issues it is probably the blade. :)


Now I'm going to cut out a piece right next to where I cut before - but this time I have a nice straight and clean fabric edge, so I'll cut this piece so it's 4x7 inches.

Now that both pieces are out, square them up and trim off any excess fabric!


If you have tiny pieces, you can use the ruler to square them up. If you're working with larger pieces use the larger grid on the cutting mat as your guide for squareness and use the ruler as a straight cutting edge.

And there you go! Easy and quick.
Step 4: For Bigger Projects: Drawing Out the Pattern on the Fabric

Say you're needing pattern pieces MUCH bigger than your sewing ruler. In that case, we'll draw the pattern on the back of the fabric and then cut it out!


Use the edges of the ruler as a guide and draw out your pattern. Remember to use the selvedge as a guide!

Now we'll cut them out!
Step 5: Cutting Fabric With Scissors

I prefer to use a rotary cutter to cut out my pattern pieces if I can, but you can use dressmaker's shears to cut out your pieces too!


If you're using scissors, cut right on the lines you marked. Use long, clean cuts. The shorter the cuts, the more jagged your edge will be.

Ahhhhh yeah. Nice smooth cut lines!
Step 6: Pinning Pattern Pieces Together

When you pin together fabric for sewing, there are a couple of important things to consider.
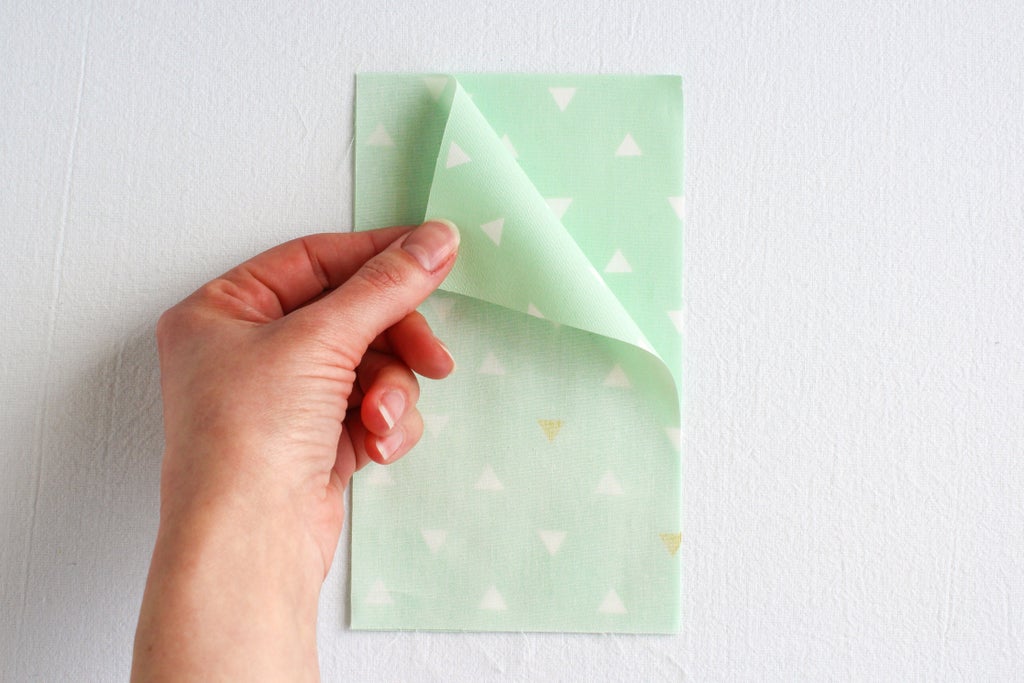
Most often, pattern pieces are pinned together with the right sides facing each other. The "right" side is the side of the fabric that you want on the outside at the end.
For solid colored fabric, you don't need to worry too much about it. For patterned fabrics, the "right" side will be the one that's more colorful.

When I pin for hand sewing, I like to pin vertically along the seam. (Or parallel to the seam, if that's easier to understand!) This holds your fabric more rigidly, so it's easy to hold and sew. Try to make sure as much of the pin as possible is in the fabric - that will leave less pin to snag on!
Plus, if you pin horizontally along the seam, that's just a lot of extra things for your thread to get snagged on. ;)
P.S. Want to see how pinning for a seam looks when sewing on a machine? Check out my "how to sew a seam" instructable!
And there you go! In the next lesson I'll show you the easiest sewing stitch: the running stitch!


