

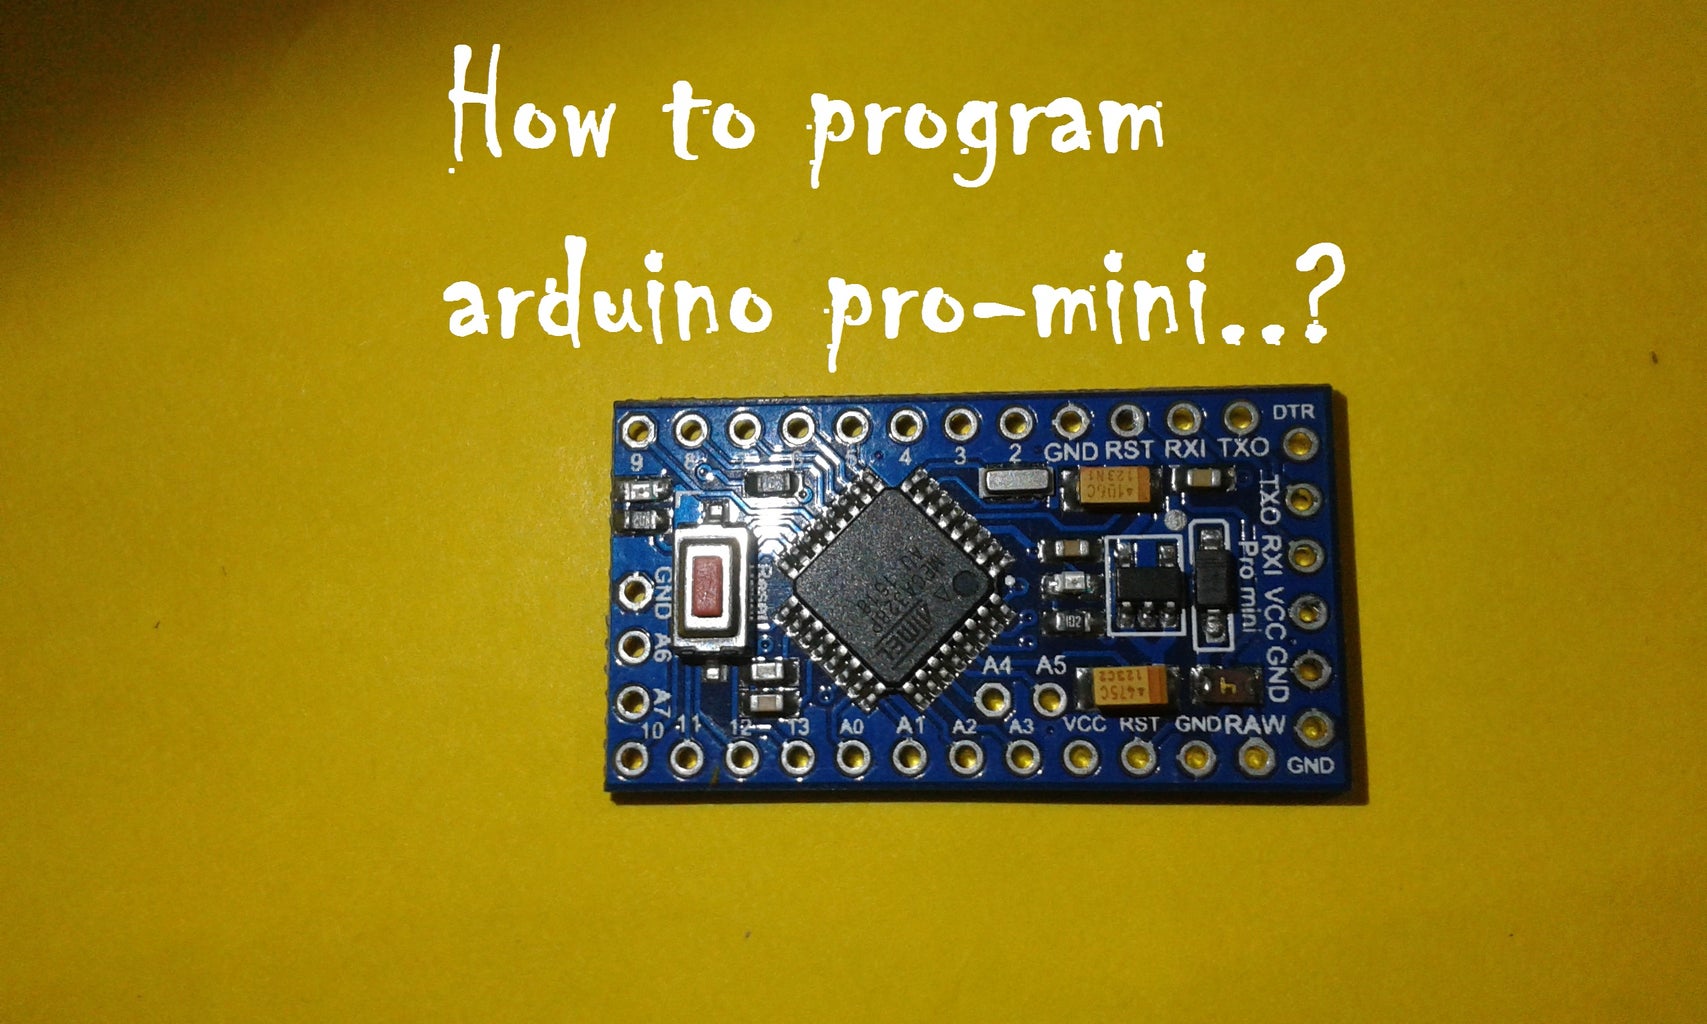
Introduction: Program Pro-mini Using Uno (Arduino Basics)


Hai all,
In this instructable I would like to share you my experience with my recently bought Arduino pro-mini and how I managed to upload the code to it for the first time, using my old Arduino Uno.
Arduino pro-mini has the following features:
- It is incredibly small.
- It is handy.
- Easily programmable.
- Perfectly fit for portable applications since it uses low power(3.3 V).
- It has 14 I/O pins.
For programming the board, we need some external hardware such as Arduino boards with USB ISP capability.
It will be much easier to upload the code if we have an Arduino Uno.
Step 1: Collect What You Need.
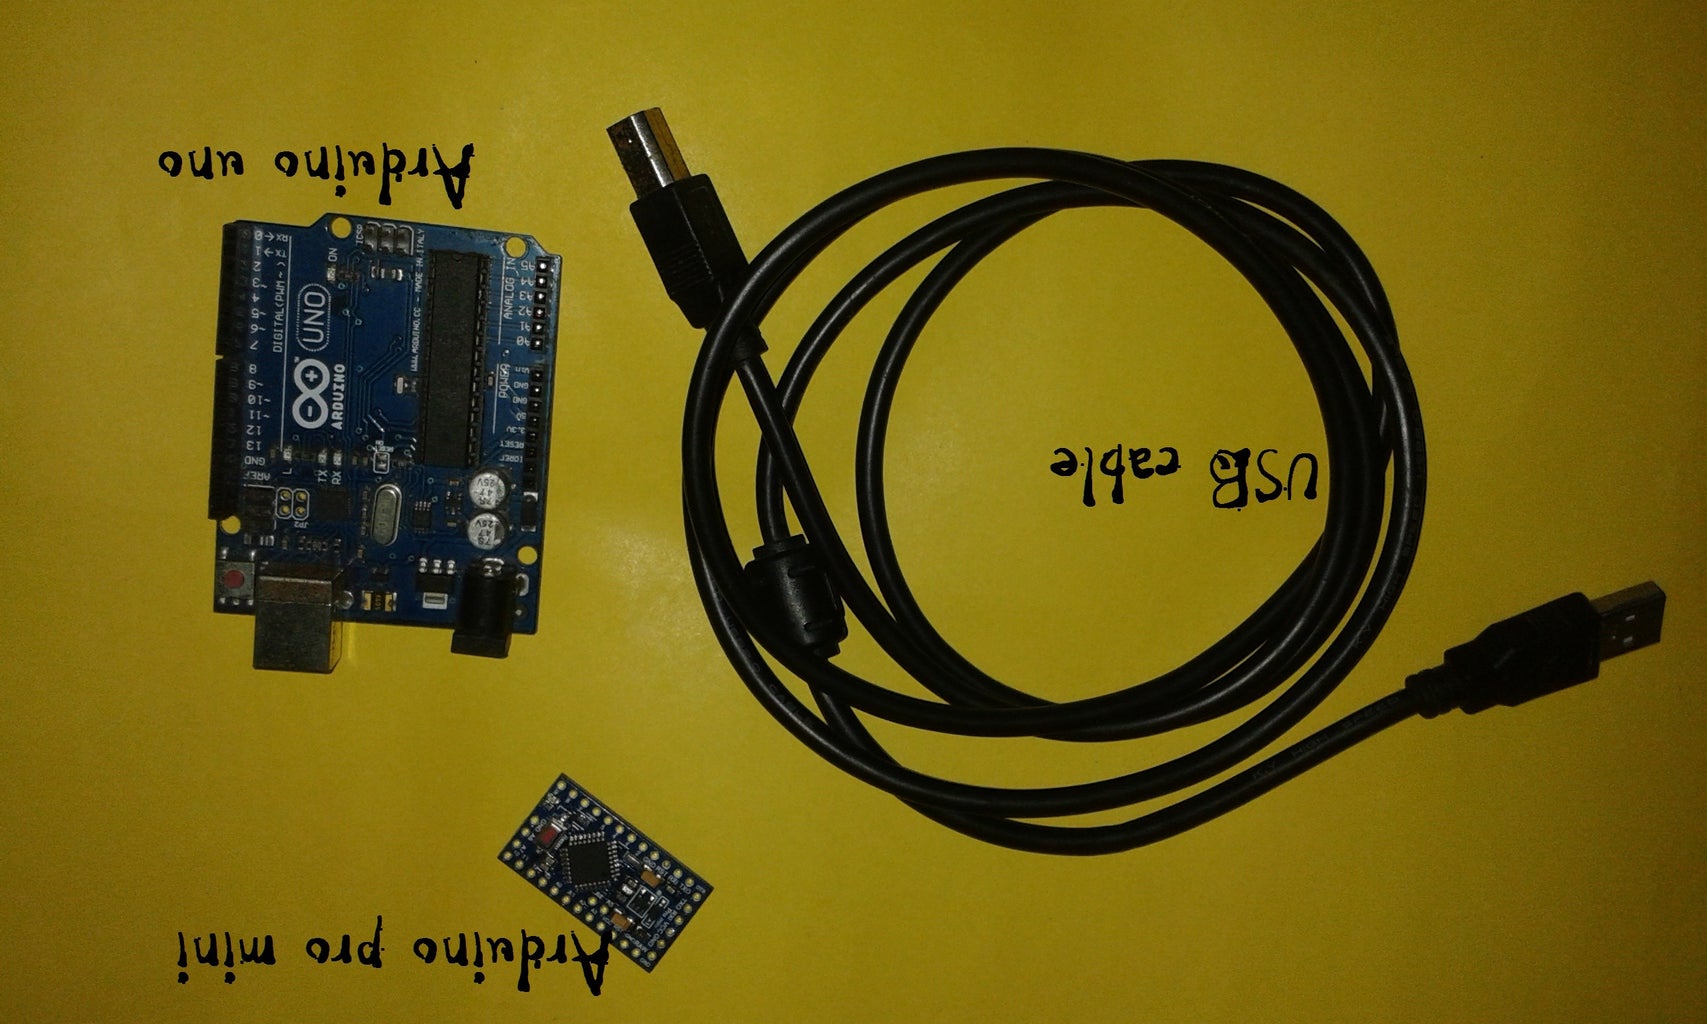

For the programming we need,
- Arduino Uno (Or any other versions with USB ISP support).
- Arduino pro-mini
- USB cable.
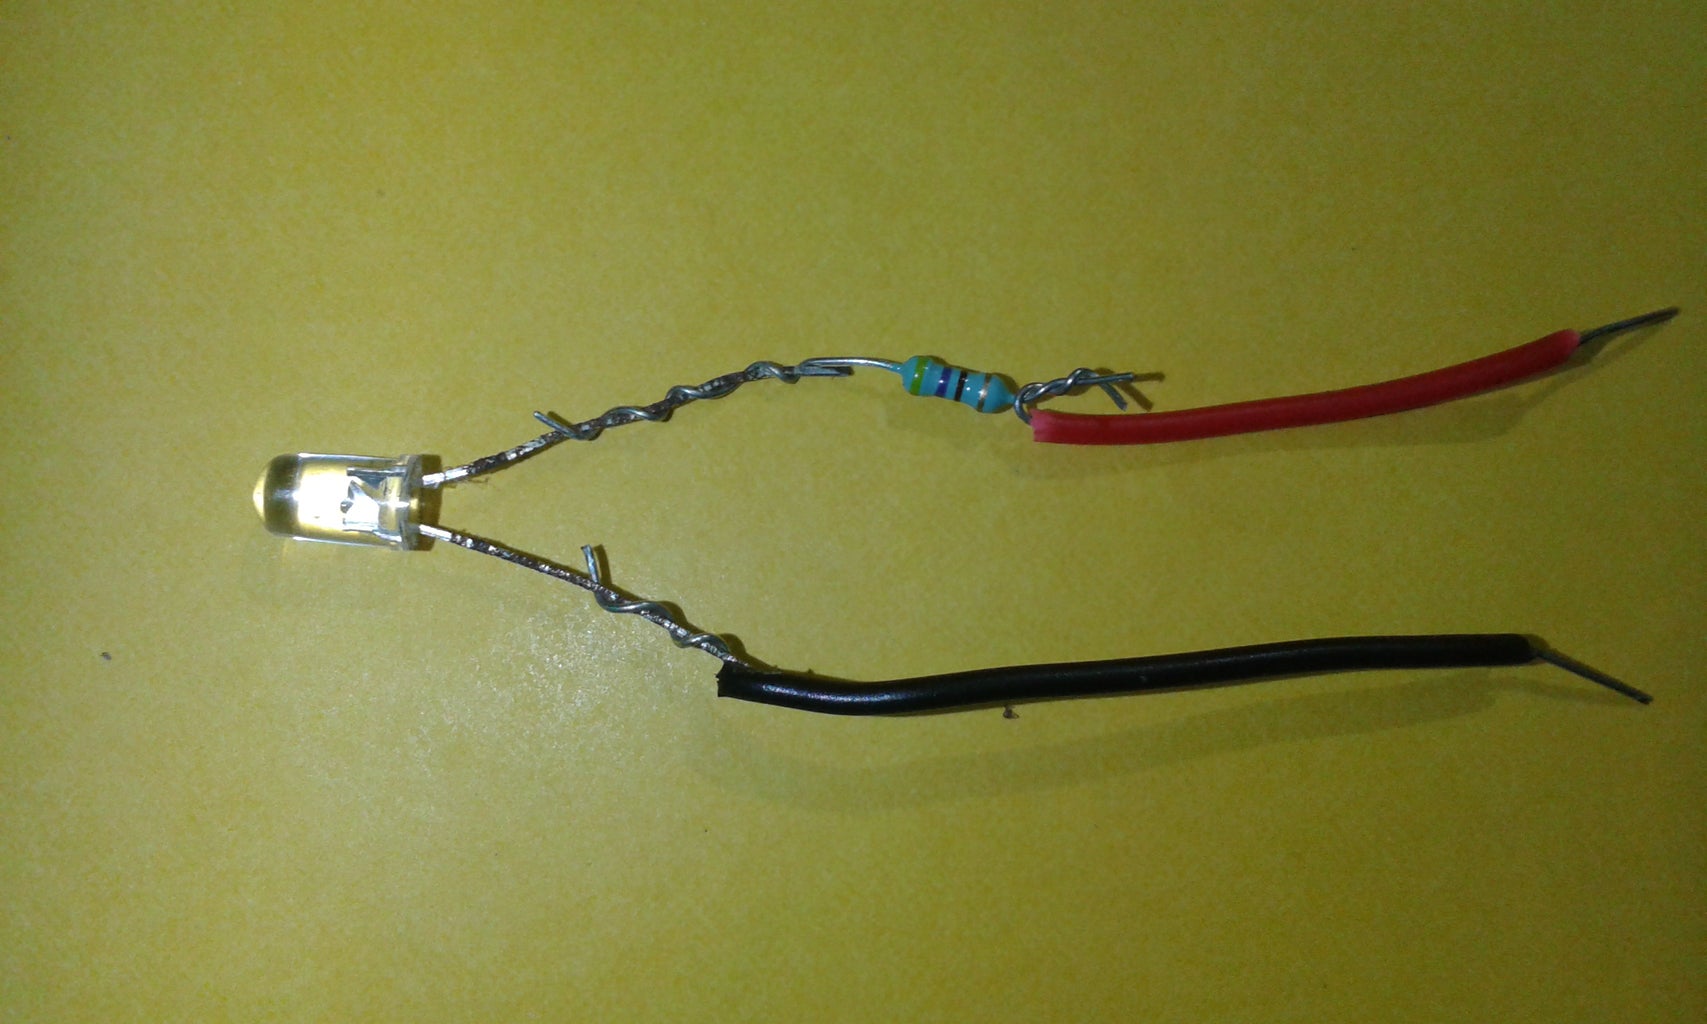
- LED.
- 470 Ohms resistor.
- Wires.
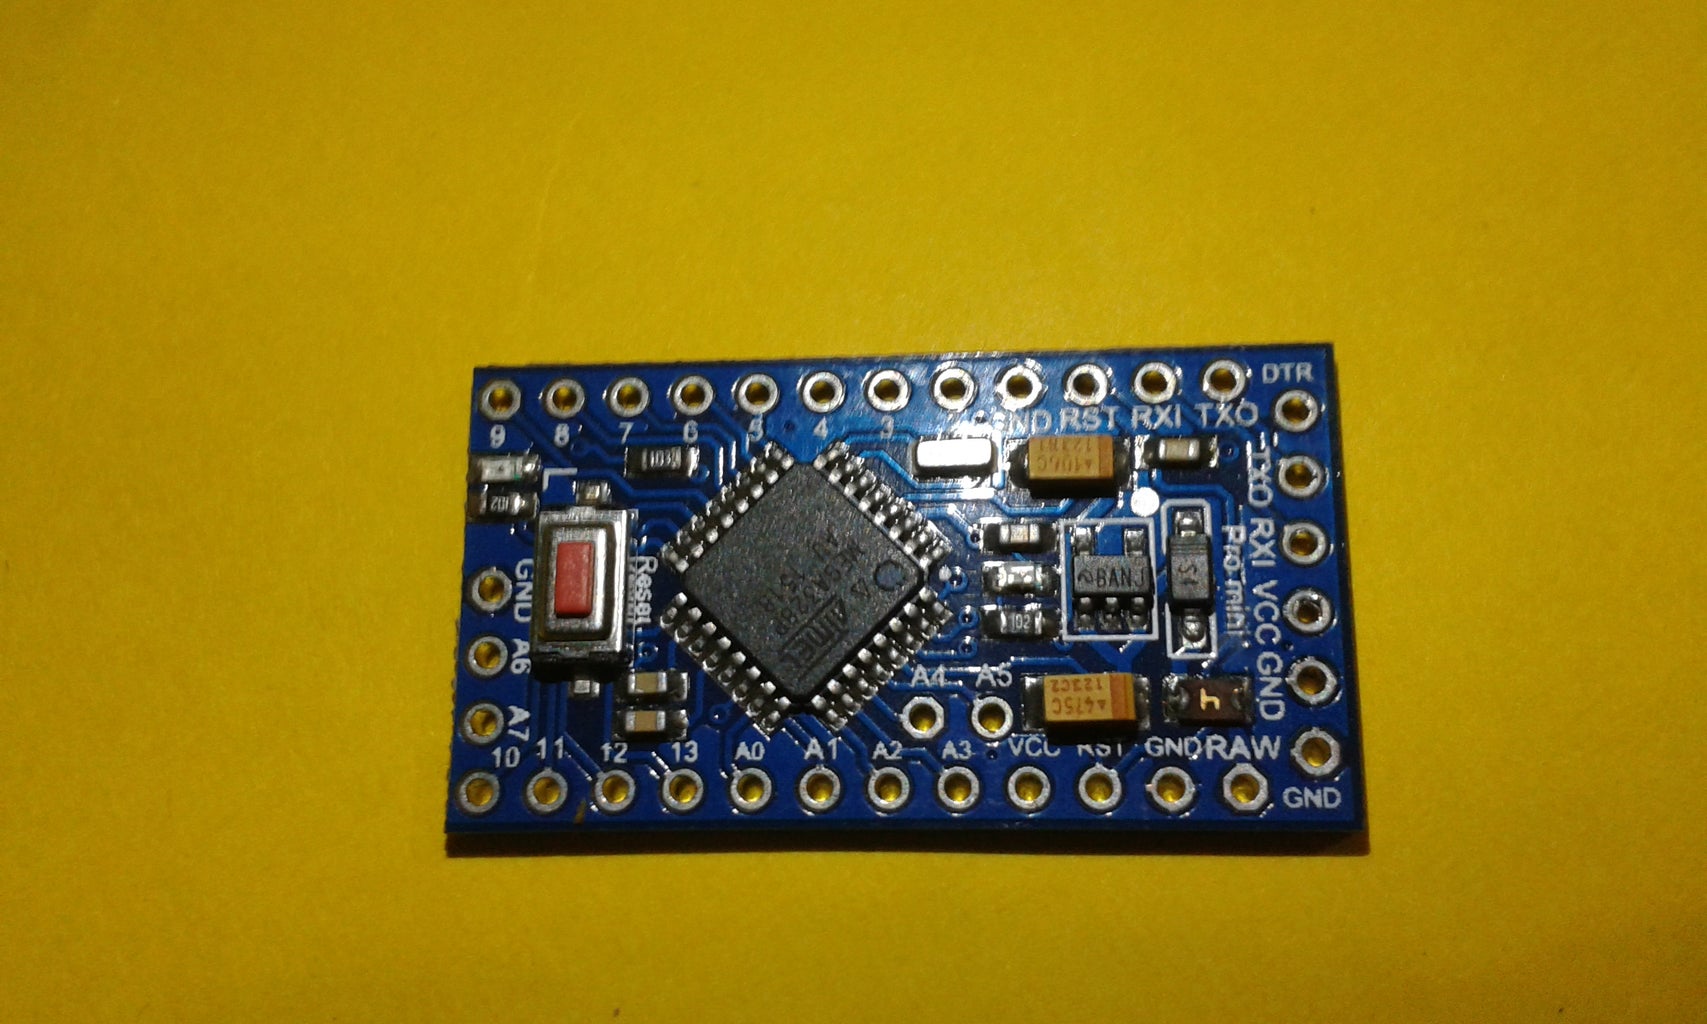
Step 2: Set Up Your Pro Mini
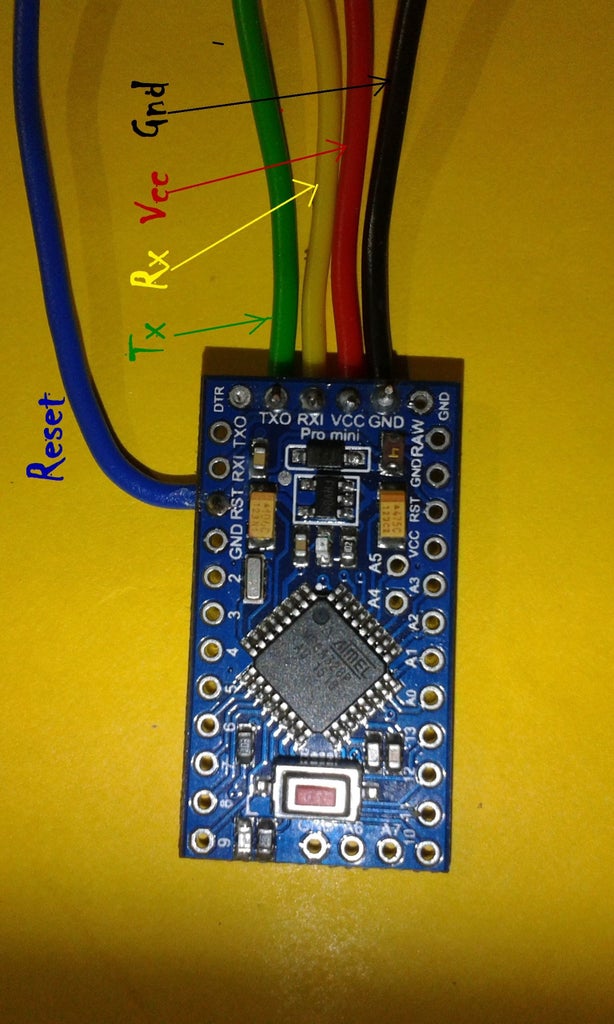

The pro-mini comes with no pins/leads. It only has the holes for the connections such as Vcc, ground, Reset, Input/Outputs etc.
For uploading the code, we need
- Vcc pin.
- Ground pin.
- Rx pin.
- Tx pin.
- Reset pin.
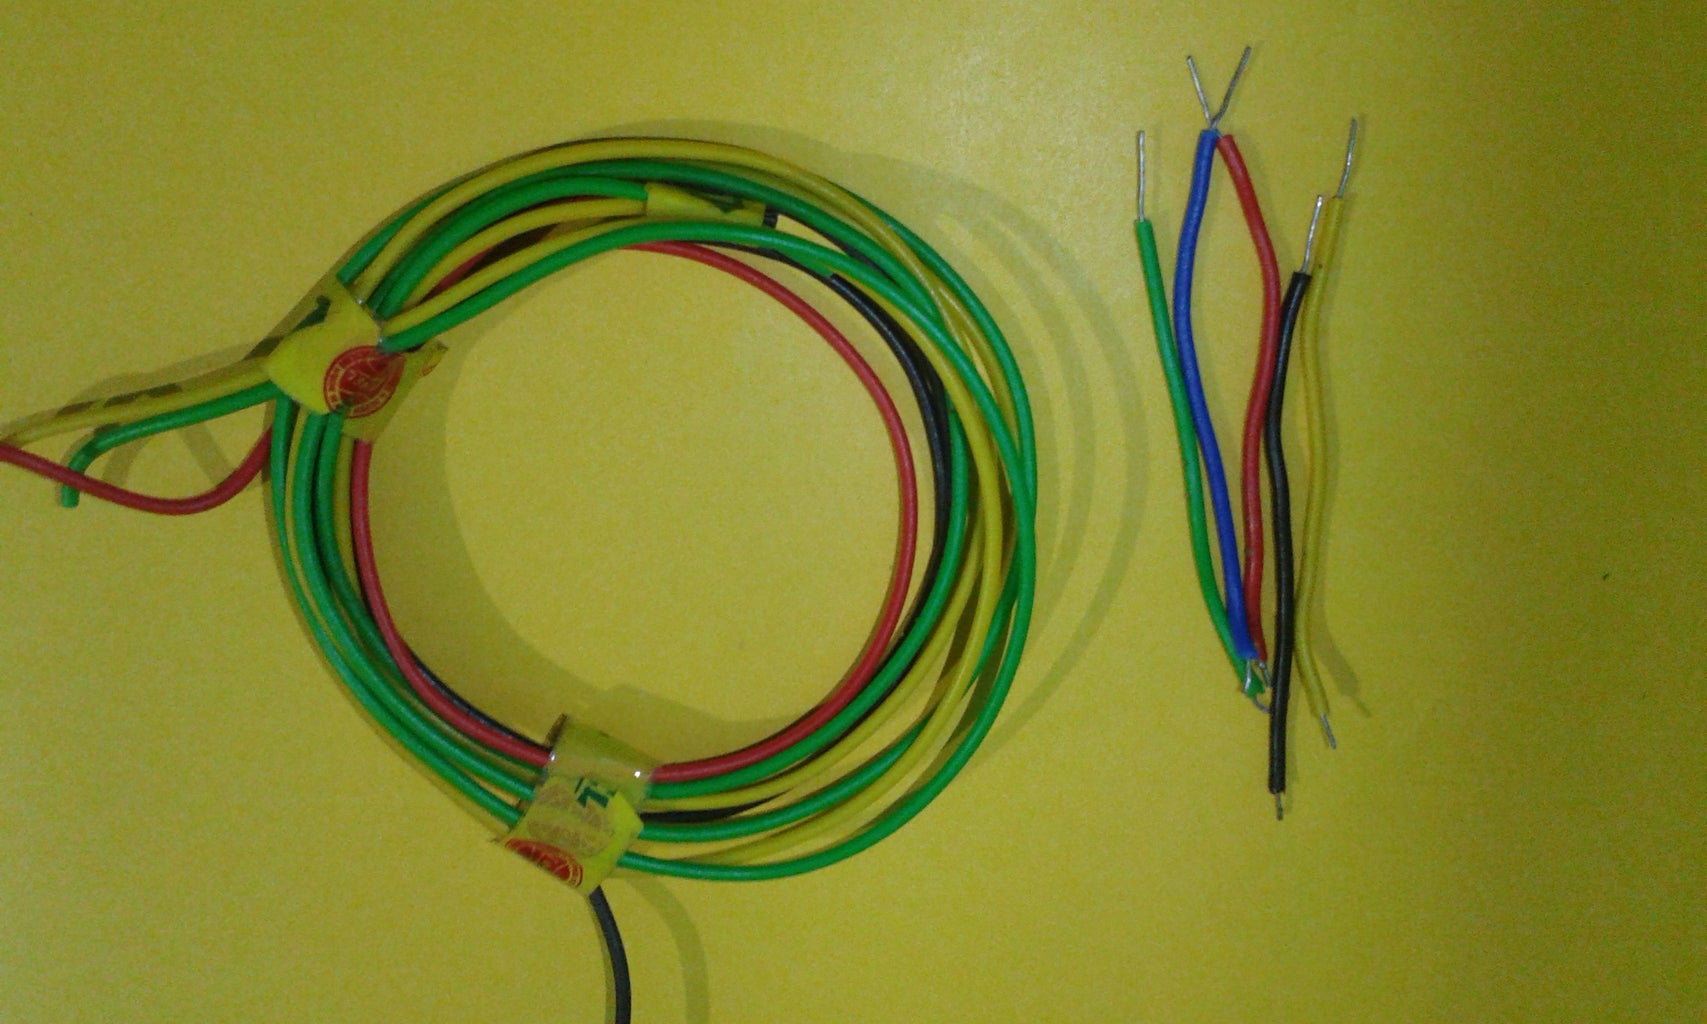
For preparing the board for uploading the code, follow the below steps;
- Solder the wires for programming as shown in the pictures attached.
(Red and Black wires for Vcc and Ground respectively.
Yellow for Rx and Green for Tx.
Blue for Reset.)
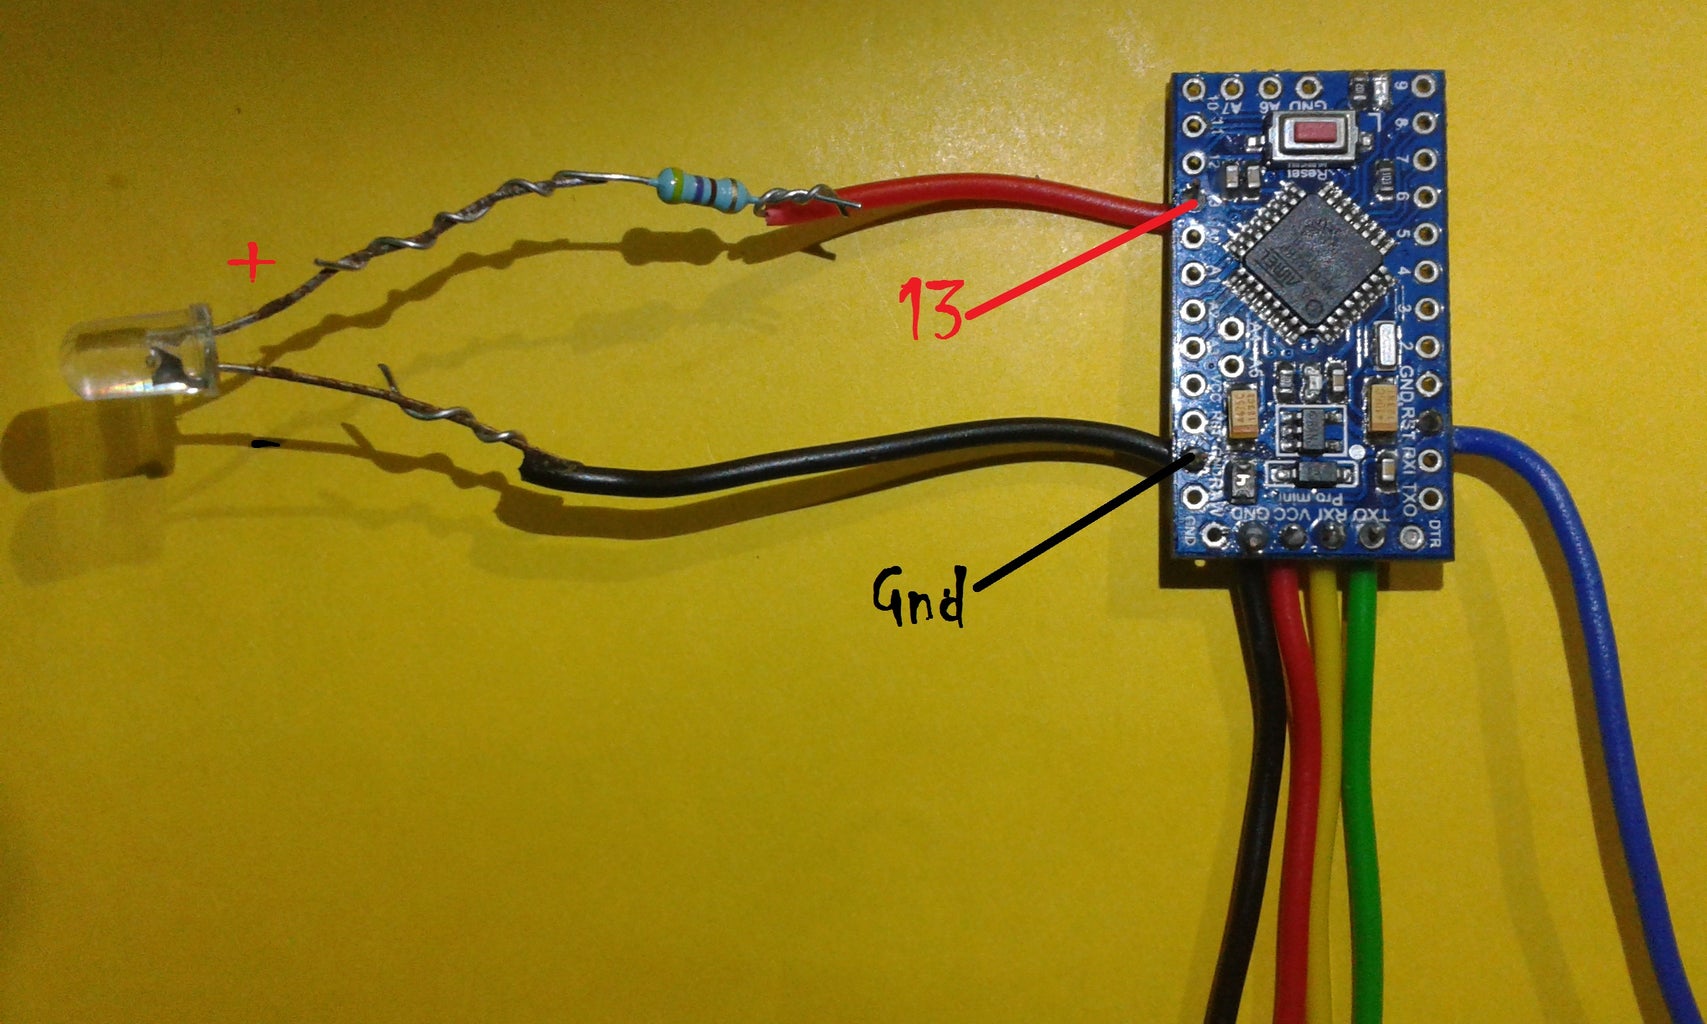
- Take an LED and connect the 470 Ohms resistor in series with its positive lead.
- Connect the negative lead of the LED to Ground hole on the board.
- Connect the resistor end to the pin number 13 on the board.
Now the board is ready for programming, Refer the pictures attached for more understanding.
Step 3: Set Up Your Uno
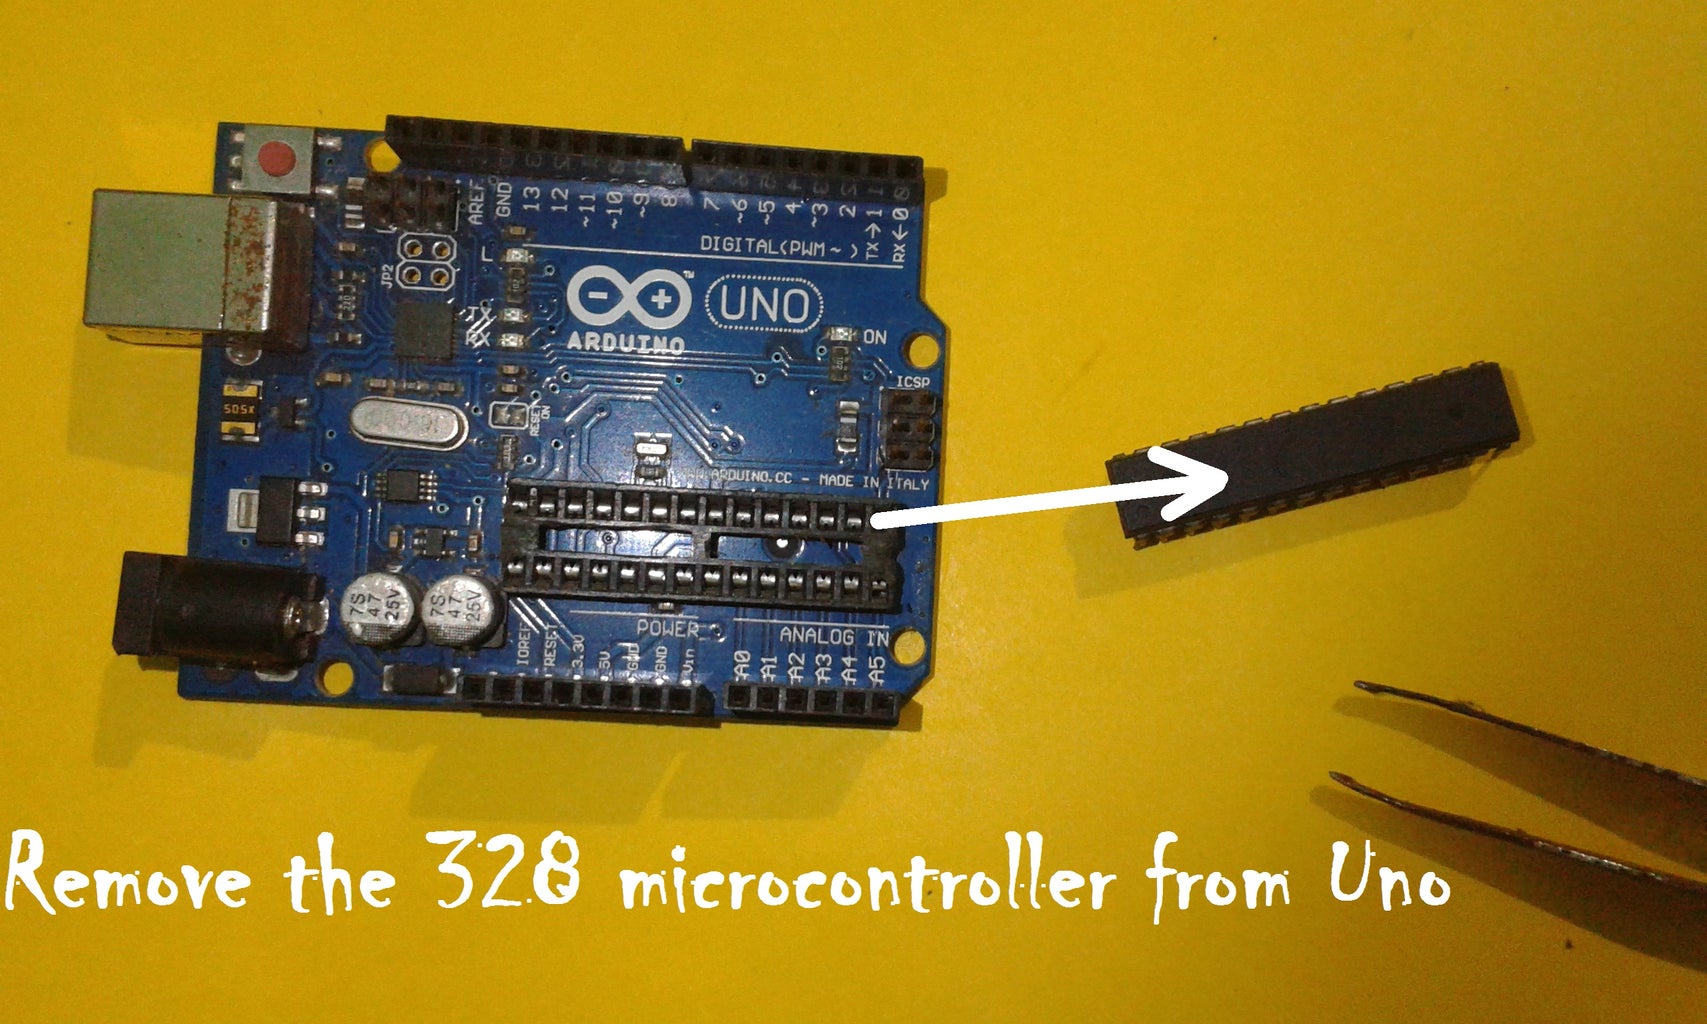
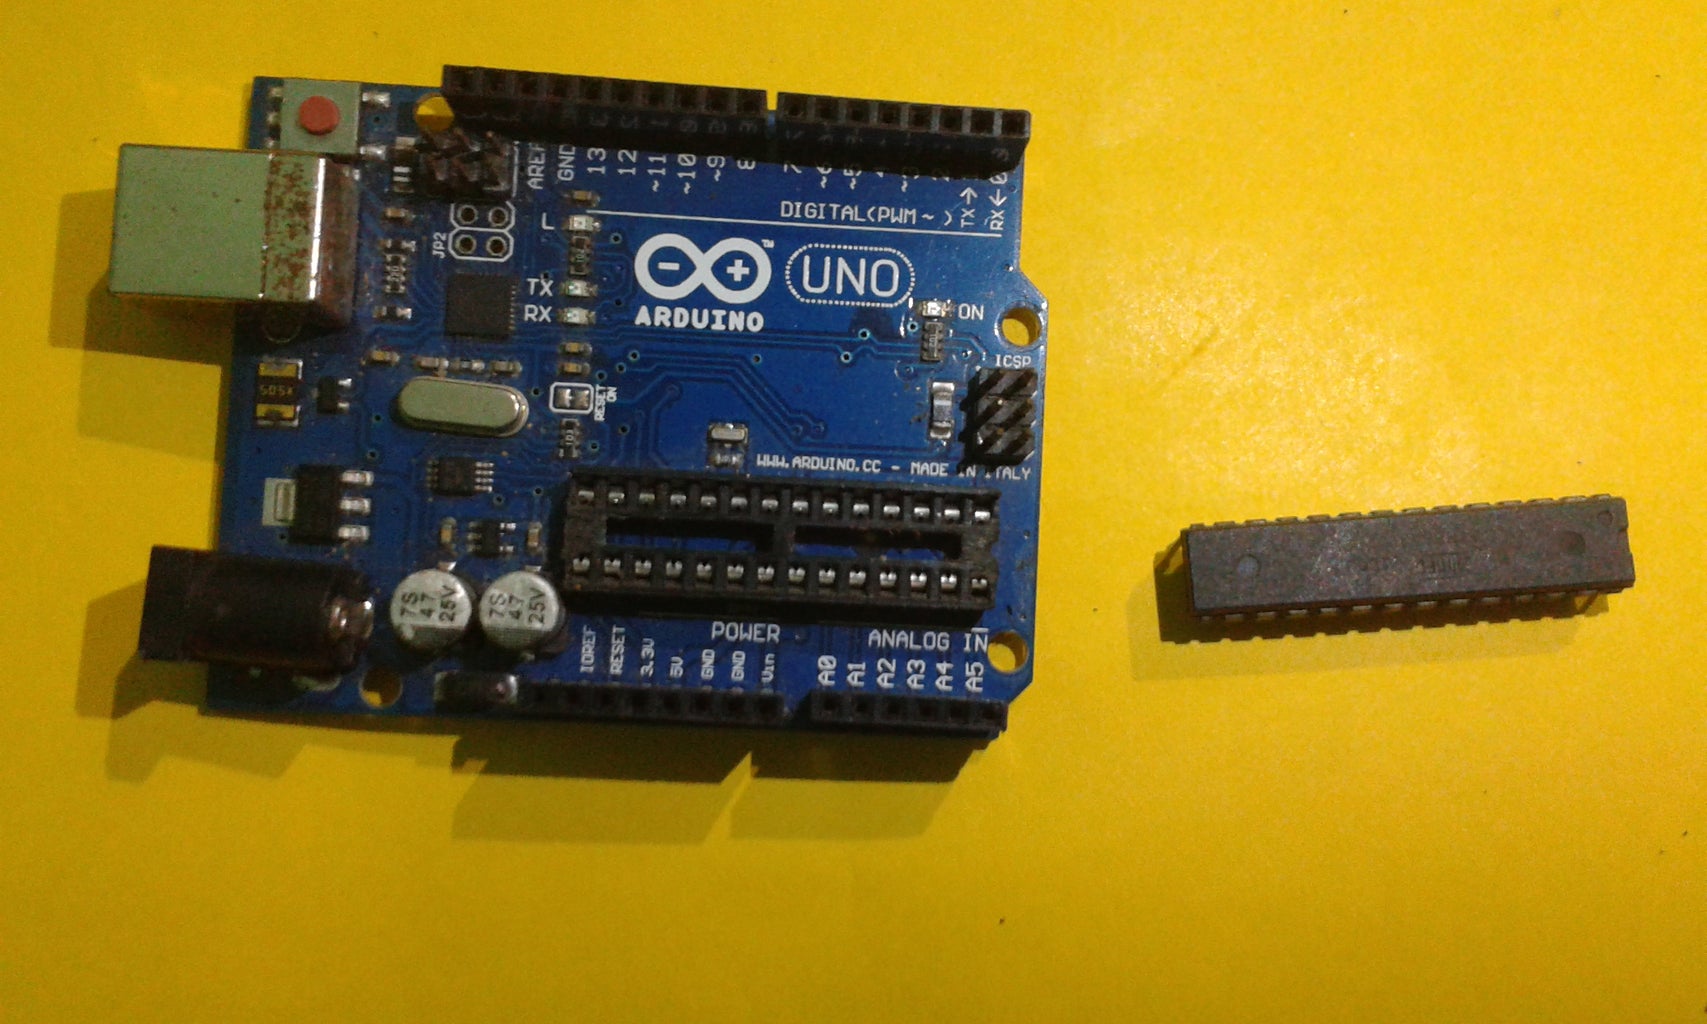
We also have to make the Uno board ready for programming. The Uno board is the programmer here.
For that, we have to remove the ATmega 328 microcontroller from the board.
Be careful: You should be very careful when taking the 328 from the board. Thin pins should not be broken or bent.
Step 4: Connect Them Together
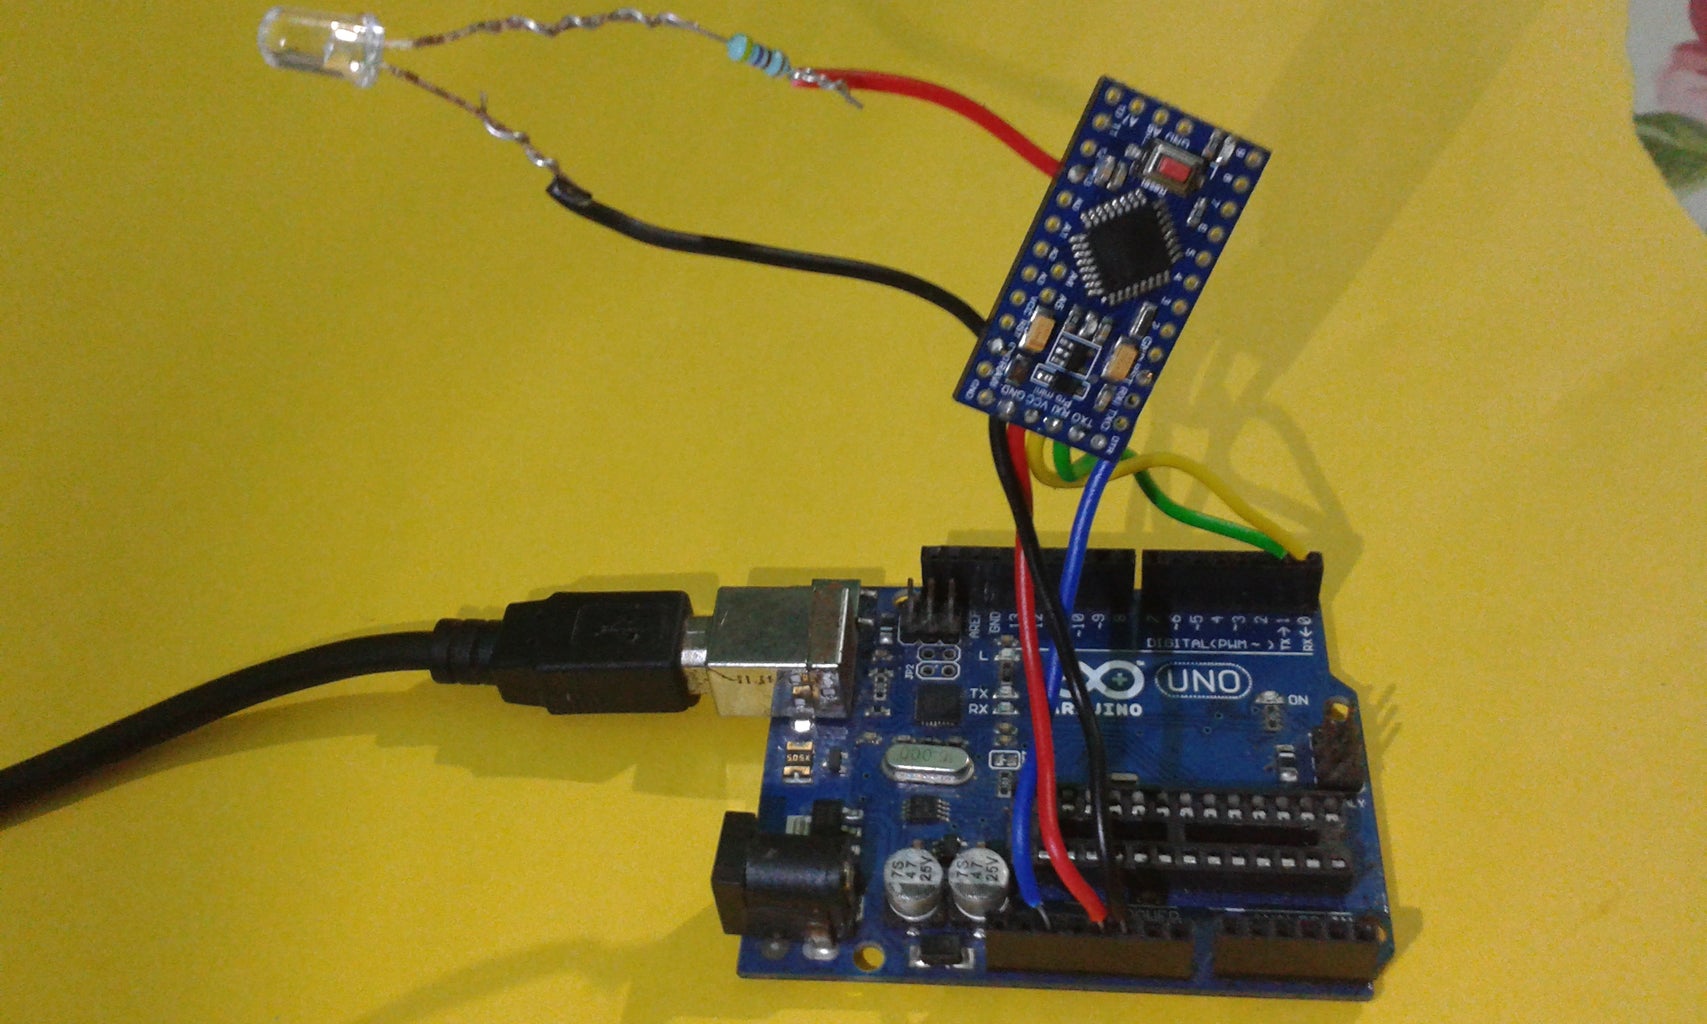
In this step, we are gonna connect both the boards together:
- Connect the Pro-mini Vcc and Gnd to the Vcc and Gnd of Arduino Uno.
- Connect the Rx and Tx of pro-mini to Rx and Tx of Uno.
- Connect the Reset to Reset.
Step 5: Upload the Code
For the first time, we are gonna upload the LED blinking program which is the "hello world" of Arduino programming.
- Open the Arduino IDE.
- In the IDE, open the program "Blink".
- From Tools-->Board, Select Arduino pro or pro mini.
- Now upload the code.
Step 6: We Done...!
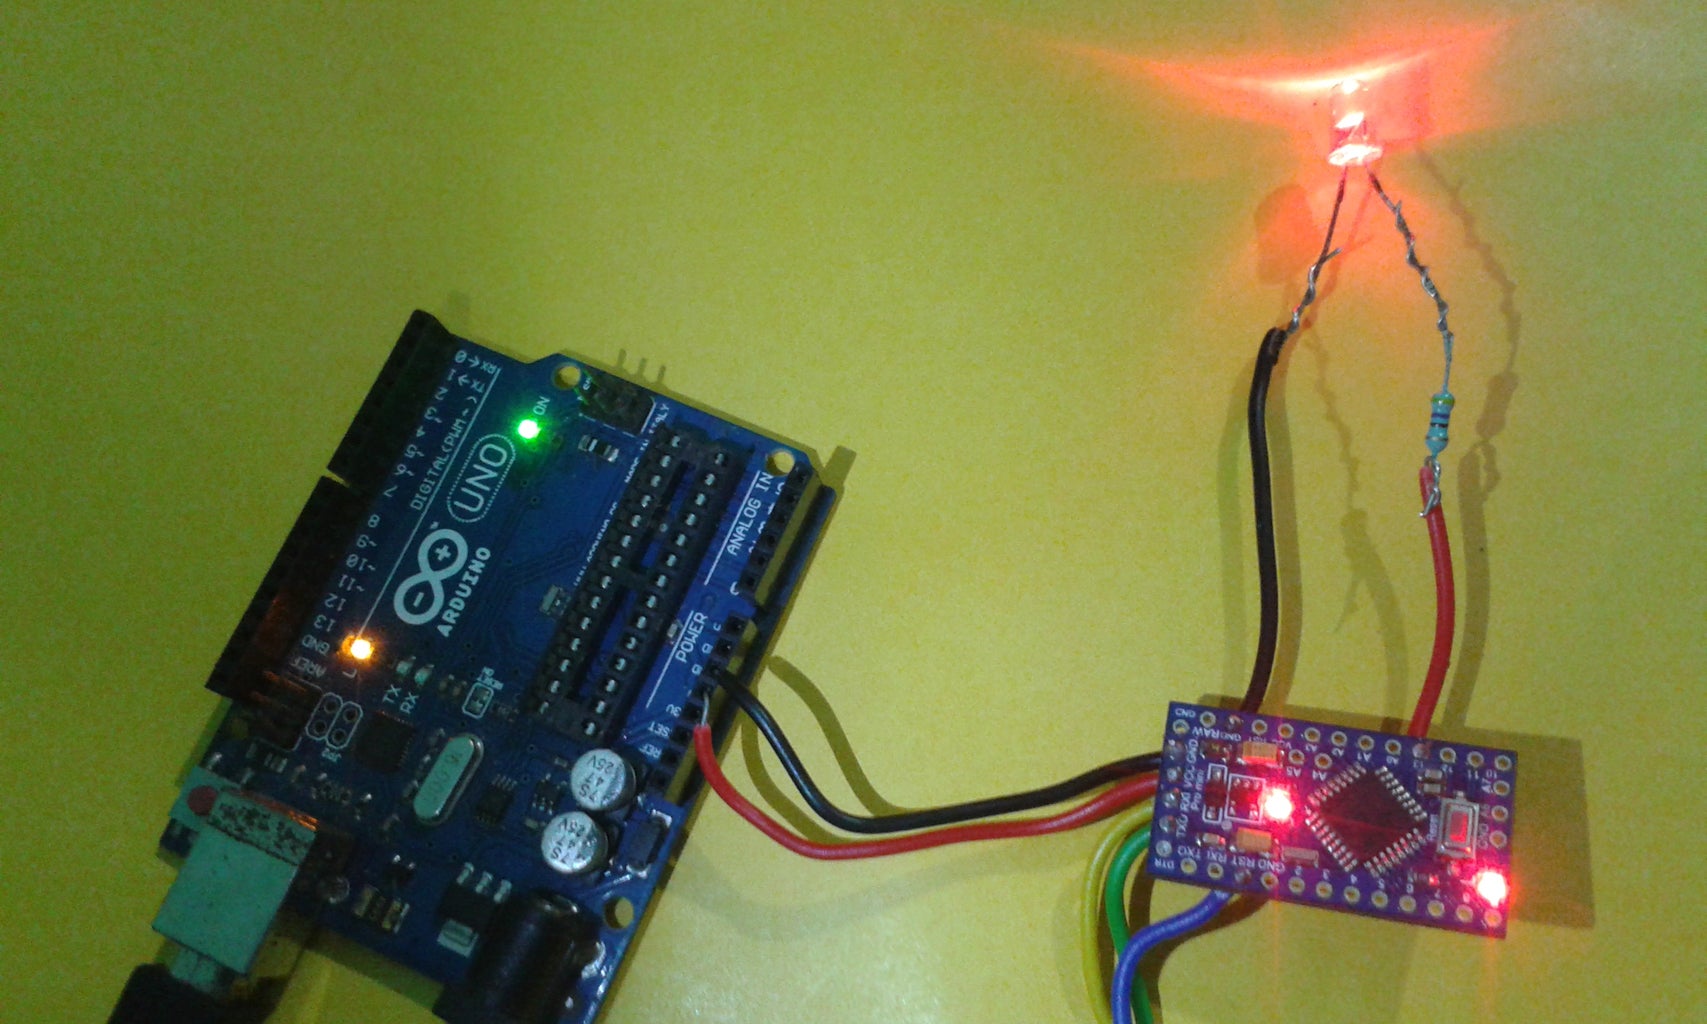
We successfully programmed our little pro-mini now.
No need for the Rx, Tx and Reset connections after programming. Only the Vcc and Gnd are needed.
Now you can see the LED blinking and you can reprogram it as per your need.
Step 7: Conclusion
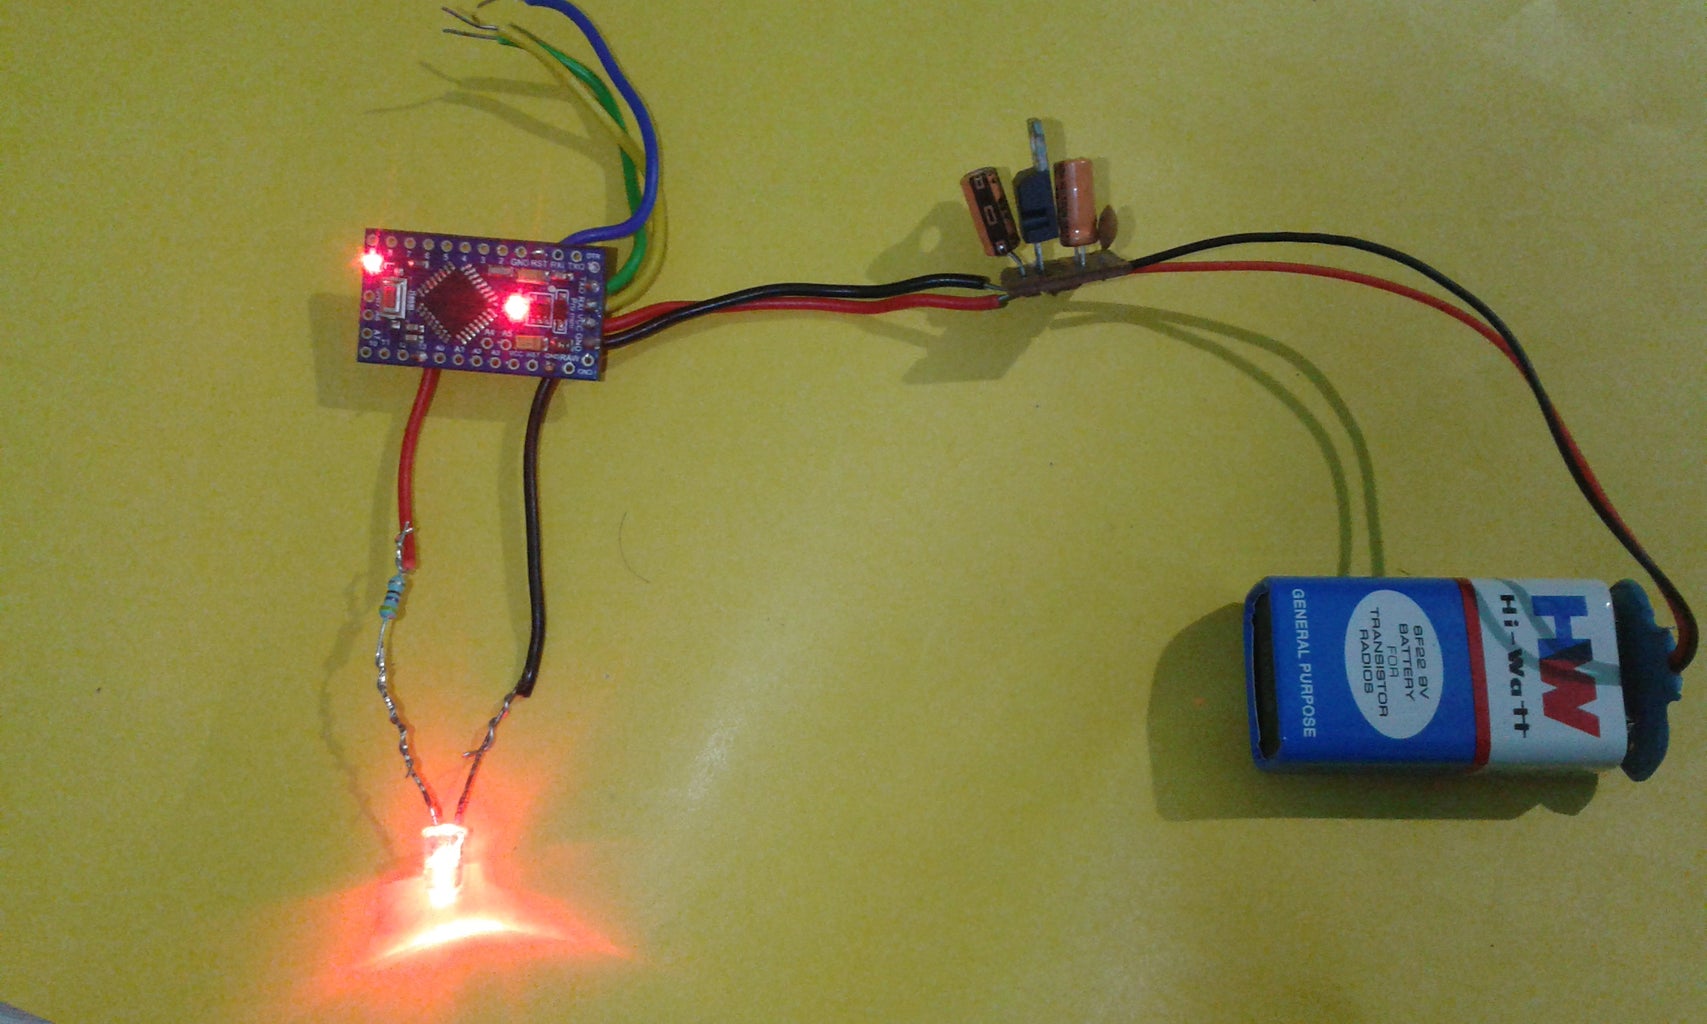
As the conclusion for this little instructable, I would suggest removing Arduino Uno and connect an external power supply.
Since the pro-mini board needs 3.3 to 5 V DC, I connected a 9 V battery along with a 5 V Dc regulator.
Refer this instructable for the regulator.
Now, you can enjoy the stand-alone working of the simple and portable Arduino pro-mini.
Enjoy DIY, Thank you :)


![Tim's Mechanical Spider Leg [LU9685-20CU]](https://content.instructables.com/FFB/5R4I/LVKZ6G6R/FFB5R4ILVKZ6G6R.png?auto=webp&crop=1.2%3A1&frame=1&width=306)


