

Introduction: RV Awning Tension Adjustment


Has your RV awning been sagging?
Has it had a lot of water pooled in it, or maybe it is just somewhat old? Does it struggle to roll up tightly or straight? It might be time to adjust the tension. This is a quick and easy fix that requires just a few tools and a helper. Let's get to it!
Step 1: Tools Required

- An RV with a manual awning
- Pole to pull the awning down
- At least 1 ladder (6' tall is good)
- A second ladder is helpful
- A screwdriver - possibly with a special head (I used a #2 square head)
- A helper
- 15 spare minutes
Step 2: Bring It Down
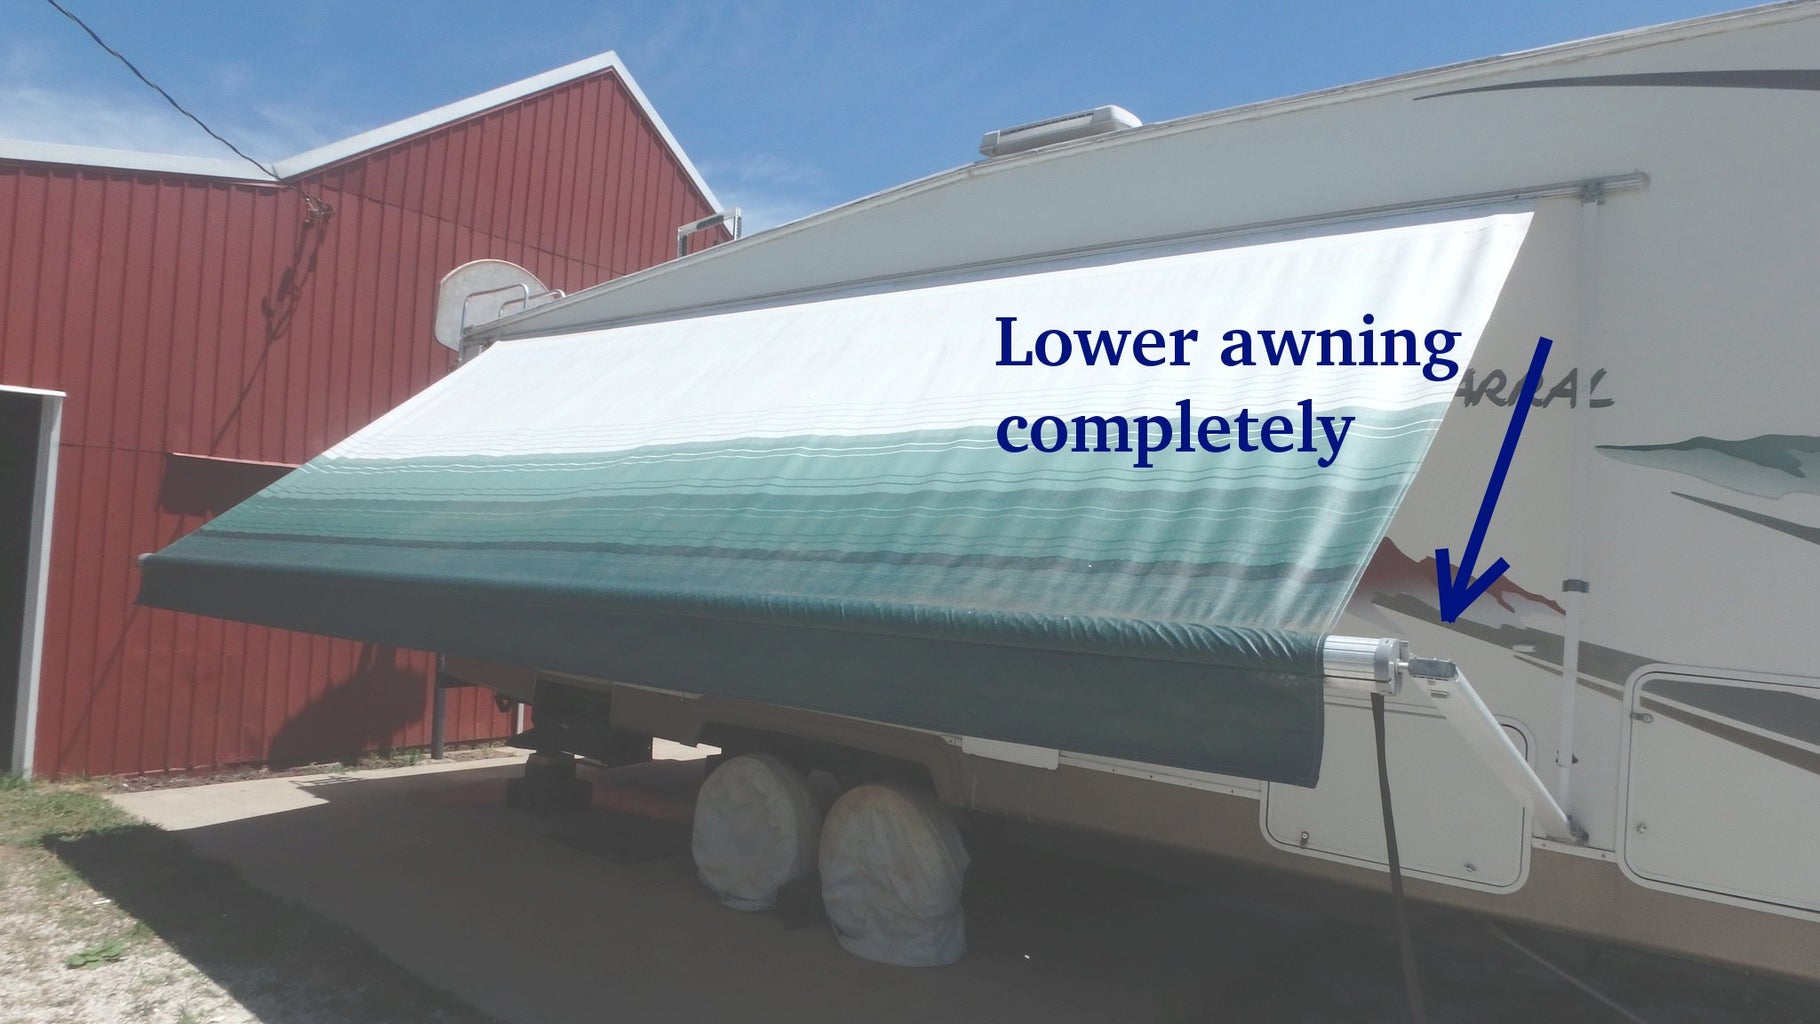
Lower the awning completely.
For most people, you need to first flip the release switch from "up" to "down." Mine is located at the top of the front of the awning roll. It's useful to have a long pole with a curved end to do this.
Step 3: Give Yourself Some Room

The awning leg consists of two sections. Let's raise that upper section up a bit. This should also pull the support arm out from the side of the camper as it is connected to the upper section of the leg.
Step 4: Free the Stop


As mentioned, the upper arm is stuck in the channel of the upper leg section. There should be a set of screws as the base of the channel preventing the support arm "stop" from leaving that channel. Remove those screws and the support arm should come out of the channel. Note, I needed a #2 square head, but your screws might be different.
Step 5: Let It Hang

The support arm should now hang freely at the side of the RV.
Step 6: Stand Up the Legs


Go to the back awning leg and raise the upper section quite a bit.
Now, detach the front awning leg from the side of the RV and stand it up. Without the support arm in place, the leg will want to fall down. This is where your helper comes in handy!
Step 7: Prop Up the Awning

Set the awning pole on top of a ladder so the entire leg can swing around freely. As seen in the picture, I had to use a block on top of the ladder to get enough height. My helper is also holding the awning down so it doesn't fall off of the ladder.
Step 8: Swing It Around - Part 1

Here is where a second ladder becomes useful. Standing at the front of the awning and facing the rear, you need to rotate the front awning leg counter-clockwise. Since this is the side with the ratchet catch, the awning might try to roll up on you some - just tell your helper to hold it tighter. Eventually, you should get it to rotate all the way around. Only do this once or twice, depending upon how loose your awning is.
Step 9: Swing It Around - Part 2

Now, we need to do the same for the other awning leg. So reattach the front leg to the side of the RV and raise it up a bit. Lower the rear leg, detach it from the RV, and prop it up on the ladder like we did for the front leg in the previous steps.
You should now be at the rear of the awning facing the front. Rotate this leg clockwise as many times as you did the front leg.
Step 10: Test the Tension


We should test the tension before doing anything else. Reattach the rear awning leg, and lower both leg sections completely. You can leave the support arms hanging freely, but it might help to simply slide the stops back into the leg channel. You do not need to put the screws back in. Roll the awning back up to observe how tight it is.
If you are satisfied, move on. If not, then repeat the previous steps. Only rotate the legs one or two turns at a time, and don't do more than 4 or 5 total. If you over tighten the spring, it will break!
Step 11: Put It Back Together

When you are satisfied with the tension, put everything back together. Make sure both legs are attached to the side of the RV, reinsert the "stops" into the upper leg section channels, return the screws, and lower the legs completely.
Step 12: Admire Your Work

Your awning is now ready to be rolled back up or put to use. In either case, I hope you enjoy your additional awning tension. As always, happy camping!

Participated in the
Outside Contest 2016


