

Introduction: Resistor Storage for Beginners


Hi and welcome to my second Instructable.
This project is going to be a simple storage system for your resistors and/or capacitors.
I know that a lot of you have a whole set of containers with little drawers for storing all of your electronics parts, but for those of you, who haven't, it might be useful.
Step 1: Gathering the Materials


You're obviously going to need quite a few resistors.
The second thing is a box of merci® chocolate. The box is going to be used for collecting all the resistors and making all of them available at a time.
Also, some tape (any kind, I used one to make it look nice with the box) will be used to hold the strips in place. Some kind of labelling could be useful too, so I recommend getting post-its ready to action.
Step 2: Empty the Box

This one was done already when I got the box, so (unfortunately) I had no work with this. This one is simple, your bear in mind that once you put resistors into the box, don't put it back to the kitchen or gift it to somebody (only if you want to give them resistors).
Step 3: Label the Resistors
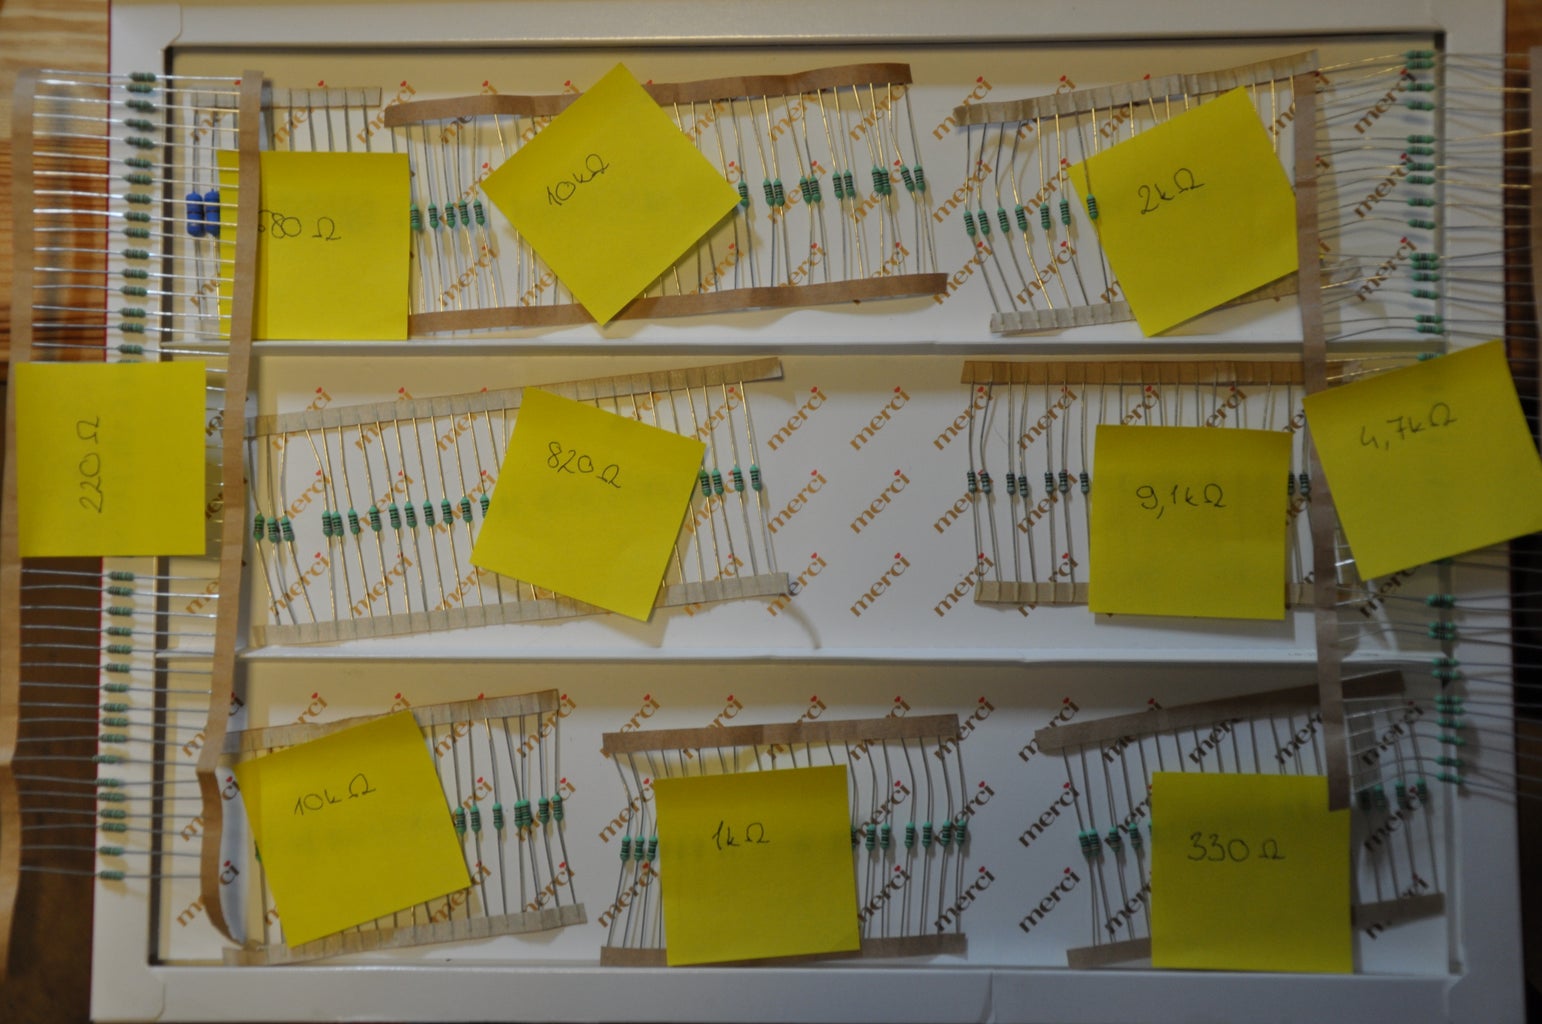
This one only requires a multimeter or a table that shows you the resistor value based on the color bands. For each package you have, measure one and write it on a paper. Using the color bands, you can also get the tolerance, which is sometimes needed.
After that, I just put them in order by value, however, if you have big spaces, you can play around with different placements to get a better fit.
Step 4: Extra Space
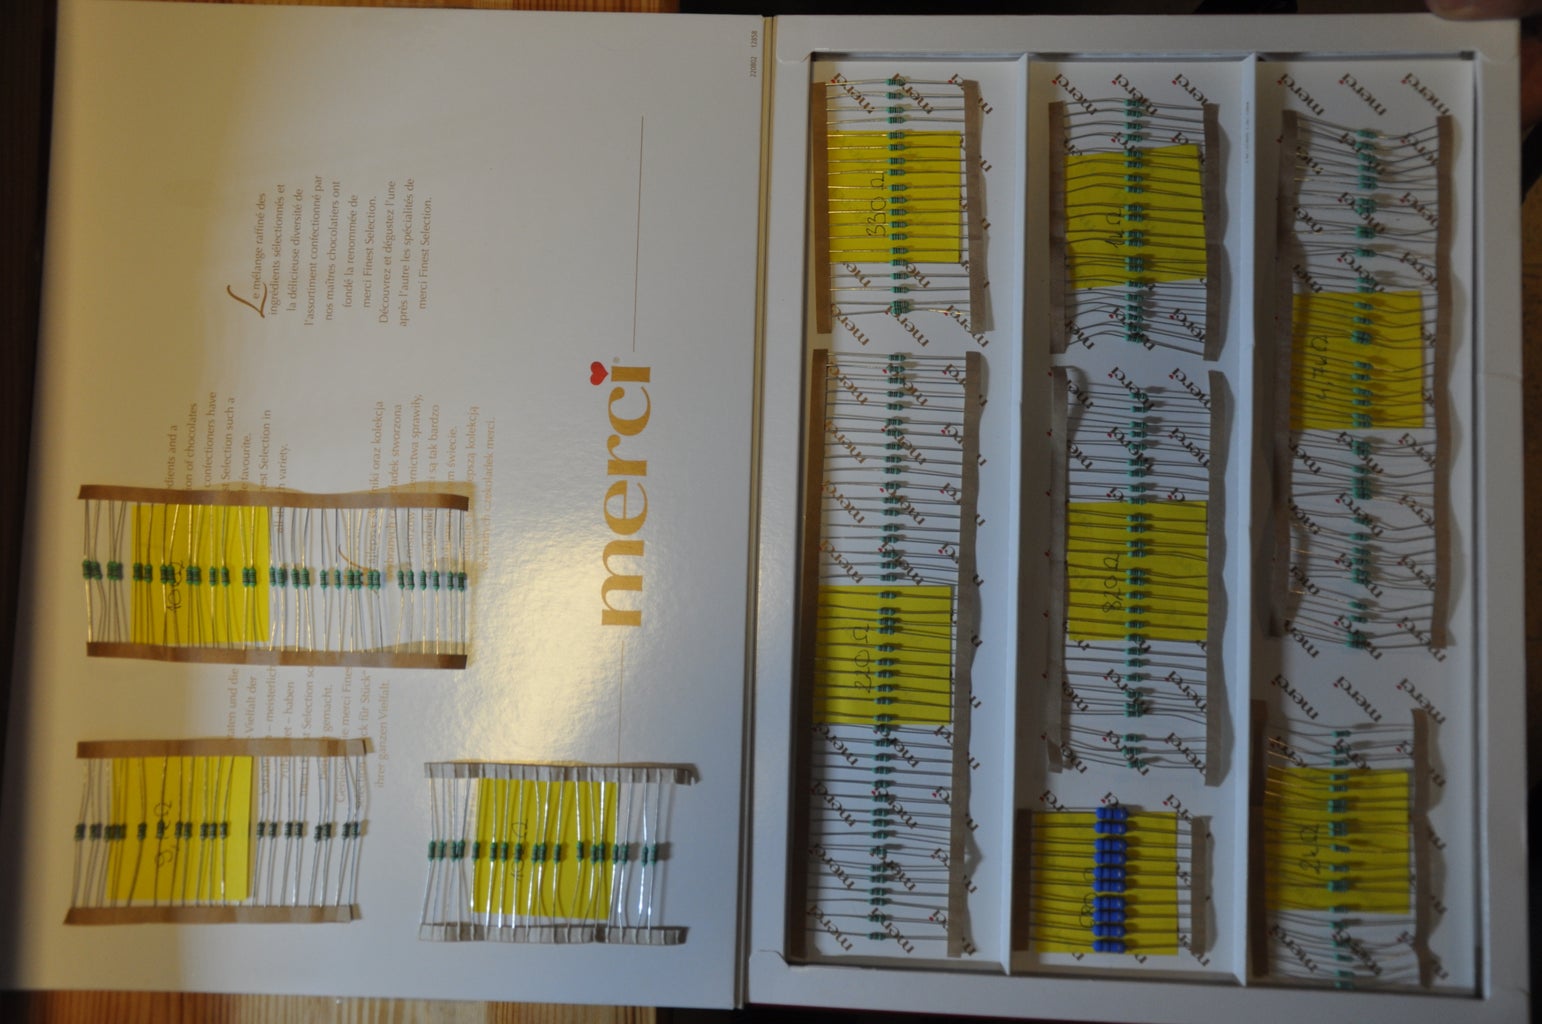
In case you couldn't place all of them in the box, there is a solution, You can use multiple boxes, which if you do, I recommend ordering them by value. In this case, you can also label the boxes, let's say "1kΩ-10kΩ".
If you can almost fit them in one box, then you still have place on the opening cover, which is a great place to store a second layer of resistors. At this one I recommend stacking them vertically, the horizontal version did not work for me as there were no dividers.
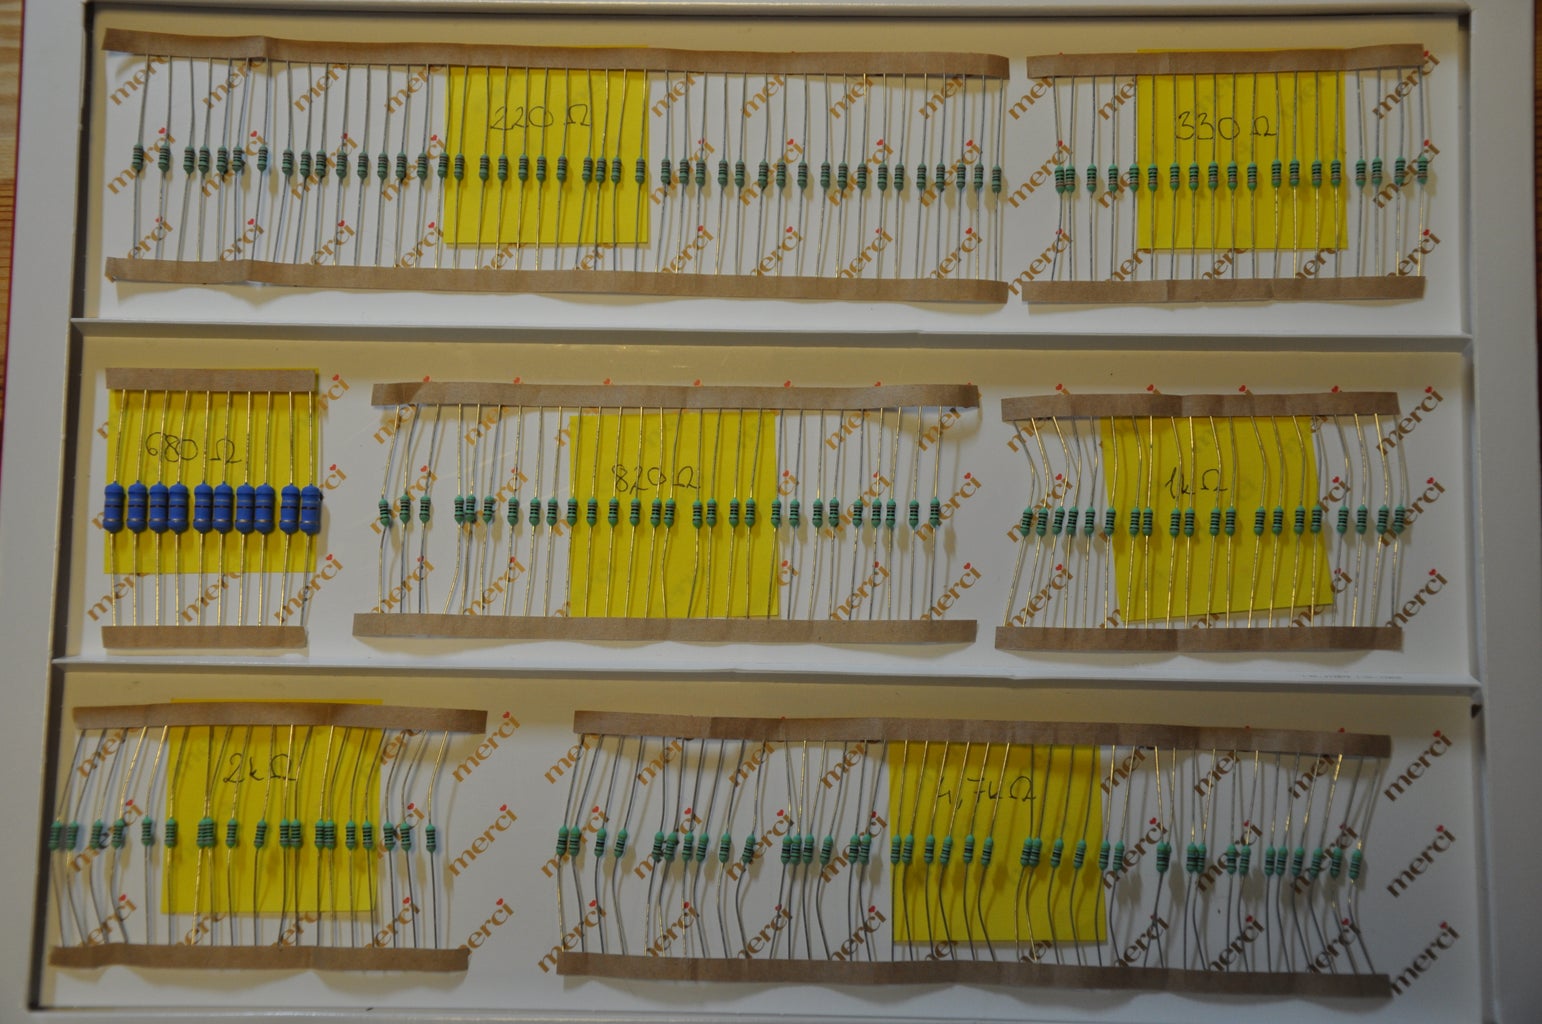
Step 5: Fixing Them Into the Box


Now, at the bottom, one row of tape is more than enough. Putting the post-it under the resistors not only gives access to the ones that it would hide, but it also is being covered by the tape which prevents it from coming up.
On the top, tape both sides of the strip, because the cover wouldn't close up completely without the second one.
Step 6: Conclusion

Afterall, this project came really useful to me. I now don't have mess in my electronics box. For a cost of about 10 $, which includes chocolate, it really isn't that bad.
As I mentioned before, you can add multiple boxes or write more data about the resistors themselves as an extension. Another thing would be a simple organizer for the ones you have used in a breadboard project and then removed. Those are almost impossible to put back into the box, but with a bit of tape, you can place them in a separate place, labeled one-by-one into the box.
(Sorry for the image quality :( )
Thanks for reading!


