

Introduction: How to Reuse Old Plastic Cordless Tool Cases


A tool case to safeguard a valuable power tool is a no-brainer. It's a straightforward solution that ensures the longevity and functionality of equipment essential to getting the job done.
However, some of these cases are filled with plastic walls to accommodate the specific toolset they're designed for, making their reuse for other tools almost impossible.
Throwing away a perfectly functional storage container isn't really sustainable, especially as we're talking about plastic that will take hundreds of years to decompose and that poses a risk to humans and the environment by releasing harmful chemicals if not disposed of properly. Also, those older tool cases are often really well built, having metal clasps and very durable walls, so it's a pity to throw them away.
In this article, I will show you how you can turn an obsolete plastic tool case into a practical gear box, so that you can continue using it for years to come.
Supplies
An old tool case
Paint stripper
Metal shears
Snippers
Pliers
A Dremel tool (optional)
A multitool (optional)
Foam for the interior lining (more about that in Step 4)
A hot wire cutter
Foam safe adhesive
Step 1: Watch the Video
If you wish to experience the process of repurposing an old tool case, without having to move from your desk, here's a short video just for you!
Step 2: Clean Out the Inside


For starters, if we want to make our container universal, we’ll first have to get rid of all the proprietary interior walls.
For that, there are countless different methods available. Here, I used a combination of a pair of shears, pliers, snippers and a Dremel tool:
First, I cut the walls into smaller segments using the shears. Then I used a pair of pliers to grab onto a segment and rip it out of the the case.
A snipping tool and a Dremel tool can be used to eliminate any remaining bits, so as to leave a smooth finish.
Step 3: Debranding


If your tool case came with some bold branding and you want to get rid of it to get a more neutral result, there’s a chance we can remove the painted text and logos.
We’ll be using a chemical product called paint stripper. It’s a very caustic liquid, so it could be too harsh for your container if it’s made of a less durable kind of plastic. Luckily, most half-decent cases are made to withstand strong chemicals on jobsites (that's the case for boxes made out of polyethylene). To see if your case will survive the treatment, you can put some paint stripper on a piece of plastic you removed in the previous step, to see if the chemical modifies its rigidity.
After pouring some paint stripper on the logo, rub it with steel wool to detach the paint. Use tissue paper to remove the loose paint and repeat until all the paint is gone (I had to do about four passes).
Finally, to make the tool case safe to carry around again, spray the surfaces with vinegar. This will bring the pH level back up and neutralize the caustic proprieties of the paint stripper.
Step 4: The Foam

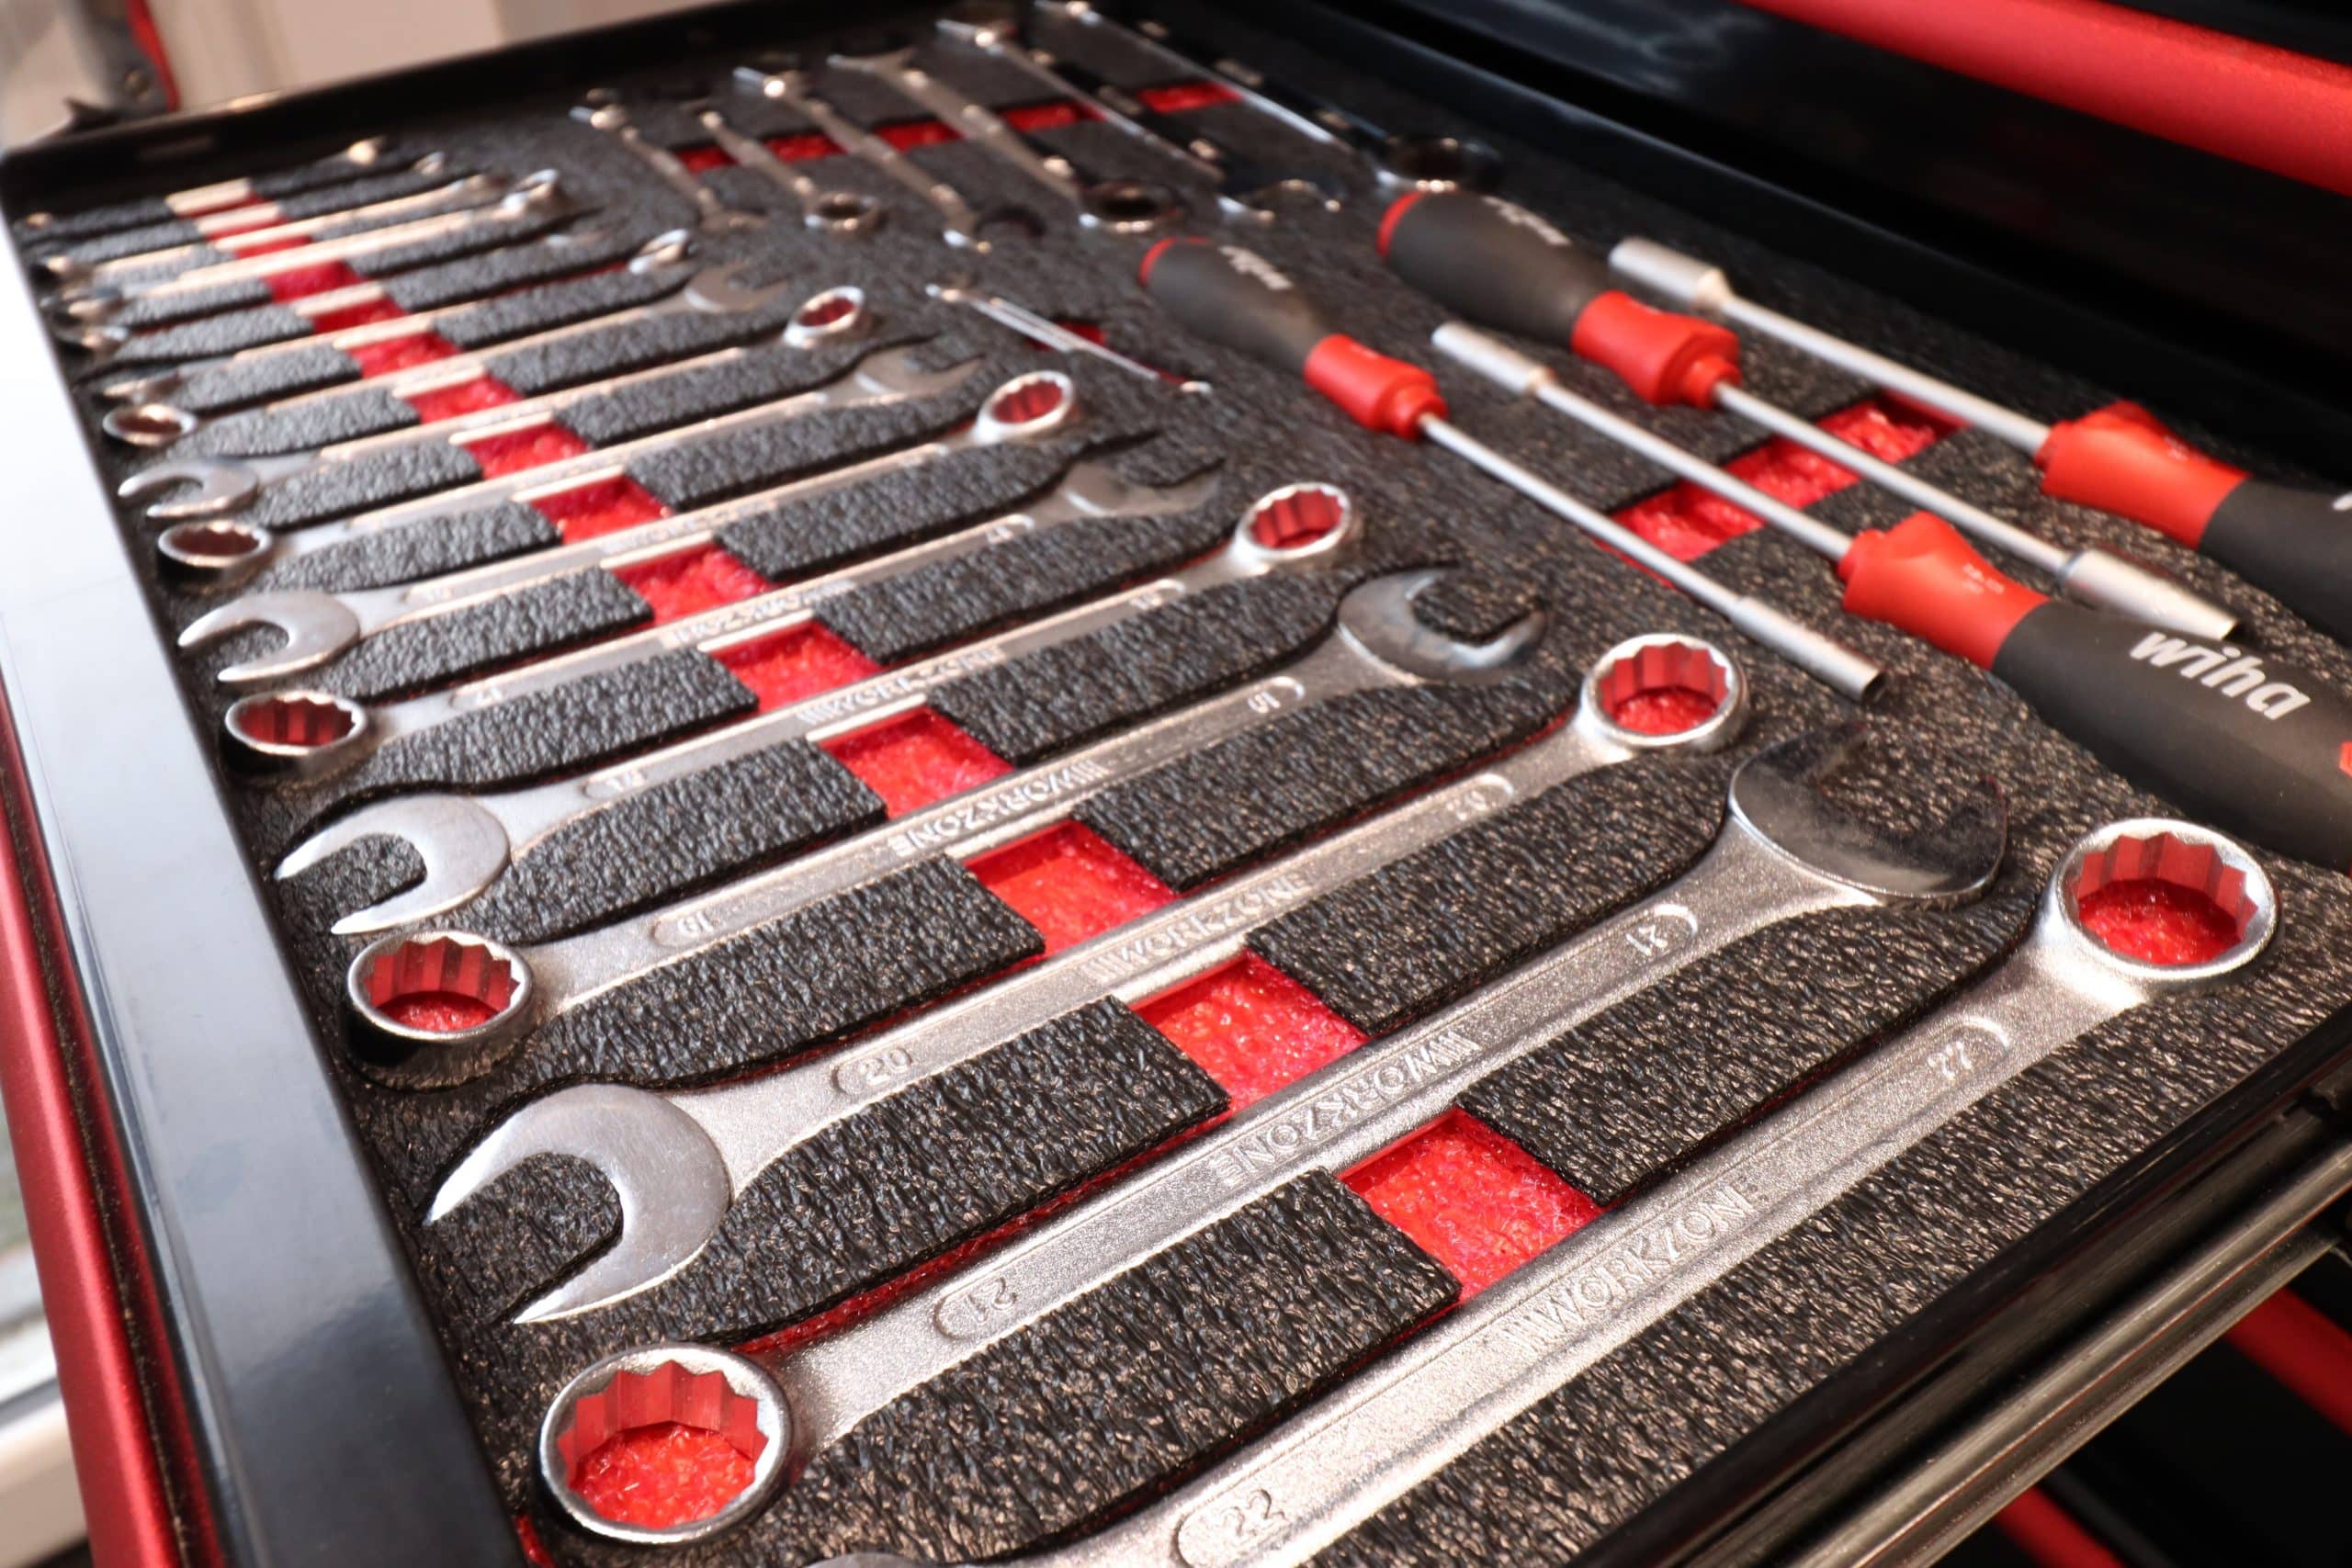
To make the case a bit more elegant to use and protect the gear we will be carrying with the case, let’s line it with foam. This will also make sure to hide the scratched interior surfaces.
If you want to use the case to carry a specific item, there are different foams you can cut to an exact shape, that will then fit around your item perfectly. To get some inspiration, you can look up products like Shadowfoam, and Pluck foam from Peli case. You can also buy cheap foam panels from a hardware store and cut them to size using a carpet knife or a hot wire cutter.
For my case, I wanted it to be universal. So, no precut holes, just foam that will gently hold the gear in place. Of course, with this solution, the foam won’t protect the gear from harder drops, as it will let go of the object when thrown around too harshly. But for storage, this will be just fine.
I decided to use some acoustic foam, as its eggshell top surface is perfect to grip the gear I'll be storing. This type of foam can be bought for cheap on the internet (Amazon, eBay, AliExpress) – although I have no clue how efficient those cheap foams are to actually dampen sound in a room.
Step 5: Making a Template


You can first use a piece of transfer paper to get the shape of the inside of the tool case. Press it onto the sharp plastic edges of the case, to get a nice clean perimeter line.
Then, transfer it to a piece of cardboard. That way you can do small tests and adjustments until you get a perfect template. It’s much cheaper than wasting a piece of foam attempting to cut it right the first time.
Step 6: Cutting the Foam


Once you have the perfect template, transfer it to the foam and cut it out using a very sharp knife or a hot wire cutter.
Step 7: The Small Adjustements


If your tool case has inner chamfers or small protrusions, you may need to refine the edges of your foam piece.
Once your foam is ready, press it in place.
To get a permanent result, you can use some double-sided mounting tape or foam-safe glue (it should be written so on the bottle but you can always try it out on a scrap piece of foam first).
Step 8: Done!


And just like that, you have now saved an old tool case from going to the landfill by giving it a new life as a gear case.
I hope you liked my Instructable. If you have any questions or suggestions don’t hesitate to leave them in the comments. :)
Thank you for reading so far and have a great day! :D

Participated in the
Unusual Uses Contest


