

Introduction: Sewing the Blanket Stitch


In this lesson, I'm going to teach you how to sew the blanket stitch. The blanket stitch is a fantastic decorative stitch that is used for many functional applications as well. A blanket stitch is typically used to reinforce the edges on a project - because of the way this stitch is sewn, it keeps edges from fraying or stretching out of shape.
If you've ever looked closely at the clothes you're wearing, chances are you've seen cousin stitches of the blanket stitch! The blanket stitch is one of many overcast stitches. Overcast stitches are used for buttonholes, seams on stretch fabric, and to keep loosely woven fabrics from unraveling. Overcast stitches are often done on a sewing machine, but they're easy to do by hand once you get the rhythm down.
Because the blanket stitch is such a visible stitch, I'll be giving you lots of tips to get the neatest stitching line.
There are two ways to do the blanket stitch: it all depends on whether you're going straight across an edge OR if you're going all the way around a object. I'll show you how to do both!
You can sew to the right or left, so do whatever is easiest for you. The most important thing is to always pass your needle from front to back through both pieces of felt. That'll give you consistently tensioned stitches. If you start passing from back-to-front and then front-to-back, the stitches will become uneven and the tension will get a little strange. (I confess I do this sometimes because I space out - thankfully it's not super noticeable if you don't do it often!)
Step 1: Tools and Materials
For this lesson, you will need:
- An embroidery needle
- Embroidery floss
- Felt
- Scissors
Step 2: Sewing the Blanket Stitch From Edge to Edge

If you're going to use the blanket stitch to sew from edge to edge, here's how to do it!

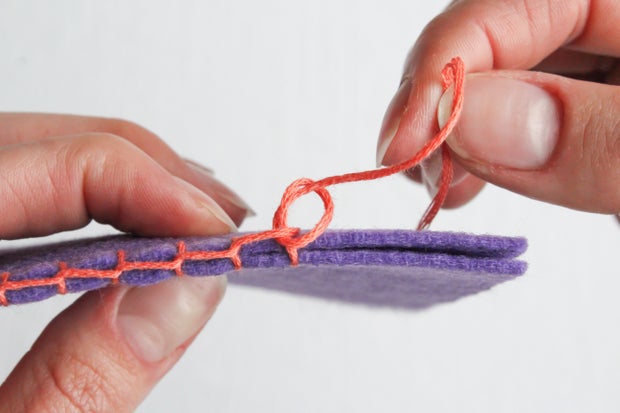
Start by passing your needle through one of the layers of felt so the knot is hidden between the layers. Loop the floss over the top of the seam and pass the needle through the other piece of felt so it lines up with the knot.


Now you'll want to pass the needle and floss under that first stitch so they're to the inside of the stitch. (It may already be this way depending on how you're stitching!) Once that's done, loop the floss around the first stitch. This will allow you to move on cleanly to the second stitch.

Push the needle through both pieces of felt, front to back. Make sure you're not angling your needle - you want nice straight stitches.


Pull the needle through and you'll see a loop forming. Put your needle through this loop and tighten to form a stitch.

Here's a gif of the motion you'll need to do for each individual stitch.
Continue stitching across until you get to the other edge.


At the last stitch, loop your floss around it and form a knot at the top.


Tighten the knot as best you can, and then pass the needle down between the two pieces of felt and out somewhere further down.

Pull on the floss and cut away the excess. Hooray for hidden tail ends!
Step 3: How to Sew All the Way Around an Object

If you blanket stitch all the way around on object, you'll start in such a way that you form a half stitch to connect to when you come to the end.

Push your needle through the felt from back to front. Then, push the needle back through the felt a short distance away, front to back.


Place your needle through the loop that forms and tighten lightly. You want to keep this first stitch a little loose.

Once the first stitch is in, just start stitching as normal! When I use blanket stitch on circles, I try very hard to make sure my stitches are spaced evenly both from each other and from the edge of the felt.
Sew the last stitch and then pass your needle under the first stitch to complete the line of stitching! Now we'll tie off.


Flip your work over and push your needle through the knot on the back. If that's too hard, pull the knot out slightly and push your needle through the floss instead.

Knot the working floss and cut off the ends! You're done. :D
Step 4: How to Blanket Stitch Around Corners

Blanket stitching around corners can be a wee bit tricky. You want to do it in such a way that the corner is completely outlined in floss. The corners should look nice and sharp! Spacing can also be tough, but it will get easier with practice!

Stop when you're one stitch away from the edge.


Make the last stitch, and then pass the needle back through the corner hole from back to front - this will help anchor the stitches. Pull your needle and floss through to complete the stitch and it will look like the right.


Lastly, pass the needle through the corner hole one last time - from front to back! Complete this stitch by pulling the floss taut, using your fingers to pinch the corner into place if you need to.

Ain't that pretty? Yay for nice looking corners!

Once the corner is done, just go back to stitching as normal. :D
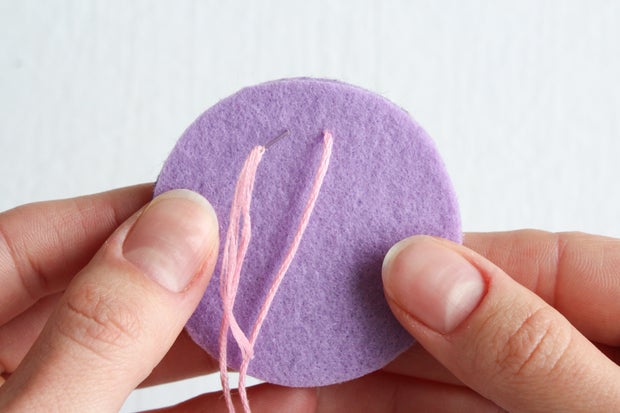
Step 5: What to Do When You Run Out of Floss

Say you're stitching along and you realize you are about to run out of floss. That's okay!

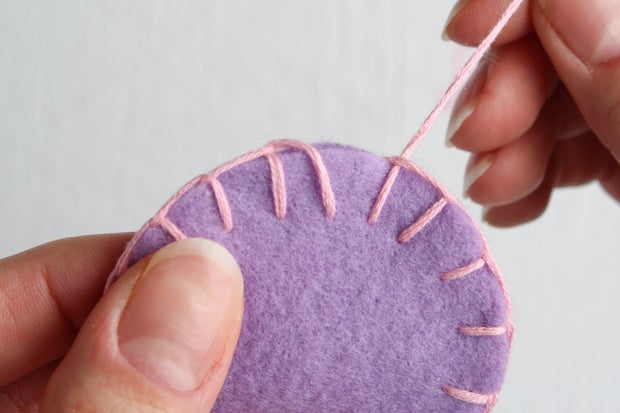
Make one final stitch and knot your floss at the top of it.


Re-thread needle and knot your thread. Insert the needle into the knot of the last stitch you just made - from the bottom to the top of the knot. Pinch the knot with your thumb and forefinger and pull the needle through.


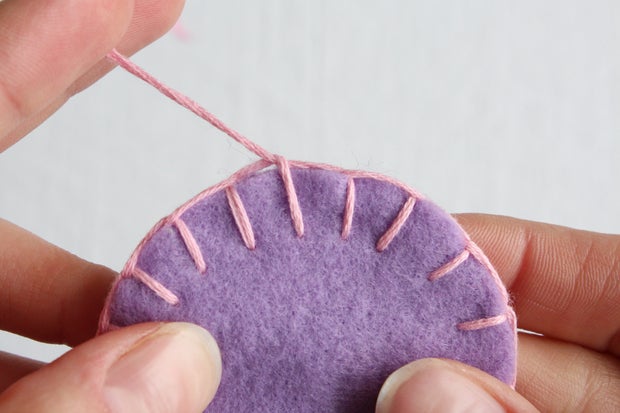
Keep pulling the floss until the new knot hits the old one. The new knot should sit under the old one - if it doesn't use the needle and your fingers to nudge it into place.
As you can see, the knots will form a small bump, but it's not super noticeable unless you know what you're looking for.

Once the knots are in place, you can keep stitching as normal! See where I added a new piece of floss on this piece of felt?
Step 6: Practicing Your Stitching

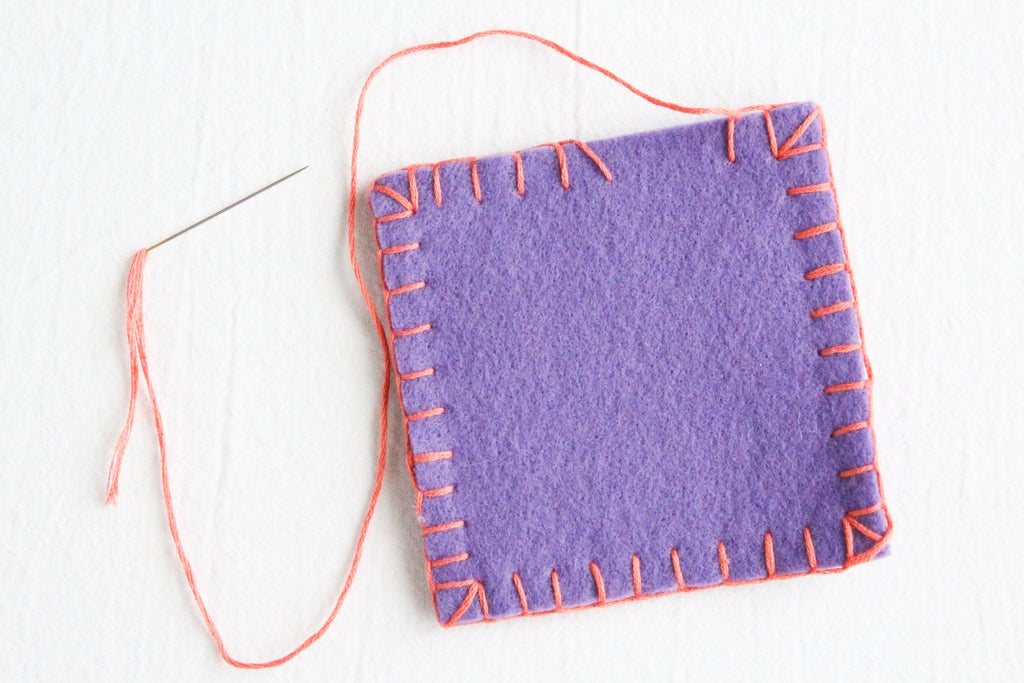
As with the running stitch, I also made felt coasters with the blanket stitch! I find that the circle and square coasters look really nice in blanket stitch. :D


Above is what my circle coaster looks like!

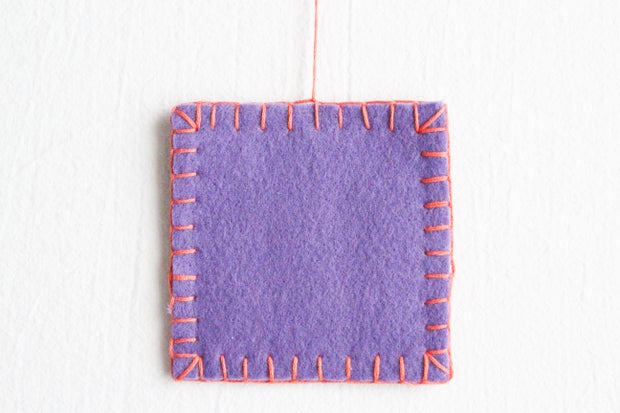
And here's the square coaster. :D
Now we'll move on and learn the whip stitch!


