

Introduction: Shoes Improvement With Paint


Hello! In this project, I want to show how with the help of paint you can change both the old and the new shoes.
This manual will help you show your imagination, as well as save money.
I hope you will like it. And let's get started!
Supplies
What we need:
1. Sneakers
2. Paint acrylic on fabric (those colors that you need)
3. Brushes or sponge (for painting shoe)
4. Toothbrush and toothpaste (for washing sneakers)
5. Cotton swabs and water (for washing off paint, upon completion of the work)
6. Laces
7. Masking tape
Step 1: Preparatory Stage


Since I took old sneakers, before painting I need to wash them, especially rubber, in my case the white part of the shoe (for washing I use toothpaste and a toothbrush). After this procedure, they should dry well before you proceed to the next stage. If you are taking new sneakers, you can skip this part.
Step 2: Protective Stage


Immediately before painting, care must be taken to ensure that during the painting all rubber parts are not soiled. For this you need to glue all the rubber paper tape.How it should turn out, you can see in the picture.
Step 3: Selection

We must take the colors that we need (I took yellow, orange, red and purple).
Next, we must determine the order in which the colors will go. I decided to do from light to dark (yellow, orange, red and purple).
Once you have made your decision, you can start work.
Step 4: Beginning of Work


I start work from the toe of the shoe, I took the yellow one and start painting (I chose a brush for work, but you can also use a sponge). I paint over a little more, that part of the shoe, which I want to occupy this color, so that the colors smoothly merge into each other.
Step 5: Continuation


Next, I take an orange and do the same.
Step 6: Continuation


We take the red paint and again do the same work, and then also with purple paint.
Step 7: End of Drawing


7. Also paint the second shoe. And leave to dry.
Step 8: During Drying


They stood all night. In the morning I examined and refined them, where I had absorbed the paint or simply had skips, I painted it again. And left to dry for another half day.
Step 9: After Painting


Then I take off the scotch and wipe the paint off the rubber parts (to wipe the paint, I use cotton swabs, a rag and water).
Step 10: One Important Point


Also, so that the paint from the shoe does not slip away in the rain, and in general it held longer, we should iron the shoes with a hot iron.
Step 11: Last Detail


The last touch is the laces. They can be tied up in any way you like.
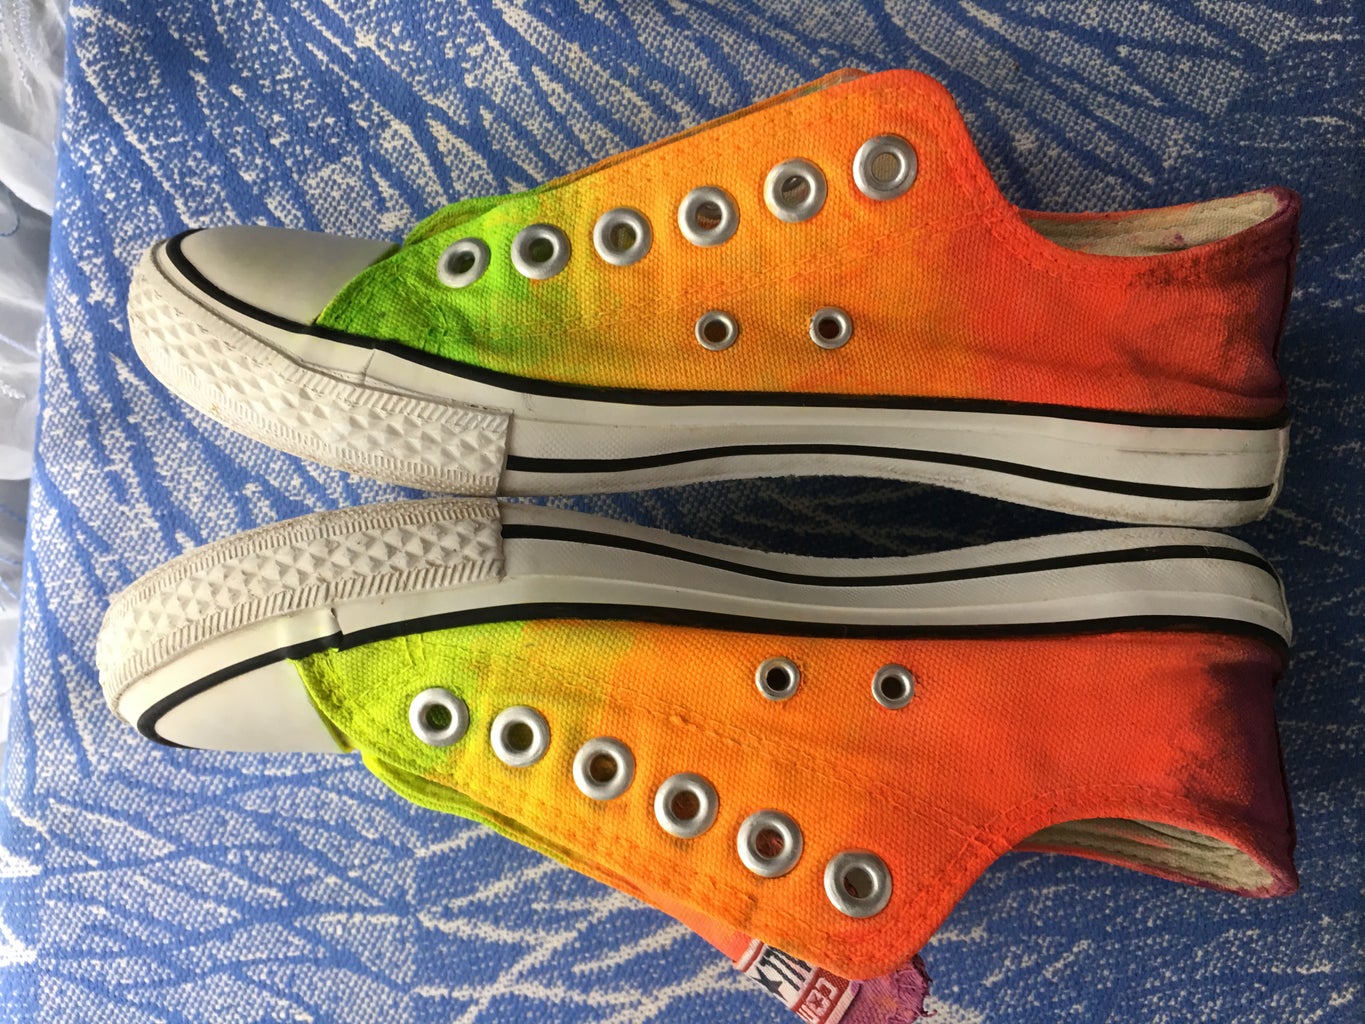
Step 12: Another Variant of Painting Sneakers


The sneakers, which I did earlier.
I used purple, blue, pink, white, and orange to paint them. And for applying paint on shoes, I used not a brush, as in the previous case, but a sponge.
Step 13: Conclusion
Thank you for reading this instruction to the end. And good luck to you in incarnation your ideas!

Participated in the
Paint Challenge


