

Introduction: Short-Form Camera Mount


There are plenty of unexpected places to set up your cell phone camera. This rig helps you find them. You can even attach it to the hidden screws in your drywall (check out the video). Now you have more options to express your creativity! I designed the magnetic blocks to be threaded onto a flexible vinyl coated steel cable. You can stick them onto any metal surface, or you can use opposing magnets to set your rig up on a glass window or cabinet door. The files are available in step 2.
This is an entry in the "Jigs and Rigs" Speed Challenge". Don't forget to check out the contest! Please throw me a vote if you like this instructable. Thanks!
Supplies
- 3D Printer and Resin, I used Siraya Blu
- 42" of 3/16" Vinyl Coated Steel Cable
- 12, 1/2"X1/4" Neodymium Magnets
Step 1: Design in Fusion 360


The final design came after several rounds of trial and error. For me, a successful design needed to attach against drywall. The magnets would stick to the hidden screws holding the sheet rock to the wooden studs. If the design was too heavy, it would fall off the wall. Too light, and the 3D prints would crack when I pressed the magnets in. I also wanted the blocks to adjust easily against the vinyl coated cable. To make this happen, I elongated the holes that the cables pass through. It also gives more freedom with how many times you thread the cable through. You end up with more options when you set it all up for filming.
I started by laying out basic shapes and extruding them. From there it was a matter of placing holes and extruding them too. I rounded over the edges for a few reasons. 1) Its more ergonomic in your finger tips. 2) It allows you to roll the magnet onto the surface to prevent slamming the magnet. 3) It reduces pinch points if your finger gets caught by accident.


Step 2: 3D Print


After the design was finished, I exported it from Fusion 360 as an .STL file. I loaded it on a flash drive and used my Elegoo Mars printer with Siraya Blu resin. It took about 2.5 hour to print. Make sure you follow all standard safety procedures.
Wear eye protection
Protective gloves
Use a well ventilated area.
Step 3: Wash and Cure


I have a low tech wash station. It's just a re-sealable container filled with rubbing alcohol. I swished all the parts around in the container for about 2 minutes. I pat them dry with a paper towel then cured them under a UV light for about 5 minutes.
Step 4: Press-fit Magnets


There are six blocks total. Four get the magnets pressed in with the magnetic poles facing the same direction. Two have the magnetic poles pressed in the opposite orientation. The opposite blocks are for use when you want to attach the rig to a glass pane or cabinet door. I am using a small arbor press from Harbor Freight. You could also use a vice. Make sure to wear safety glasses here too (just incase one cracks.)
Step 5: Assemble


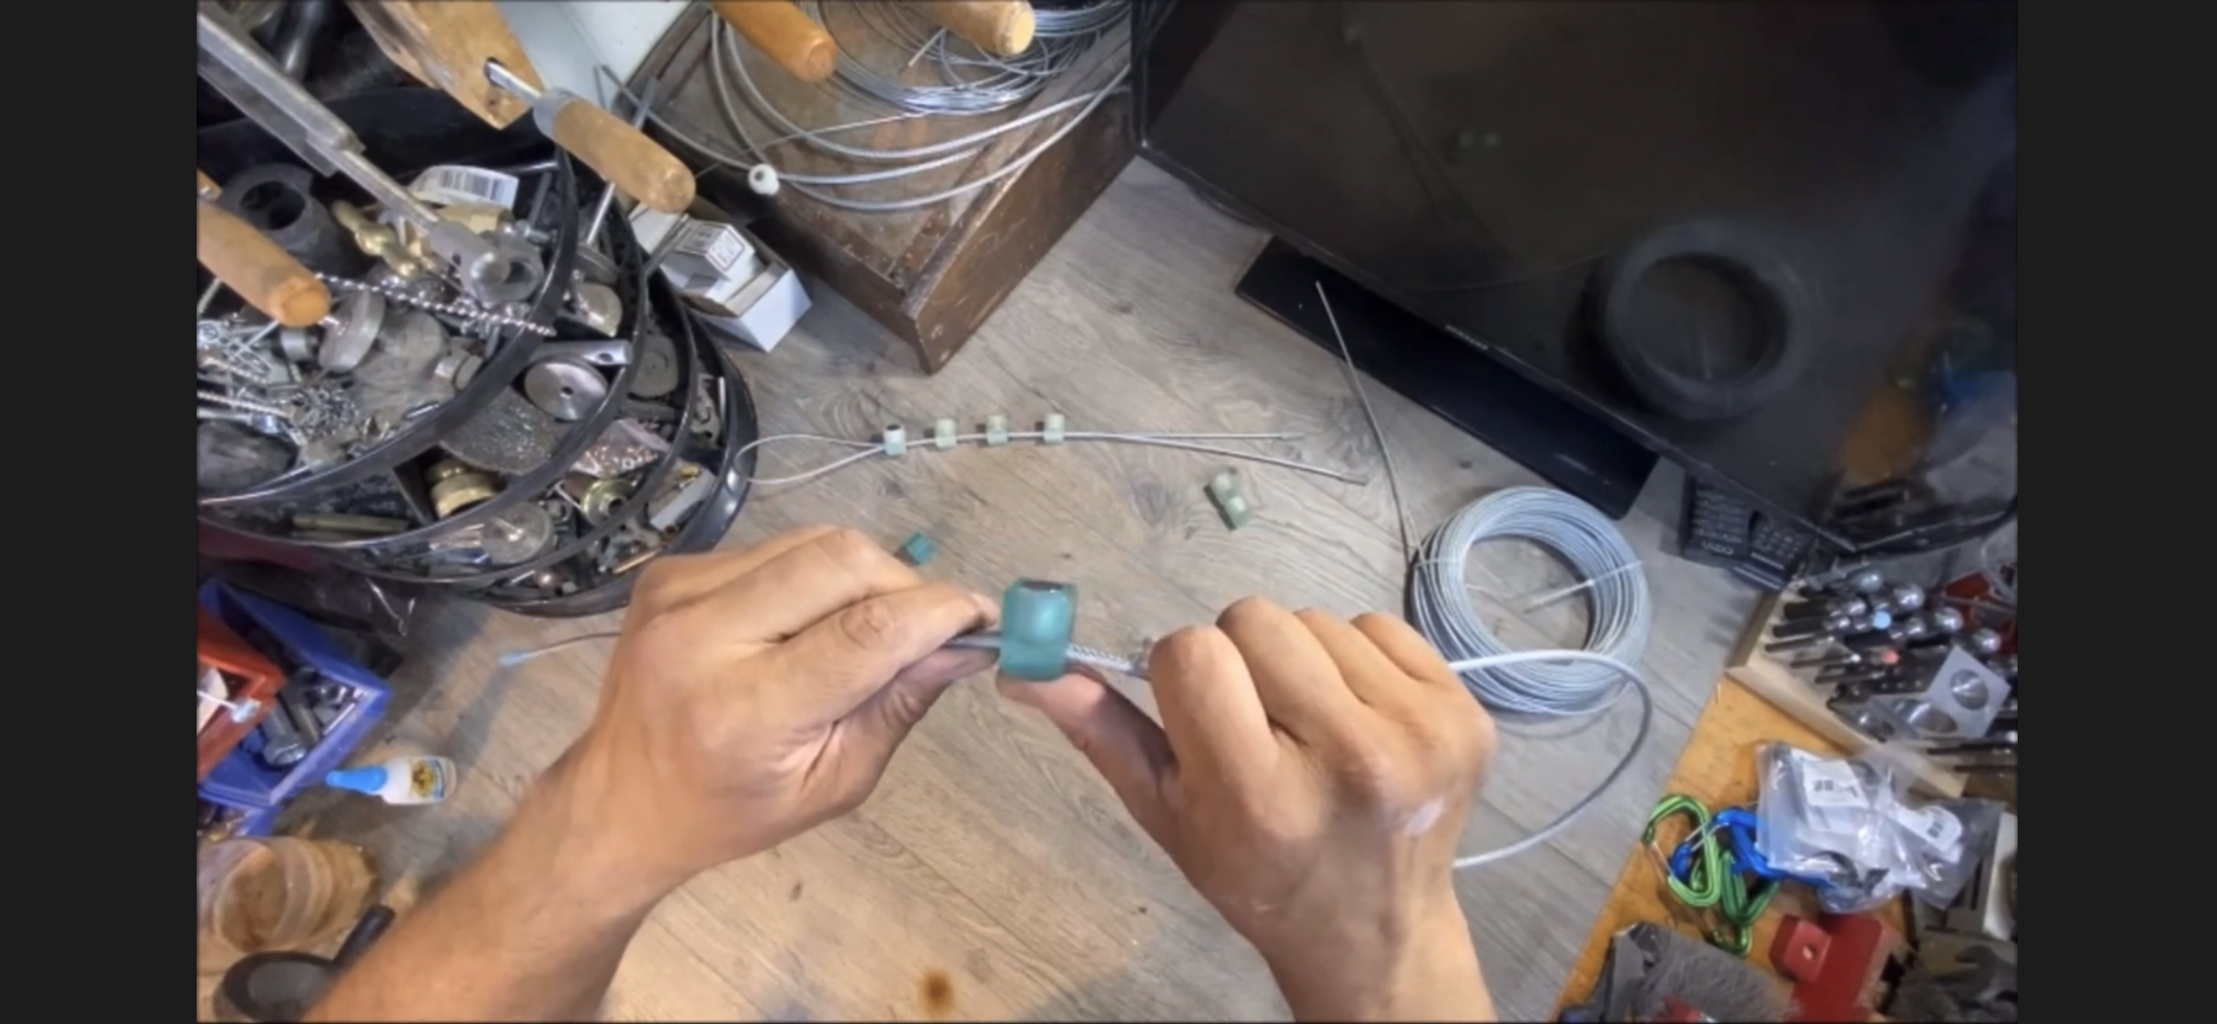

Thread the magnetic blocks onto the cable. Make sure they do not repel each other when they are on the steel wire. Finally, add the aglets to keep the blocks from unintentionally sliding off.
Step 6: Start Filming!


This rig gives you more options and angles when with your cell phone camera. I recently used it to film a video while attached to my truck bed.
The photos show the following rig attachments:
- Cabinet Door
- Mail Box
- Car Trunk
- Ceiling Fan Blade
- Tree
- Banister
- Tool Box
- Refrigerator
- Metal Gate
- Car Trunk (alternate view)
- Drywall.
Thanks for reading!

First Prize in the
Jigs & Rigs Speed Challenge


