

Introduction: Sliding Tile Puzzle


This puzzle is one of my favorites. I had a store bought one and it was super fun to play with, until... I lost the pieces for the puzzle. So I said to myself, "What if I made a new one?"
Well that's what I did, and I will share it with you guys in the following steps.
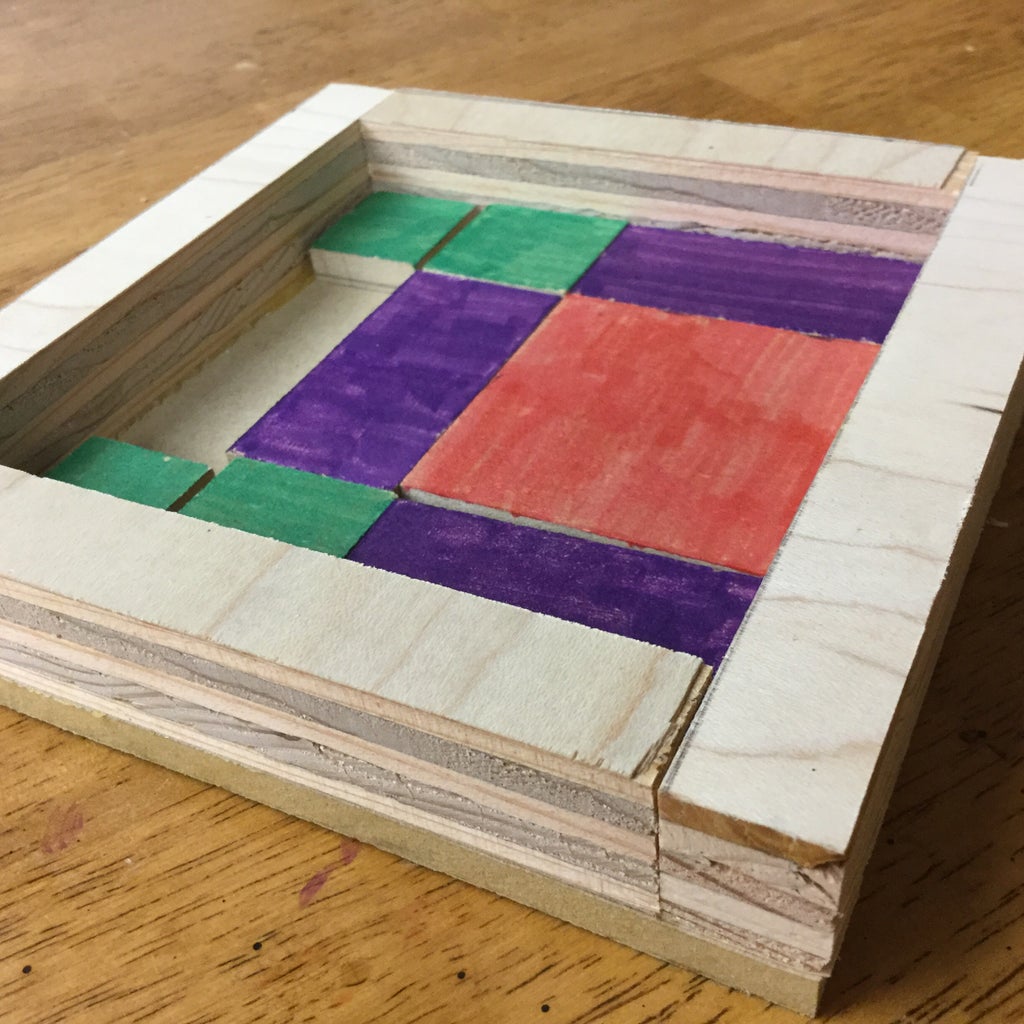
But first, what is the goal of this amazing puzzle? Well, as shown in the picture, you have to get the main puzzle piece (which is the big red one) to the top-center position. There are some rules though. You can only slide the pieces on the board, and can not rotate them. You also cannot lift the puzzle pieces off the board to move them to a different position. Besides that, though, the puzzle is pretty straightforward.
Now, without any further interruptions, let's make this puzzle.
Step 1: Make the Frame


The base for the frame was made out of MDF wood. However, any thin wood would work. I cut the base to be 5" x 5". Next, make an outside rim for the base using wood that is around 3/4" thick. Now cut two of your strips of wood to be 1/2" wide and 5" long. Cut your other two strips to be 1/2" wide and 4" long.
Now it is time to glue your frame onto the base. Glue your pieces onto the outside of your base, and clamp them down onto the wood. Your finished frame should look like the one in picture 4.
Step 2: Make the Pieces


Now you need to make the pieces for your puzzle. All these pieces should also be made of MDF wood (or something of the sort). Another thing: all of your cuts should be a little bit smaller than what I tell you, because you want the pieces to slide smoothly, and not to rub up against the other pieces. Ok, let's get started.
(1x) Piece 1: 2" x 2"
(3x) Piece 2: 1" x 2"
(4x) Piece 3: 1" x 1"
After you have cut your 8 pieces, make sure to sand the corners and edges for a more "professional" look. I also painted mine, which looks really good and professional.
Ok, now that you have finished your awesome puzzle, let's assemble it. On the bottom row, put a 1" x 2" piece on the far left, the main piece in the middle, and another 1" x 2" piece on the right. On the second row, put a 1" x 1" piece on the left, a 1" x 2" in the middle, and a 1" x 1" piece on the right. Finally, put two 1" x 1" pieces on either side of the top row.
Thank you for reading my instructable! If you liked it, please vote for me in the Puzzle Challenge by clicking "Vote" in the top right corner of this page. Thank you!

Participated in the
Wood Contest 2016

Participated in the
Puzzles Challenge

Participated in the
Maker Olympics Contest 2016


