

Introduction: Standalone Arduino Altimeter


Here is a standalone altimeter working with Arduino that you can use in RC project, hiking, cars... where you want :)
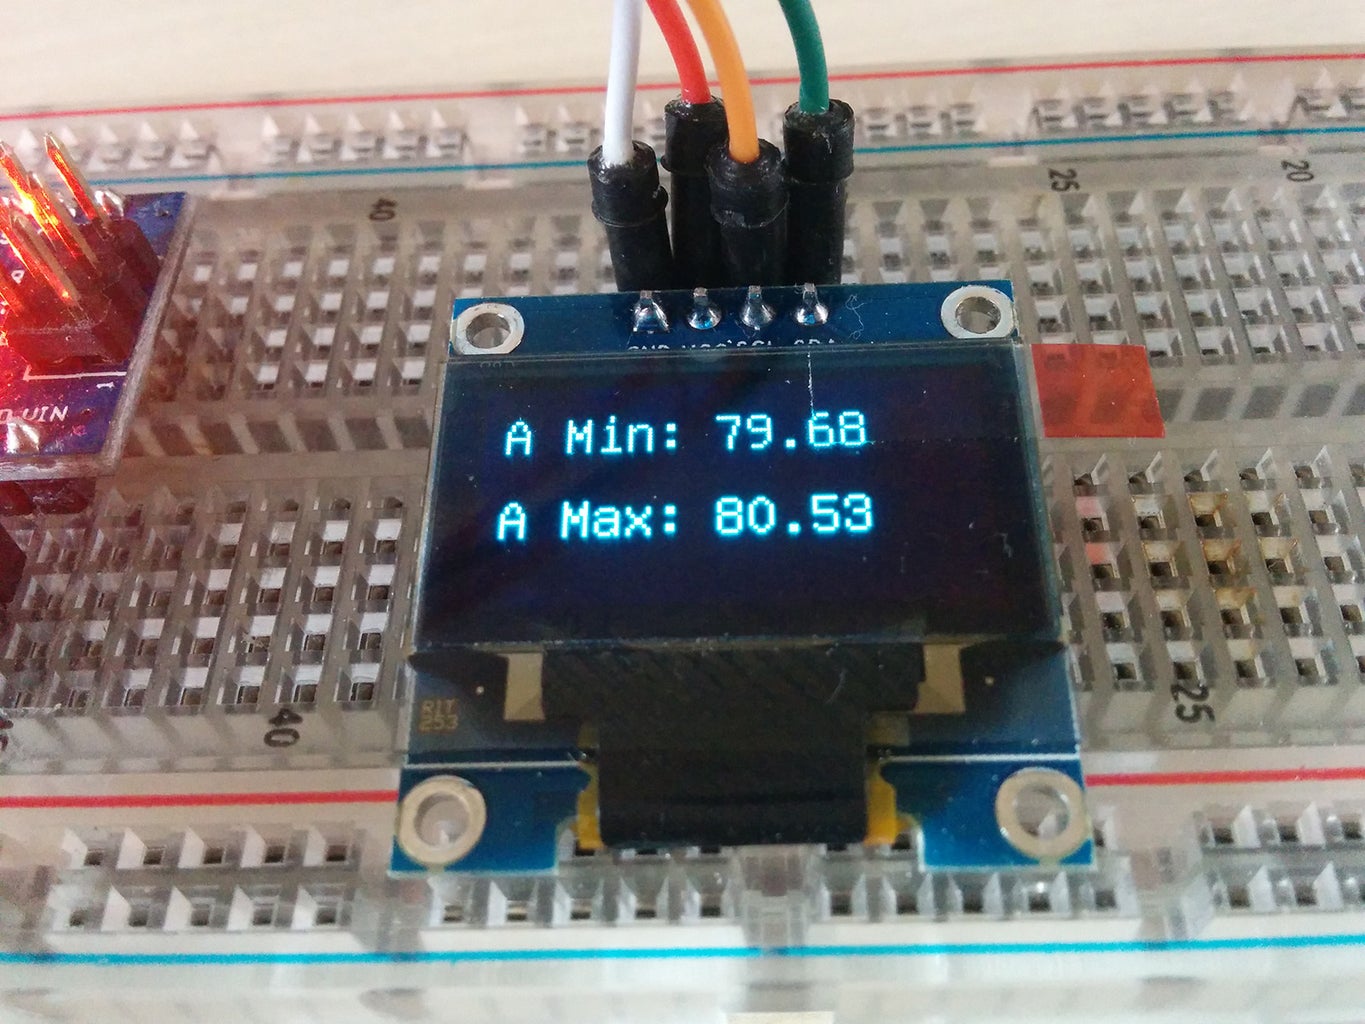
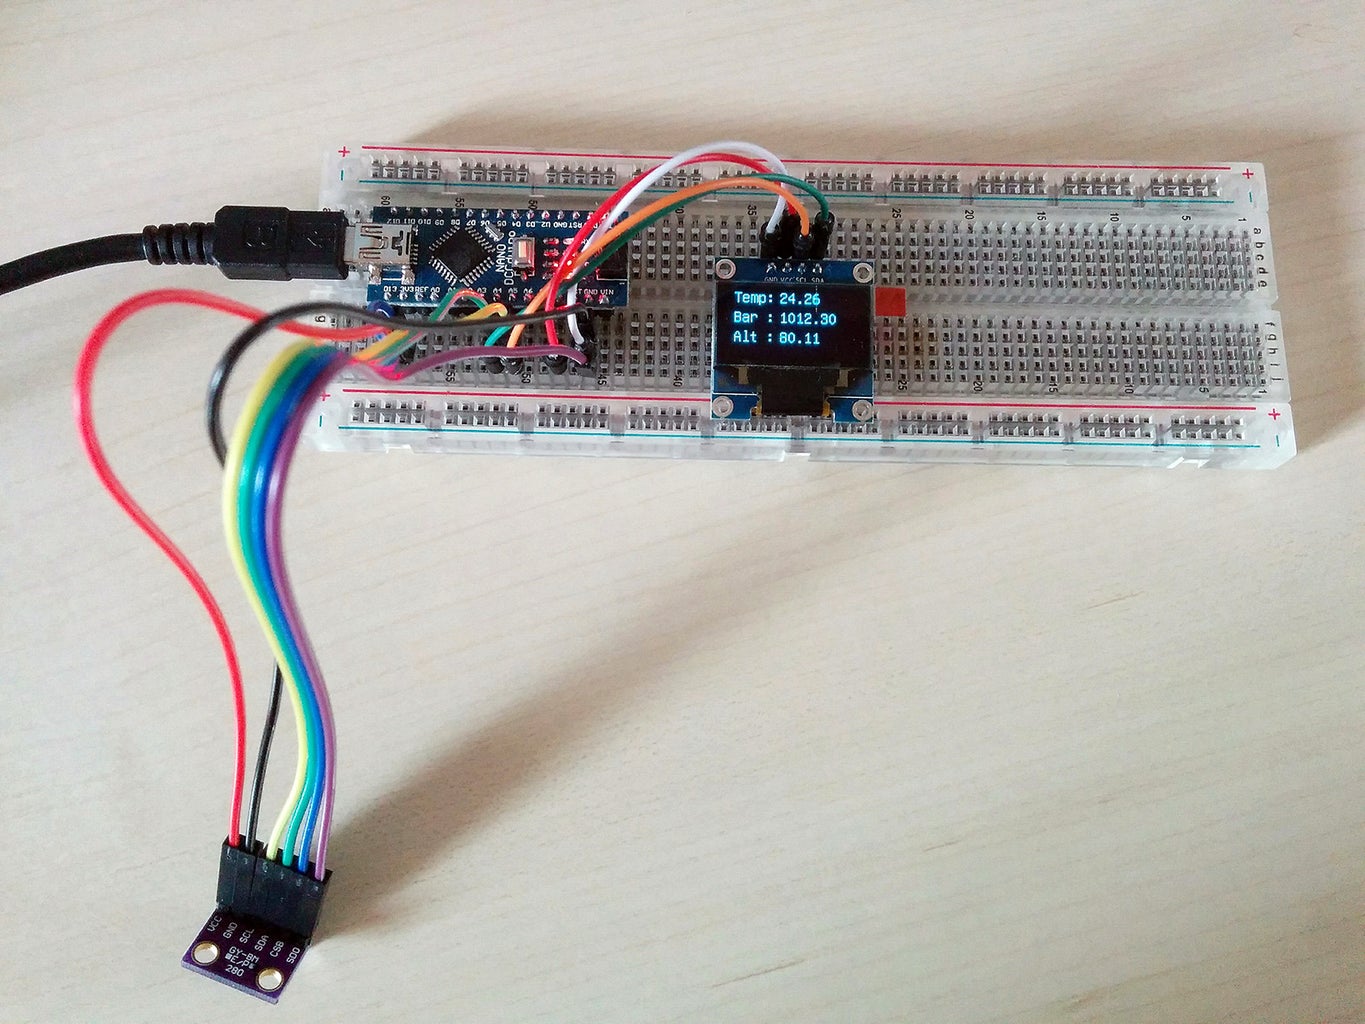
It shows on first screen the altittude, the temperature & the air pressure, and in the second, the minimum / maximum altitude reached.
Parts needed: (~12$)
- An arduino board like a nano, pro mini or even AtTiny85 (depends on what you want, pro mini is lighter than nano and can works with an input voltage of 3.3v to 12v, perfect for light weight RC) 3.29$ on ebay
- BMP280 chip temperature & barometric pressure sensor 1.84$ on ebay
- An OLED display (0.96" I2C IIC Série 128X64) 5.32$ on ebay
- Iron solder, tin and wires
- A plastic case to put all in 1.50$ on ebay
Step 1: The Wiring

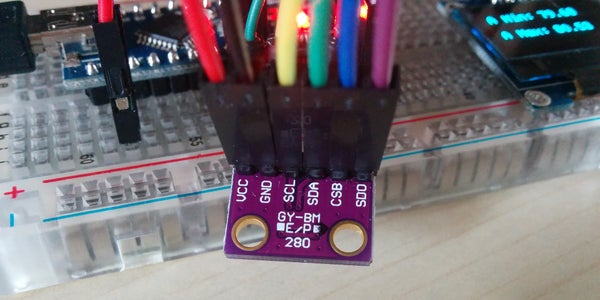
The wiring is simple, the most "complicated" is to find the SCL and SDA pin on your arduino.
On the nano as on the photo, pin A4 is SDA and pin A5 is SCL.
On the Pro Mini, take a look at the picture, SDA is upside right to pin A2, and SCL upside right to pin A3.
Once your wiring is done, lets upload the sketch to the Arduino !
Step 2: The Program
Code explanations (full code below):
#include "U8glib.h"
#include "BMP280.h"
They are the 2 libraries you have to put inside Documents\Arduino\libraries\
#define P0 1021.97
This is where you calibrate the altimeter, changing this value. Once it's done, it's pretty accurate !
(by default it was 1013.25, i had to up it to 1021.97 to have the right altitude in my town)
U8GLIB_SSD1306_128X64 u8g(U8G_I2C_OPT_NO_ACK);
Here you define the Oled screen type (128x64 etc...)
  u8g.drawStr( 5, 10, "Temp: ");
  u8g.drawStr( 5, 30, "Bar : ");
  u8g.drawStr( 5, 50, "Alt : ");
  u8g.drawStr( 50, 10, sT);
  u8g.drawStr( 50, 30, sP);
  u8g.drawStr( 50, 50, sA);
Here the informations you want to display on first screen and their position ( Y, X, VALUE)
  dtostrf(A_MIN, 4, 2, sA_MIN);
  dtostrf(A_MAX, 4, 2, sA_MAX);
  u8g.drawStr( 5, 20, "A Min: ");
  u8g.drawStr( 60, 20, sA_MIN);
  u8g.drawStr( 5, 45, "A Max: ");
  u8g.drawStr( 60, 45, sA_MAX);
Same for second screen
      if ( A > A_MAX) {
        A_MAX = A;
      }
if ( A < A_MIN || A_MIN == 0) {
A_MIN = A;
}Here we update the minimum and maximun altitude stored
      do {
        draw(T, P, A);
      } while ( u8g.nextPage() );
      u8g.firstPage();
      delay(1000);
Here, with the delay value (1000 in this case), you will stay 1 second on the first screen before switching to the second one. So change that if you want to customize display time :)
      do {
        draw2(A_MIN, A_MAX);
      } while ( u8g.nextPage() );
      u8g.firstPage();
      delay(1000);
Same for second screen !
Hope it's clear, feel free to post a question in comments if needed !
Here is the full code:
#include "U8glib.h"
#include "BMP280.h"
#include "Wire.h"
#define P0 1021.97  //1013.25
BMP280 bmp;

// OLED Type
U8GLIB_SSD1306_128X64 u8g(U8G_I2C_OPT_NO_ACK);

char sT[20];
char sP[9];
char sA[9];
char sA_MIN[9];
char sA_MAX[9];
double A_MIN = 0;
double A_MAX = 0;

void draw(double T, double P, double A) {
  u8g.setFont(u8g_font_unifont);

  dtostrf(T, 4, 2, sT);
  dtostrf(P, 4, 2, sP);
  dtostrf(A, 4, 2, sA);

  u8g.drawStr( 5, 10, "Temp: ");
  u8g.drawStr( 5, 30, "Bar : ");
  u8g.drawStr( 5, 50, "Alt : ");
  u8g.drawStr( 50, 10, sT);
  u8g.drawStr( 50, 30, sP);
  u8g.drawStr( 50, 50, sA);
}

void draw2(double A_MIN, double A_MAX) {
  u8g.setFont(u8g_font_unifont);

  dtostrf(A_MIN, 4, 2, sA_MIN);
  dtostrf(A_MAX, 4, 2, sA_MAX);
  u8g.drawStr( 5, 20, "A Min: ");
  u8g.drawStr( 60, 20, sA_MIN);
  u8g.drawStr( 5, 45, "A Max: ");
  u8g.drawStr( 60, 45, sA_MAX);
}

void setup() {
  Serial.begin(9600);
  if (!bmp.begin()) {
    Serial.println("BMP init failed!");
    while (1);
  }
  else Serial.println("BMP init success!");

  bmp.setOversampling(4);

  u8g.setColorIndex(1);
  u8g.setFont(u8g_font_unifont);
}

void loop(void) {
  double T, P;
  char result = bmp.startMeasurment();

  if (result != 0) {
    delay(result);
    result = bmp.getTemperatureAndPressure(T, P);

    if (result != 0) {
      double A = bmp.altitude(P, P0);

      if ( A > A_MAX) {
        A_MAX = A;
      }

      if ( A < A_MIN || A_MIN == 0) {
        A_MIN = A;
      }

      //      Serial.print("T = \t"); Serial.print(T, 2); Serial.print(" degC\t");
      //      Serial.print("P = \t"); Serial.print(P, 2); Serial.print(" mBar\t");
      //      Serial.print("A = \t"); Serial.print(A, 2); Serial.println(" m");

      u8g.firstPage();
      do {
        draw(T, P, A);
      } while ( u8g.nextPage() );
      u8g.firstPage();
      delay(1000);

      do {
        draw2(A_MIN, A_MAX);
      } while ( u8g.nextPage() );
      u8g.firstPage();
      delay(1000);

    }
    else {
      Serial.println("Error.");
    }
  }
  else {
    Serial.println("Error.");
  }

  delay(100);

}

Step 3: Now It's Up to You !
You can move form the breadboard to the plastic case with soldering all.
Then, put it on RC plane, RC quadcopter, RC helicopter..... or a water rocket !
Hope it was helpful and that you will send me a pic once it's done =)

Participated in the
Make It Fly Contest 2016

Participated in the
Sensors Contest 2016


