

Introduction: Very Simple Kite


Easy to fly and easy to build, I don't think it's possible to make a simpler kite than this!
Watch as your kite performs exciting aerial manoeuvres and darts through the air with an agility rivalling that of the most acrobatic bird!
Step 1: Gather Materials
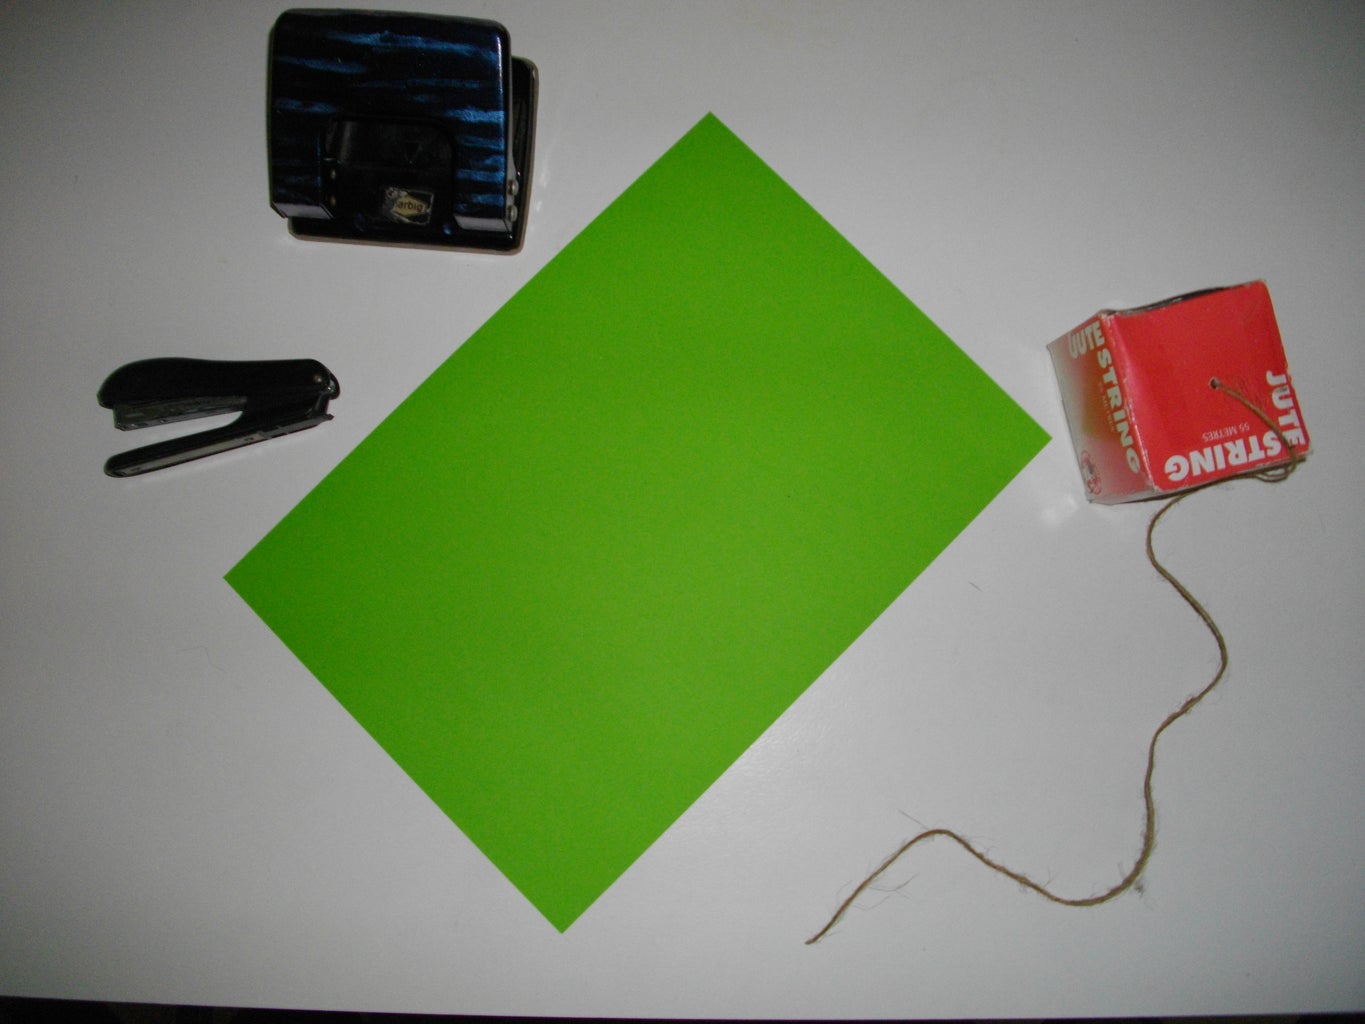
You will need:
- A rectangular piece of paper - A4 is good. Feel free to decorate it, either now or in step two.
- String - I used jute string in this example, but a reel of cotton works well too
- Something to make a hole in paper with - I used a hole punch, but feel free to improvise with a pen, a stick or whatever you have on hand
Optional extras:
- Sticky tape
- Decorations for paper - but don't weigh it down too much!
- A pen, pencil, stick or similarly shaped object
- A functional stapler and staples
Step 2: Fold Paper in Half Widthways


Bring the two short sides of your piece of paper together and press along the bend to make a crease.
Now is a great time to decorate your kite! Use pens, pencils, crayons, felt-tip pens, a printer, but be careful not to weigh it down too much. If it's too heavy it won't be able to fly!
Step 3: Bend the Front Corner of the Top Layer Down to Touch the Crease, Repeat on the Back Layer and Staple


The essential thing with this step is to only bend the corners down. If you fold them the kite will not work. The exact position of the corner is not critical, but will affect how your kite flies.
If you don't have access to a functional stapler and staples, you can pierce through the two corners and the body of the kite with your hole making device and skip to step 5.
Step 4: Make a Hole Near the Front of the Crease


The exact location of this hole is not critical, but it will affect the flight characteristics of your kite. This particular kite flew between roughly a foot and seven feet from the ground.
Alternatively, you could staple the string to the kite and skip step five.
Optional - If you have some tape, you may wish to use it to reinforce the hole. This may be particularly useful if you are using thin string, or if you intend to get a lot of use out of the kite.
Step 5: Thread String Through Hole and Tie It Off


The knot used is not important as long as it will keep the string attached to the kite.
Optional - If using loose string, you may like to tie it to a pencil, pen, stick or similarly shaped object and wind it around for ease of handling. If you're using a reel of cotton, you might like to thread a pen or pencil through the barrel, which will allow the thread to unreel freely.
Step 6: Go and Fly Your Kite!


Find somewhere with a decent steady breeze free from things that could get in the way, be damaged or injure you (including people, expensive vases, powerlines, trees). Release your kite with one hand while holding the string in the other. Your kite should take off!
Enjoy!
I'd love to see your kite! Please feel free to post pictures of your kite in the comments. Go on, show off your awesome decorating skills!


