

Introduction: Blackberry Jam

Why make blackberry jam?
Blackberries have been claimed as a cure for dysentery during the Civil War, for diseases of the mouth and throat according to the ancient Greeks, and modern day researchers have found that they are up to 40% more effective than the next leading berry when it comes to fighting cancer. As a pizza-eating, beer drinking college type, what could be better for balancing the inevitable scurvy and resulting dateless nights than a stockpile of delicious blackberry jam? http://www.pickyourown.org/blackberries.htm
In Vancouver, blackberries are everywhere this time of year. We've been picking and preserving our own for a couple years now. It's a good way to save on foods and you'll have enough to last for months! When exams roll around, you'll be happy to have some sweets tucked away in your cupboard.
Step 1: Picking


This is a great group activity. Take some friends out and pick berries for a few hours, until your buckets are brimming.
What to bring:
-Containers for your blackberries. (Old yogurt containers work well. Anything that's easy to clean will do. Smaller or shallower/wider containers will keep your berries pristine, if you're planning to eat some of them.)
-Scott suggested a reaching stick or hook if you're really into it. The best berries are always hanging just above your head.
What to wear:
-Long pants. This is not shorts territory.
-Clothing that can get stained or snagged.
You can adjust the proportions of your recipe based on how many berries you manage to pick. Bring the berries home and give them a quick rinse in lukewarm water using a strainer (to get insects out!) If you want to save some berries for later, or don't have time to make jam right away, now is a good time to pop those berries in ziplock bags and put them in the freezer.
Of course, you could always just buy your berries from the store, but we think this is more fun.
Step 2: Preparation


Once your berries are ready to go, you'll need to get your tools and other ingredients out. You'll need:
Sugar
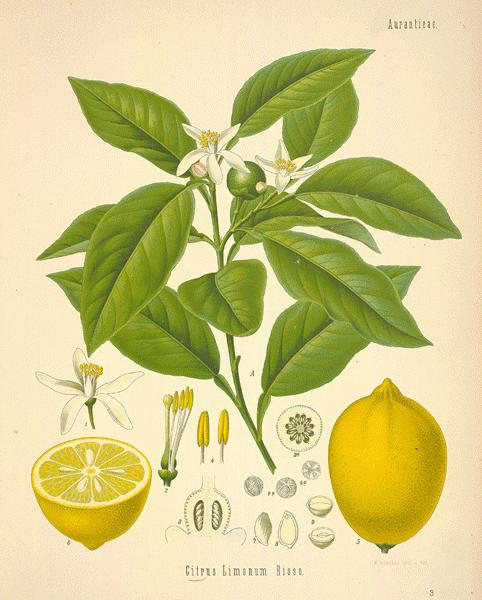
Lemon
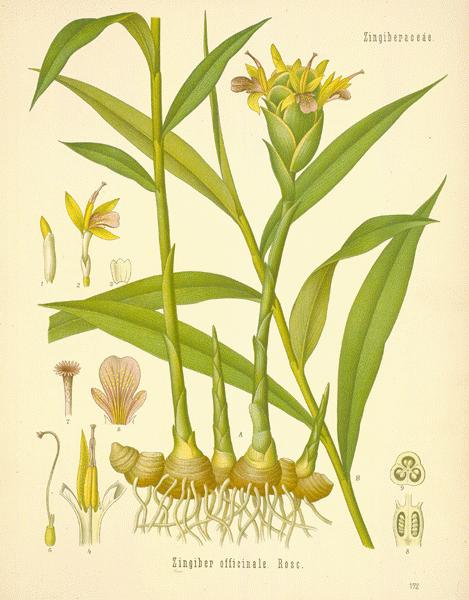
Other ingredients you may want to add- we like ginger, star anise, pepper(to be strained in like tea) and other fruits and berries.
A large pot for simmering the berries
Canning Jars
Another large pot for sterilizing the jars
Tongs for removing the jars from the boiling water
A ladle
And it's helpful to have a towel or two and a washcloth, for when you spill.
I've taken some of these beautiful images from other lovely people. In order:
Lemon: http://www.botanical.com/botanical/mgmh/l/lemon16-l.jpg
Sugar: http://traditional-foods.blogspot.com/2008/09/black-pepper.html
Ginger: http://www.botanical.com/botanical/mgmh/g/ginger13-l.jpg
Star Anise: http://www.influenzah1n12009.com/star-anise-with-synthetic-quarter-oseltamivir/
Pepper: http://traditional-foods.blogspot.com/2008/09/black-pepper.html
Step 3: Jam!

Measure out your berries and sugar. Different recipes recommend different proportions. One I'm looking at now says that for every 4 cups of berries, you will need 6 cups of sugar. For my last batch, I used 8 cups of sugar to 12 cups of berries, and we thought it was still a bit sweet for our taste. Unfortunately, the advice cooks usually give is "whatever feels right." It's important to have enough sugar to sweeten, but enough lemon and berries so that the pectin in them will allow the jam to solidify. Taste regularly.
Toss your berries into a pot and begin to simmer them. Start with a bit of water in the bottom of the pot, to prevent things from getting sticky and caked on. Once the berries are boiling away, they'll release lots of liquids.
Add your sugar and lemon rind and continue to simmer. There are many delicious things you can add to your jam at this point to make things more interesting. Other berries and fruits (apples, strawberries, cranberries, blueberries, etc.,) fresh ginger, spices. Be creative. The internet is always a good place for ideas.
Step 4: Jarring


In order to preserve your jam so that it will keep for months and months, you need to prepare your jars so they are sterile. Fill your second large pot with water, gently place your jars and their lid parts inside it, and then set it on the stove to boil. It helps to create some kind of barrier inside the pot to prevent breakage- we used a pie lid here. Get out a ladle for filling the jars with jam.
Ideally, your jars would come to a boil at the same time that your jam is ready to be canned.
Once the jam and jars are ready, pull the jars out of the pot, empty them of water, and fill them with jam using the ladle. The jar should not be full to the brim, just to the ring under the lid. (About 1 inch of clearance.) Wipe any spillage , put on a lid, and place it carefully back in the pot. Just close the lid gently- it shouldn't be too tight.
Step 5: Labeling
This really isn't a necessary step- but if you're a design geek like I am, you may be interested in creating a name, brand and label for your jam. Of course, this is an instructable in itself, which I won't go into fully.
What is a good idea to do, whether you're a geek or not, is to mark the date the jam was made on the jar. You might also want to document the ingredients for future reference.
Some quick tips:
-Design your label in illustrator as a vector, so it can be resized if your jam brand happens to go national, and people want t-shirts.
-You can buy sticker paper for your printer. Print your labels, cut and stick!
Step 6: Wait for It
Well, nothing says that you need to wait at all to open your first jar. Pop one open with your jam-party and celebrate. (Refrigerate one open.)
The rest can be tucked away in a cupboard to be opened with each stressful project and exam cram session. There's nothing like a sweet sweet sugar high at 3 in the morning.
Step 7: Other College Meal Preservation Ideas
There is a lot of food which you can prepare and then eat on the go when you're a busy student like we are. Dried fruit, granola bars, and foods than can be frozen and heated up for breakfast, lunch or dinner (we especially love banana bread) are major time savers.
I was also planning to make an instructable on sauerkraut, a very nutritious food with lots of great applications. (We eat it on our eggs for breakfast.) But it's already been done! You can find instructions on making sauerkraut here.
Lastly, investing in a dehydrator was one of the best culinary choices we made this year. When fruit is readily available in the summer (we run craigslist ads looking for people who want their fruit trees picked) it can be collected and preserved. Apple chips are a delicious snack food item, and a lot healthier than their fried potato counterparts!
We would love to hear back from you with your ideas for college meals, or requests for instructables on things you've heard are good.
Cheers!


