

Introduction: Wiring Line Switches


Step 1: The Line Switch
[swich]
noun
Electricity. a device for turning on or off or directing an electric current or for making or breaking a circuit.
----------------------------------
Every lamp circuit needs a switch unless you want to turn your lamp on and off by plugging in and unplugging the lamp into an outlet. (Nobody wants this, trust me.)Switches can show up in two places on a lamp circuit:

1. In the socket. You were introduced to most of the common types of socket switches in Lesson 3. If you choose to use a socket that has a switch, there is no need to add a line switch to the cord -- unless you want more accessibility for turning a lamp on and off.
For example if you have a tall bedside lamp and don't want to have to reach up to the socket switch - away from your soft pillow - to turn your lamp off while lying down, you could add a line switch a few inches from the lamp base - and still be able to use the socket switch as well.
Note: This combo just makes testing and use a bit more complicated as the switches can cancel each other out. If one's in the off position, the other will not work. You'll see what I mean when we go to test and plug in our little SPT-1 cord set.

2. Added to the cord. Using line switches allows you total control as to where the lamp will be turned on and off from. They are most commonly used for hanging pendant and floor lamps -- situations where the sockets are keyless (no switch) or hard to reach -- but as mentioned above, they can also be added to table lamps.
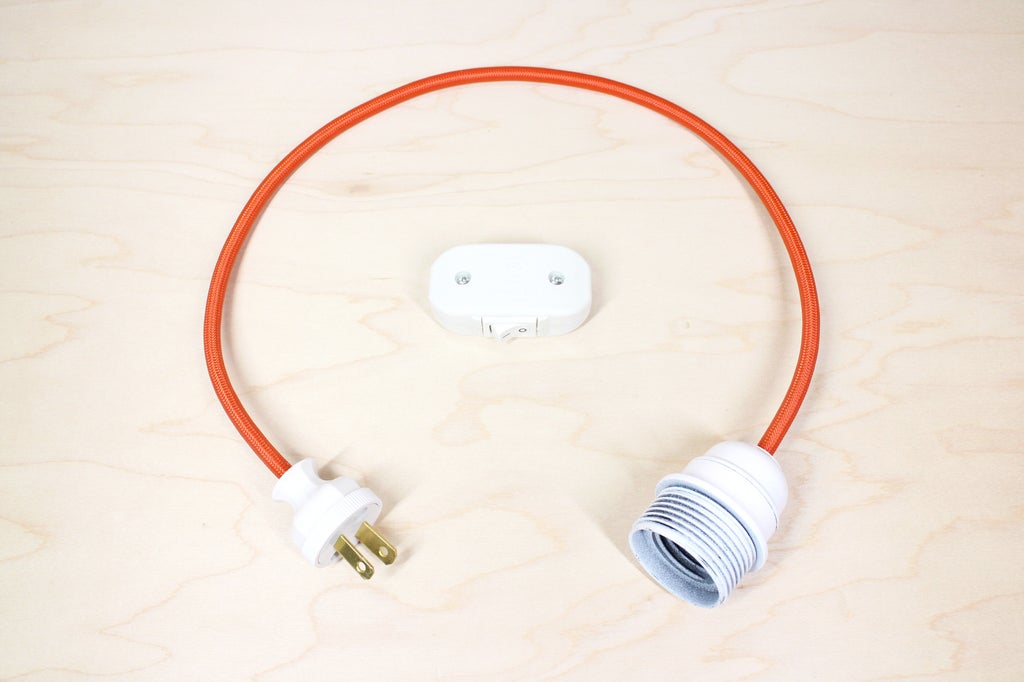
The two line switches we'll be using are:


The SPT-1 Rotary Single Pole On/Off Line Switch works like the piercing plug, which makes adding one super simple. Note: There are also rocker switch options for those with limited hand dexterity.

Wiring the SVT & SVT-B Single Pole Rocker Switch w/ Screw Terminal Wire Connections Line Switch requires the same stripping, fanning/twisting, and screwing that the SVT practice set socket and plug did.
The most important commonality between these two line switches and ALL other line switches, is that you NEVER CUT THE NEUTRAL WIRE. Like, never. If you cut both wires, you ruin the circuit. Cutting only the Hot wire allows for switches to create the circuit interruption and reconnection that facilitates 'Off and On'.
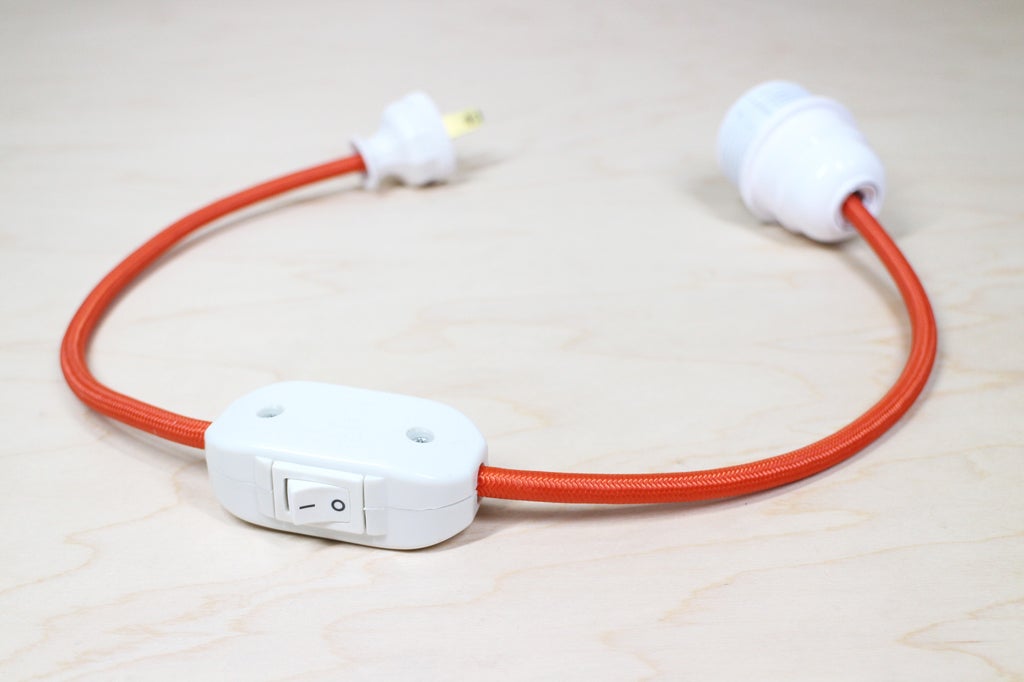
Step 2: Adding a Line Switch to SPT-1 Cord
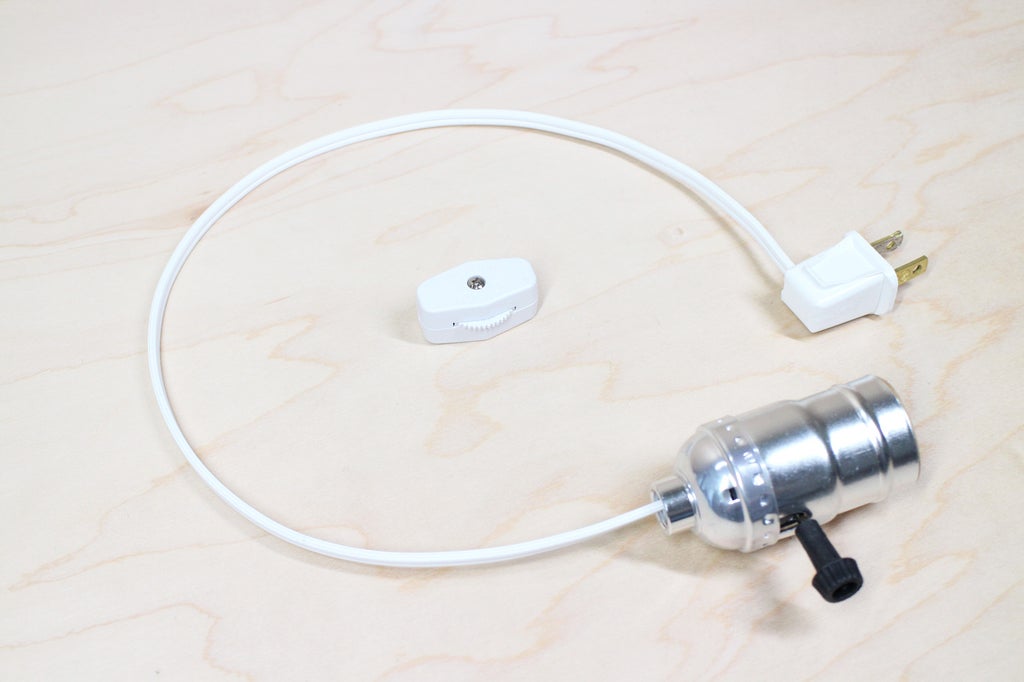
First up, the SPT-1 cord set! Even if the socket you chose has a switch, I want you to add the line switch anyway, so you know how to if the need ever arises.

Using the wire cutters, at the halfway point between the socket and plug, carefully cut through ONLY THE HOT (smooth) WIRE, making sure that the cutters stop shy of the Neutral wire's insulation.
Why? The reason to add an extra serving of caution on top of already being careful, is that if you cut through the Neutral wire at this point, YOU HAVE TO START THE WIRING PROCESS ALL OVER AGAIN! Sorry for shouting, but nobody want this. So take the time to make sure you are cutting through the Hot wire ONLY.


Using your fingers or pliers, peel both sides of the Hot wire away from the Neutral about 3/8" each and use the wire cutters to trim off both separated 3/8" of Hot wire.


Separate the two halves of the switch by unscrewing the screw. The screw will stay in place, but you'll need to put the tiny nut in a safe and obvious place. Place the switch half WITHOUT the wheel on the work surface, inside facing up. Press the cord into the cord shaped cut outs with the Hot wire lining up with the center hole. Press the Neutral wire around the center hole.

Take the rotary switch half and line up its pins and screw with their receptacles on the bottom half. Make sure the piercing prongs are lining up with the Hot wires and press it down until the edges of both halves touch.


Replace the nut, hold it in place with a finger and tighten the screw, securing both halves together.

And that's it!!
Step 3: Adding a Line Switch to SVT & SVT-B Cord
Note: These sockets are a bit finicky to wire up, so just be patient. (i.e.: deep breath vs. 'hulk smash')


Unscrew the rocker switch and separate the two halves. Place the screws inside the empty top half.
Unscrew and remove the small metal cord clamps from the bottom half and place them in the top half along with the other screws. Set aside.


In the center of your 2' cord, measure 2 1/4" and mark with a pencil or pen.


Wrap tape around the cord, lining the marks up with the inside of the tape so that there is still 2 1/4" cord between the tape pieces.
Use the techniques you learned in adding the socket and plug to remove the cloth cover, outside insulation, filler fibers, and ground (if necessary).


You will be left with only the Hot and Neutral wires keeping the cord connected.


Now, cut the black Hot wire in half. DO NOT CUT THE NEUTRAL!
Take the bottom half of the switch and place it on your work surface with the on/off switch pointing away from you.
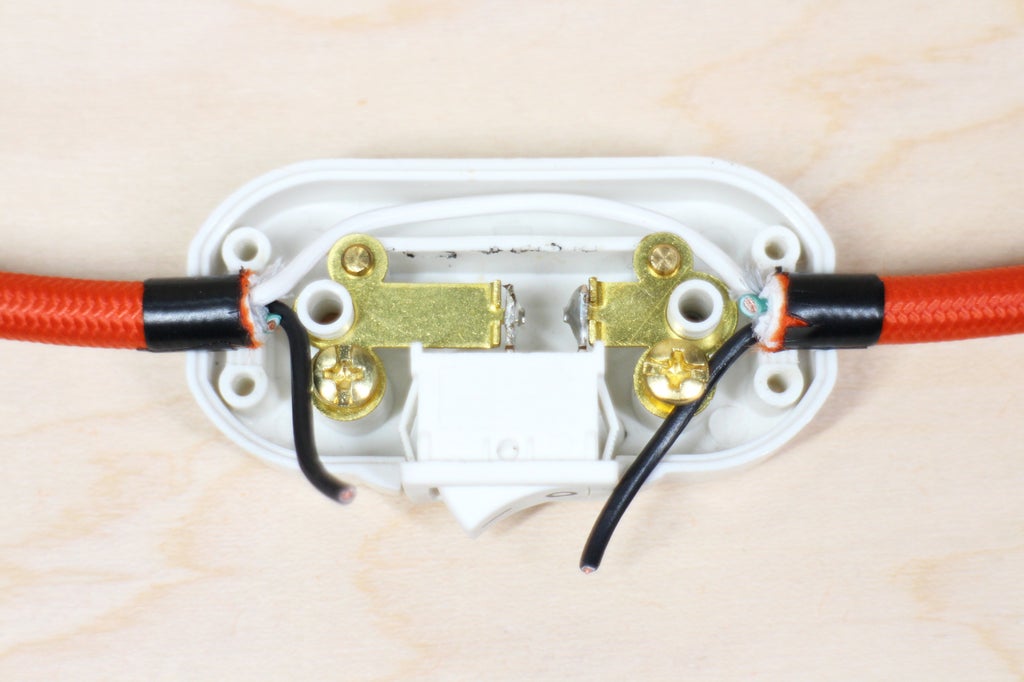
Lay the white Neutral wire in the trough below the brass bits and make sure that it's long enough -- the cut cord ends should rest on the ribbed plastic where the small clamps go. If your Neutral wire is too short to nestle into the trough, use your box cutter to gently remove enough of the outer cloth cover and insulation to expose the extra wire length you need. Then trim up the insulation fibers and ground wire.


Trim a little over 1/4" off the Hot wires.


Use wire cutters to strip 5/8" off the ends. Fan and twist the wires.


Next, bend the wire ends into opposing 'U' shapes. This is so they line up with the switch terminals, like pictured.


Before wiring up the switch, gently remove the tape and use dabs of white glue to secure the cloth cover to keep it from fraying. Try to keep the glue as close to the cut end as possible, otherwise it will stick out from the switch and look messy. Let dry for a few minutes before proceeding.


Wrap the Hot wires around the brass terminals and tighten the screws, using the little flathead screwdriver to tuck in the wire strands and finishing off with a good tightening with the phillips head screwdriver.
NOTE: We're almost done!!!


Replace the tiny clamps, securing the cord ends.
Tip: Start by screwing each pair of screws in only part way, then give each one only a couple turns, trading off back and forth, until they are all the way in. If you try to screw one all the way in and then the other, it will be hard to get the second screw into its home threads due to the cord mountain in between them.


Replace the top half of the switch housing and screw it back into place.
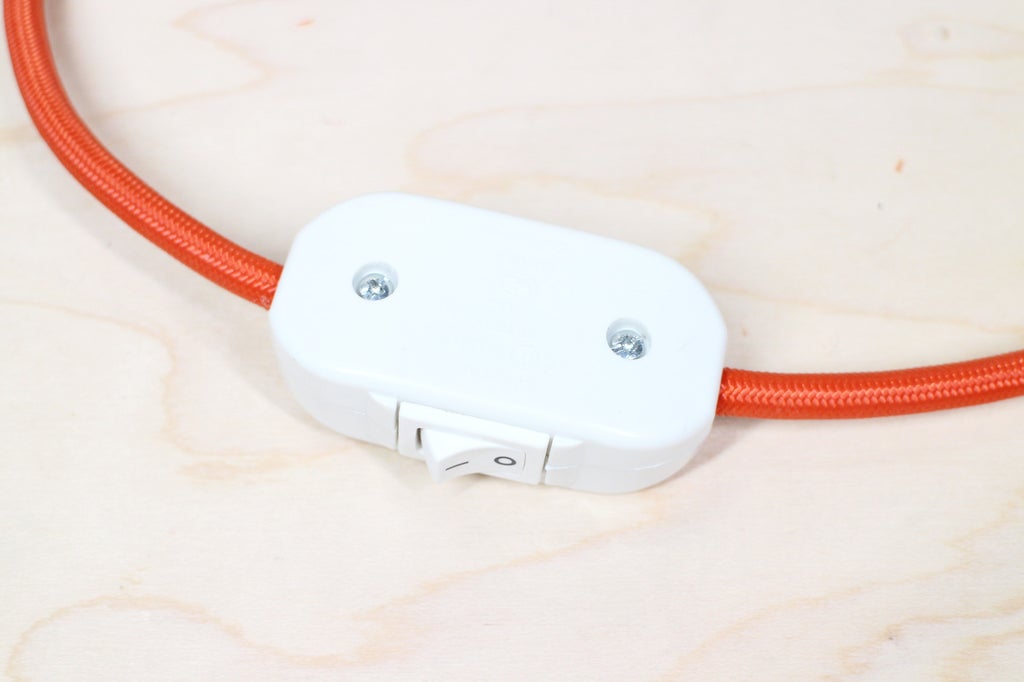
Amazing work!!
Step 4: Yay, You Did It! BUT DO NOT PLUG THEM IN YET!!

You made some great looking practice cord sets and I know you're excited to flip the switch and make light happen, but FIRST it's important to test that all your connections are correct before plugging in. In the next lesson, we'll cover this very important safety step.
P.S. I'm so proud of you!!
Step 5: Quiz Time!
{
    "id": "quiz-1",
    "question": "Do both the Neutral and Hot wires get cut when installing a line switch?",
    "answers": [
        {
            "title": "You bet!",
            "correct": false
        },
        {
            "title": "That's a no.",
            "correct": true
        }
    ],
    "correctNotice": "That's correct! Cutting the Neutral wire as well ruins the circuit AND all your earlier hard work of wiring the socket and plug because you'd have to start all over again.",
    "incorrectNotice": "Noooooooo! Cutting the Neutral wire as well ruins the circuit AND all your earlier hard work of wiring the socket and plug because you'd have to start all over again. "
}
{
    "id": "quiz-2",
    "question": "What is the best glue to use to keep cloth cord cover from fraying?",
    "answers": [
        {
            "title": "Hot glue",
            "correct": false
        },
{
            "title": "Elmer's all-purpose glue",
            "correct": true
        },
        {
            "title": "5 minute epoxy",
            "correct": false
        }
    ],
    "correctNotice": "You nailed it! Elmer's glue is easy to work with and visually subtle, as it dries clear.",
    "incorrectNotice": "That's incorrect."
}


