

Introduction: ✴ DIY NECKTIE ✴


In this instructable I'm going to show you how to make an easy tie from scratch! It is pretty simple and fast to do and is a perfect and personalized gift for father day.
I made the tie by recycling an old shirt. (Yes, I could't find an uglier one!)
Step 1: WHAT YOU NEED


MATERIAL:
-old shirt (made of a silk like fabric);
-cotton fabric;
-thin wool linen;
-thread;
-sheet of squared paper;
TOOLS:
-scissors;
-iron;
-square ruler;
-pins;
-needle;
-chalk;
-pencil.
Step 2: CUT THE MAIN PATTERN

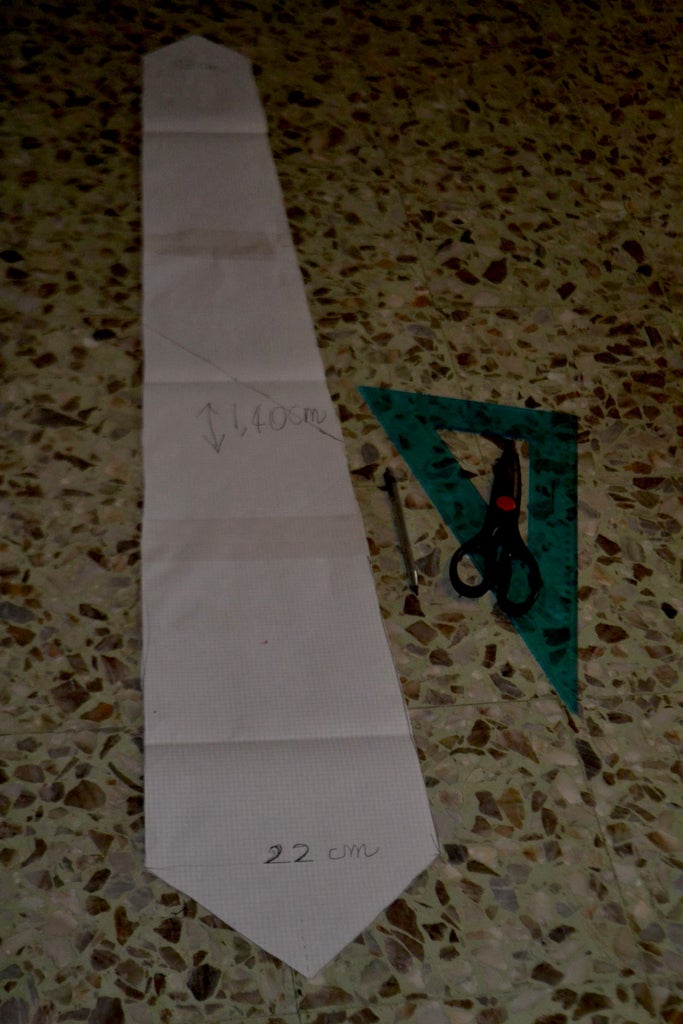

Draw and cut the main pattern.
If you don't have a long piece of fabric like I didn't, you can cut the pattern in half, on a 45º angle.
Use the measure in my picture or use an old tie like a template.
You can decide yourself how acute should be the angles of the two tips (the ones I did are just few degree more obtuse than a right-angle).
Step 3: CUT THE MAIN SHAPE

With the chalk draw the 2 shape you just did on the shirt and cut them.
Step 4: CUT TWO TIPS ON THE COTTON FABRIC

Using the two tips of the previous patterns you made like a template, draw and cut the two tips on the cotton fabric.
❗❗❗ I FORGET TO MAKE THE PHOTO TO THE CUT FABRIC❗❗❗
Step 5: CUT THE LINING


Cut the lining like in the photo.
If your fabric is long enough you can cut it in a whole piece, if it is short in two pieces (divid it with a 45º angle).
Step 6: SEW TOGETHER THE SHAPES


Sew together the two tie shapes and the two lining shapes, in a 90º angle.
Now you have the whole tie and the whole lining.
Iron flat the seams.
Step 7: SEW THE TIPS


Pin and sew together the tips of the cotton fabric with the tie tips, both inside out.
Then turn right face out.
Step 8: PLACE THE LINEN

Place the linen in the middle of the tie, with the two tips against the top and bottom ends of the tie.
Step 9: IRON ONE SIDE


Make a little fold on the whole edge of the tie and iron it, than fold to the centerline and iron it in place.
Step 10: IRON THE OTHER SIDE


Do the same things on the other side, overlap slightly the other part.
Pin it in place.
Step 11: SEW IT
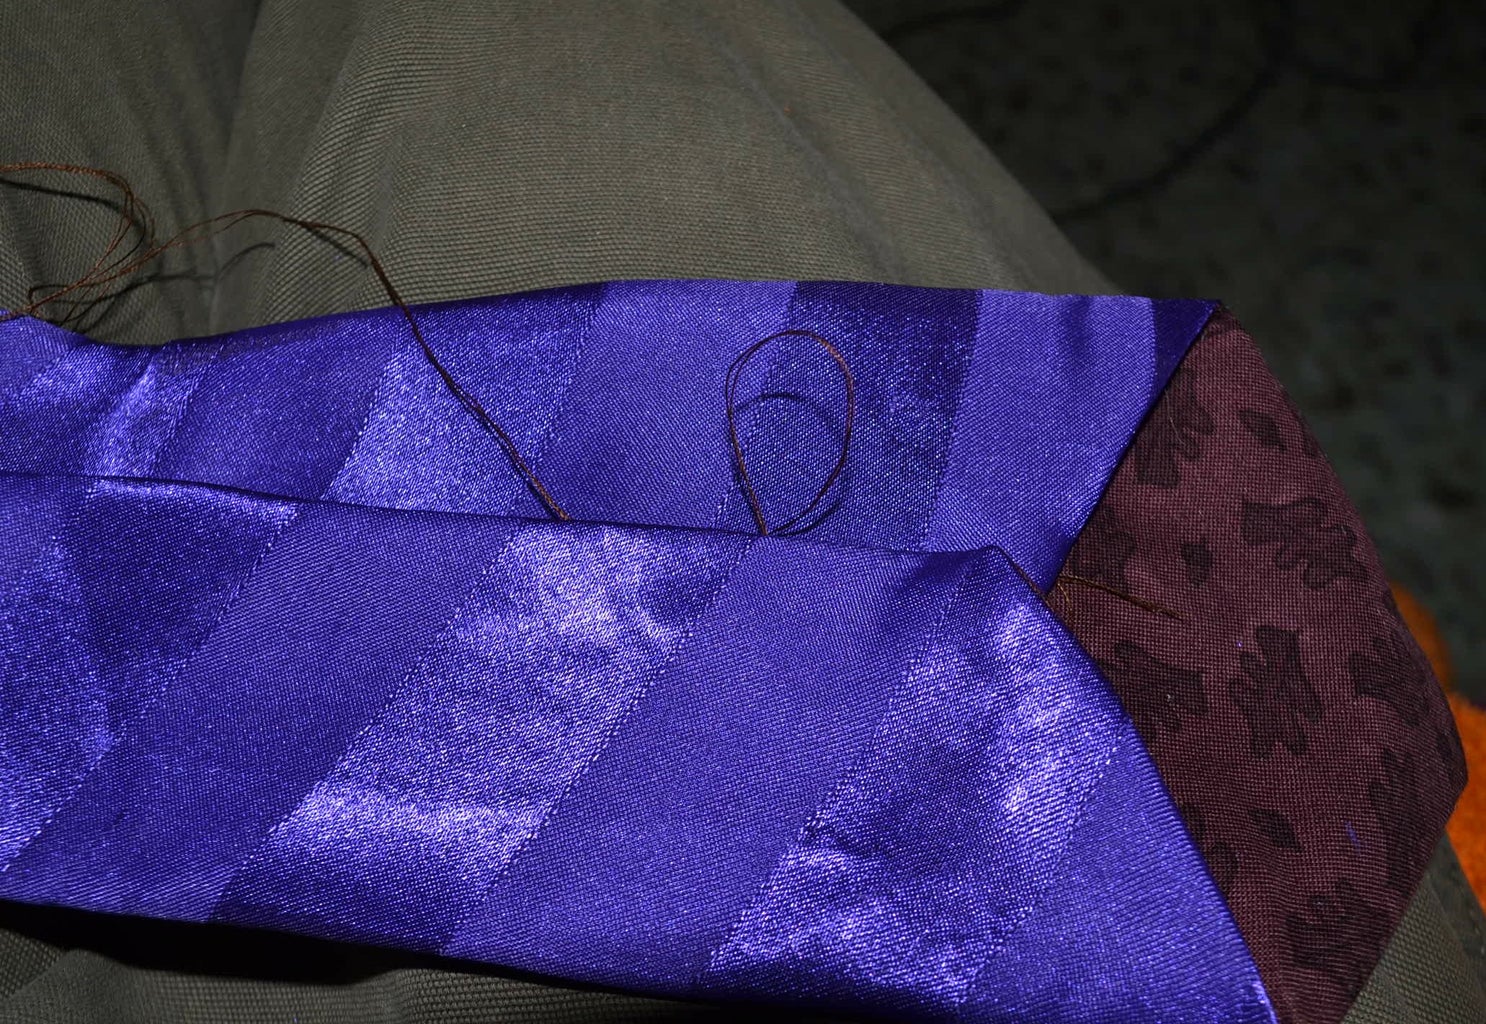


Sew from the bottom to the end, making small loop (that shouldn't be noticeable from the outside).
Sew through the linen, but not the front part of the tie
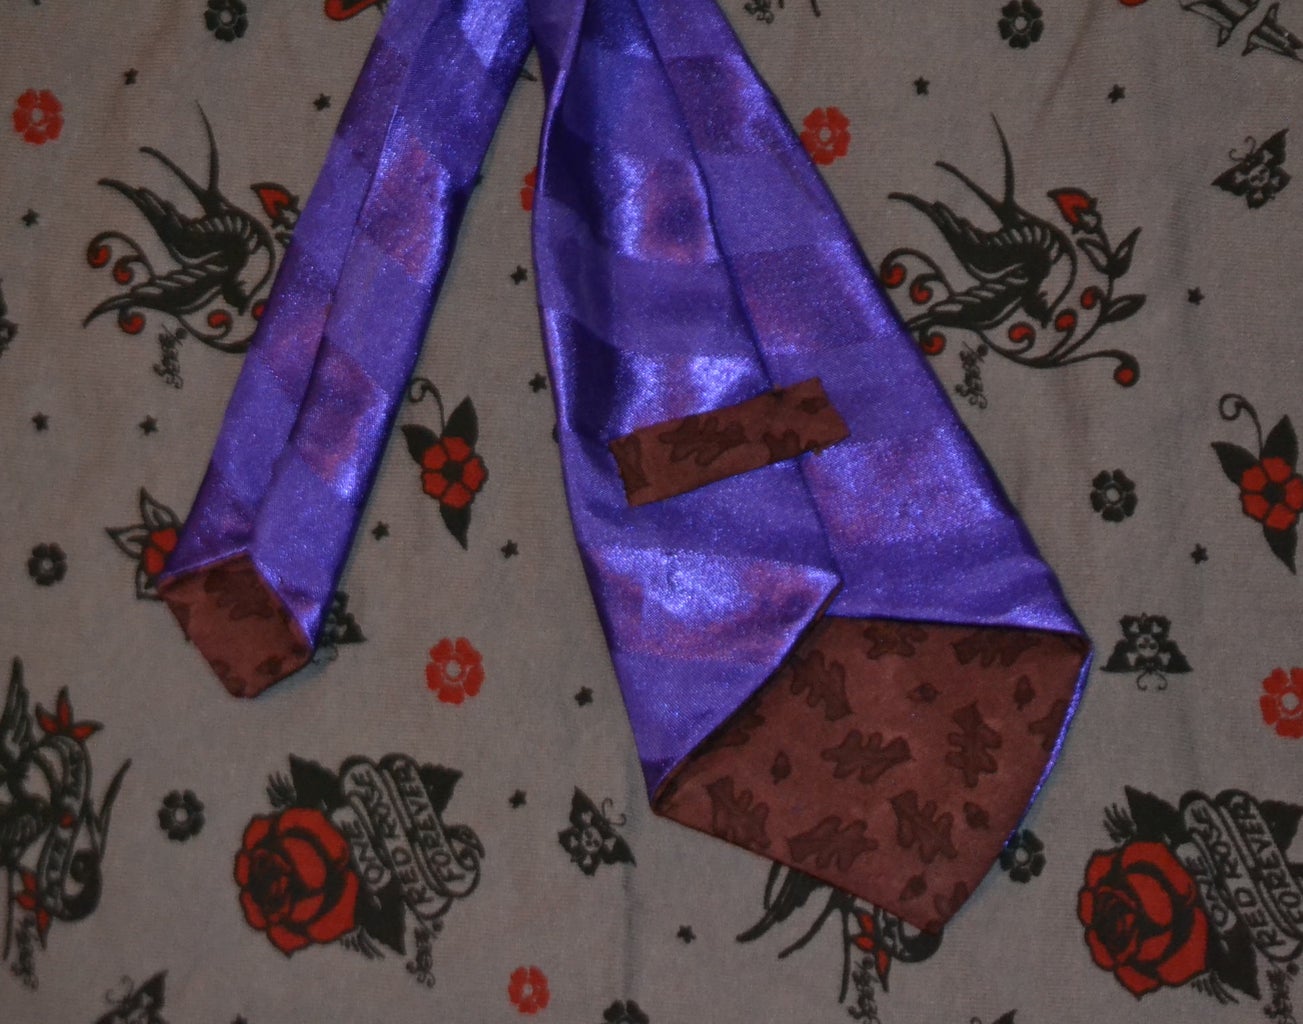
Step 12: MAKE THE KEEPER


Cut a small rectangular piece of fabric, fold each edge a little bit and sew it in place (I ironed it so it held the shape).
Sew it in the bottom part of the tie like in the photo.
Step 13: DONE

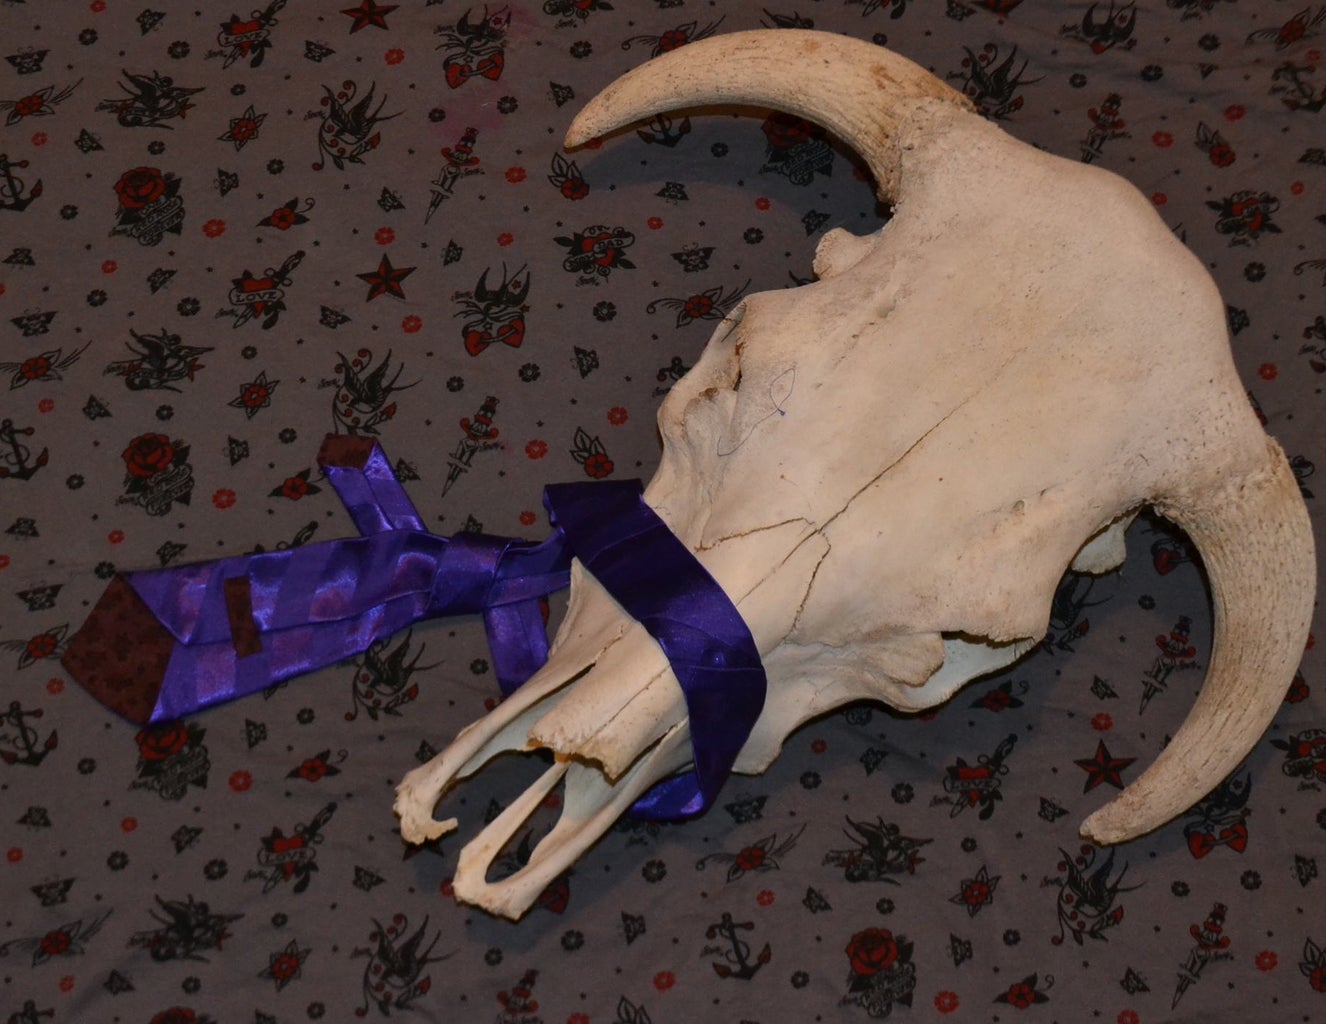
Done!
Present it to your father and hope is going to wear it!

Participated in the
Craft Contest

Participated in the
Instructables Green Design Contest

Participated in the
Father's Day Contest


