

Introduction: 3D Filament Fuser

This instructable is for a 3D Filament Fuser/Welder/Joiner to join 2 pieces of 3mm 3D Filament together.
Step 1: The Heating Element

Take a hair straightener (25mm wide) that can heat up to 230°C. Mount this on a stand to keep the straightener from moving around all over the workspace.
Step 2: Filament Holder/Guide


Cut a piece of PTFE (PTFE tubing can withstand temperatures up to 680 °F for limited periods of time.*Above 500 °F, mechanical properties become a limiting factor) tube approximately 36mm long (here’s the trick, the ID of the PTFE must be 3mm, OD was 5mm). Any bigger ID will make the process a lot more complicated, nearly impossible (Tried and tested that, didn’t get any good results).
Step 3: Applying Pressure on PTFE Tube

Put a piece of tape around the hair straightener in order to get some pressure down on the PTFE tube. (This helps the PTFE tube from sliding around on the plates to loosely, and prevents it from just falling out.) Also ensures that heat is sufficiently transferred to the filament.
Step 4: Filament Heating
Switch on the hair straightener on 220 - 230°C. PTFE Tube must be inside the hair straightener before switching it on. Wait for 1 minute before inserting the 2 filaments.
Step 5: Fusing the 2 Filaments


Insert the 2 filaments into the PTFE tube. Apply pressure by pressing the 2 filaments together, keeping pressure until the 2 filaments fuse together. Check whilst pressing the 2 filaments together that the filament remains in a straight line. This step will take a bit of mastering, but will make or break the joint.
Step 6: Removing the Filament
Remove the filament from the hair straightener, and allow it to cool down for a few minutes. Put it under a fan to speed up cooling. Remove the PTFE tube by sliding it along the filament.
Step 7: The End Product


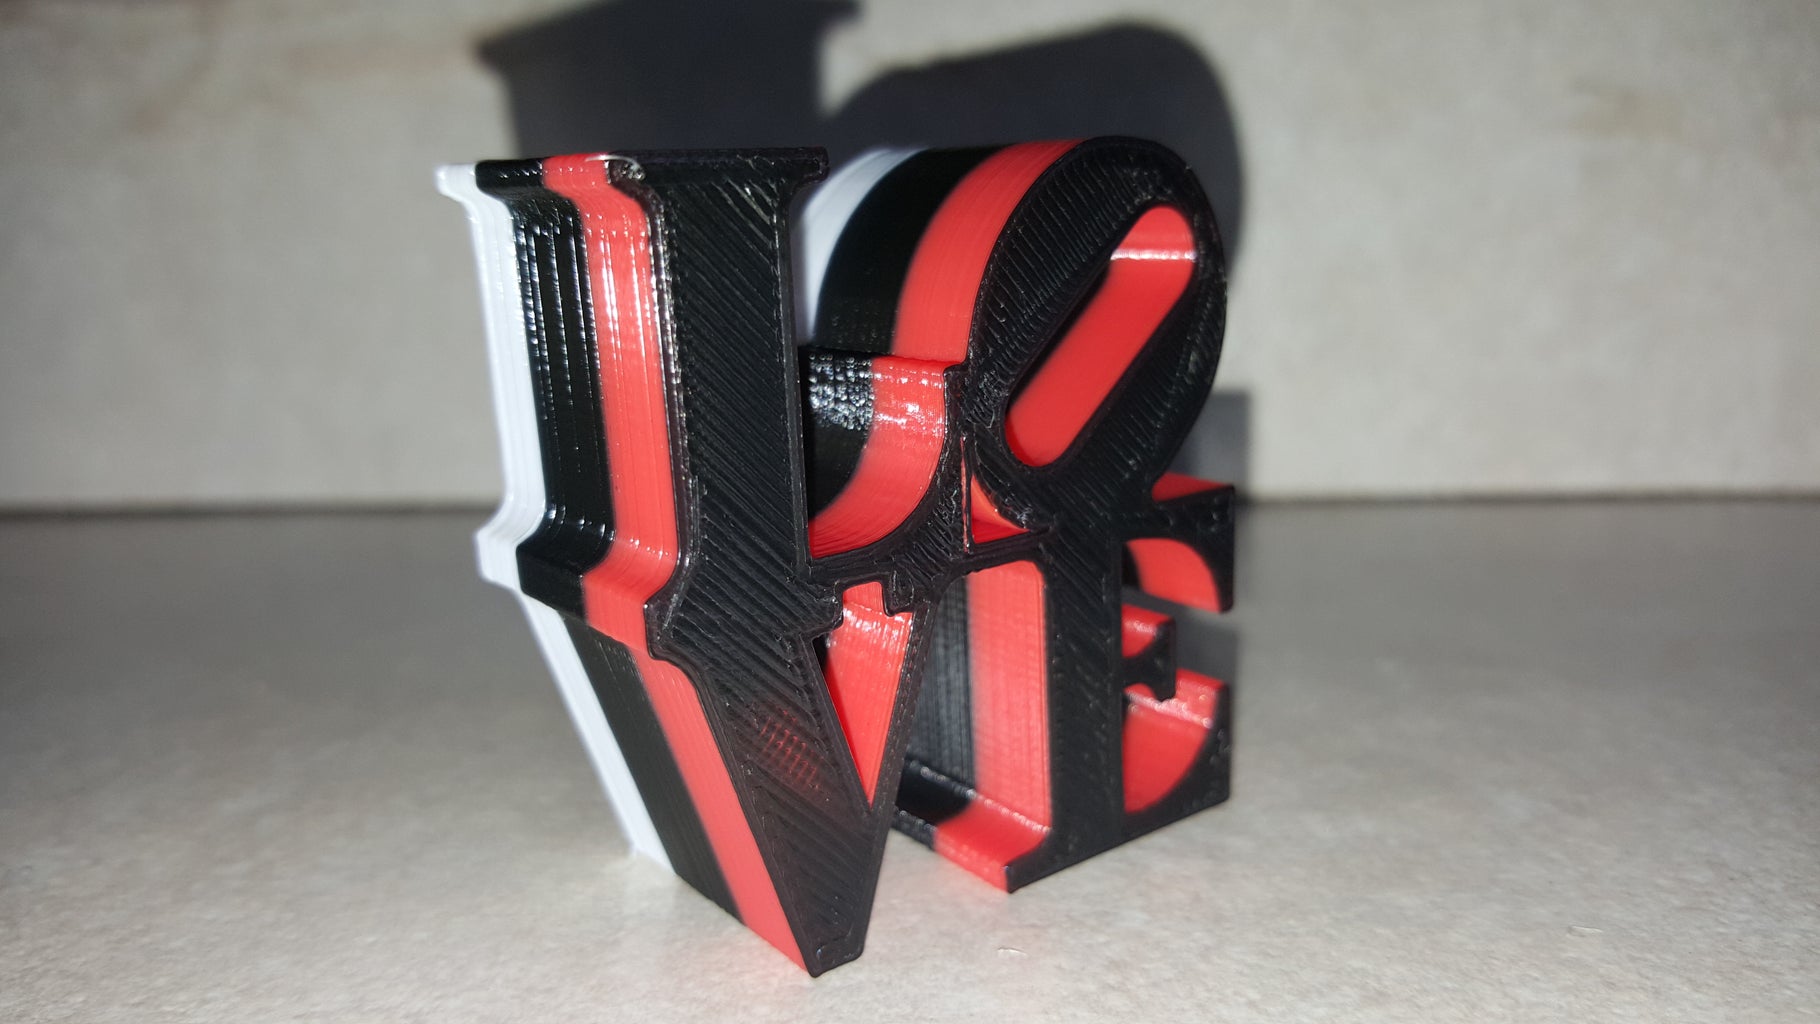
This should be the end result.


