

Introduction: 3D Home Printer With Arduino


I wanted to make a 3D printer for a long time. When I decided to make it, I bought necessary materials and I started with my 3D printer dreamed. I was looking for information on many websites and I saw different models, Prusa , Delta, etc. In the end, I decide to make the Delta model since it was the most attractive model for me .
Then I 'll describe you how I did it . I will start to explain you how I made the prototype needed to make pieces of the final printer, I hope you like it and you feel encouraged to make your own 3D printer.
Step 1: Videos
Step 2: Materials
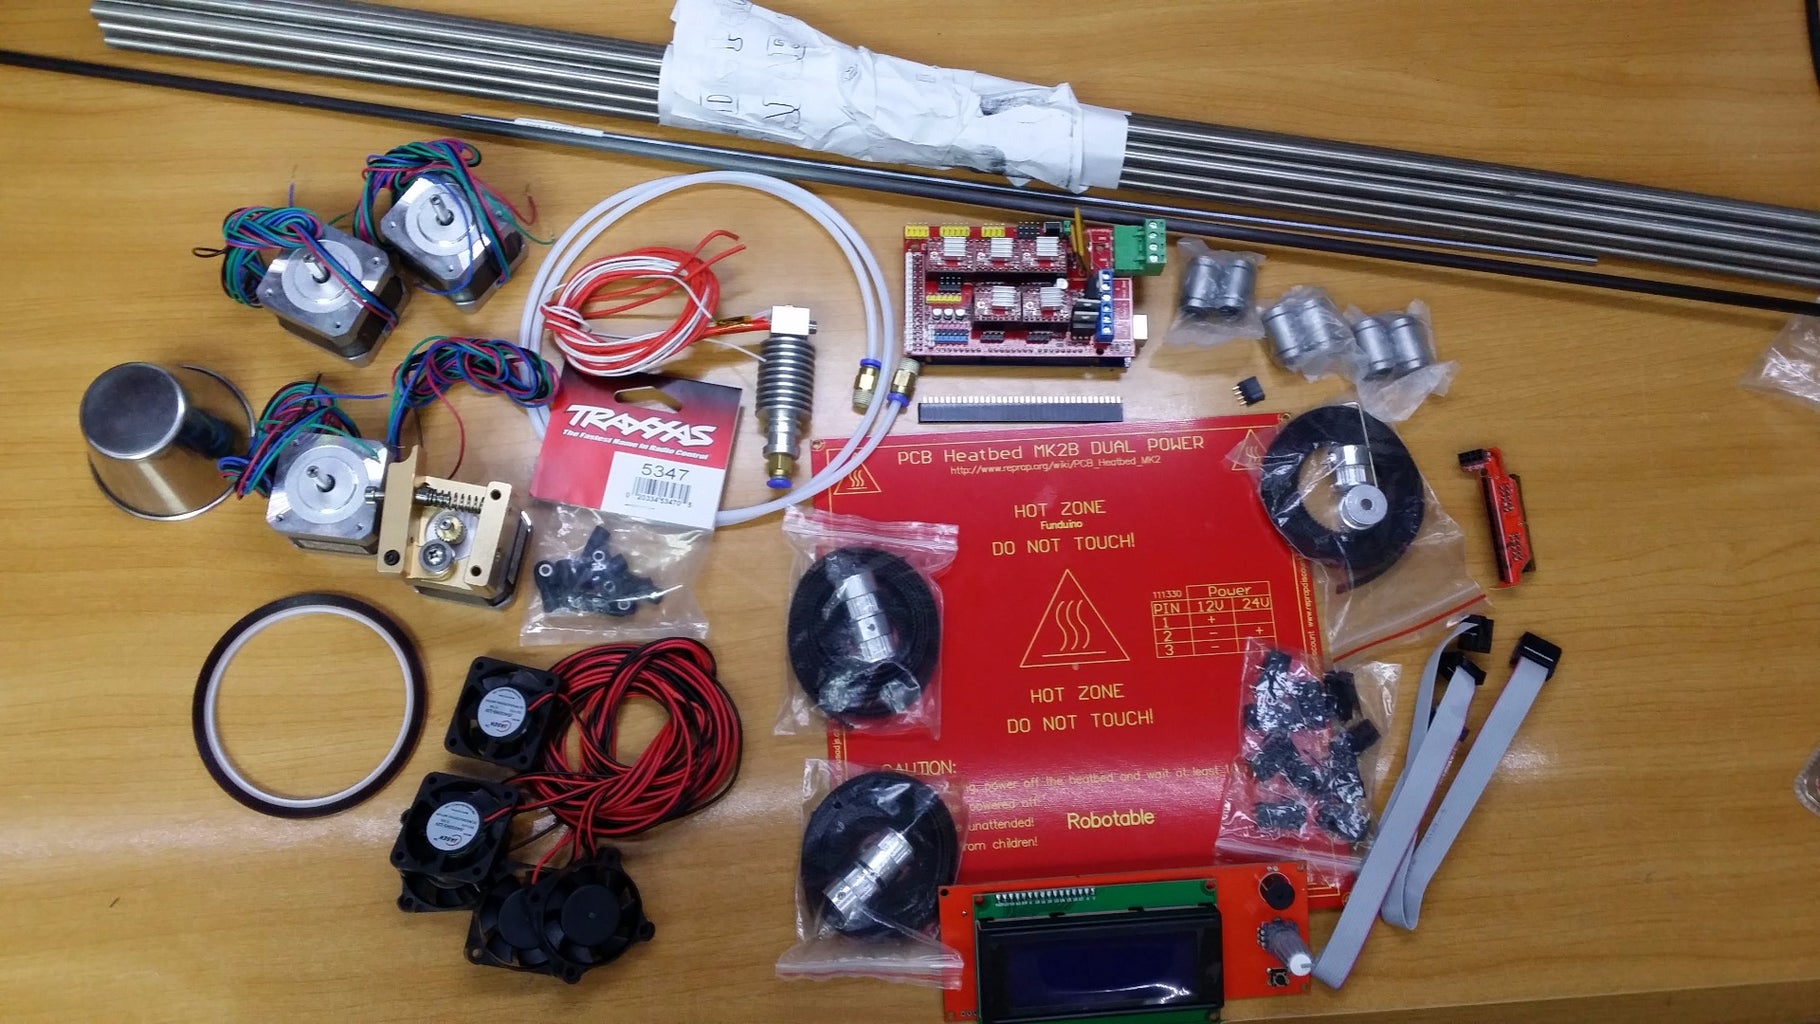
LCD --> Price: 7,56€
http://es.aliexpress.com/item/Promotion-3D-Printer...
Arduino Mega 2560 --> Price: 6,84€
http://es.aliexpress.com/store/product/Free-shippi...
Ramps 1.4 --> Price: 3,73€
https://es.aliexpress.com/store/product/RAMPS-1-4-...
4 Pololus --> Price: 1,44 x 4 = 5,76€
https://es.aliexpress.com/store/product/Red-StepSt...
Headbed --> Price: 6,40€
https://es.aliexpress.com/store/product/Geeetech-R...
Hotend 1,75 mm and mouthpiece 0.4mm --> Price: 4,40€
http://es.aliexpress.com/item/FreeShipping-Long-di...
Mirror 215mm x 215mm --> Price: 5€ (bought glassware)
Kapton tape --> Price: 1,09€
http://www.ebay.es/itm/5mm-X-100ft-Cinta-Kapton-Te...
Termistor NTC 100k --> Price: 1,17€
http://www.ebay.es/itm/Termistor-Ntc-100K-Ohm-3950...
PTFE tube (1 m) (1,75mm) --> Price: 1,79€
https://es.aliexpress.com/store/product/1M-3D-Prin...
Aluminum extruder --> Price: 4,74€
http://es.aliexpress.com/item/3D-printer-accessori...
6 Linear bearings --> Price: 12,52€ (10u)
https://es.aliexpress.com/store/product/Free-Shipp...
3 Endstop --> Price: 0,72€
http://es.aliexpress.com/item/10pcs-lot-3D-printer...
Fan 40x40mm --> Price: 1,68€
http://es.aliexpress.com/item/CoolCube-1pc-Makerbo...
6 Pulleys and 3 straps --> Price: 9,27€
http://es.aliexpress.com/item/2Pcs-20-GT2-6-GT2-Pu...
6 Stainless steel bars(80 cm of 8 mm) --> Price: 17,42€ (In hardware store)
12 traxxas 5347 --> Price: 8€ (USA)
Carbon fiber tube (6 mm) --> Price: 4€ (Decathlon)
4 stepper motors NEMA17 42HS40-1504A05-D20--> Price: 32,8€ (joint purchase)
Threaded rod --> Price: 0.80€ (In Leroy Merlin)
Screws --> Price: 4€ (In Leroy Merlin)
3 dock--> Price: 0,65€ (In Leroy Merlin)
Custard rate --> Price: 1,50€ (In Carrefour)
PC power supply (400 W) --> recovered from old pc
Filament --> Price: 20€
TOTAL PRICE --> 155,38€
Step 3: The Electronic

Before mounting it, it is recommended to test the electronic to make sure everything works fine. To do this, we need to load the firmware in Arduino. We will use two types of firmware, Sprinter and Marlin. First we use an old version of Sprinter just to test the electronic as this allows you to move motors without having to activate the sensors. Then in the end, we will load new version of Marlin.
To carry out all this process I followed the tutorial on next website:
Step 4: Setting the Pololus


Firstly we have to adjust the pololus to limit the maximum current that will consume the engines.To do this we need a multimeter (to see the current flowing through the motor), a ceramic screwdriver and Pronterface program. What we must do is to put a motor on the connector of the extruder and make it work through Pronterface program. Then we will adjust the pololus potentiometers, one by one, until the desired values, which in our case are: 400 mA for the extruder and 200 mA for each axis (X, Y, Z). To view the current we will use the multimeter.
For this configuration I followed the tutorial on the next website:
http://www.zonamaker.com/impresion-3d/crea-impres...
I recommend you to see it, as it is very well explained and it includes some videos.
Step 5: Preparation and Assembly of the Structure


First thing that we are going to build is the prototype. It took me a day to mount it.
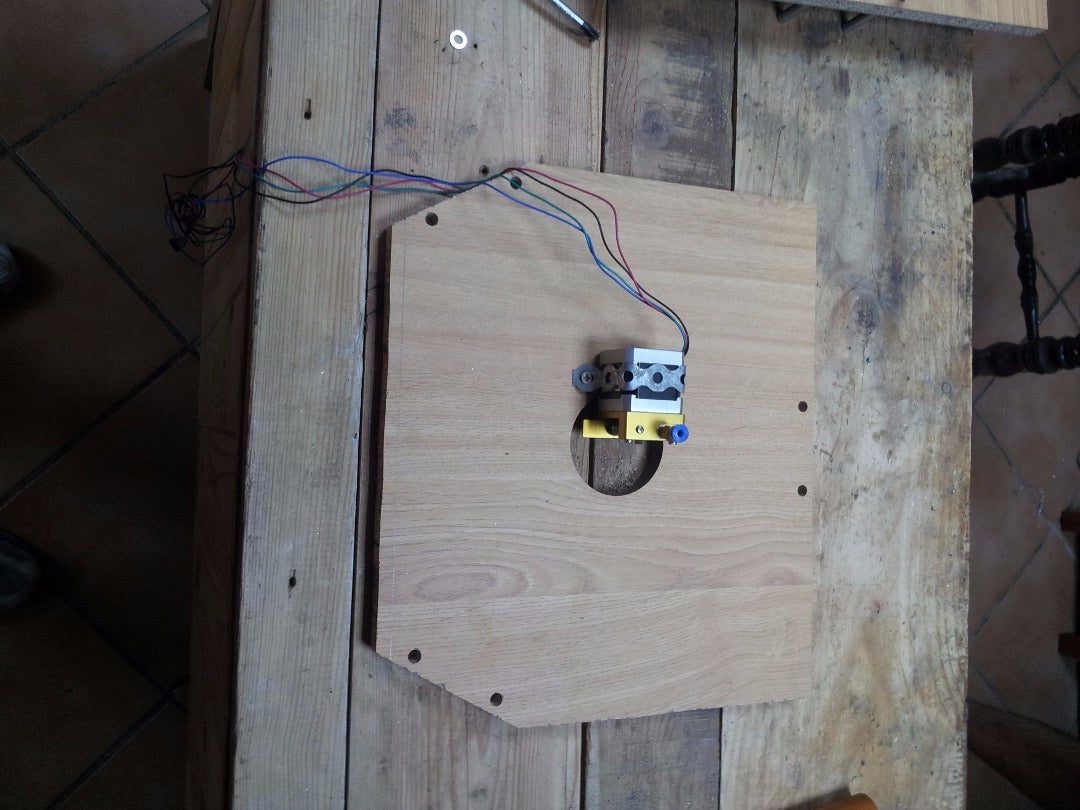
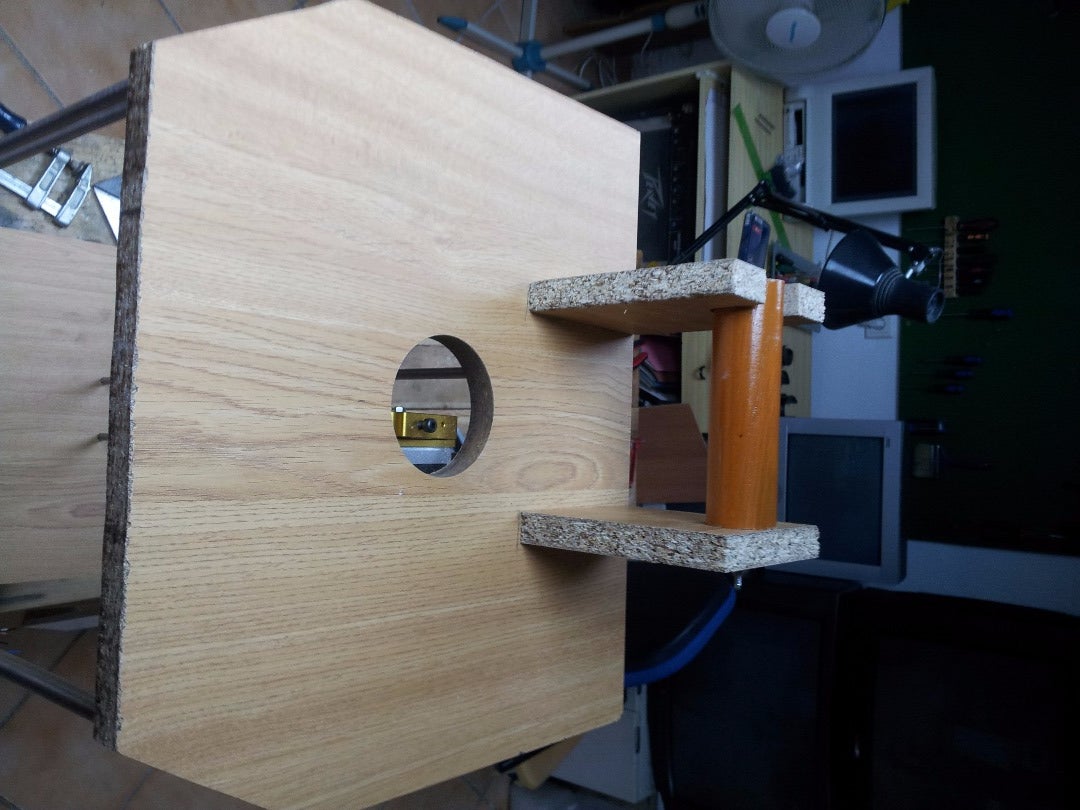
We print the plane in A2 format, then the plane is placed on a wood and we cut it. This is done to both, the bottom and the top. Then we drilled holes with 8 mm drill. It is recommended to drill the holes with the two boards together to make it more accurate. At the top we will make a big hole where we will place the engine of the extruder. At the base we will make a small hole to put wires of hotbed.
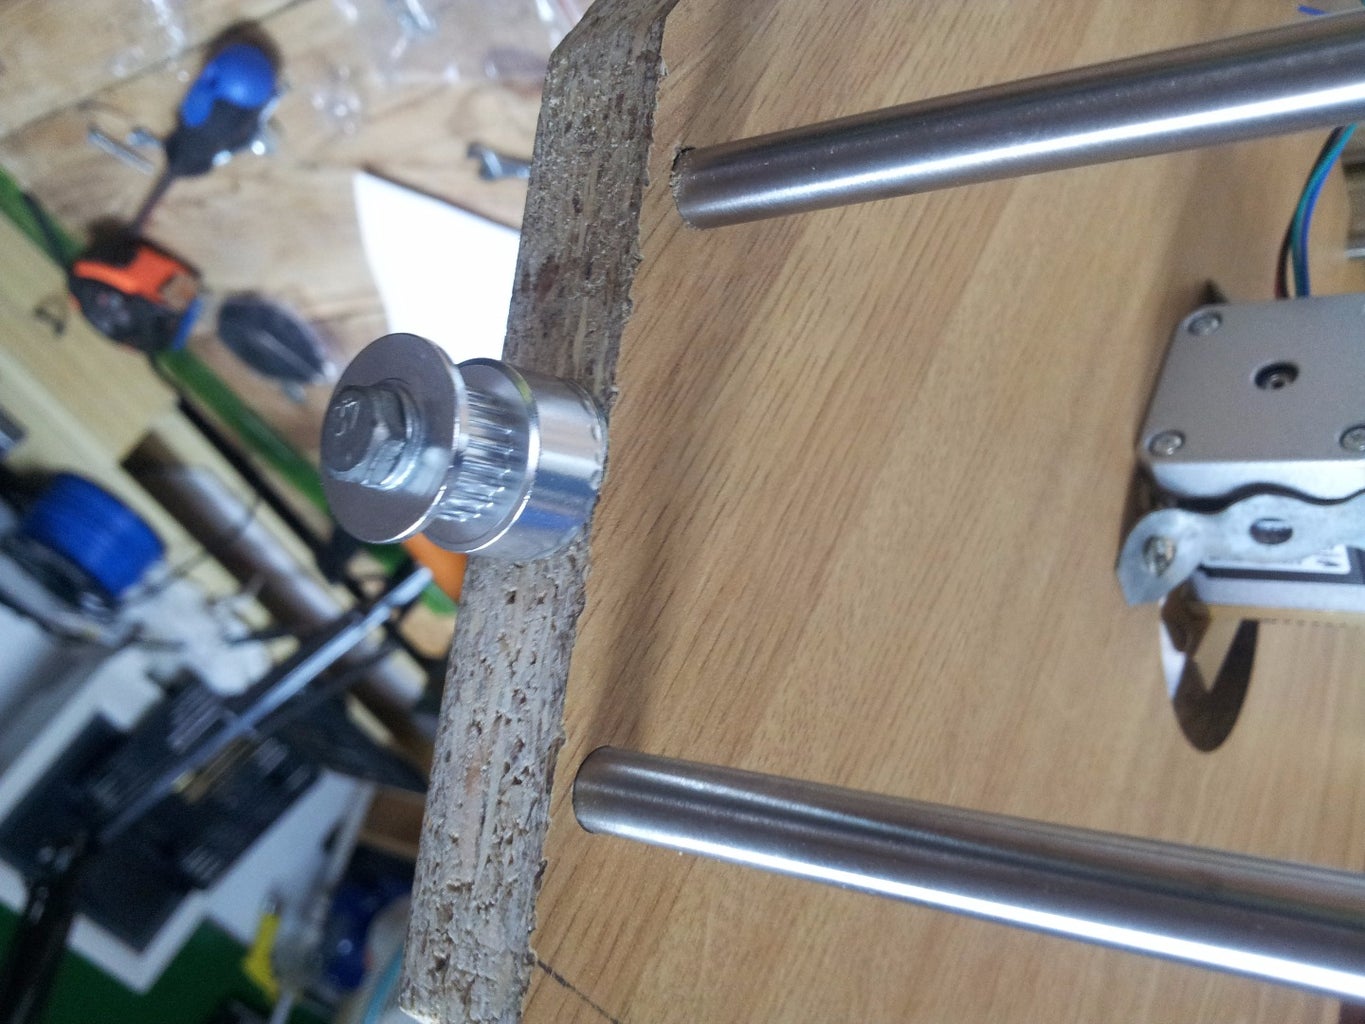
To hold the filament we cut a piece of wood bar and two pieces as you can see in the pictures. We put steel rods into the holes. The pulleys are caught with a screw in the center of the edge of the wood without pressing to make it can turn easily.
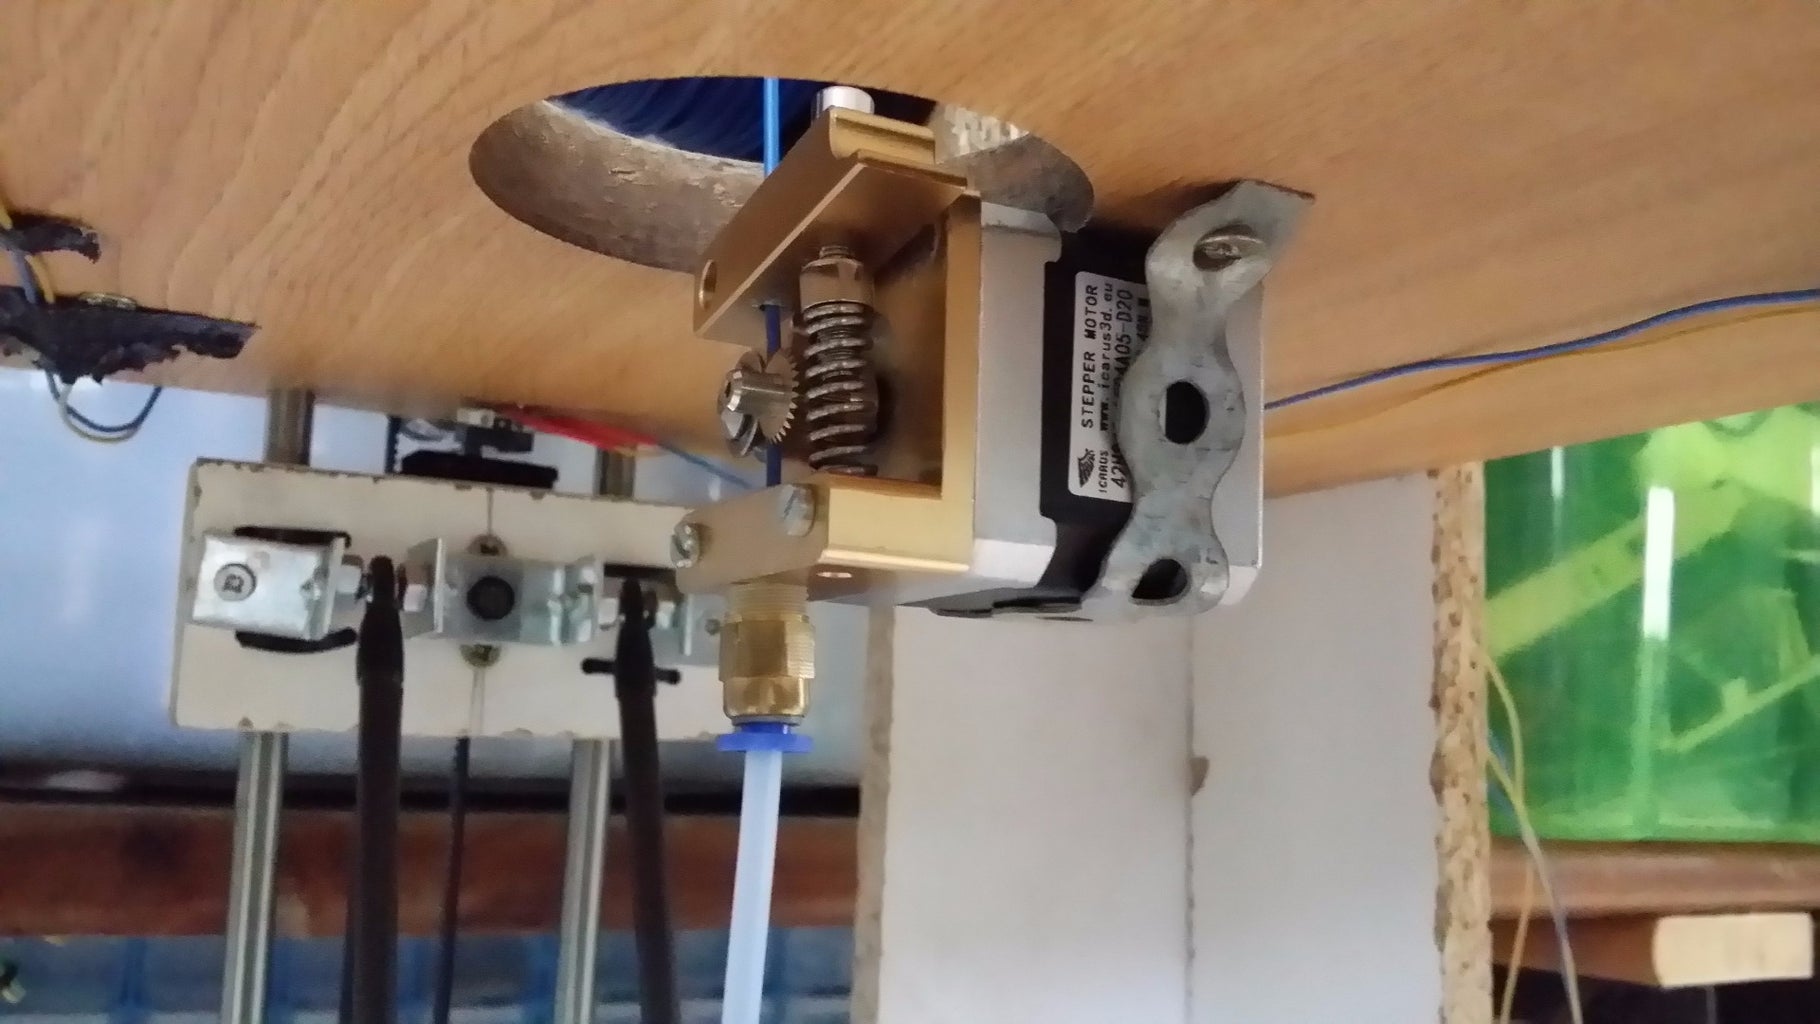
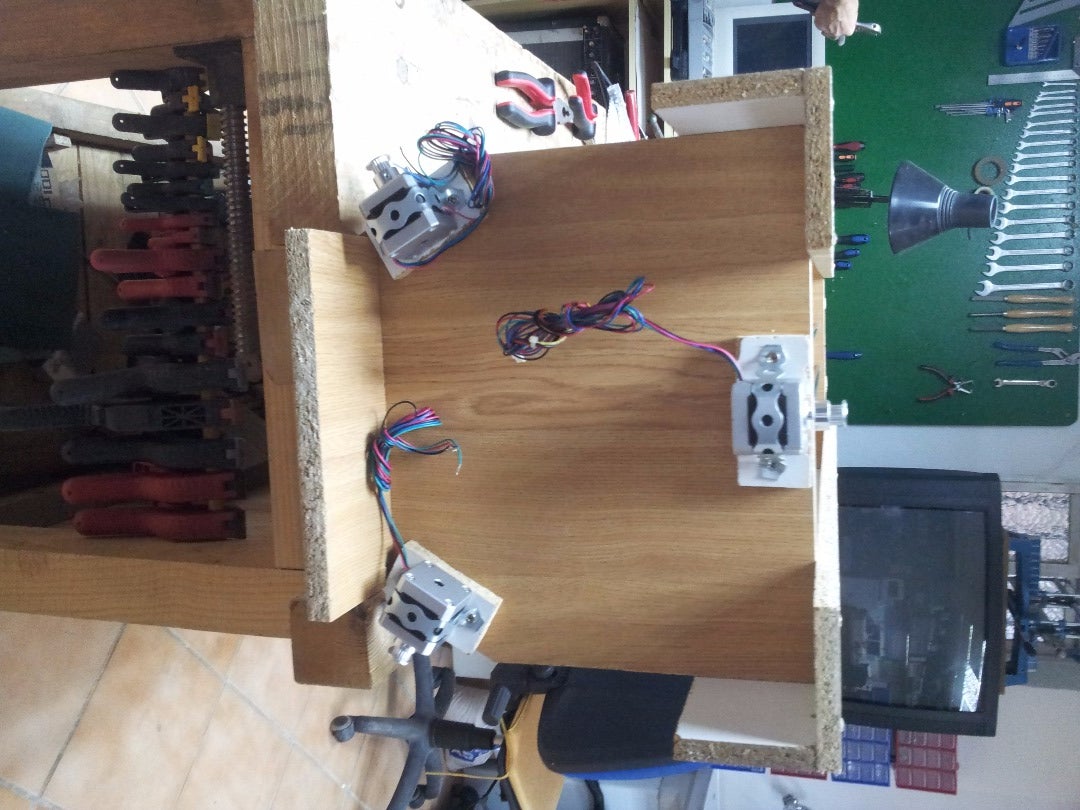
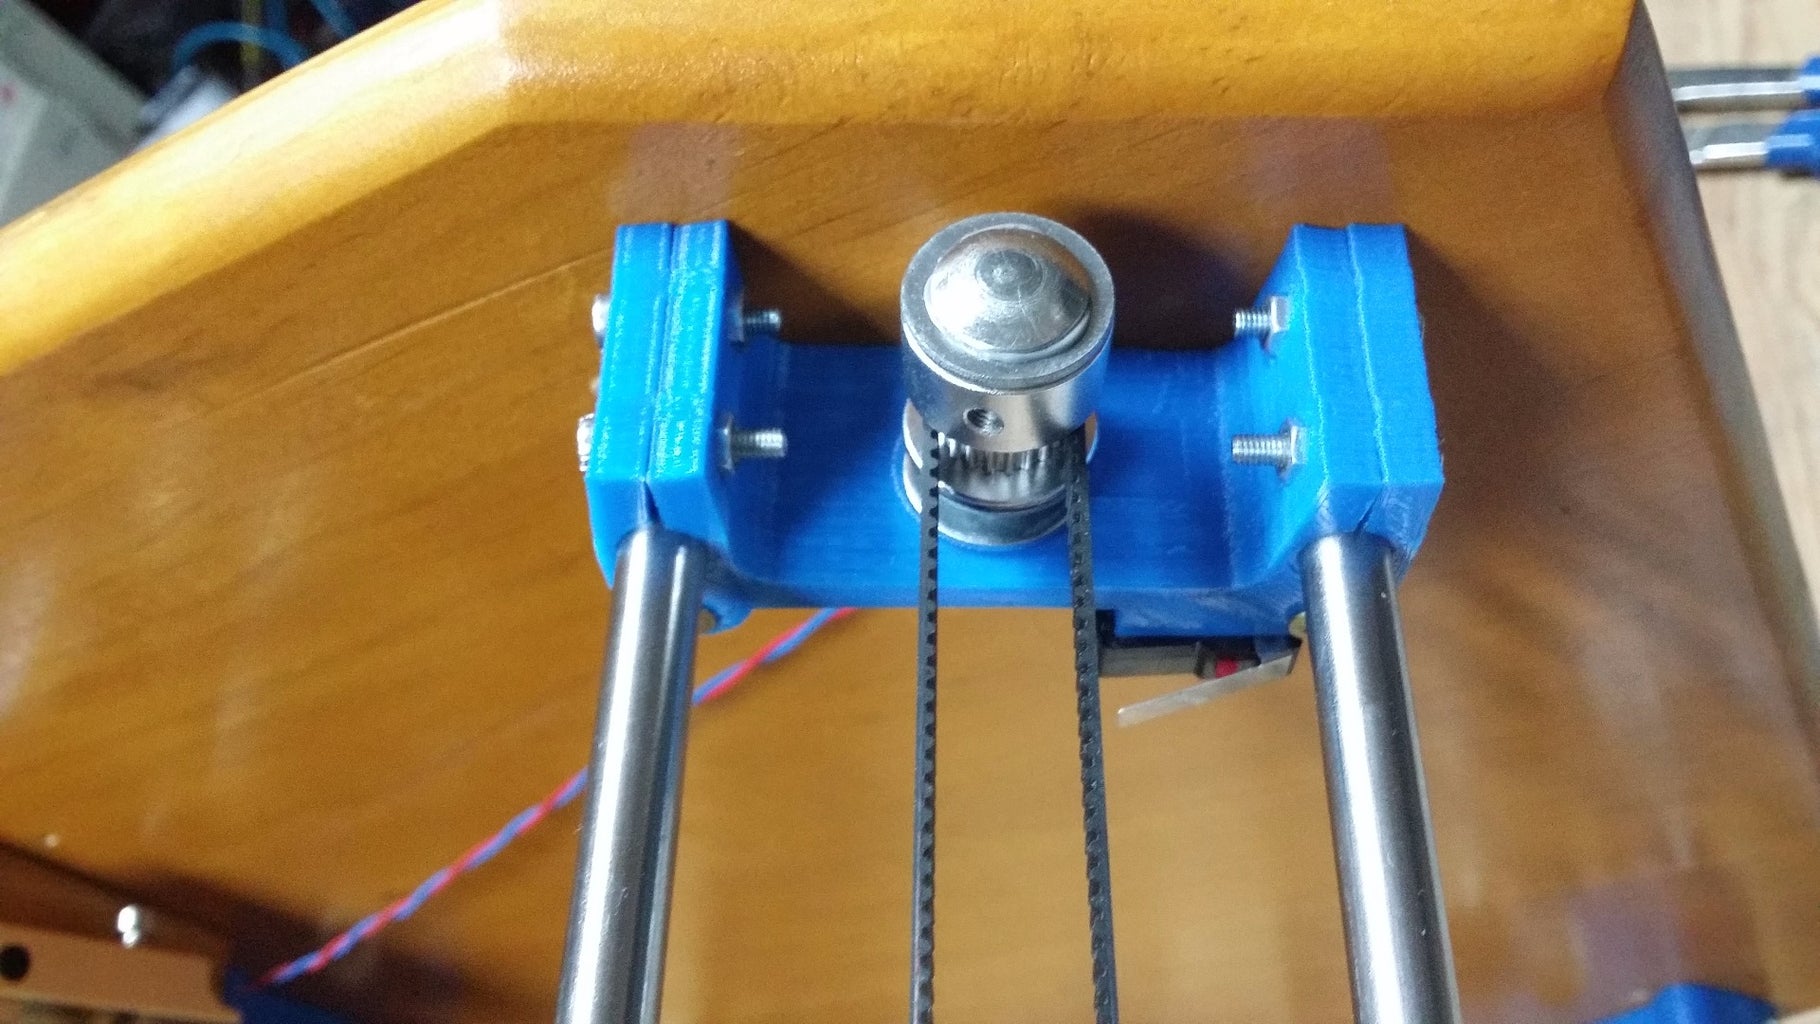
We put both engines extruder such as the X, Y, Z as shown in the pictures.
Attachments

Step 6: Construction of the Arms and Support for the Hotend


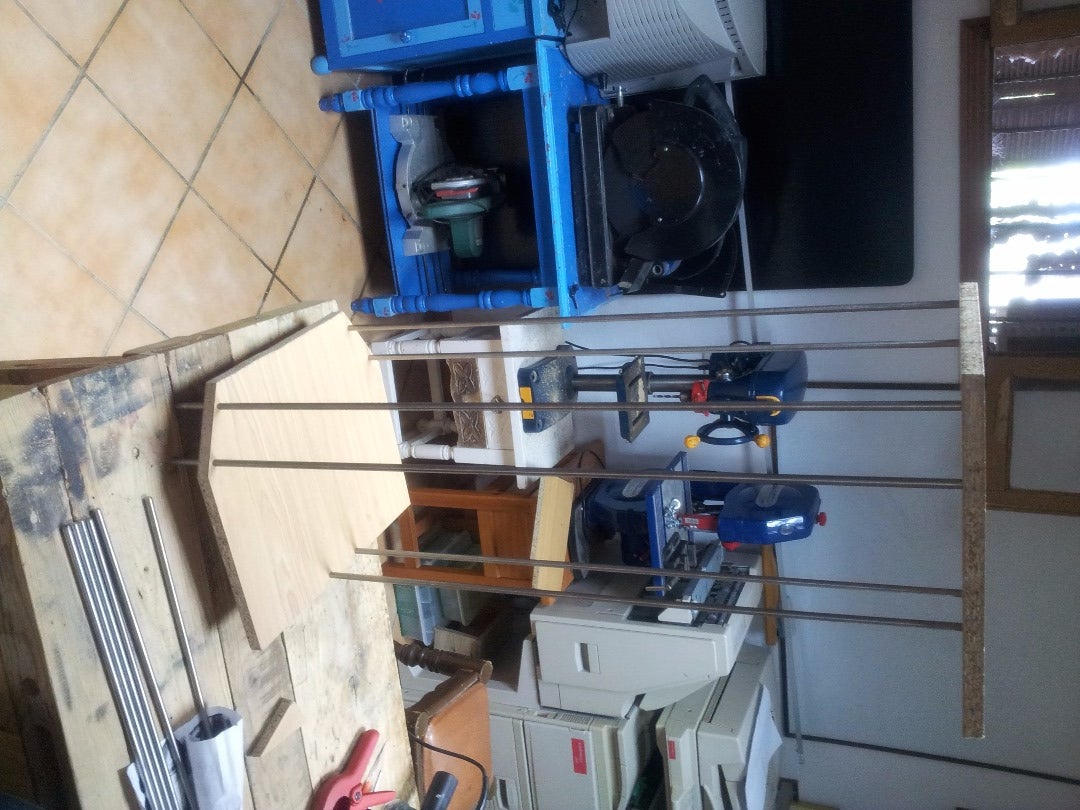
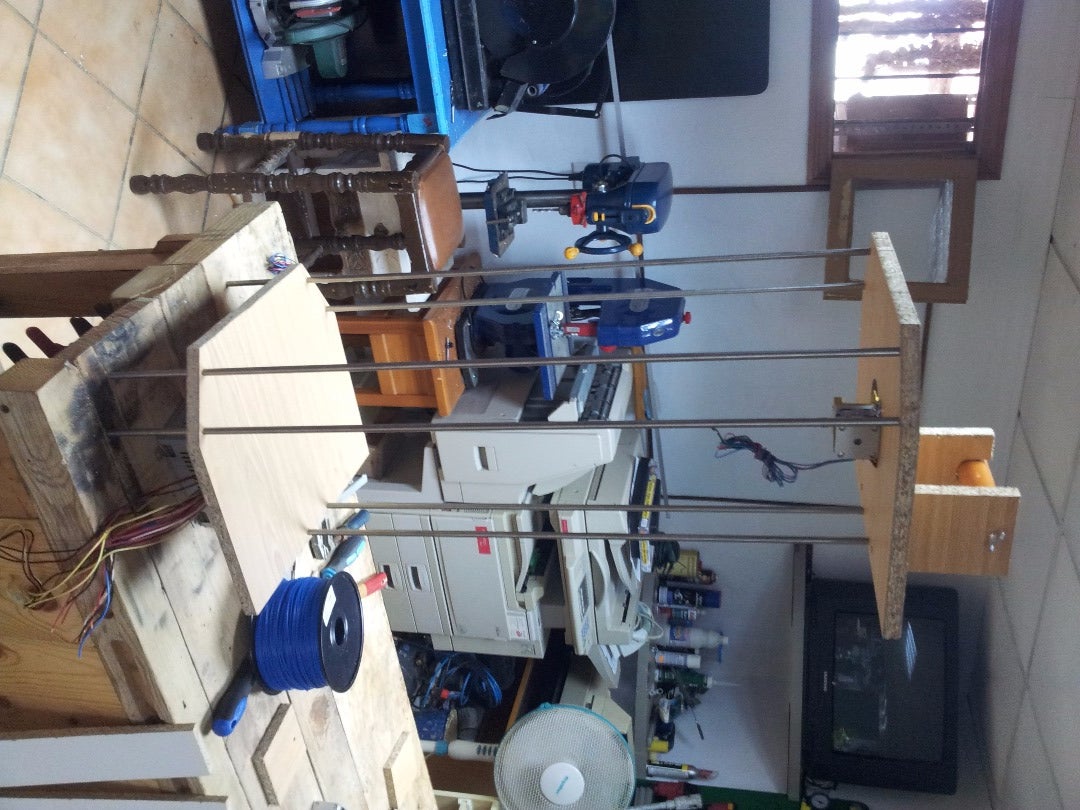
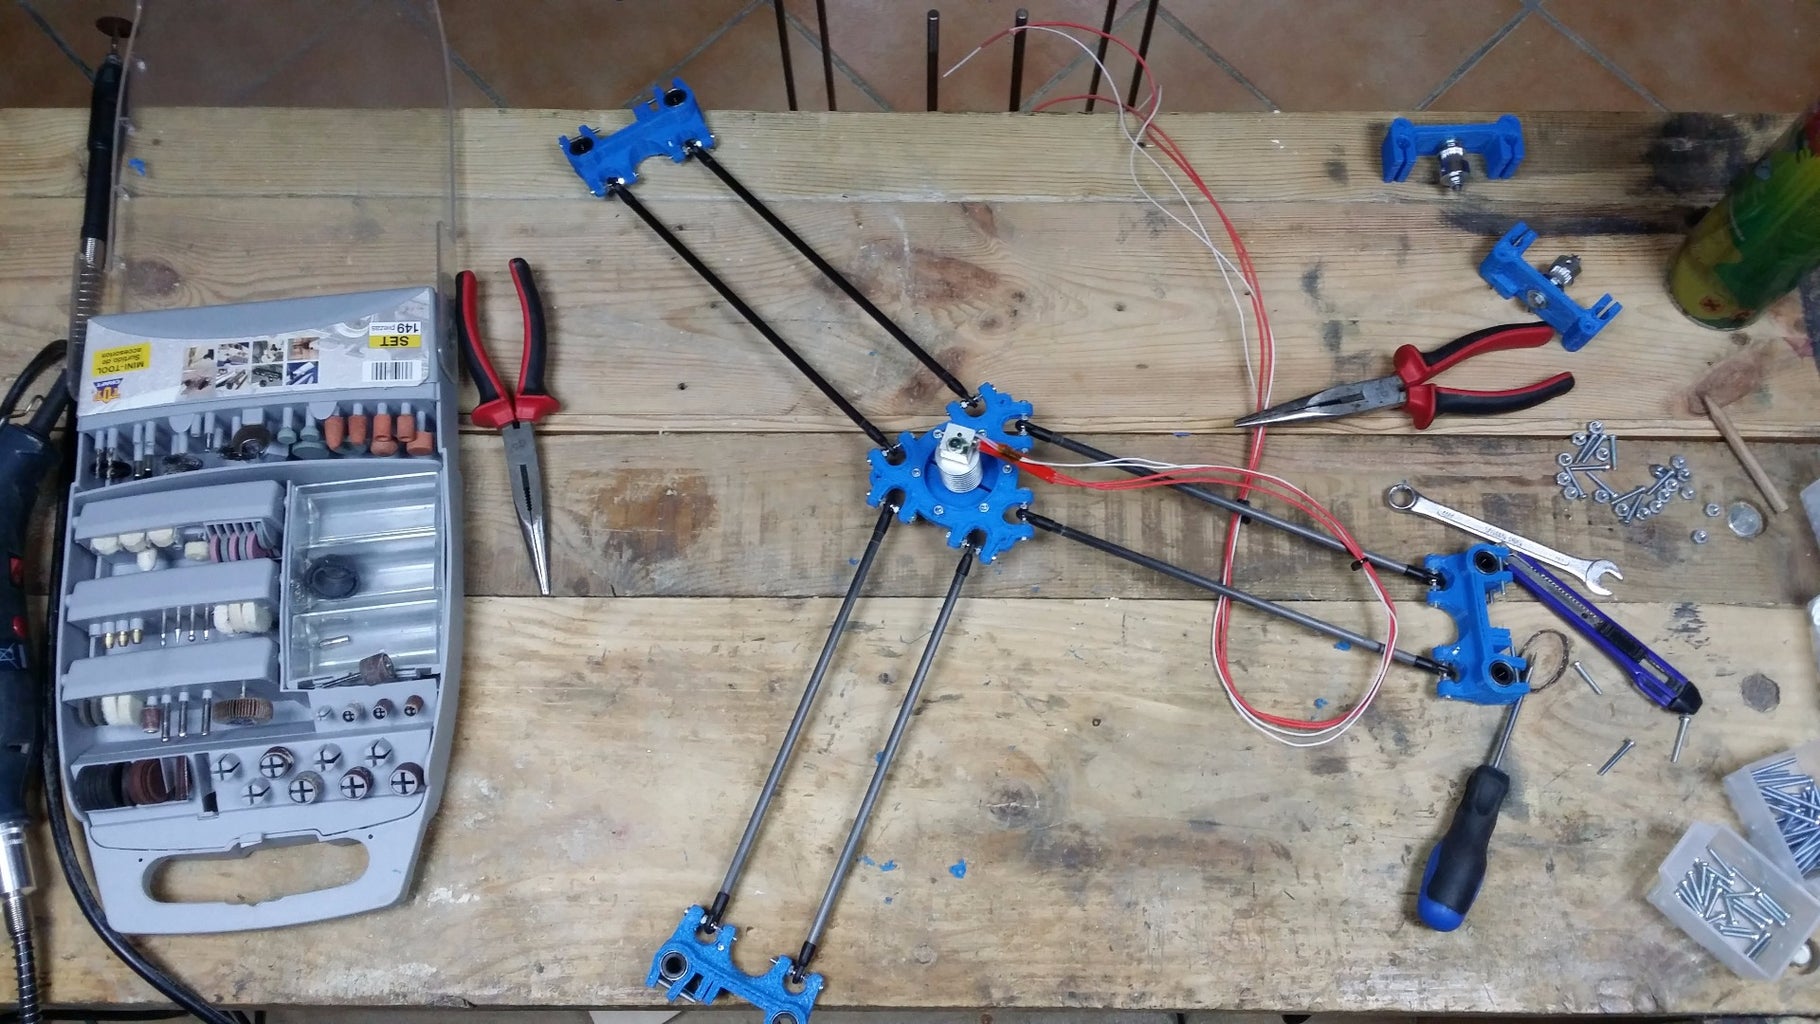
For the construction of the arms, we cut six pieces of carbon fiber tube of 215 mm and 12 pieces of 50 mm threaded rod. Then in a wood, we screwed two screws at a distance of 250 mm and we will cut off the head of the screw. Then we paste the rods to carbon fiber tube and traxxas. we place these rods in the two screws that we put into the wood. This procedure must do for the 6 rods.
I used a metallic glass that are used in desserts for supporting the hotend. We cut the glass with Dremel as shown in the pictures. We assemble all the screws and put a dock to snug.
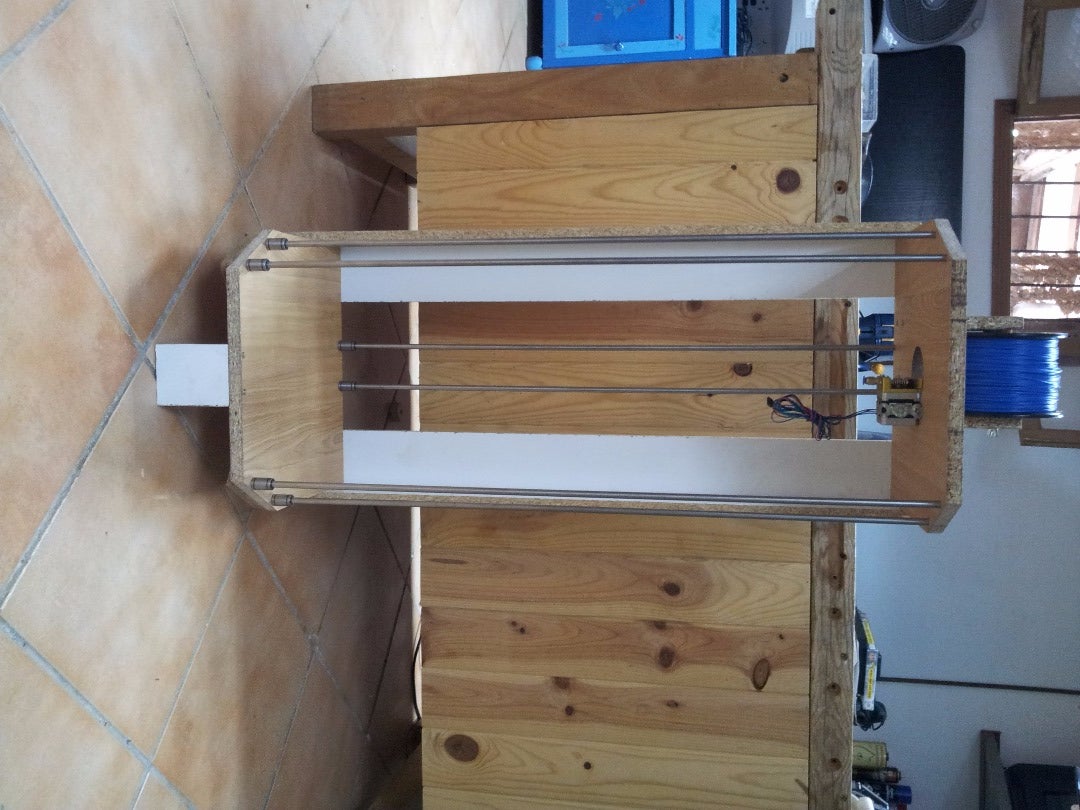
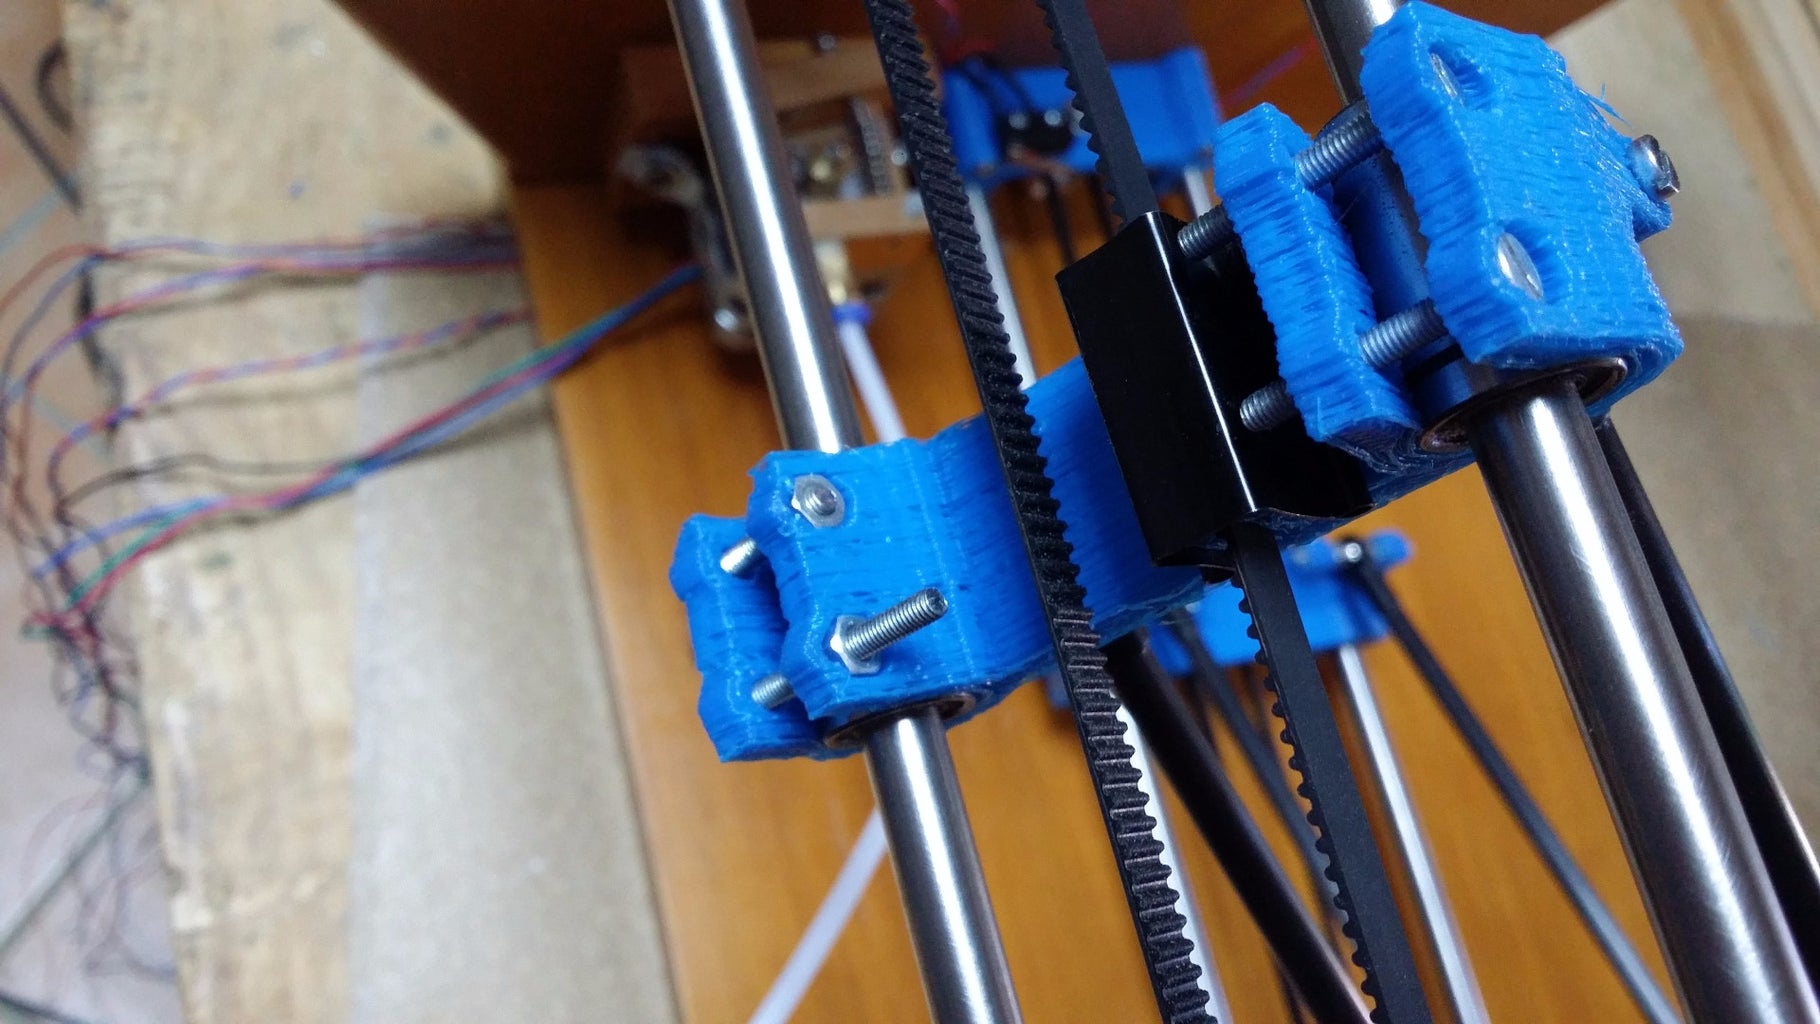
Step 7: Construction of Supports for Bearings


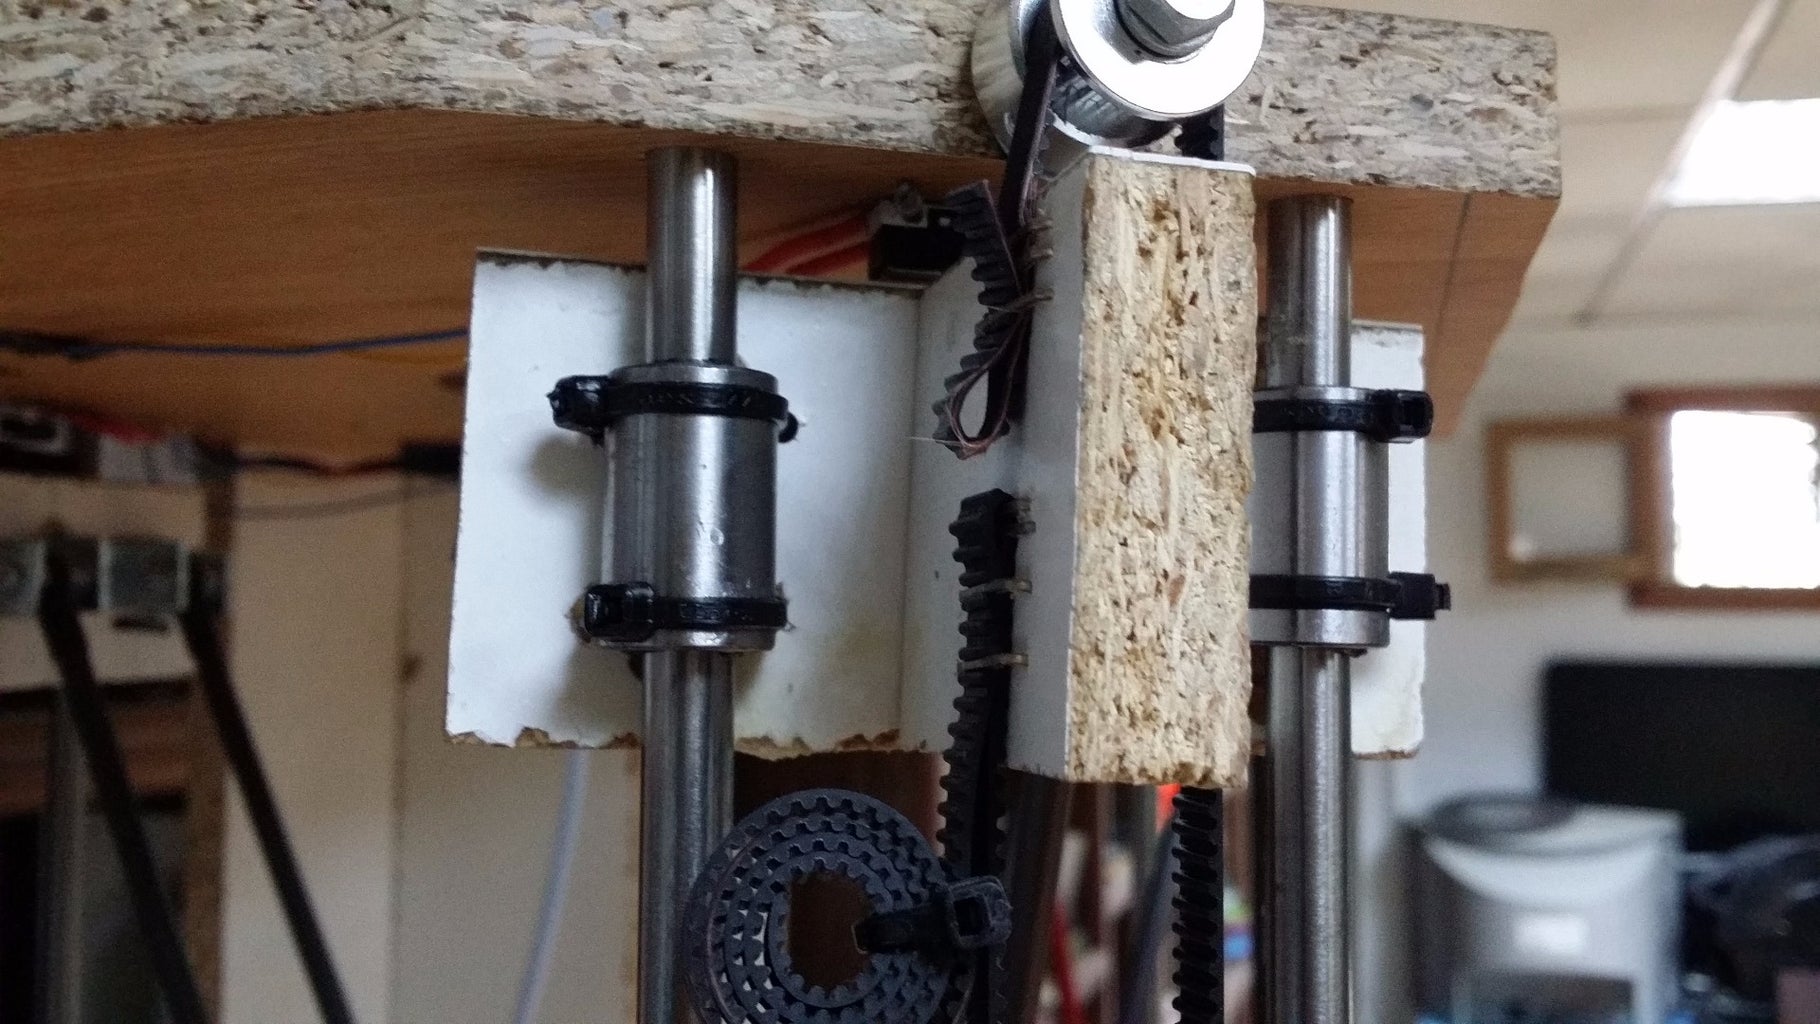
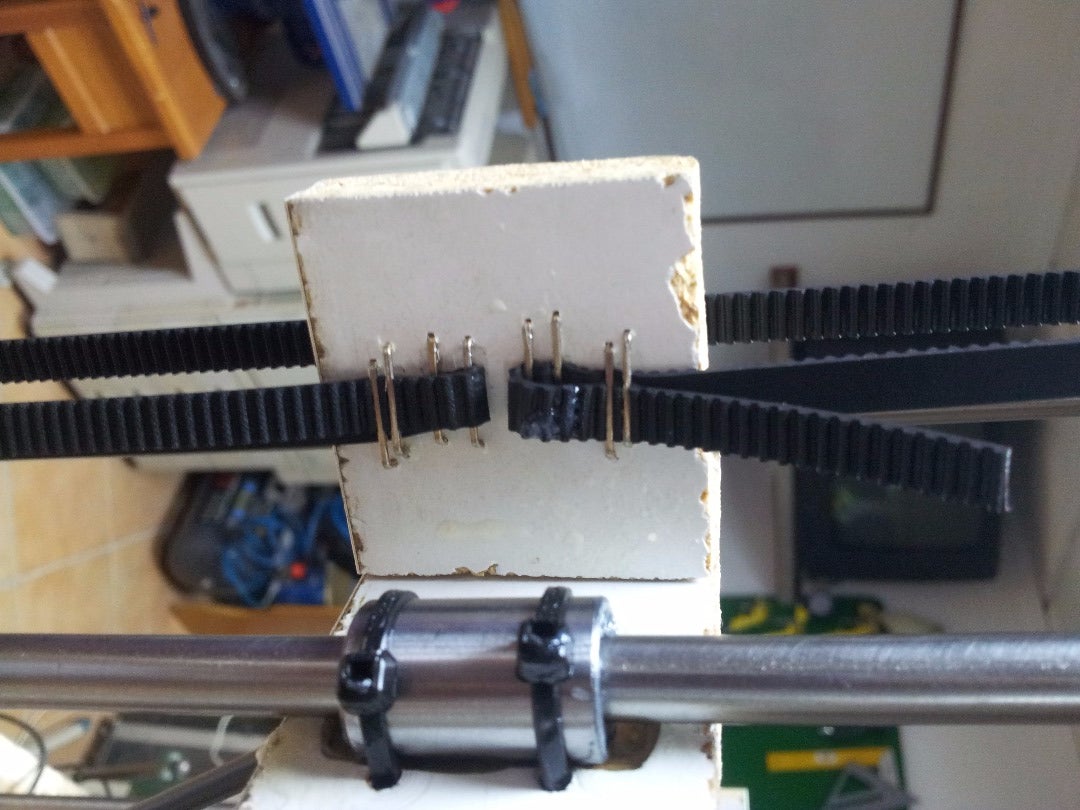
For bearings I used two pieces of wood in the form of T. We made some holes to hold bearings with clips. To hold arms, I put two metal angles for each carbon fiber tube. Finally, to hold the strap it has been used staples, It has strained well and then have it all other staples. Then I tried if it was working well in the printer.
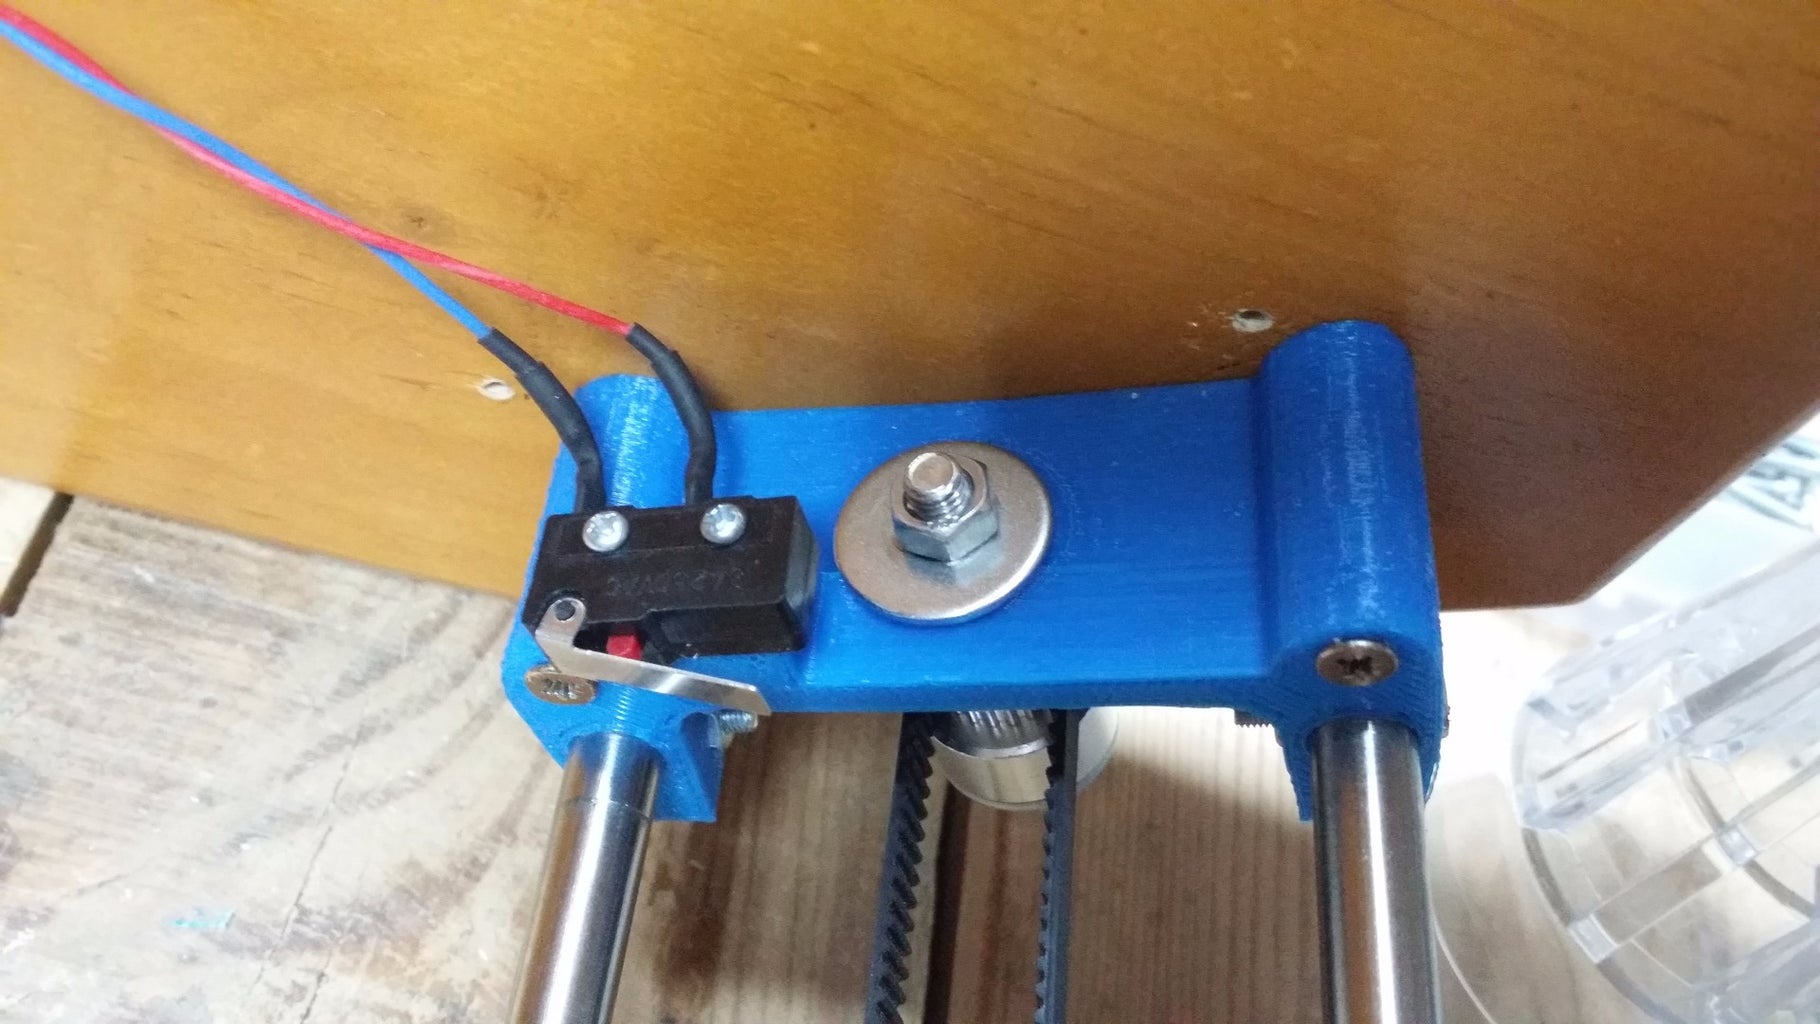
Step 8: Placing the HotBed and EndStop

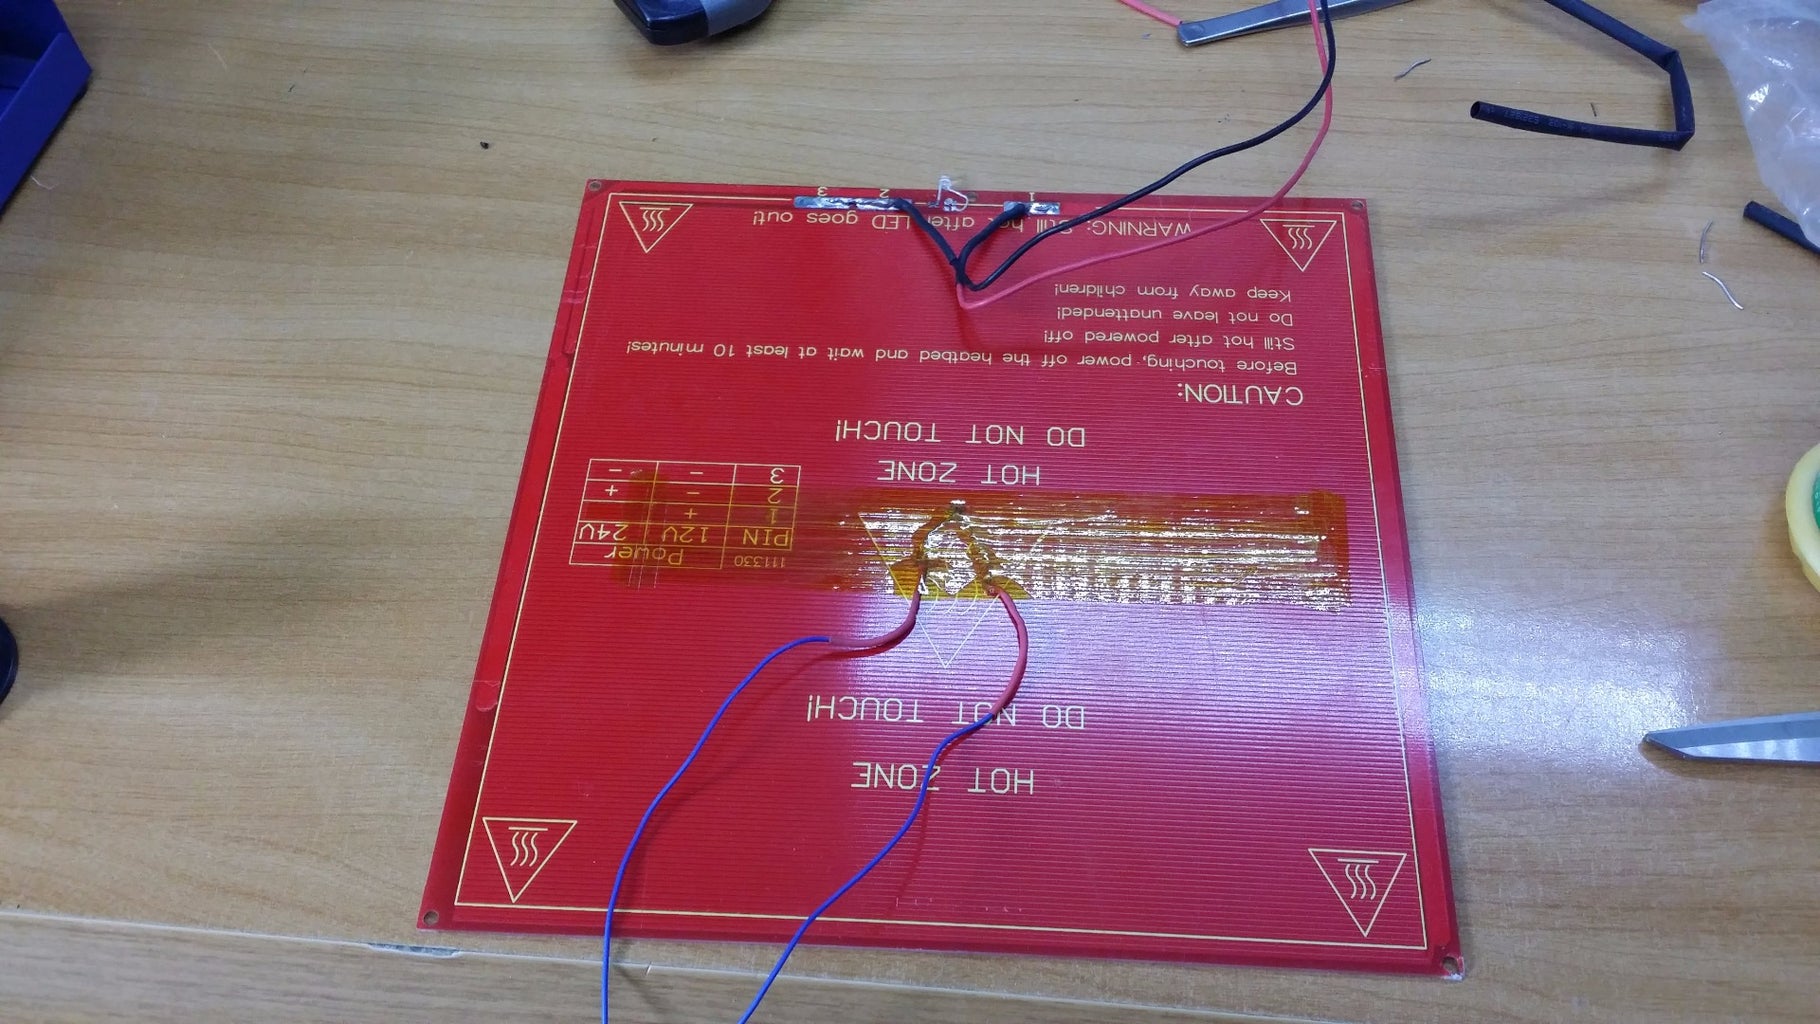


To put a glass or mirror above the HotBed, I have milled holes of hotbed to introduce the heads of the screws.. Then I have soldered a led and power cables.The thermistor has been fastened in the center of the bed with Kapton tape.
The EndStop have been fastened with the wire as you can see in the picture.
Step 9: Firmware


For firmware settings I advise you to follow the tutorial in this website:
http://www.zonamaker.com/impresion-3d/crea-impreso...
here you have my file set. You should set it depending on the size of your printer.
Attachments

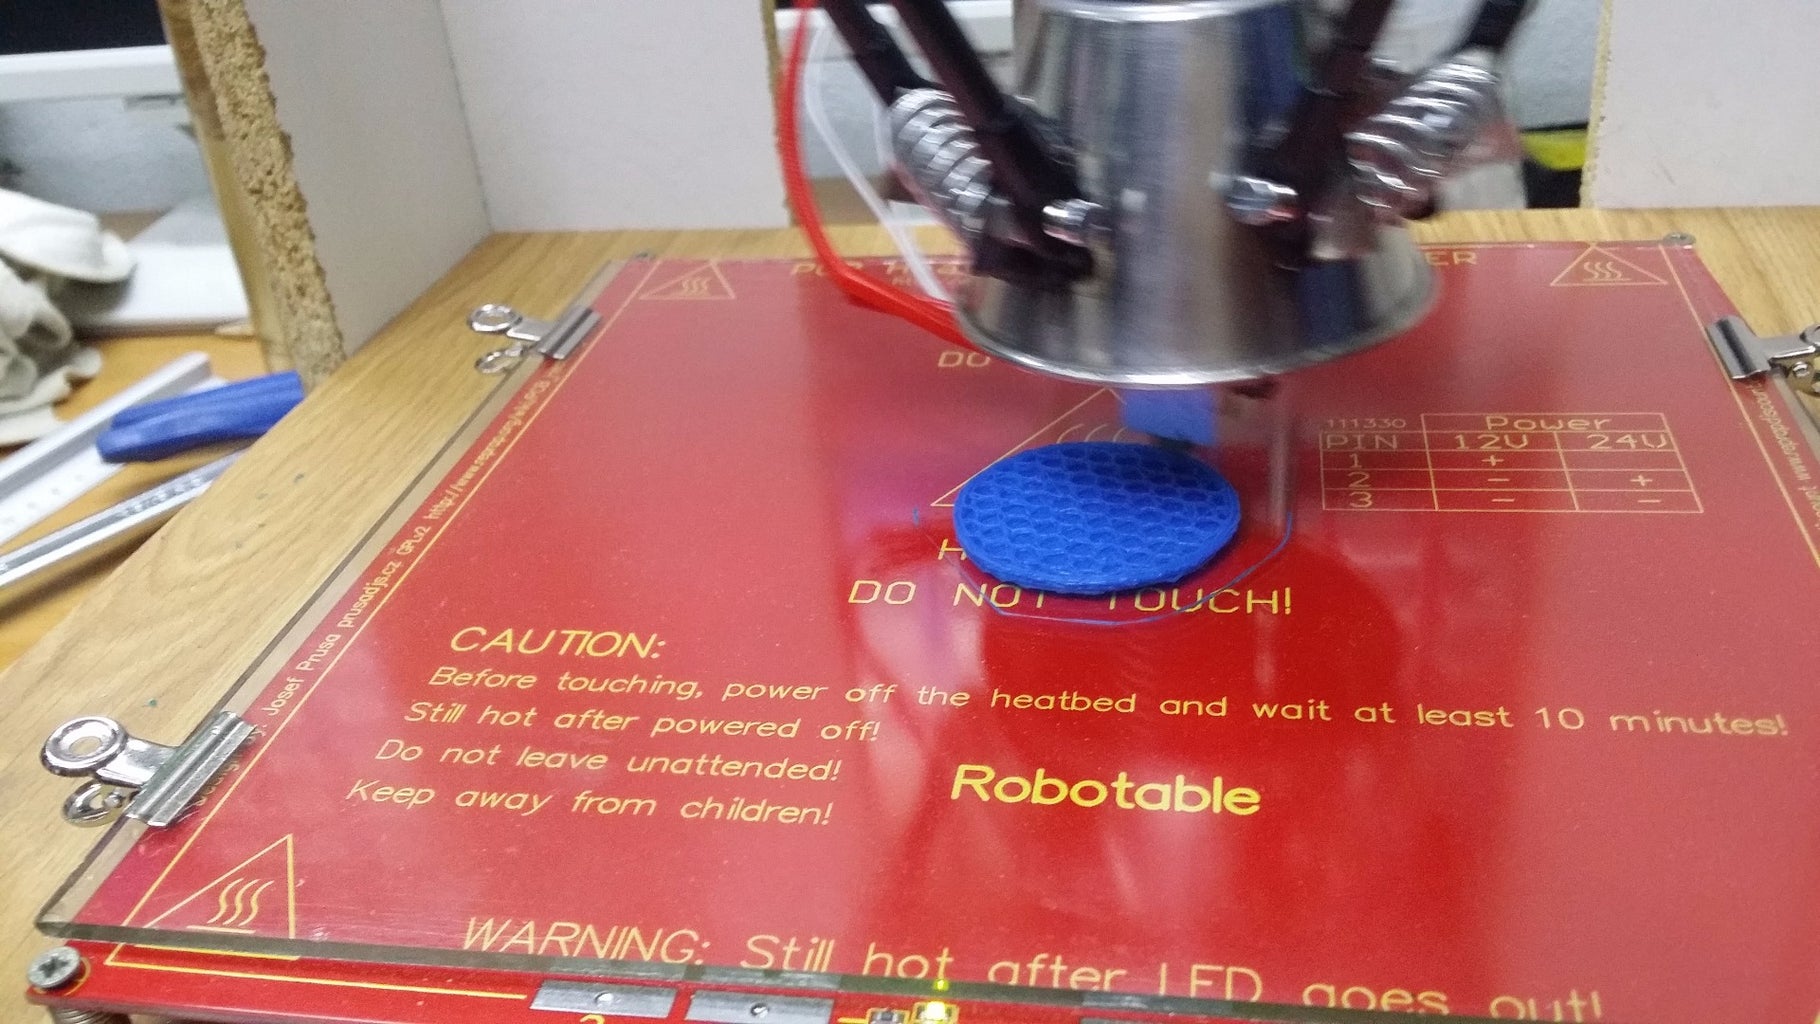
Step 10: Calibration

This is the most difficult step to make because you have to dedicate a lot time to get calibrate it perfectly.The HotBed must be leveled perfectly and make that the Hotend touch slightly a sheet between the bed and the HotEnd.
You can see these videos where the author suggests what you should do:
To calibrate the axes watch this video:
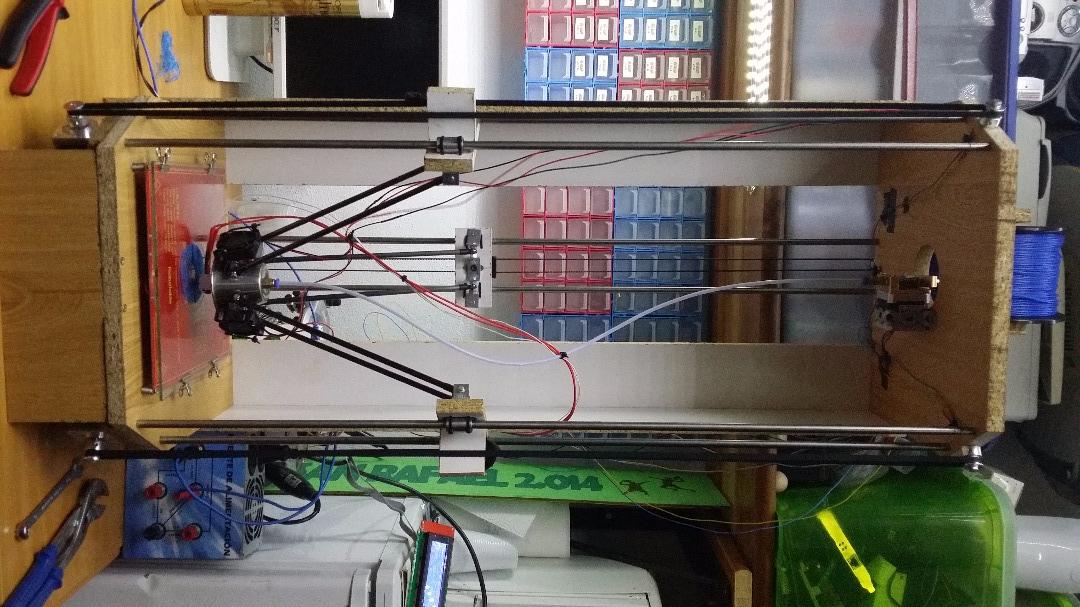
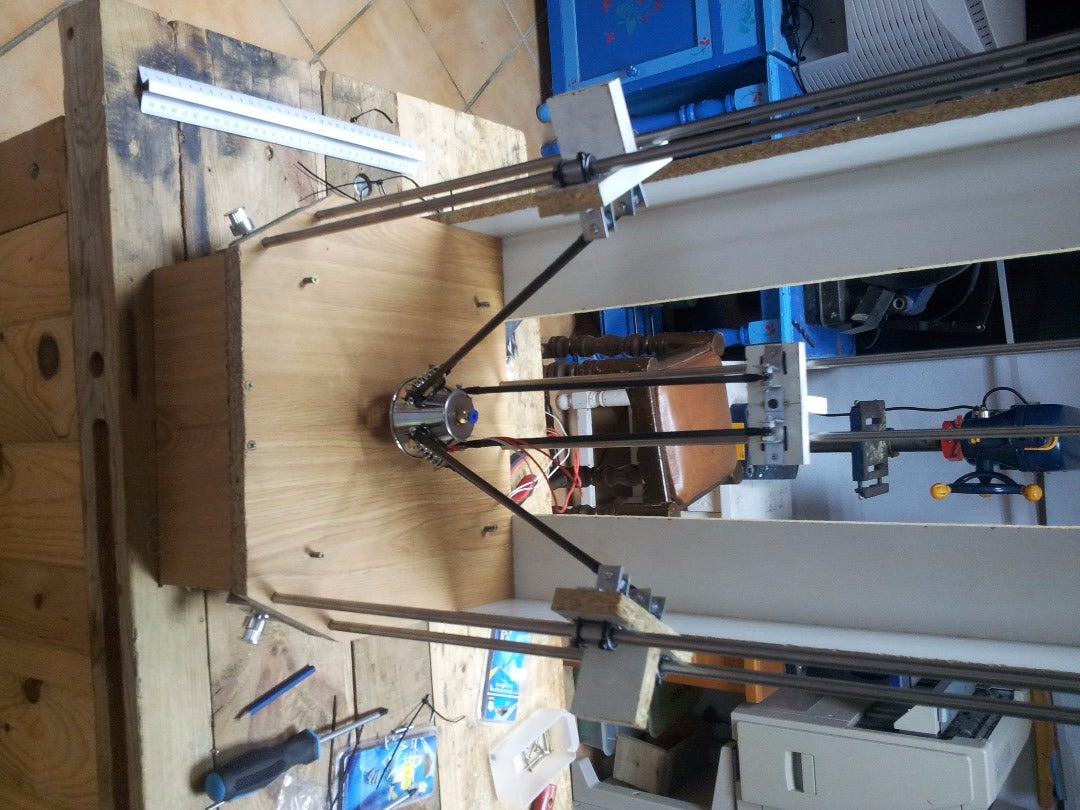
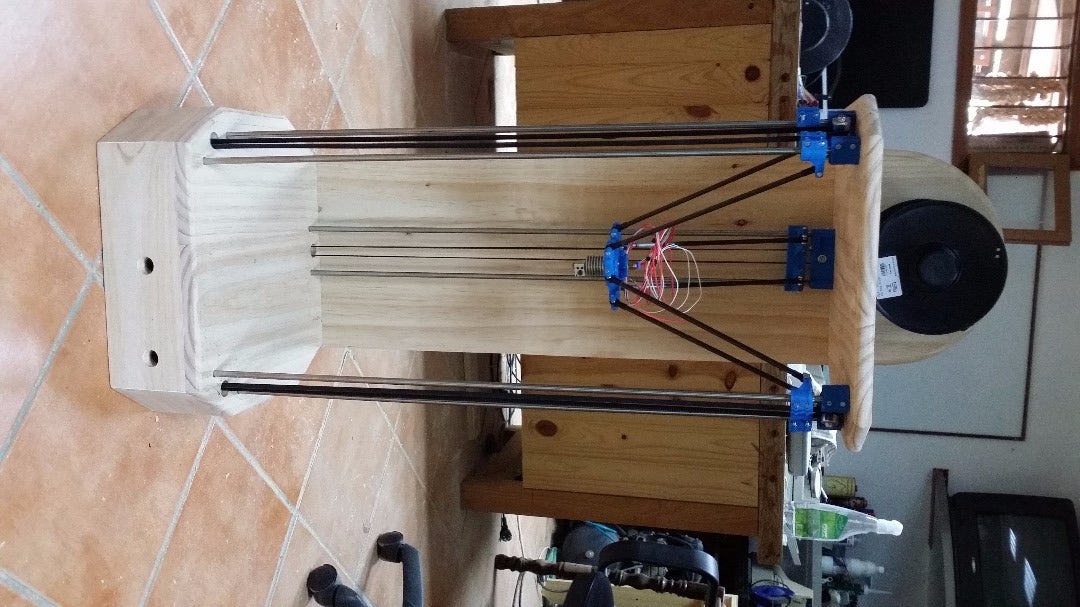
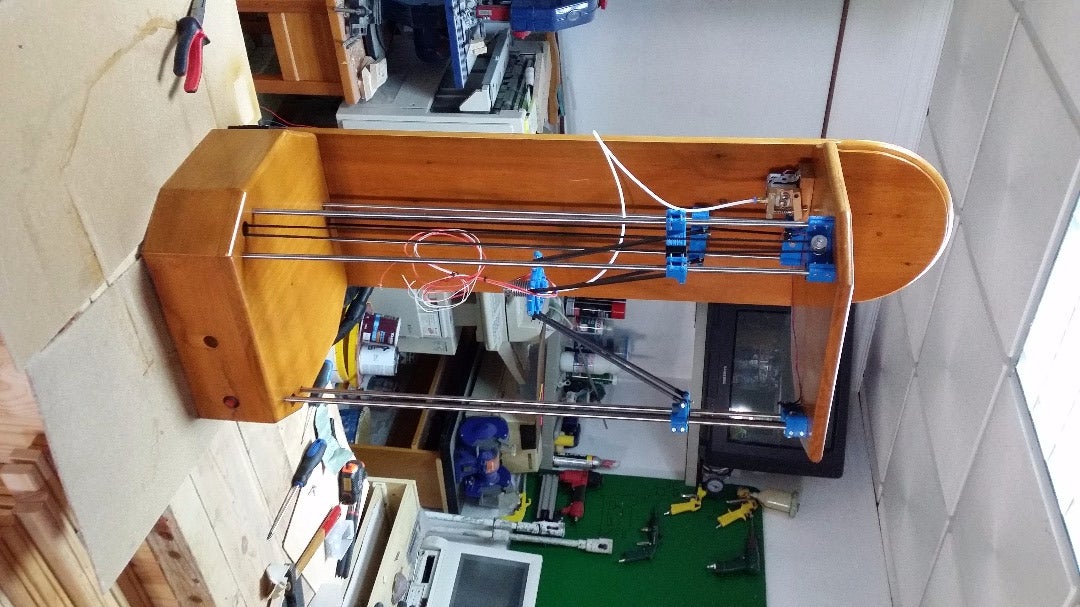
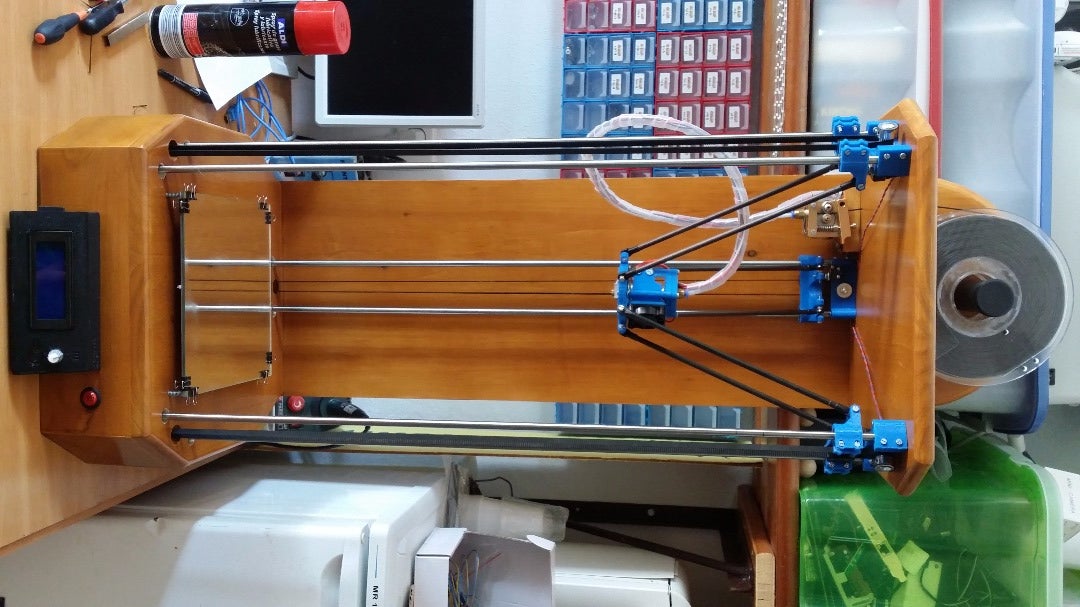
Step 11: Finished Prototype
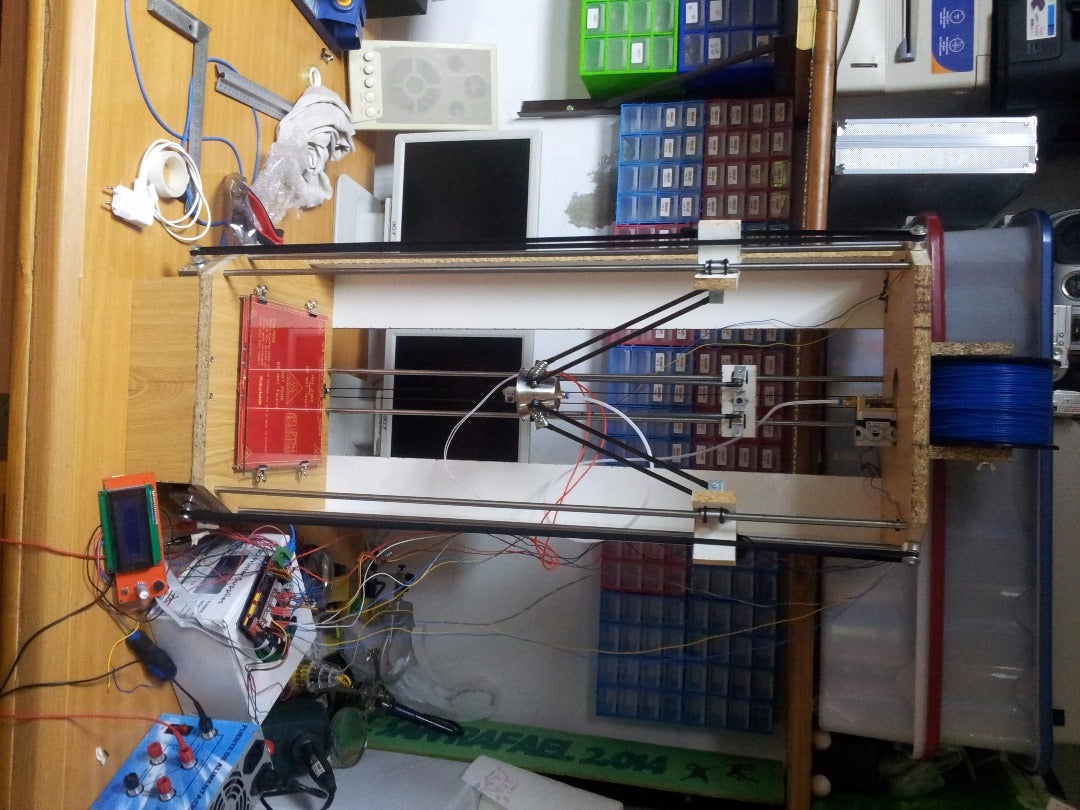


In the images we can see the finished prototype and some manufactured parts. As you can see the quality is not too good but enough to build the final printer.
I show you a video with the printer running:

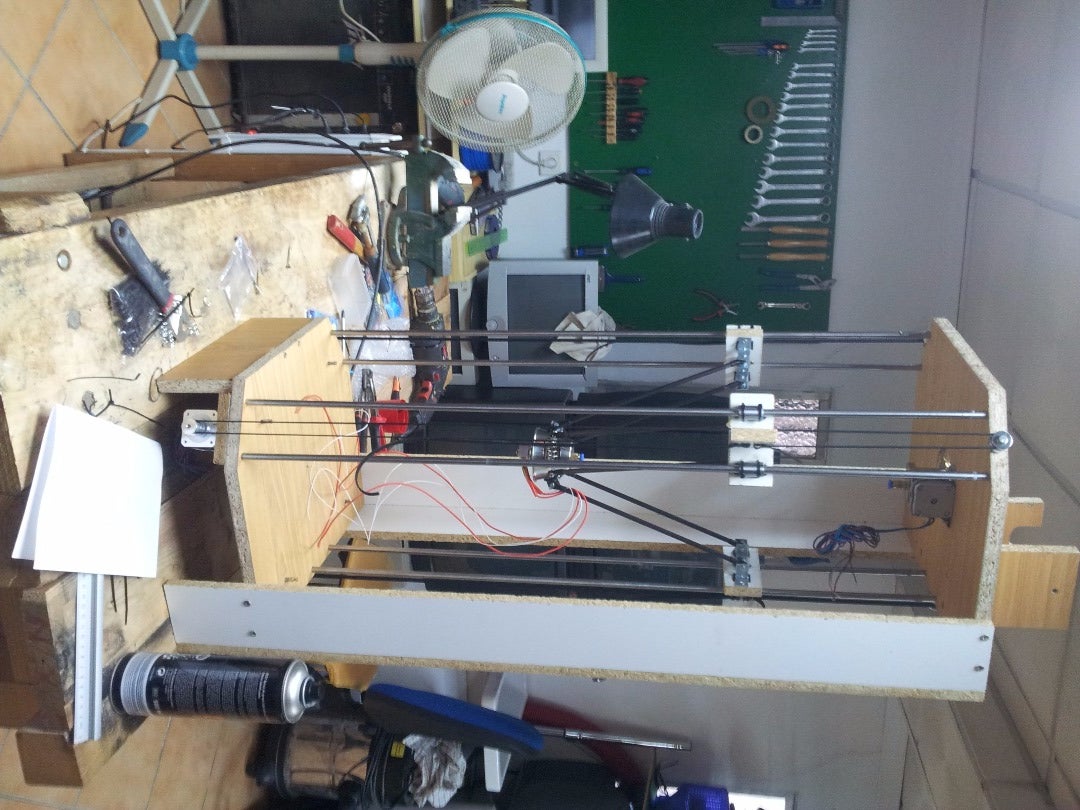
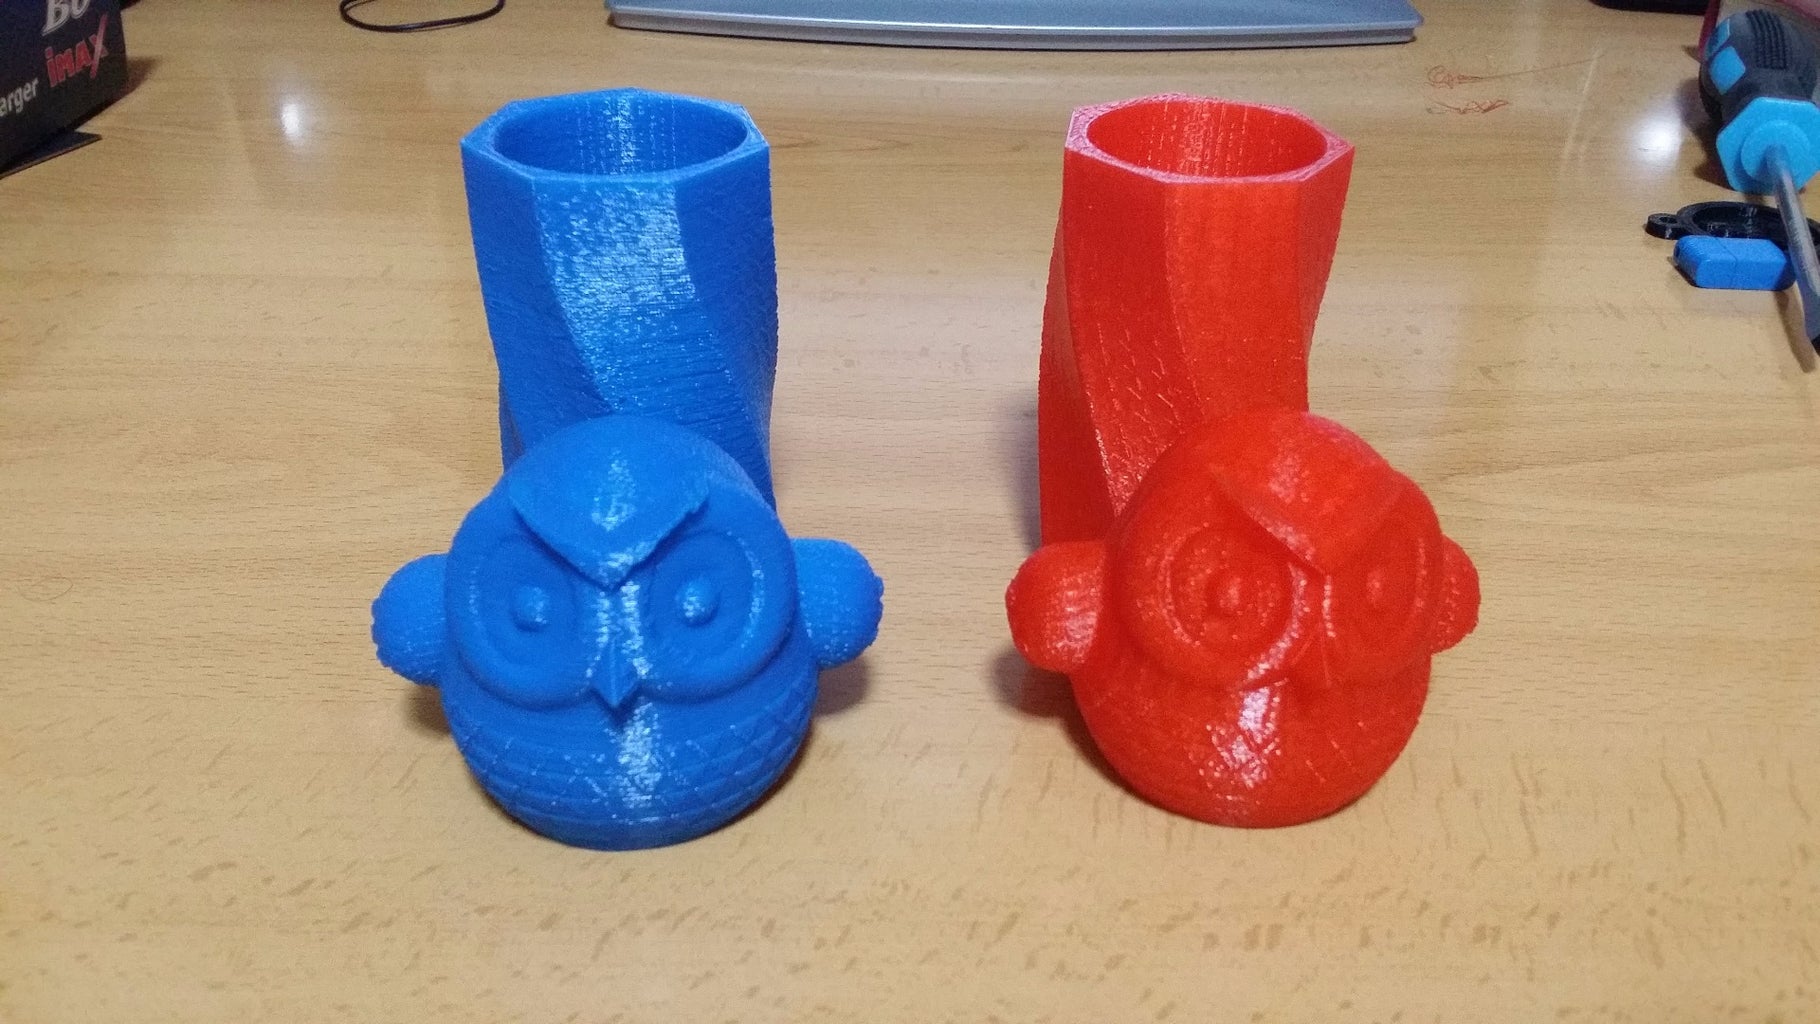
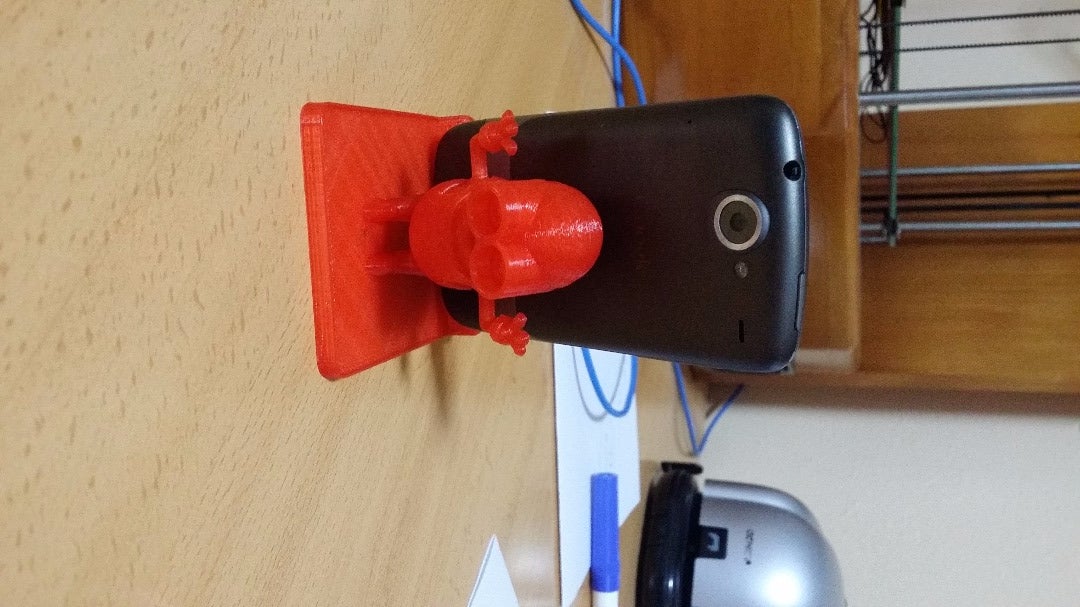
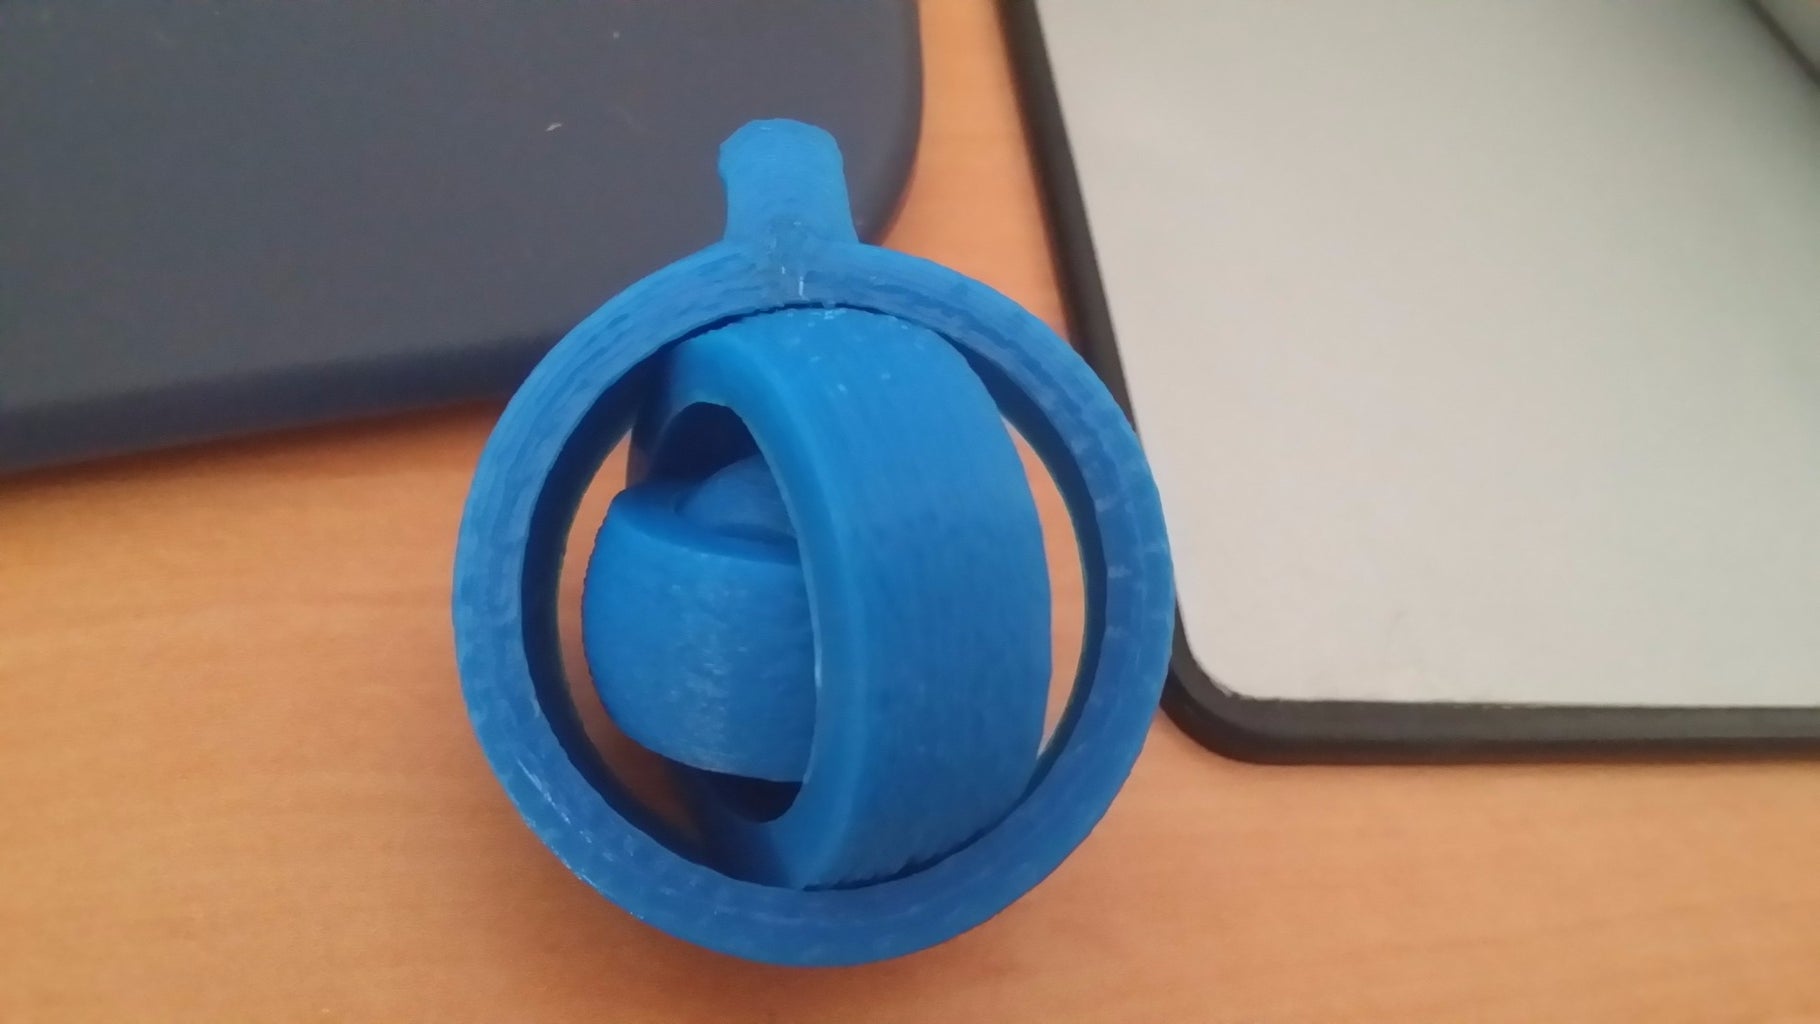
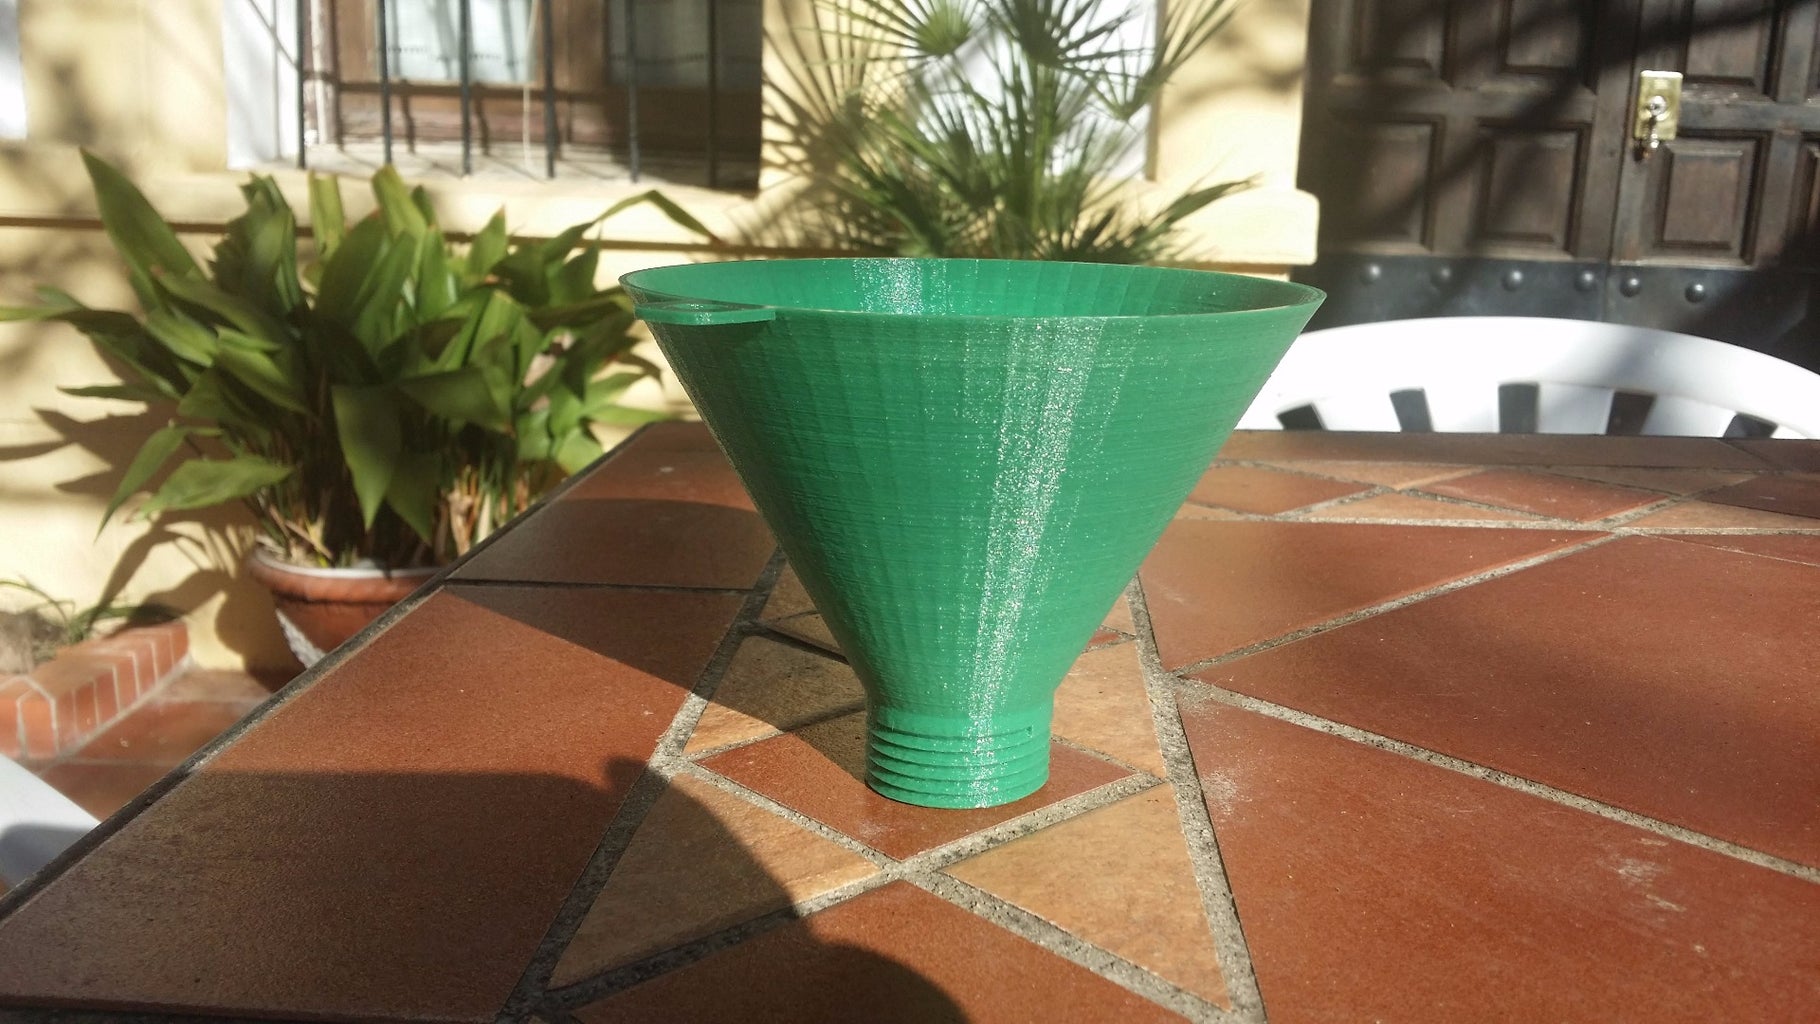
Step 12: Creating Parts With the Prototype

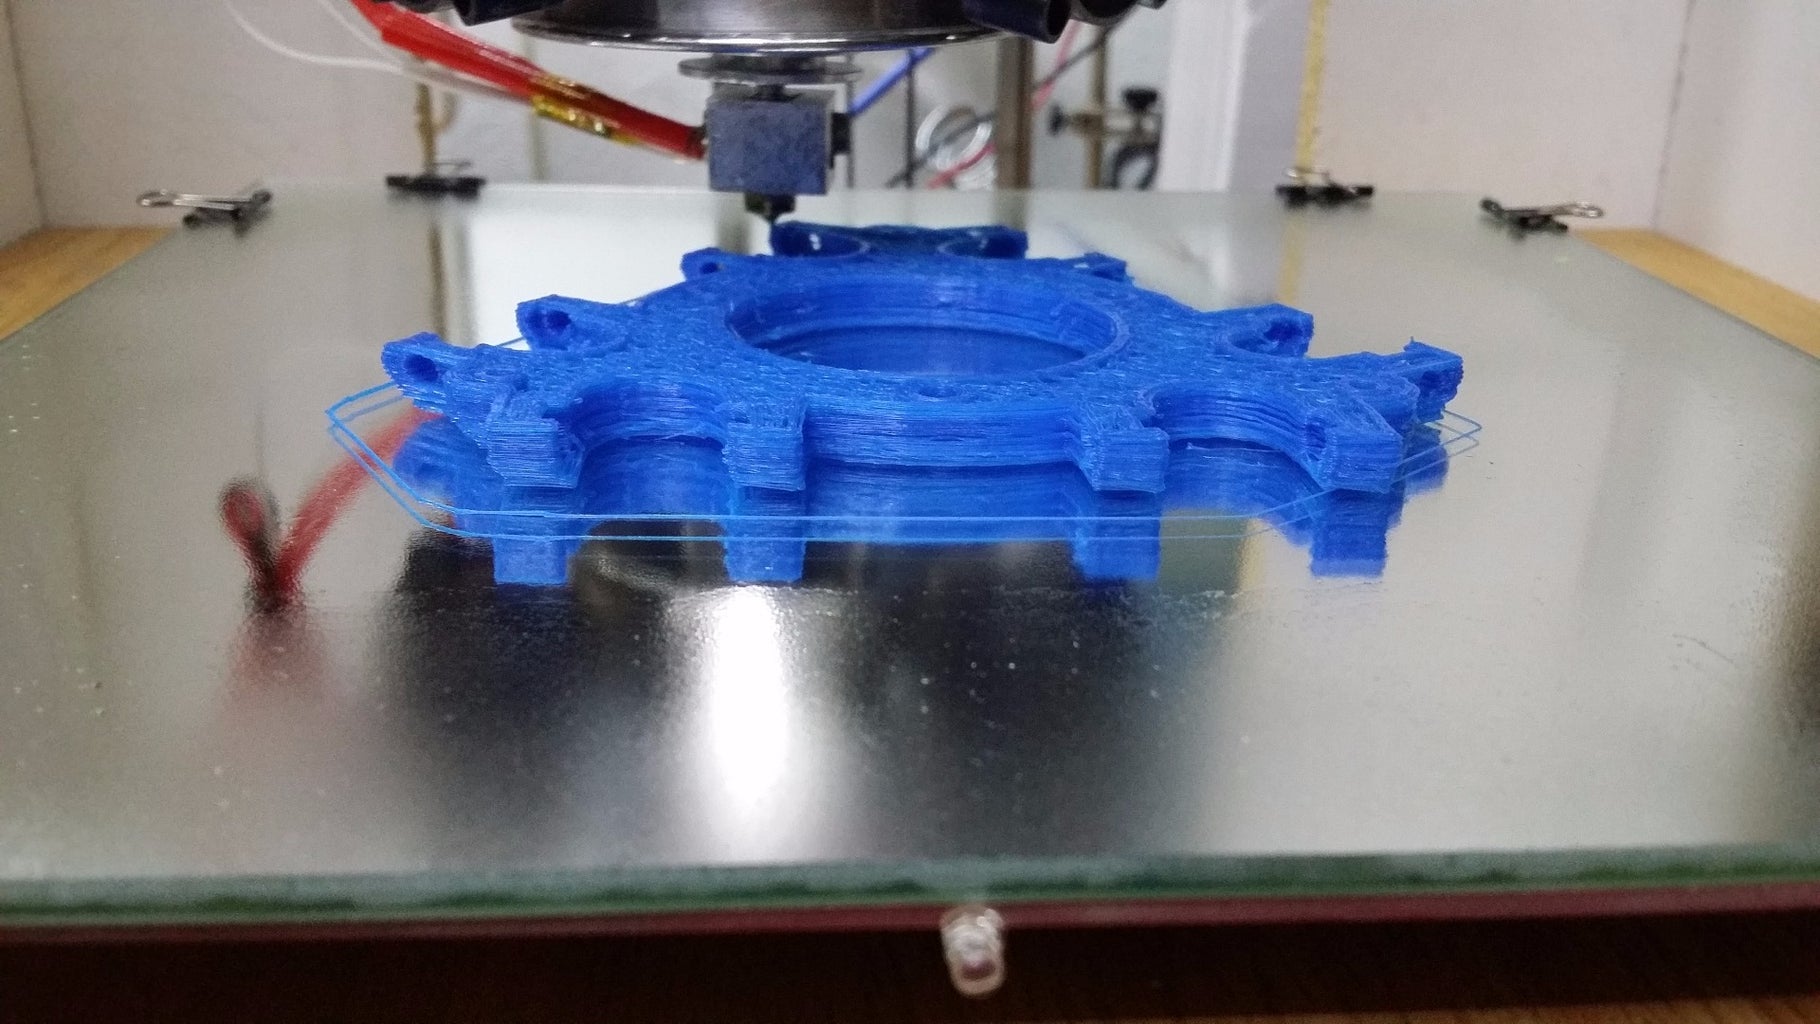
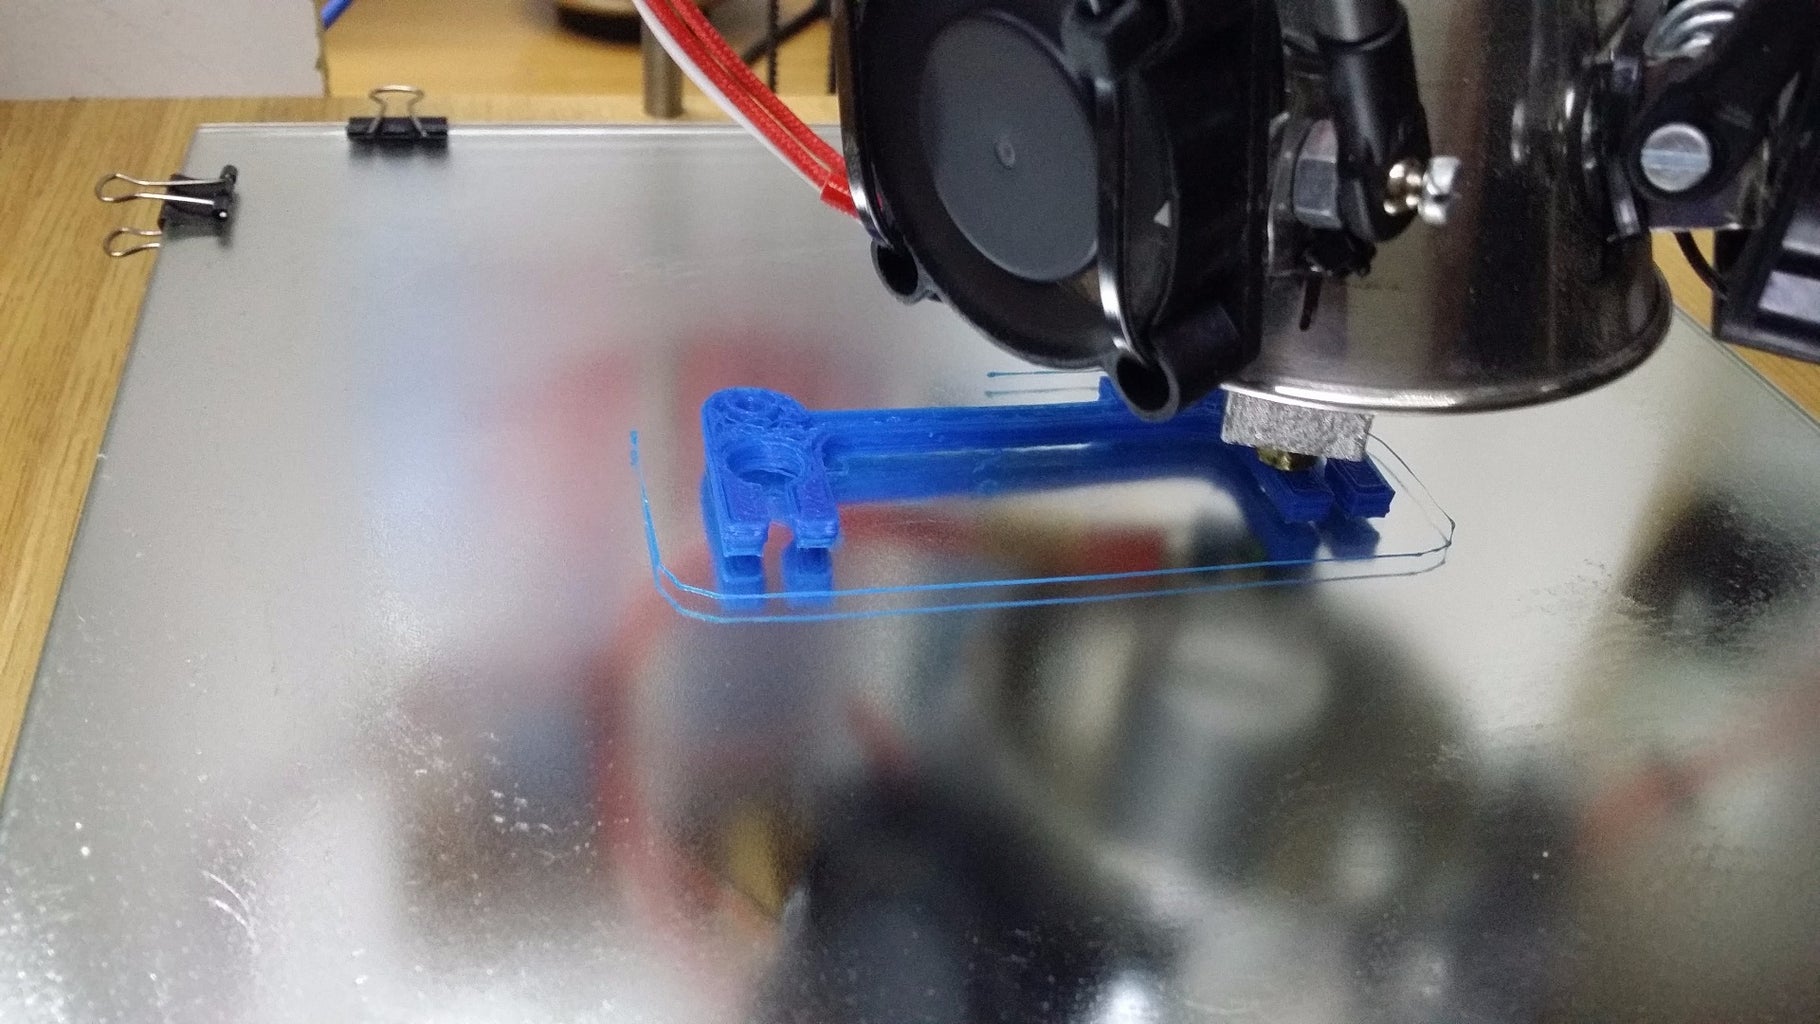
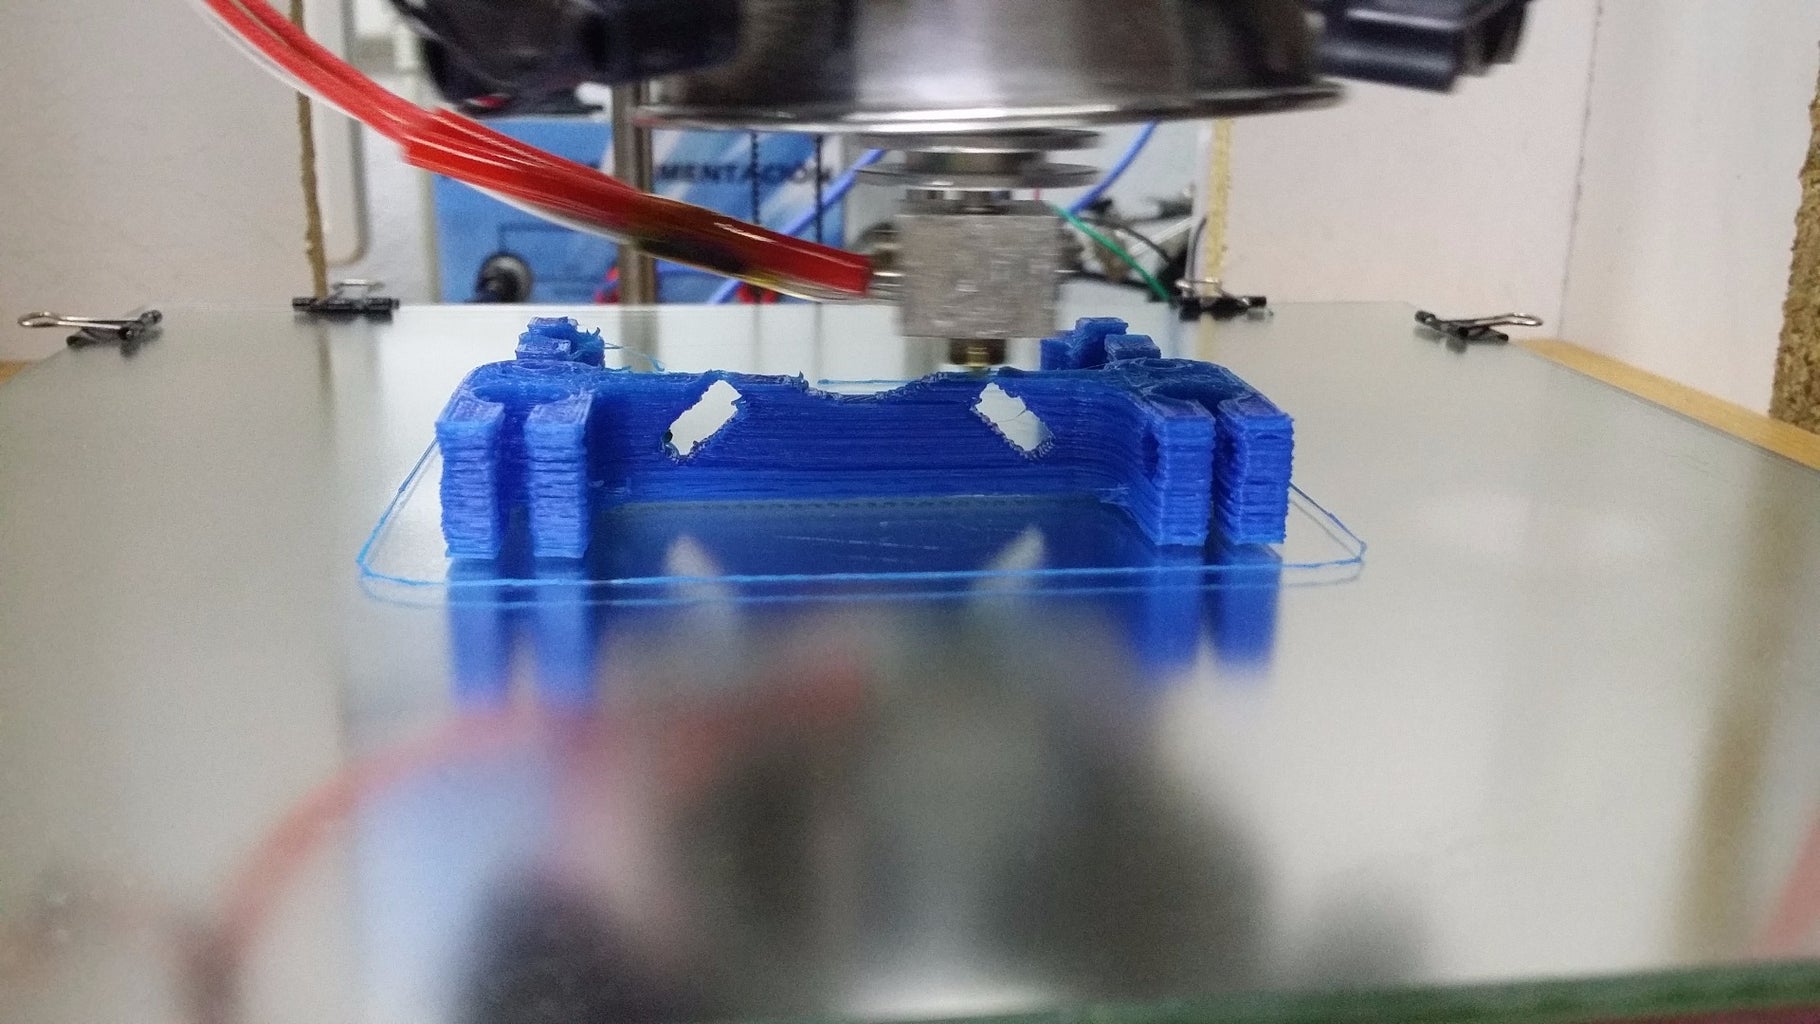
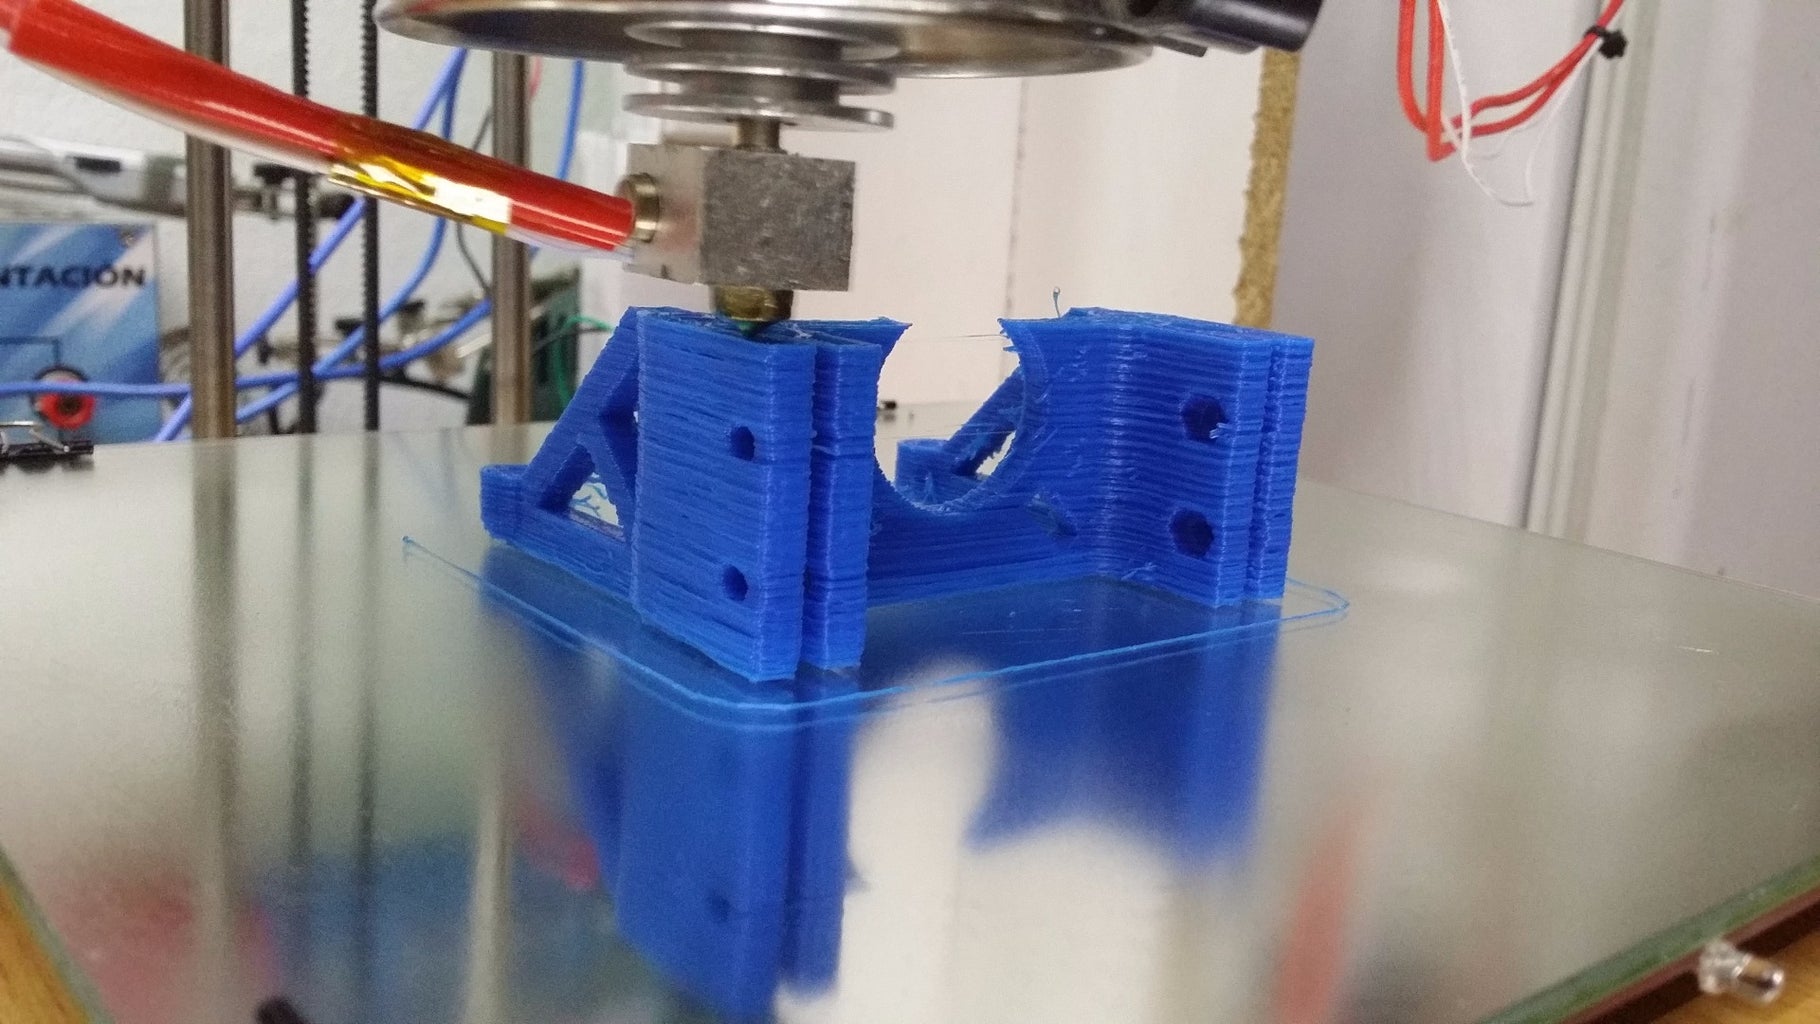
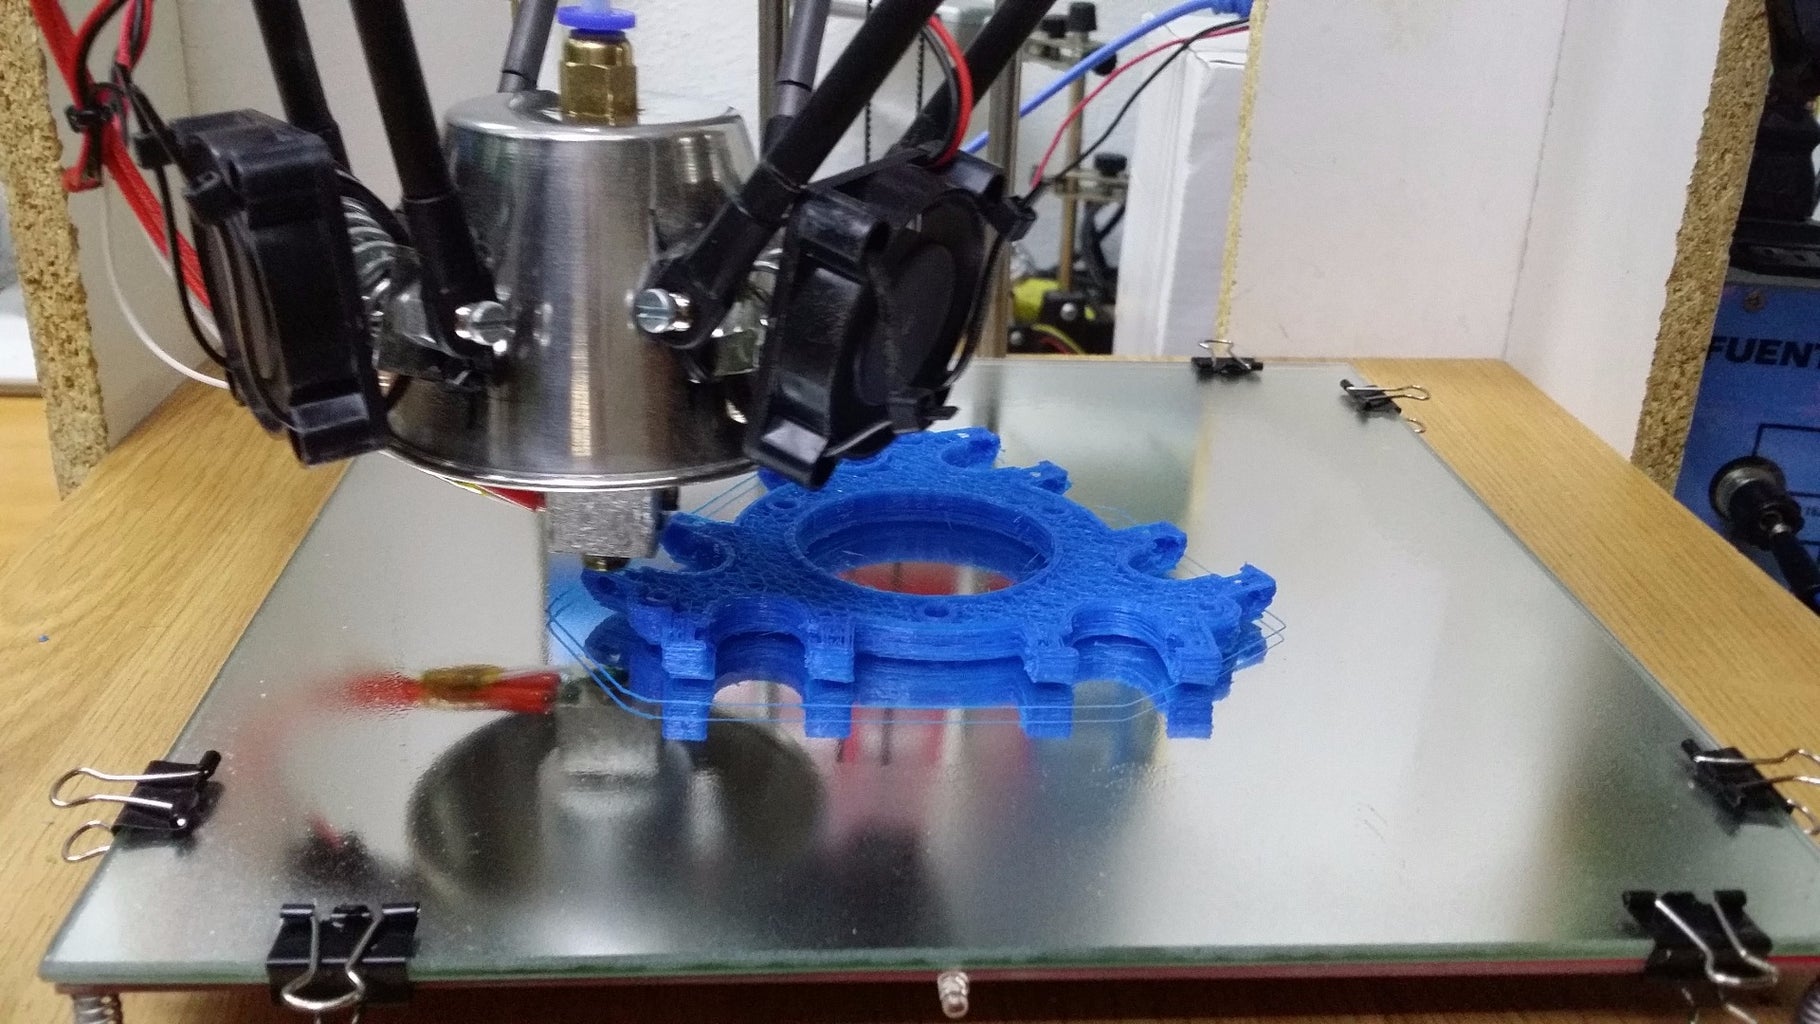
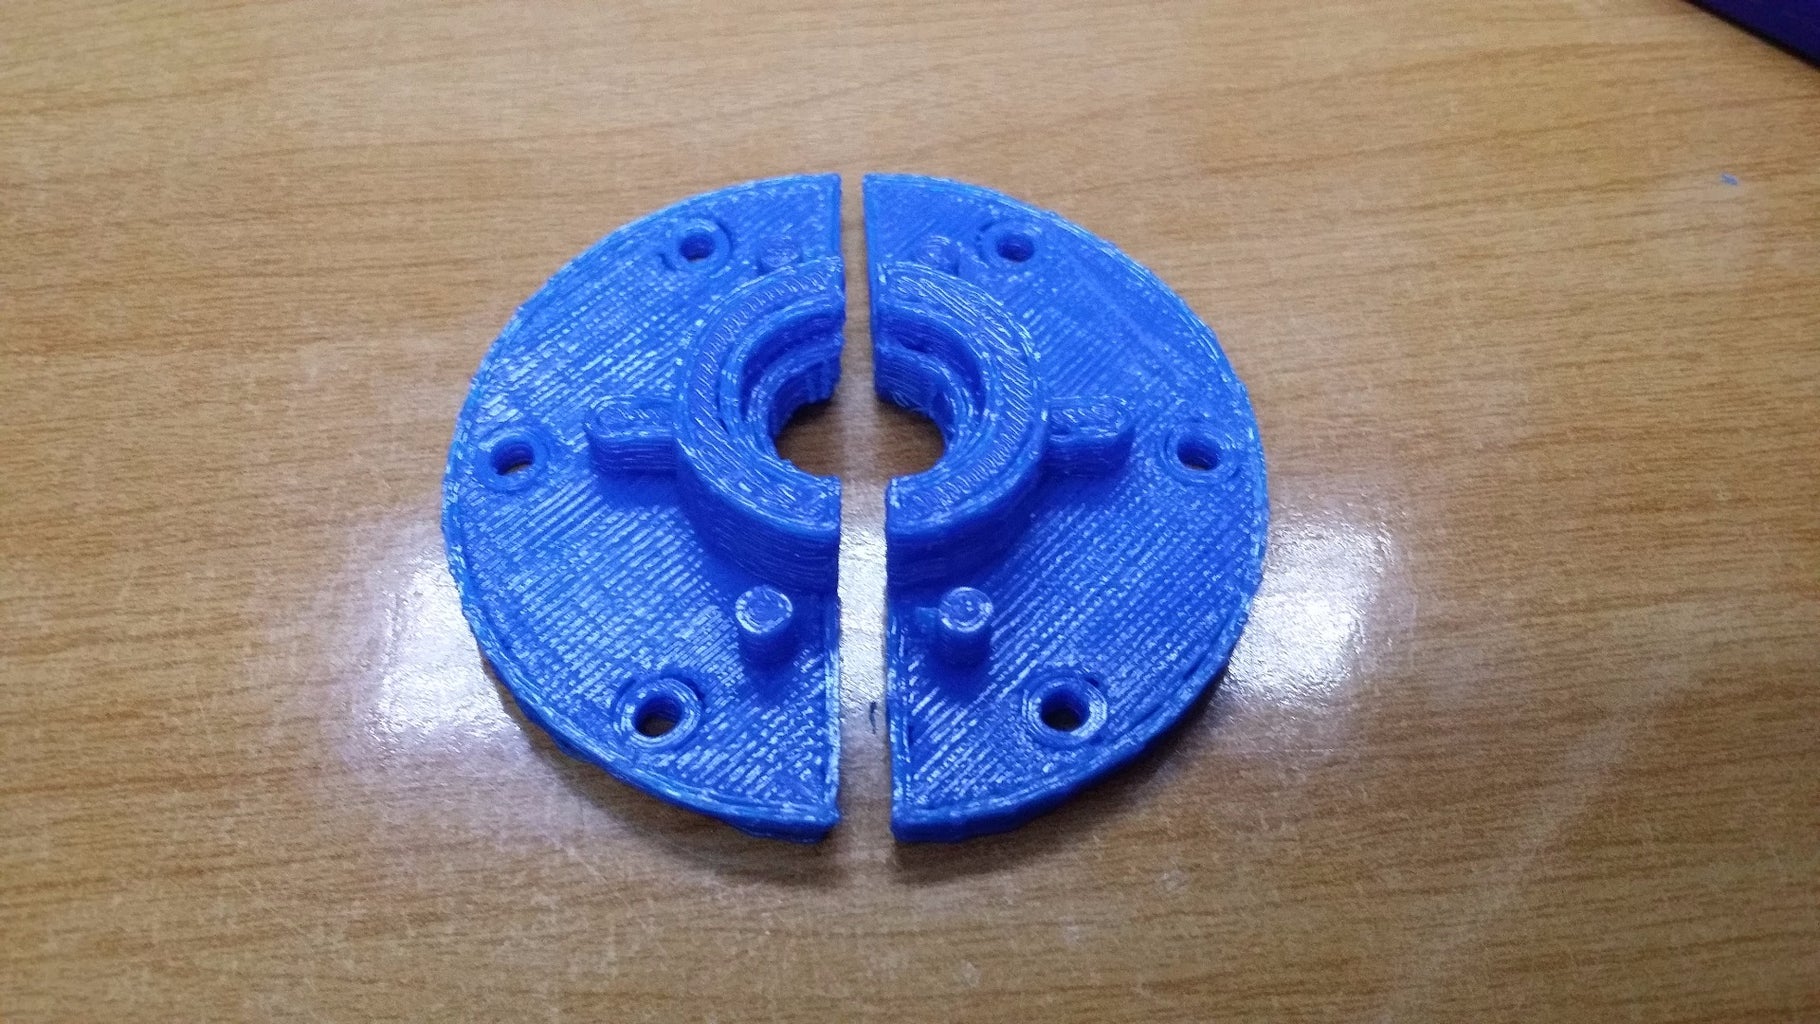
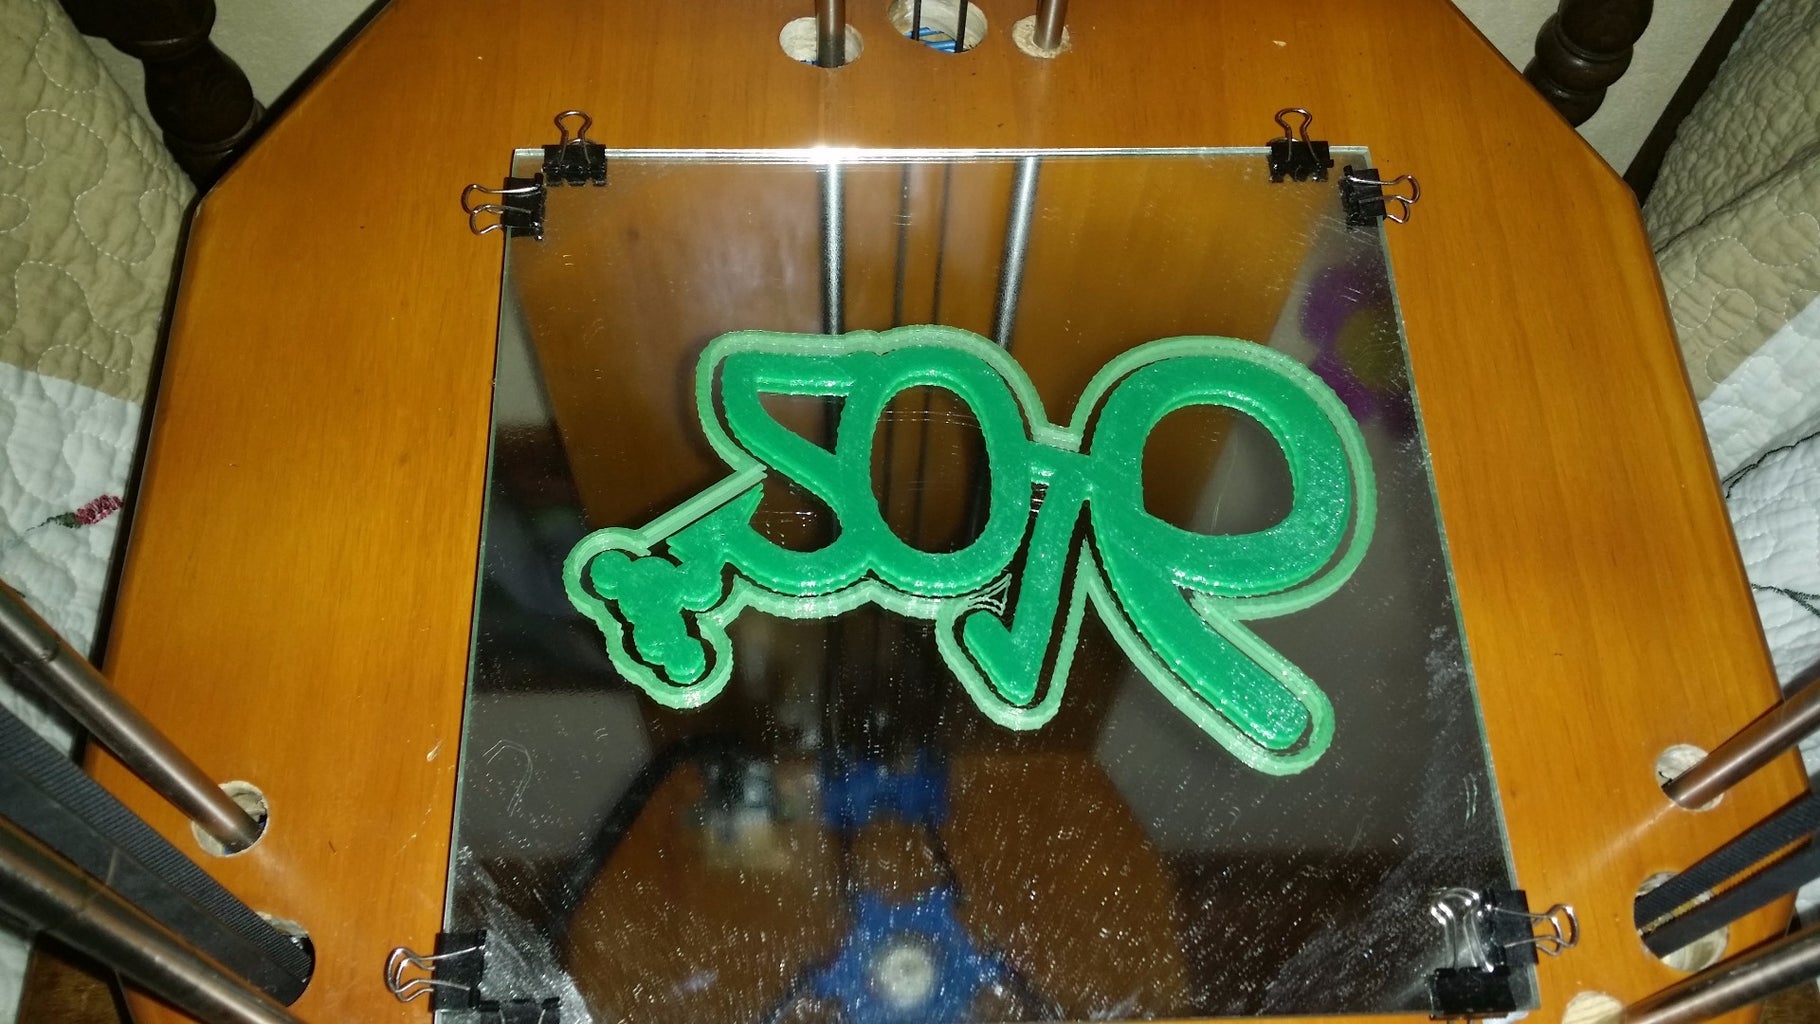
With the finished prototype we print all the parts needed for the final printer. In the images I show you these pieces.
You can download the pieces in the following file:
Attachments
Step 13: Creation and Painted the Structure of the Final Printer


We build a box for the base of the printer with pine wood. We do all holes including 2 large holes for fans, these be in charge of refrigerate all the electronics. For the backside we use a pine board. I have cut the top in a rounded shape and I have milled it. Finally we give several coats of varnish with spray, leaving as shown in the pictures.
Step 14: Placement of Engines
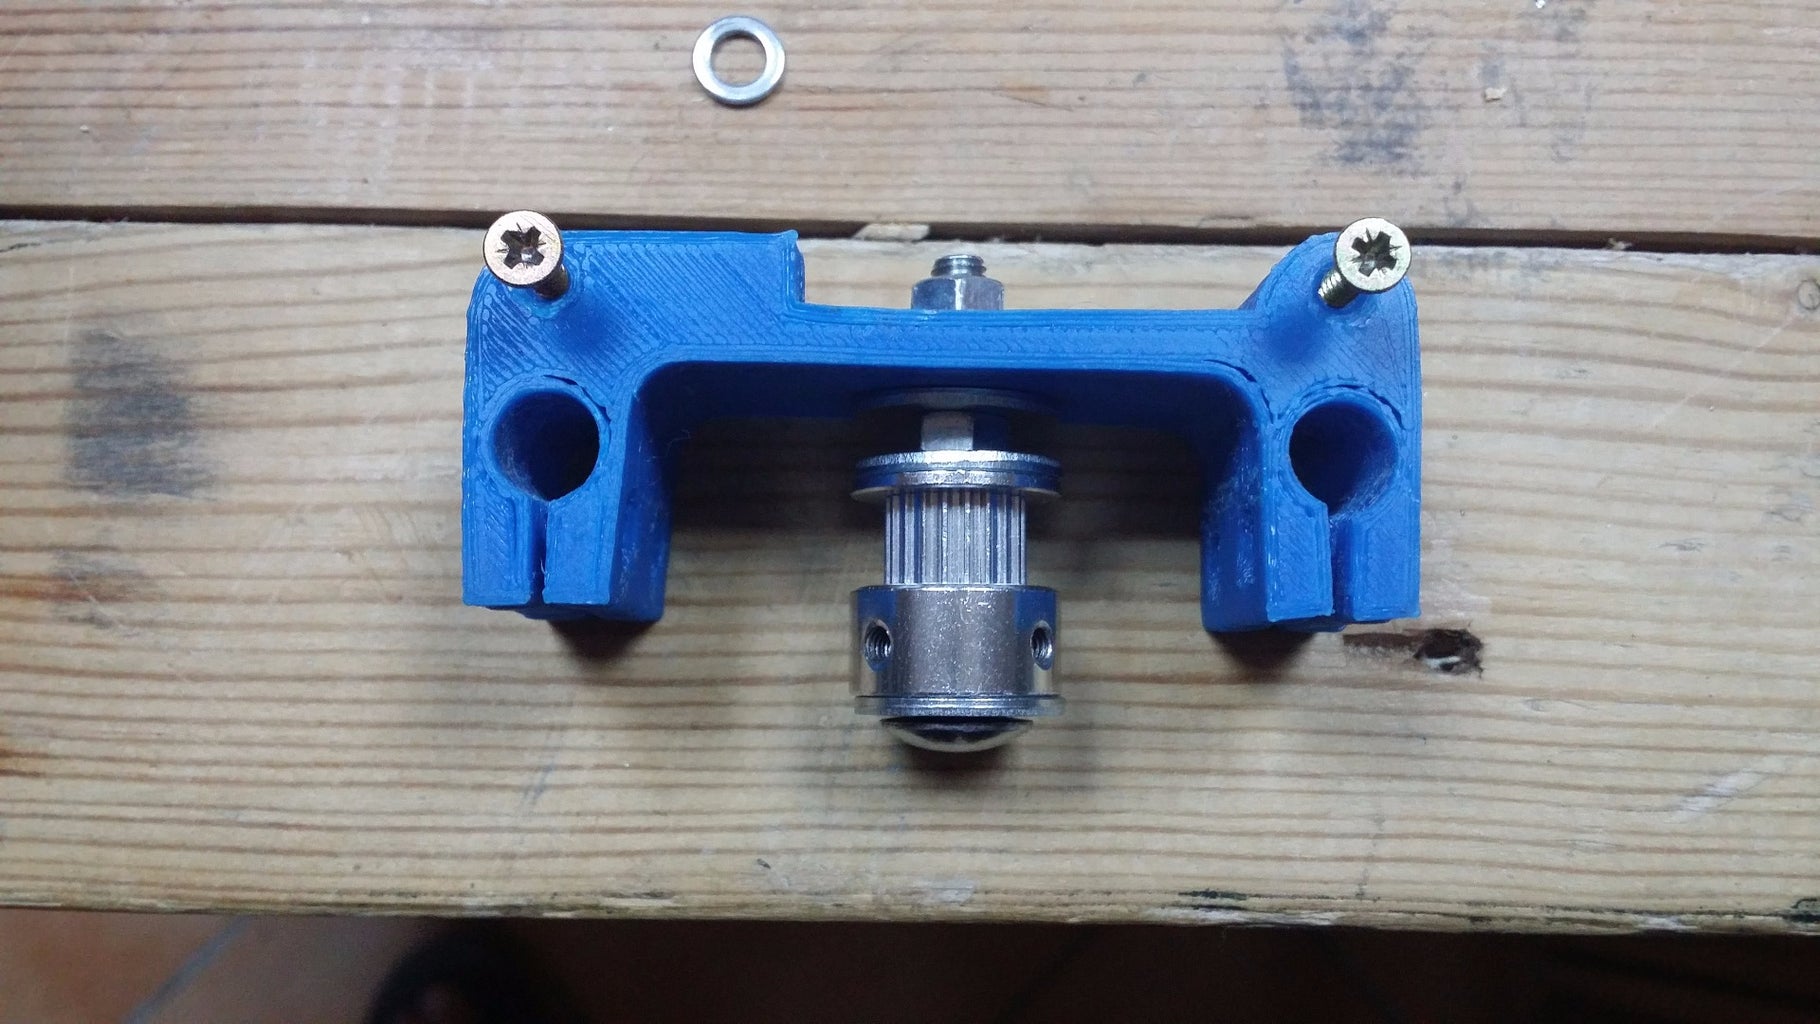
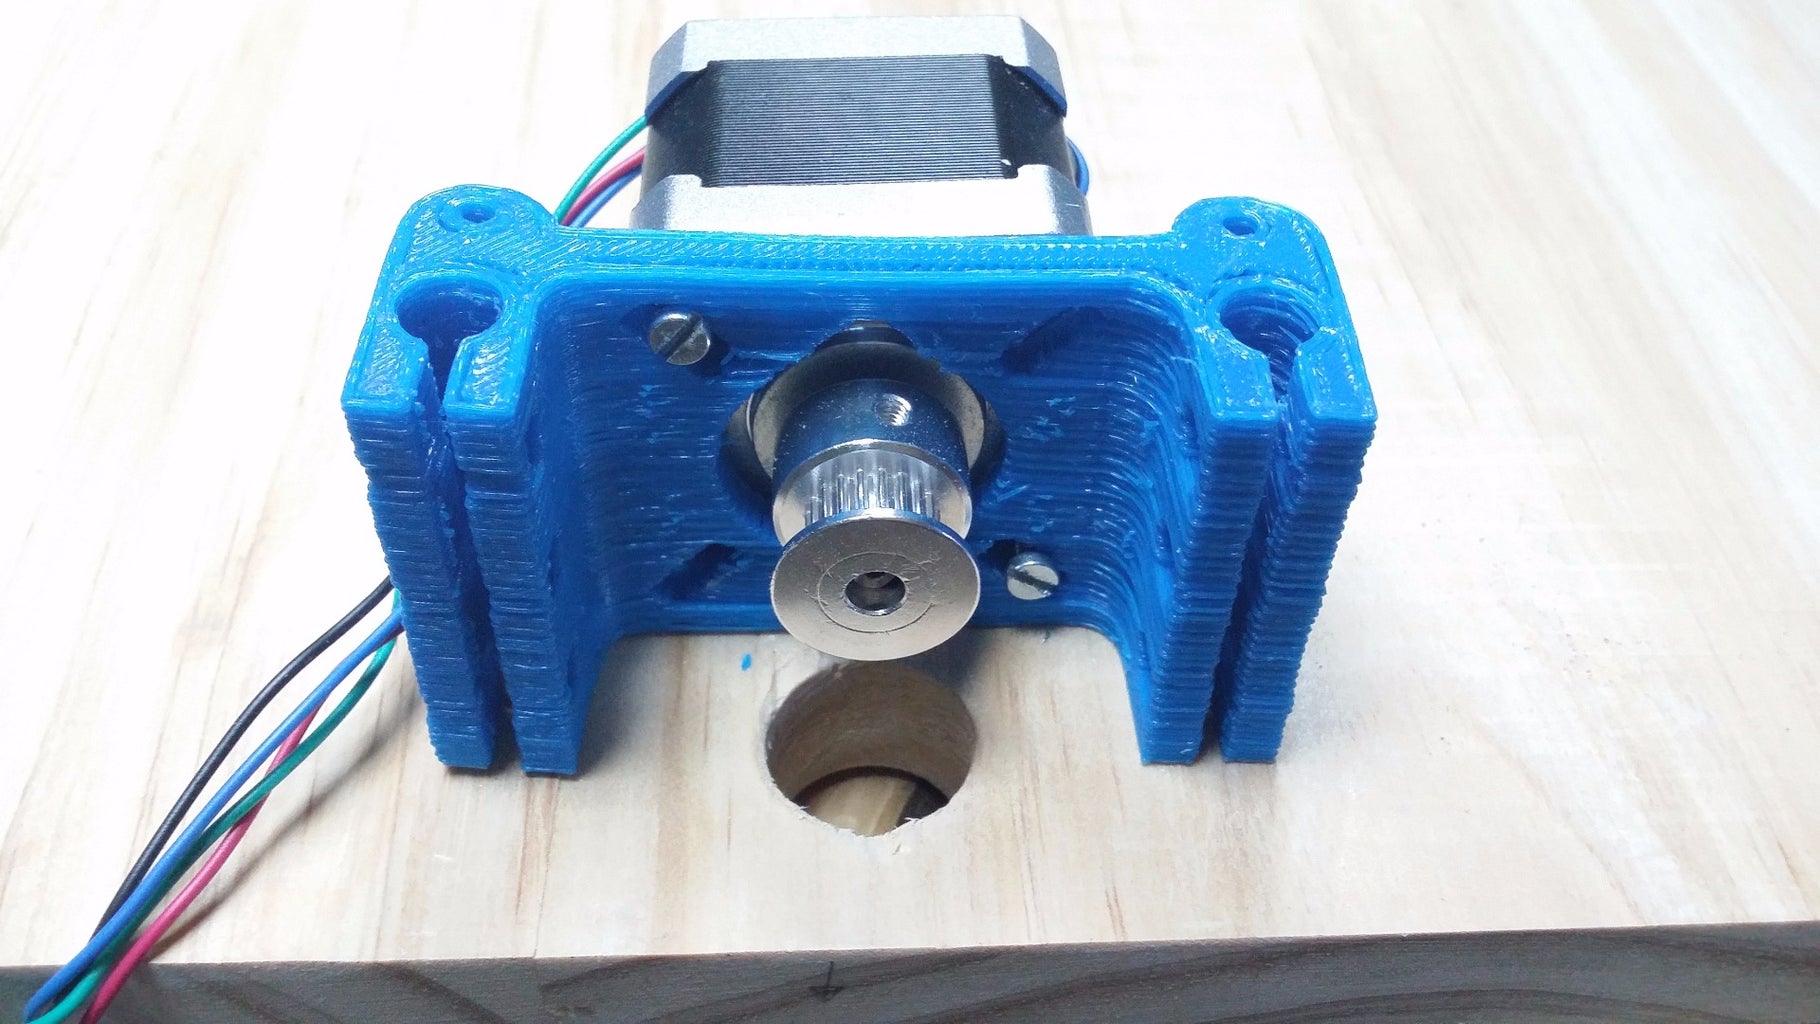
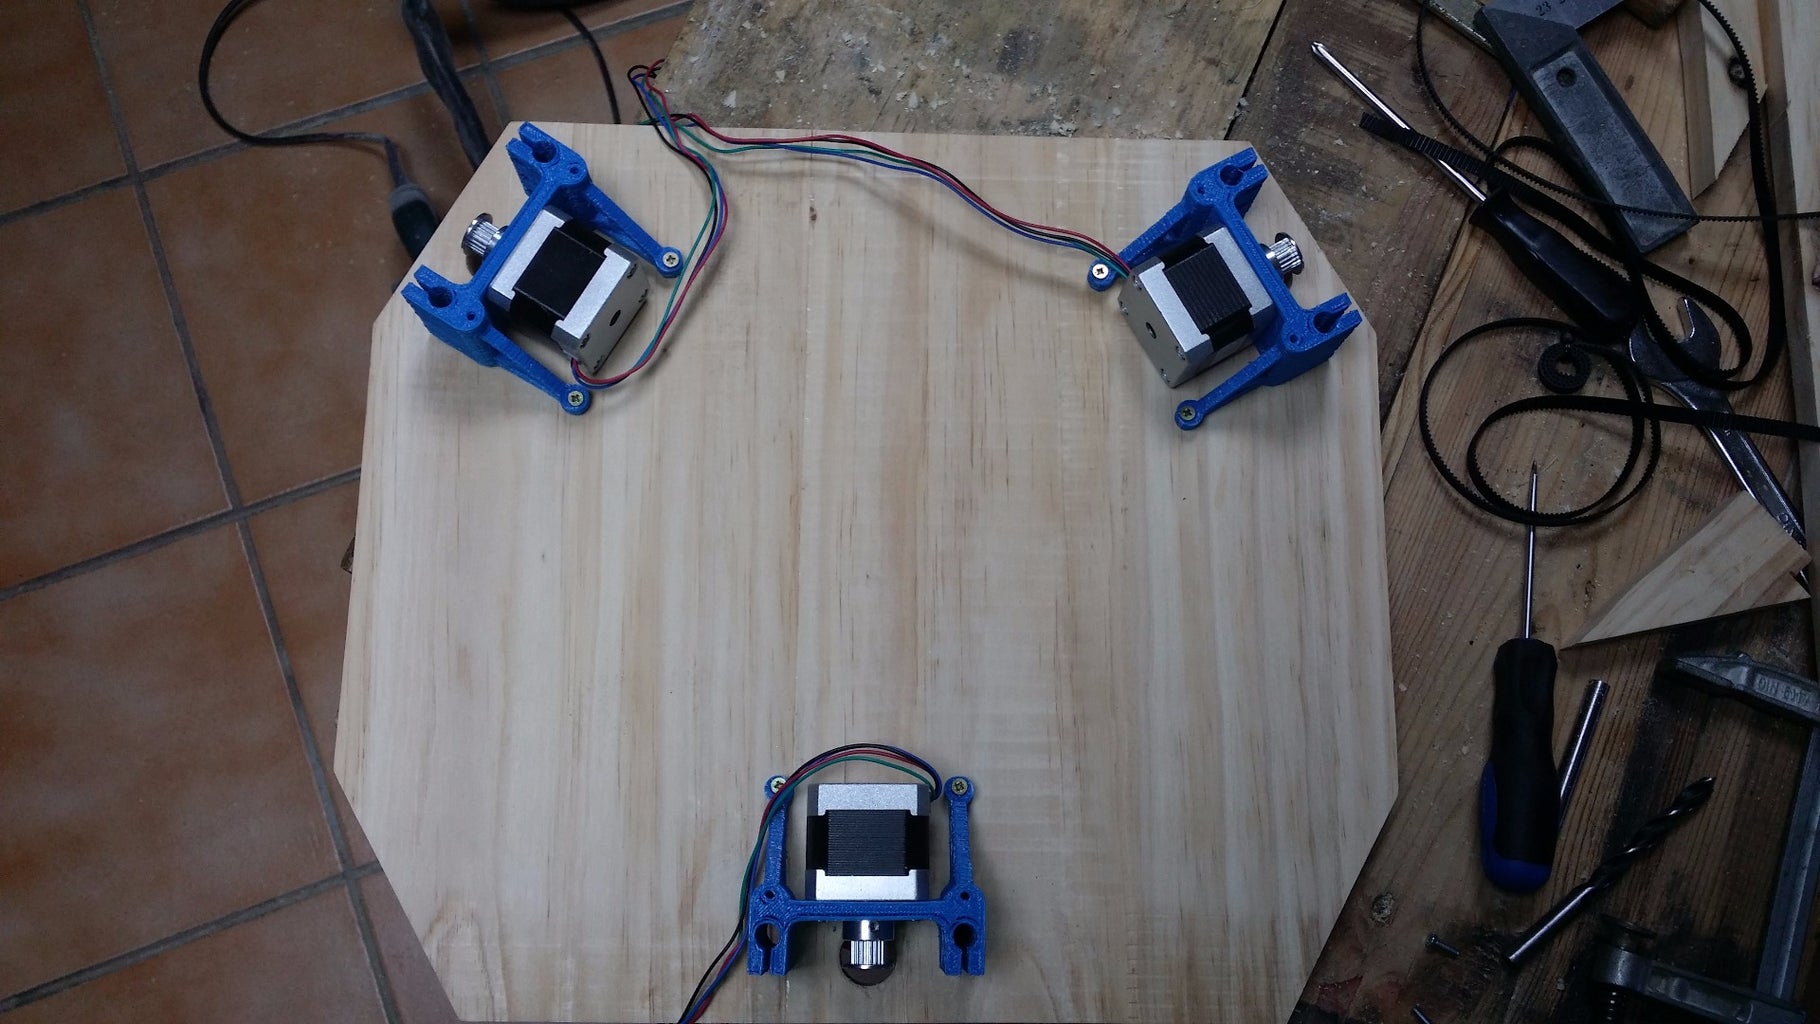

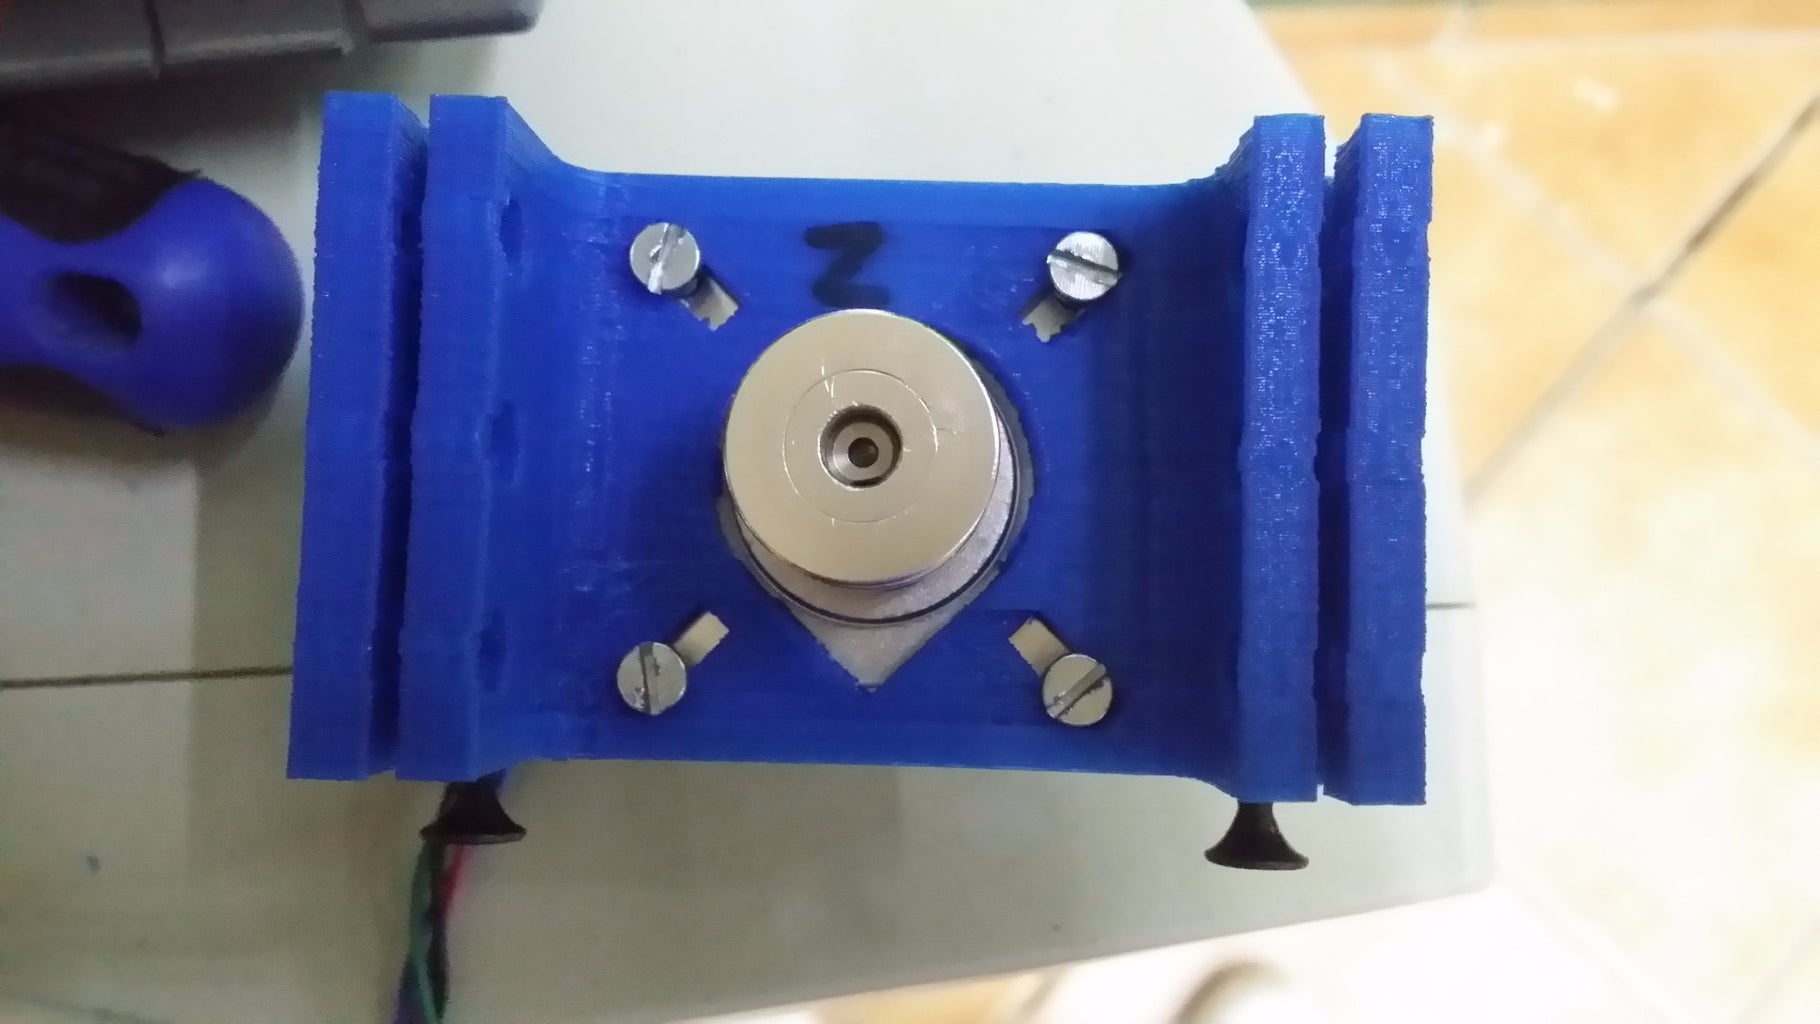
We put the motors as shown in the pictures. We also place pulleys and EndStop with their pieces.
Step 15: Placement of Arms

In this step, we just have to put the pieces together with screws and mount it on the structure of the printer.
The following file contains some improved parts.
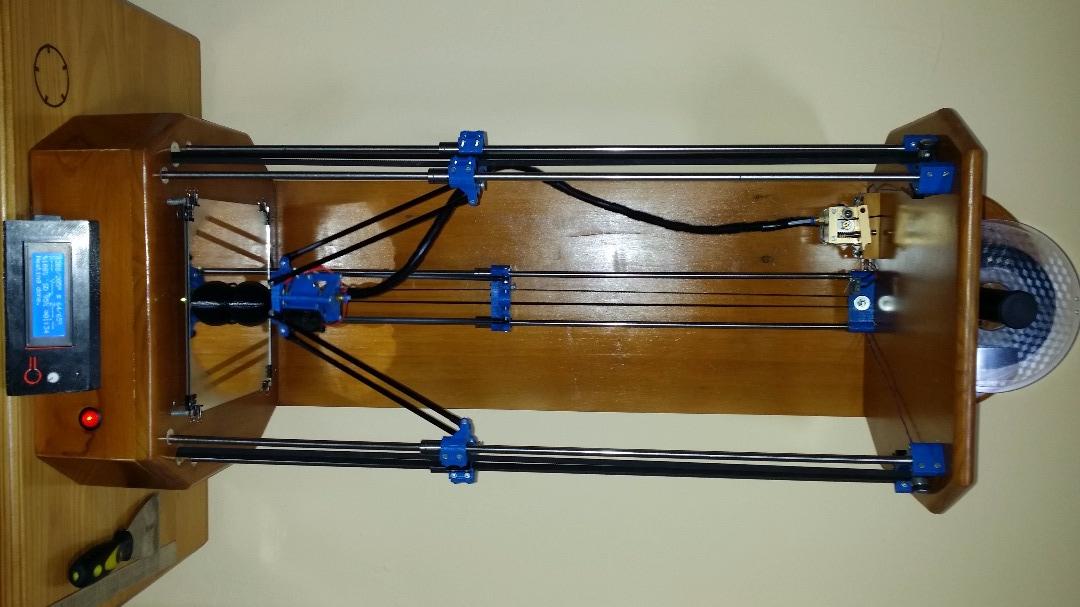
Step 16: Finalization of the Printer


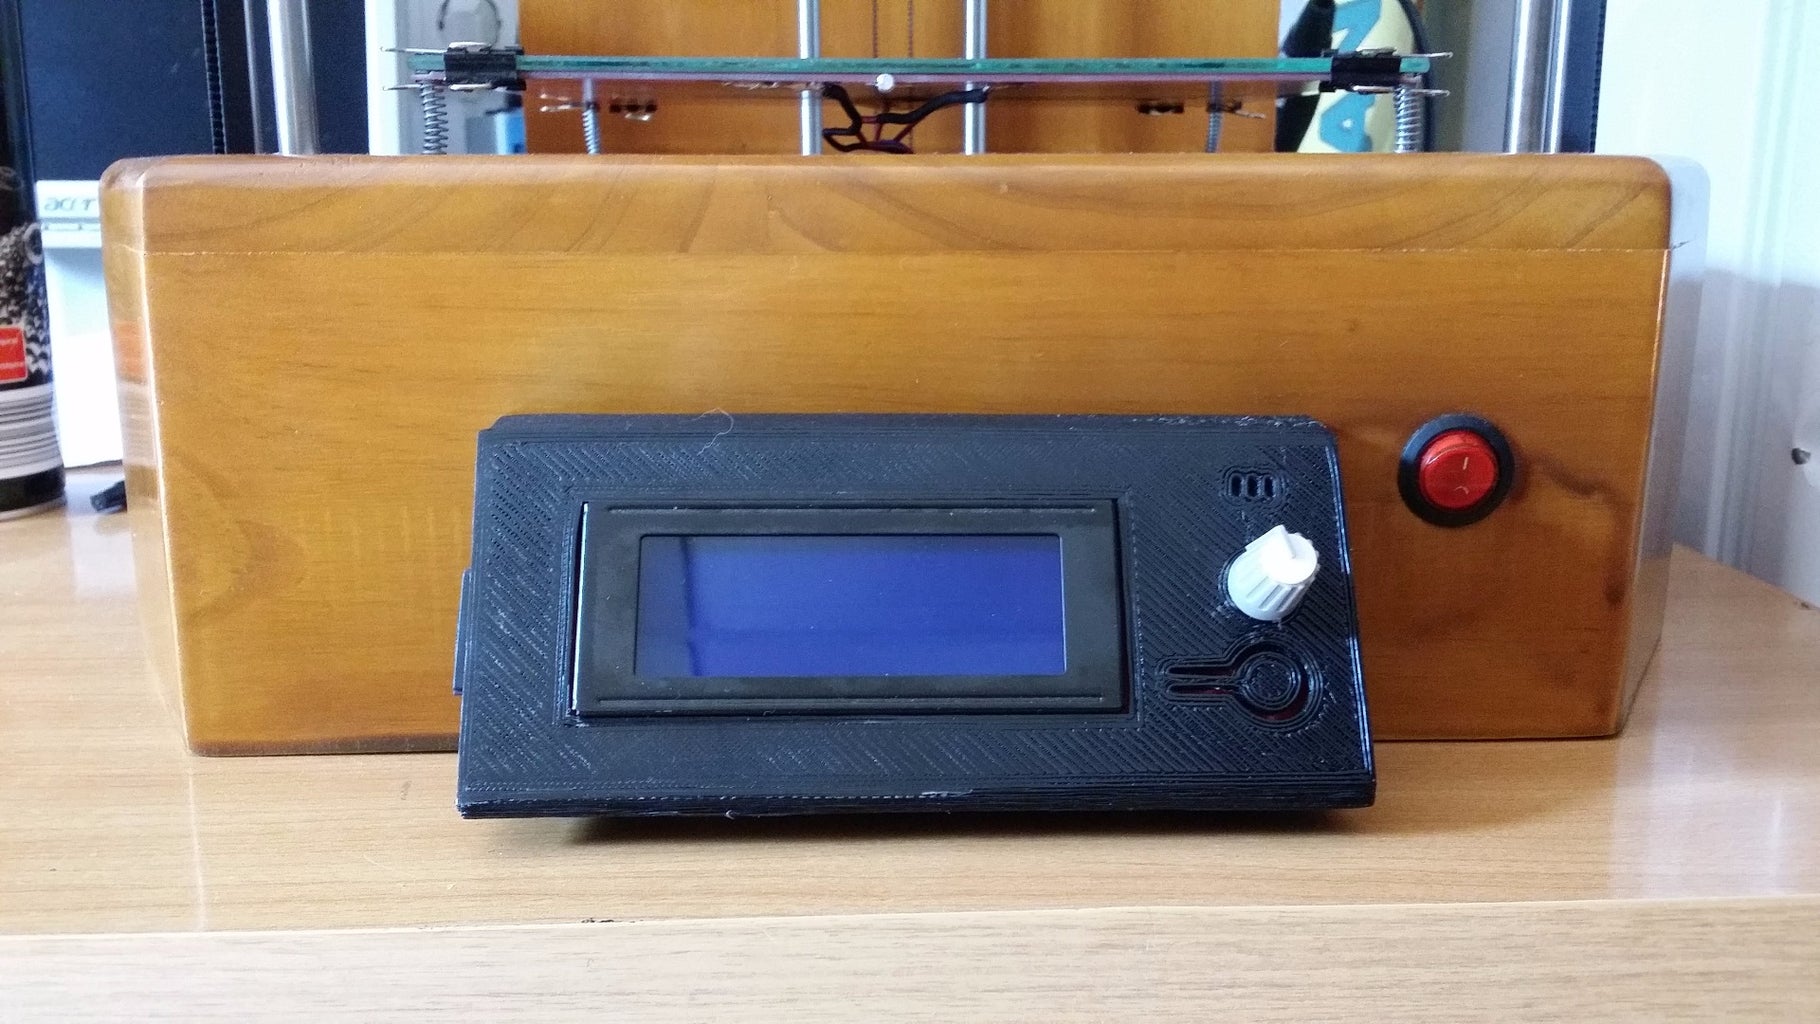


The only thing left to do is to connect all the electronic (including the screen with the support that was printed before) and to tense the straps slightly. In the images we can see the printer already finished.
Here's a video printing:
Step 17: Prints Made


As you can see from the pictures, the prints are already quality but to achieve it I have been almost a month calibrating everything and printing several times the printer pieces.

First Prize in the
Arduino All The Things! Contest


