

Introduction: DIY! Above Stove Shelf


POST-EDIT: For those concerned about fire safety, this shelf DOES NOT break ICC M1505.1, "A clearance of at least 24 inches (610 mm) shall be maintained between the cooking surface and the combustible material or cabinet." As it is BEHIND the cooktop, NOT ABOVE IT. Should you choose to proceed with this instructables, please bear in mind that your own shelf must also meet these guidelines. Spice rackson the backof the stoveare VERY common.
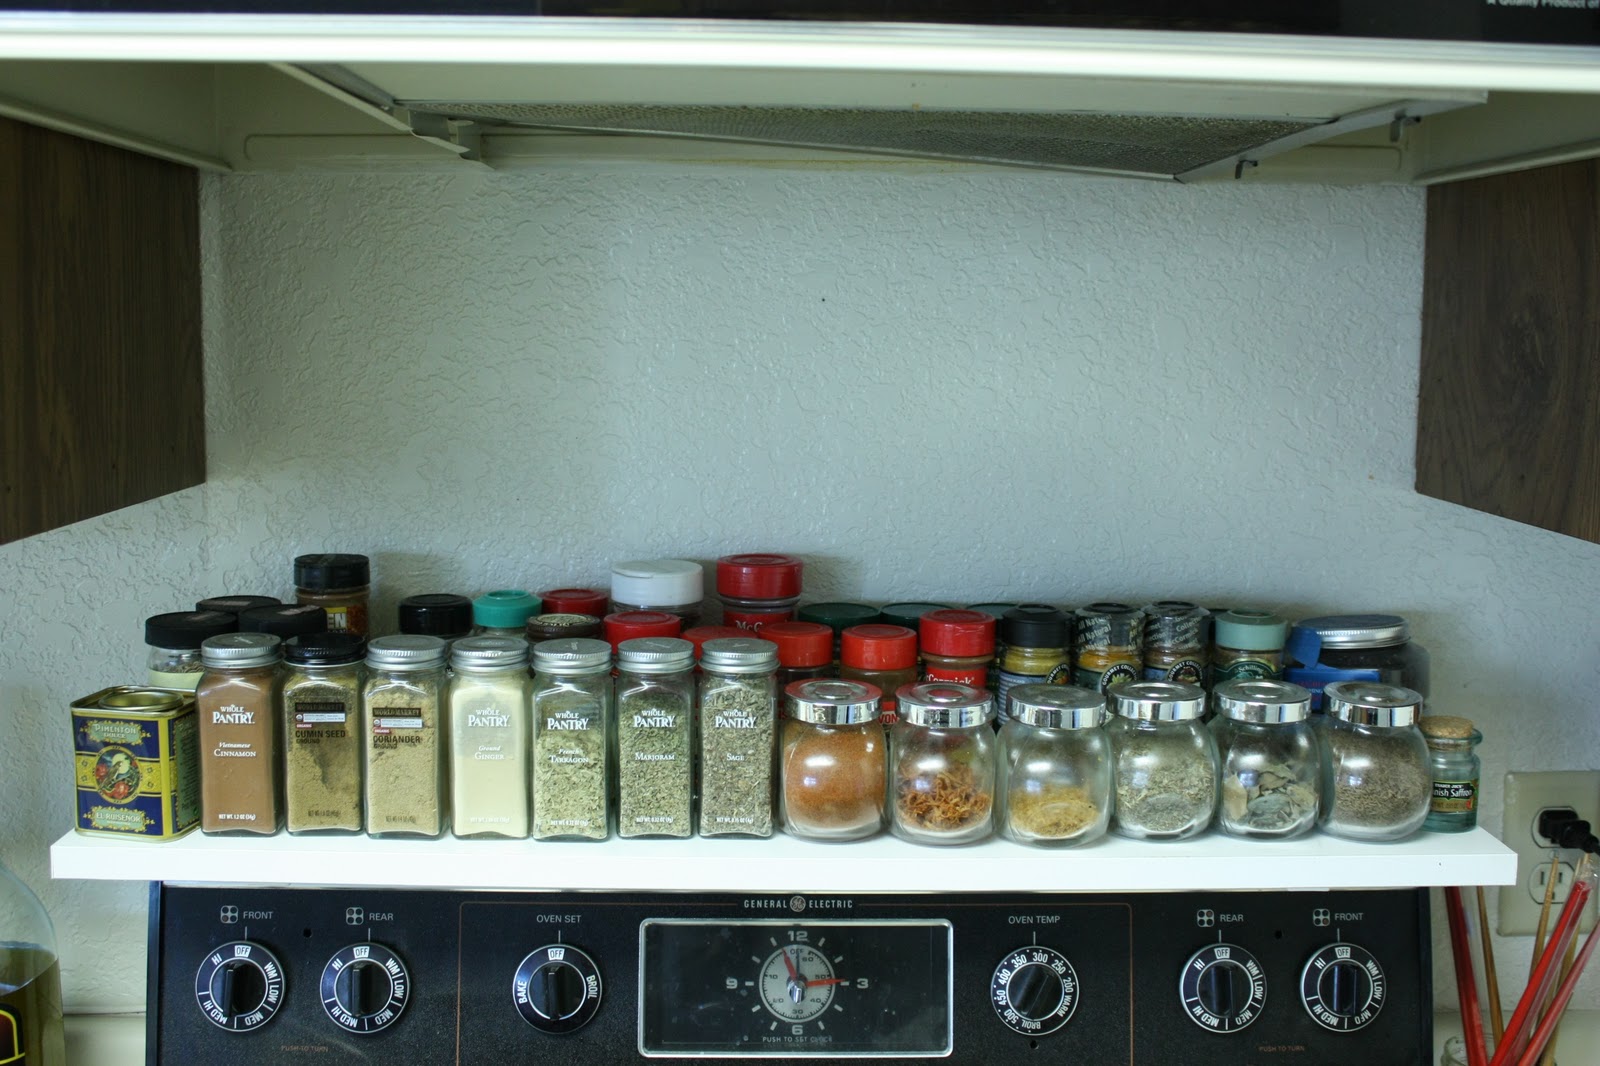
The space BEHIND the stove in my partner's small kitchen was just begging to be utilized. We discussed it at length and found another Instructable detailing someone's behind the stove spice rack. I suggested we do something similar and he was game! So one trip to the Home Depot and a couple hours later, there was a shelf. I built this... my shelf.
Okay! Enough puns! You want a sweet shelf of your own?? Let's do it!
Step 1: Gather Materials


First thing's first: Measure the area behind your stove to determine how big you can go. The top of the back of the stove here was just a bit less than 30 inches. Give yourself a little wiggle room on the width. There was enough room to go up around 30 inches on the wall as well, and I wanted a little overhang to wrap around the sides of the stove for stability. From the front of the top of the stove to the wall was about 7 inches. So I got five 30 inch long 1"x 8" boards.
Next you need to gather materials to build your shelf. I spent around $20 on materials for this shelf because I found a sweet sale on some lumber that was just the right size! If you go to the Home Depot, look around the lumber section, you might also find a sweet deal and save $10. Anyway, here's what you need:
- 5 sections of lumber, measured to fit your stove/wall situation. They will cut lumber for you for free at the Home Depot (but be careful because it isn't always super precise).
- Screws that will go at least 1/2" beyond the depth of your wood. I got #6 1-1/2 size wood screws.
- Screws for the wall (I got #6 1-1/8 wood screws)
- Some means of mounting the shelf onto the wall itself, so it is not just perched on top of the stove. I got 4 metal "repair brackets", which I screwed onto the back of the shelf and onto the wall (as pictured in later step).
If you would like the full experience... ride the bus. I did it. You'd be surprised how much weird heavy stuff they let you take on the bus.
Step 2: Measure, Measure, Assemble


Okay so I'm gonna be real with you for a minute... I was kind of winging it here. I don't have as many power tools as I want, so I was making do with what I had. I measured and marked everything as I went along here, leaving a 3" lip below the bottom shelf to surround the top of the stove. The middle shelf was admittedly crooked at first, but I fixed it by removing the screws and reattaching it just a hair lower.
This is not rocket science. You got this. If I, with very limited carpentry skills, can do this, you can certainly do this.
Step 3: Position Shelf Above Stove


As mentioned in the materials step, here is how I attached the shelf to the wall. It is pretty snug over the stove but I wanted it to be extra safe, because earth quakes. The little metal plate shown in the photo had two holes in it. I screwed it onto the back of the shelf and then put a screw going the opposite direction into the wall. I did this at four points on the shelf (two are not visible because they are behind the stove). It ain't elegant but it's certainly effective.
Again, make sure your shelf is in no way above the burners, as that could be a potential fire hazard.
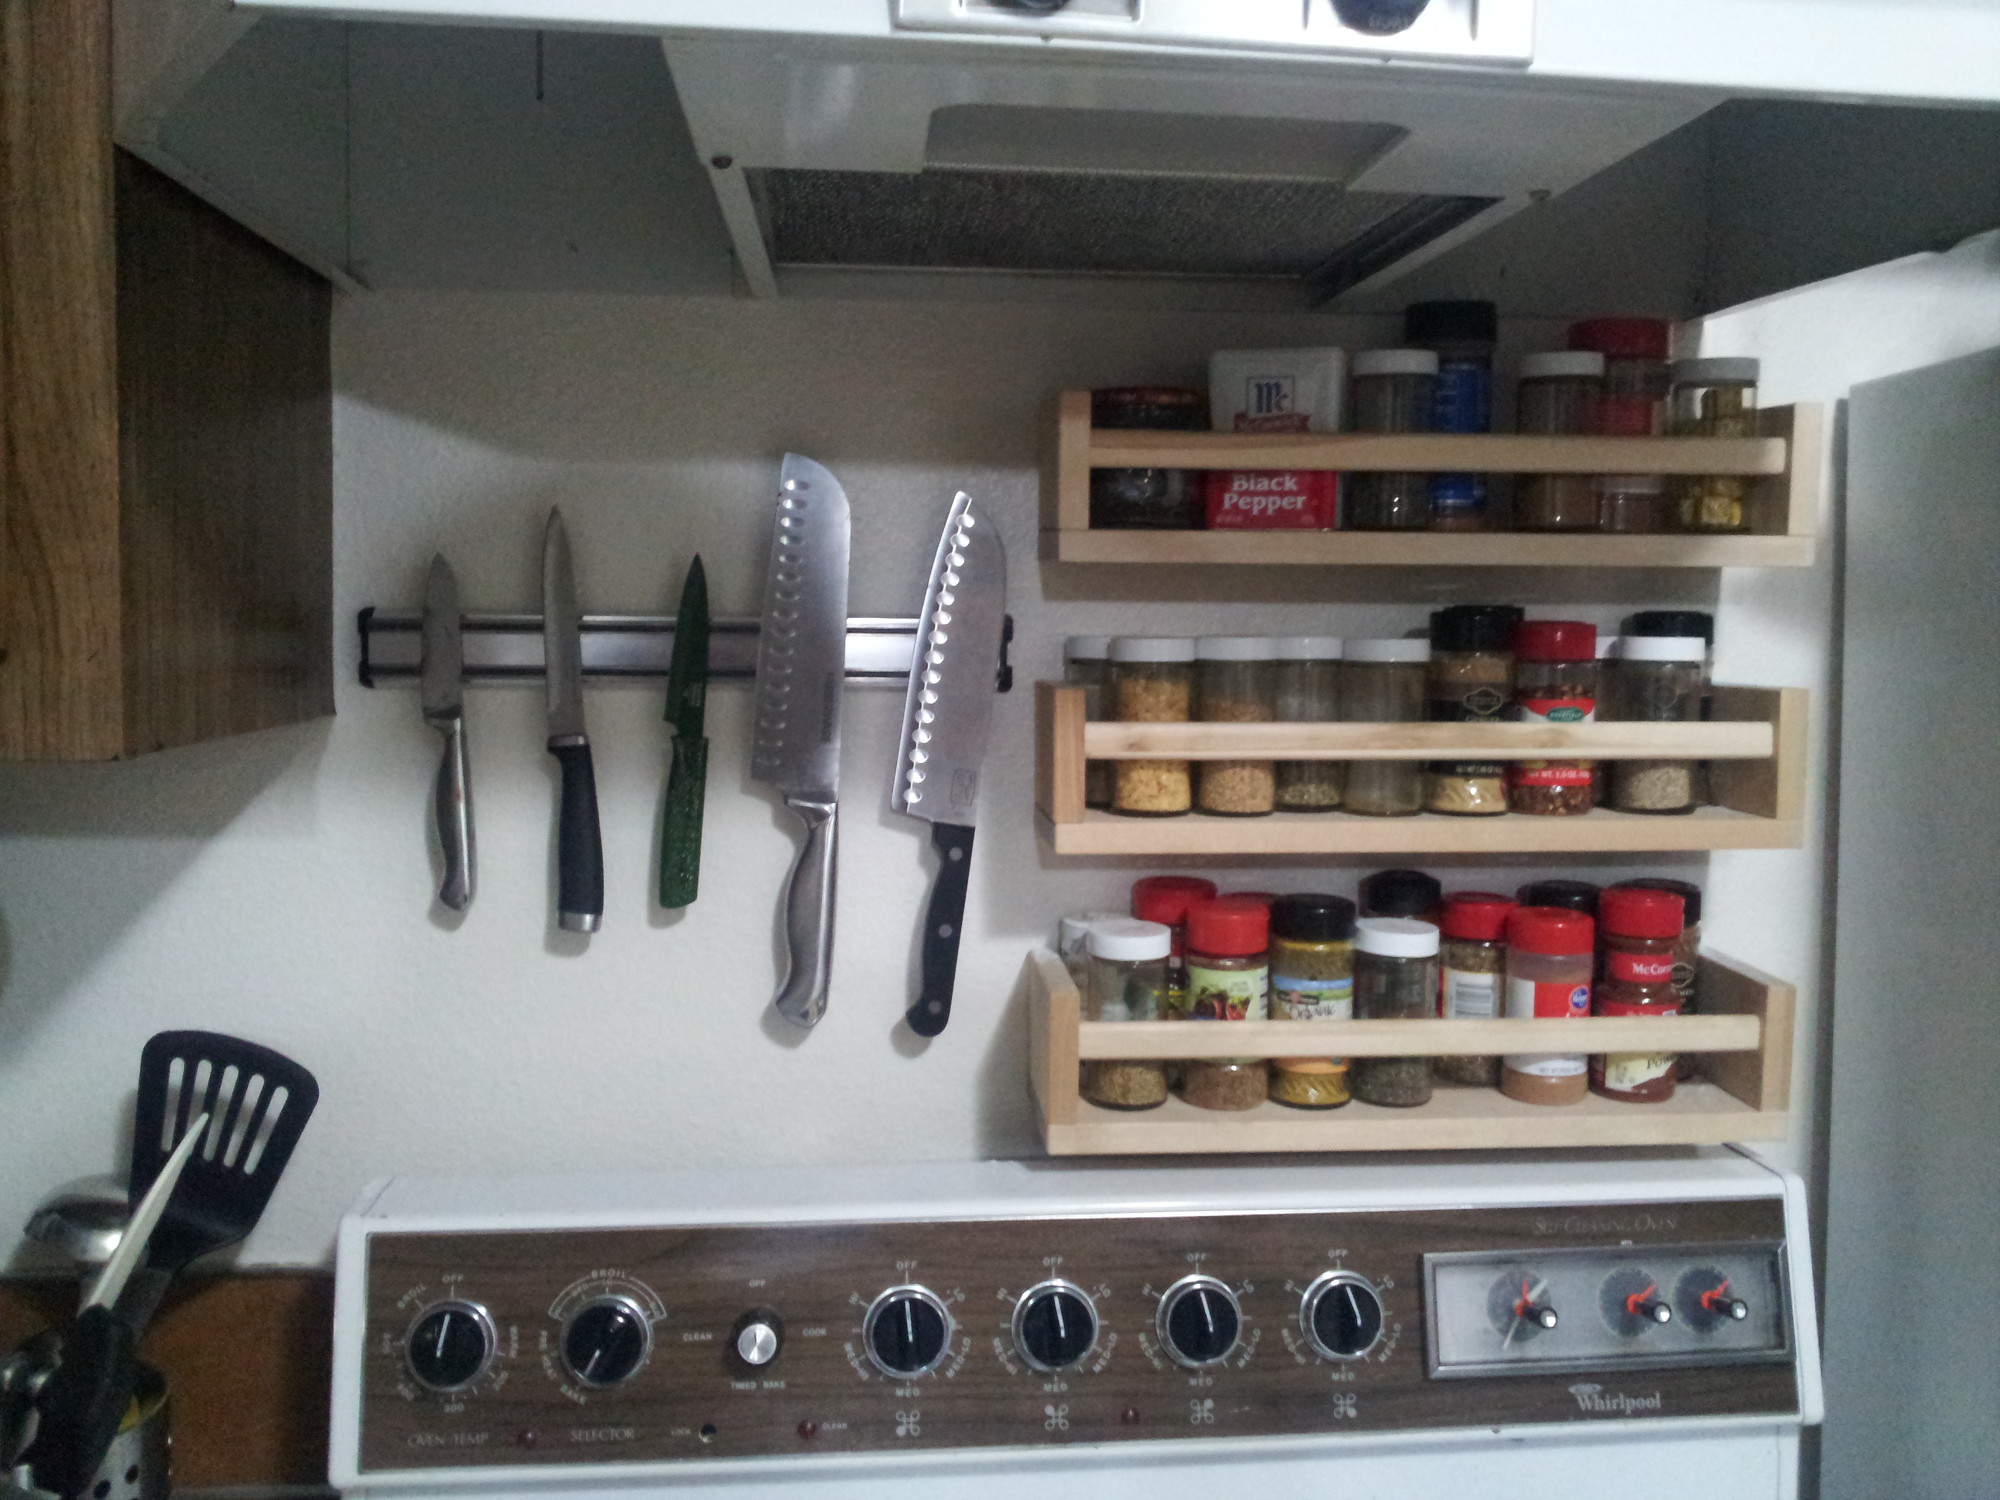
Shown here is the shelf (with still crooked middle section) attached above the stove. Wow! Much storage!
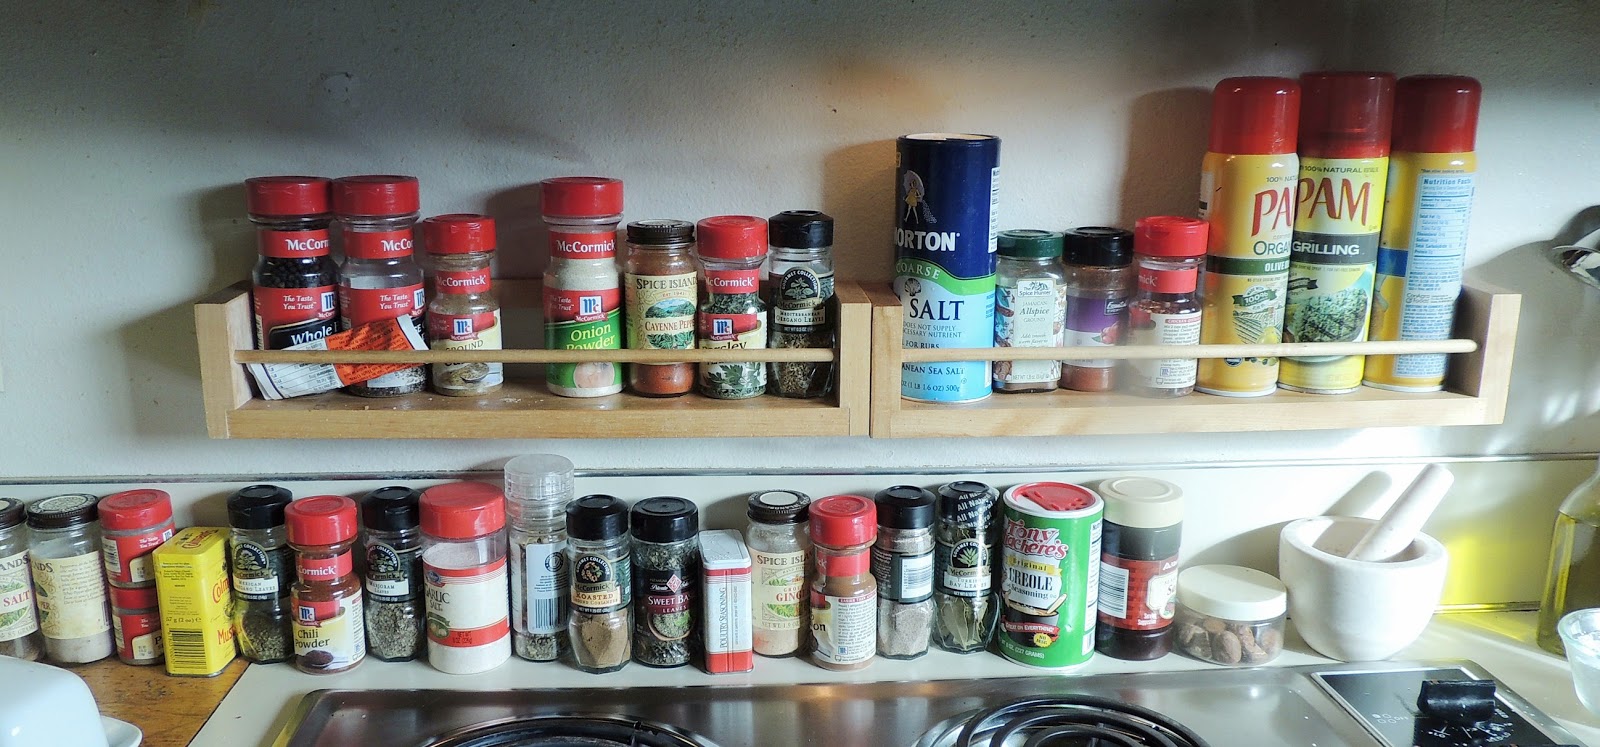
Step 4: Organize!


One fixed middle shelf and a few improvements later, a shelf! I added two screws on the side nearest the counter top to hang the cutting board, and one on the other side to hang the pot holders.
Next, I think I will pick up a metal canister to hold utensils and attach it to the side for easy access to spatulas and the like. I will also be painting the shelf with a high heat finish. Now all of the spices, oils, and teas are readily available and easy to see, and the cabinets are much more apt to store all the food stuffs that are required to keep us alive!
That's it! Go forth and organize your own small kitchen!


